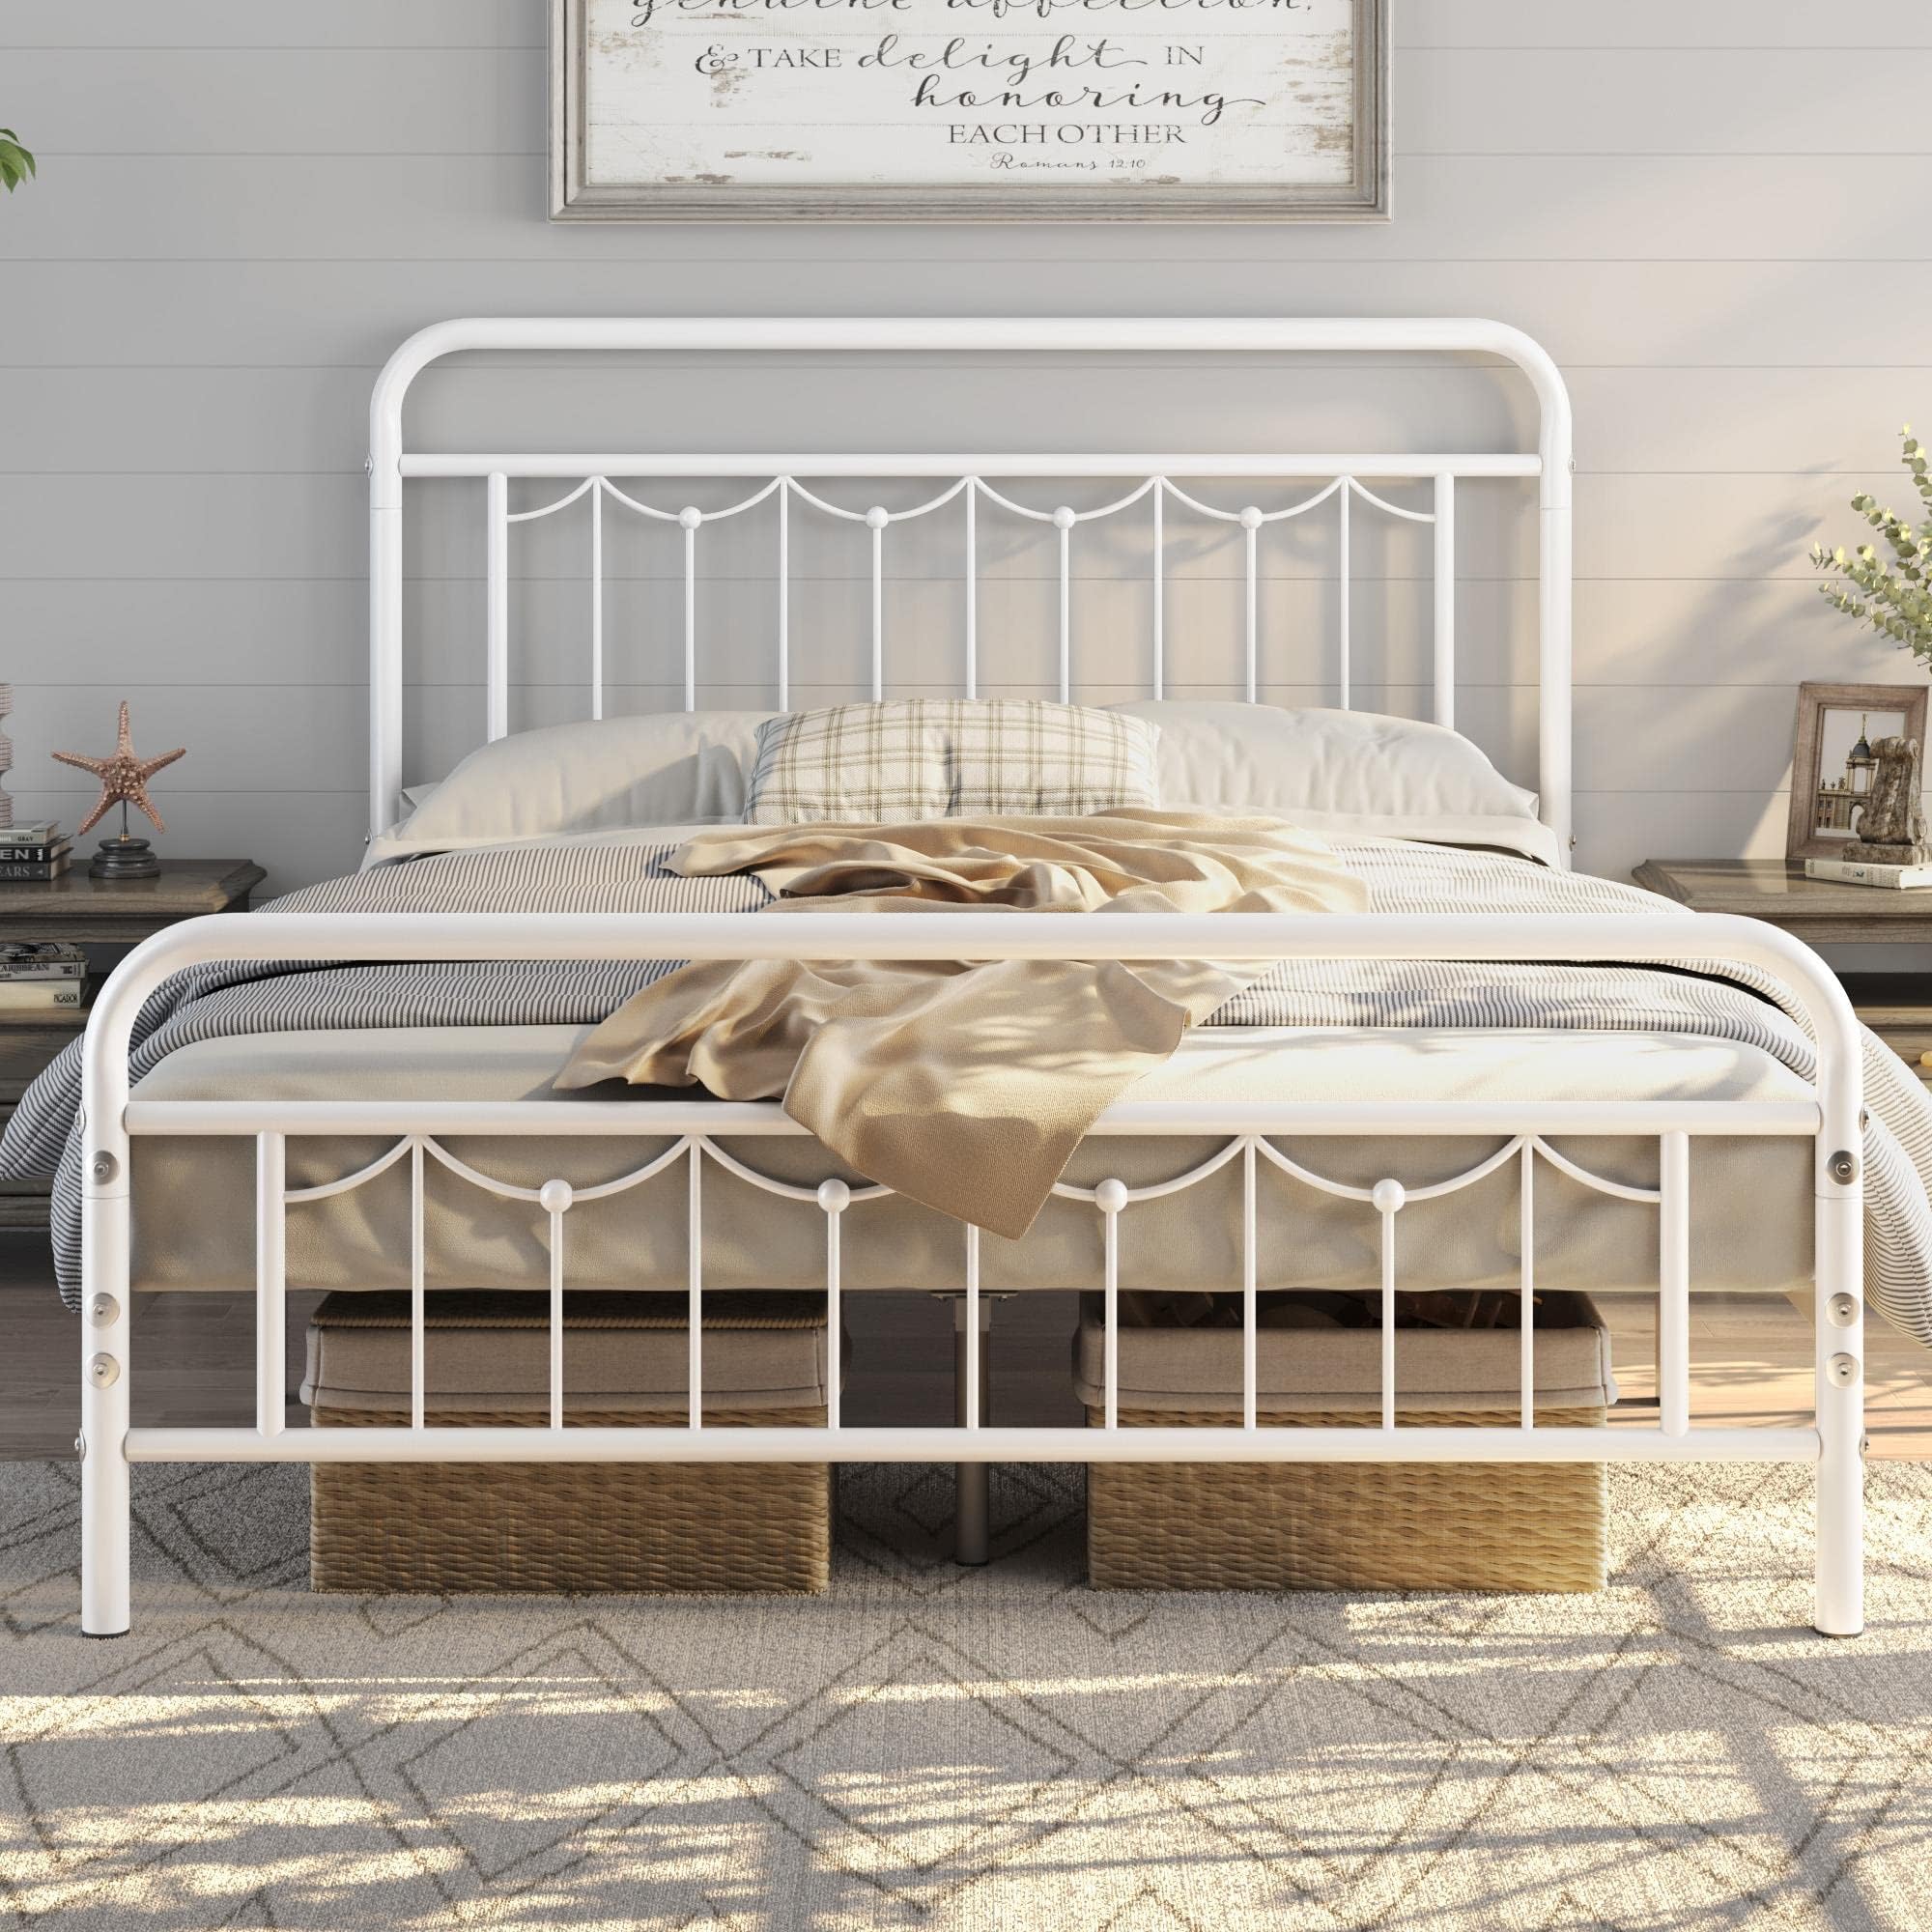
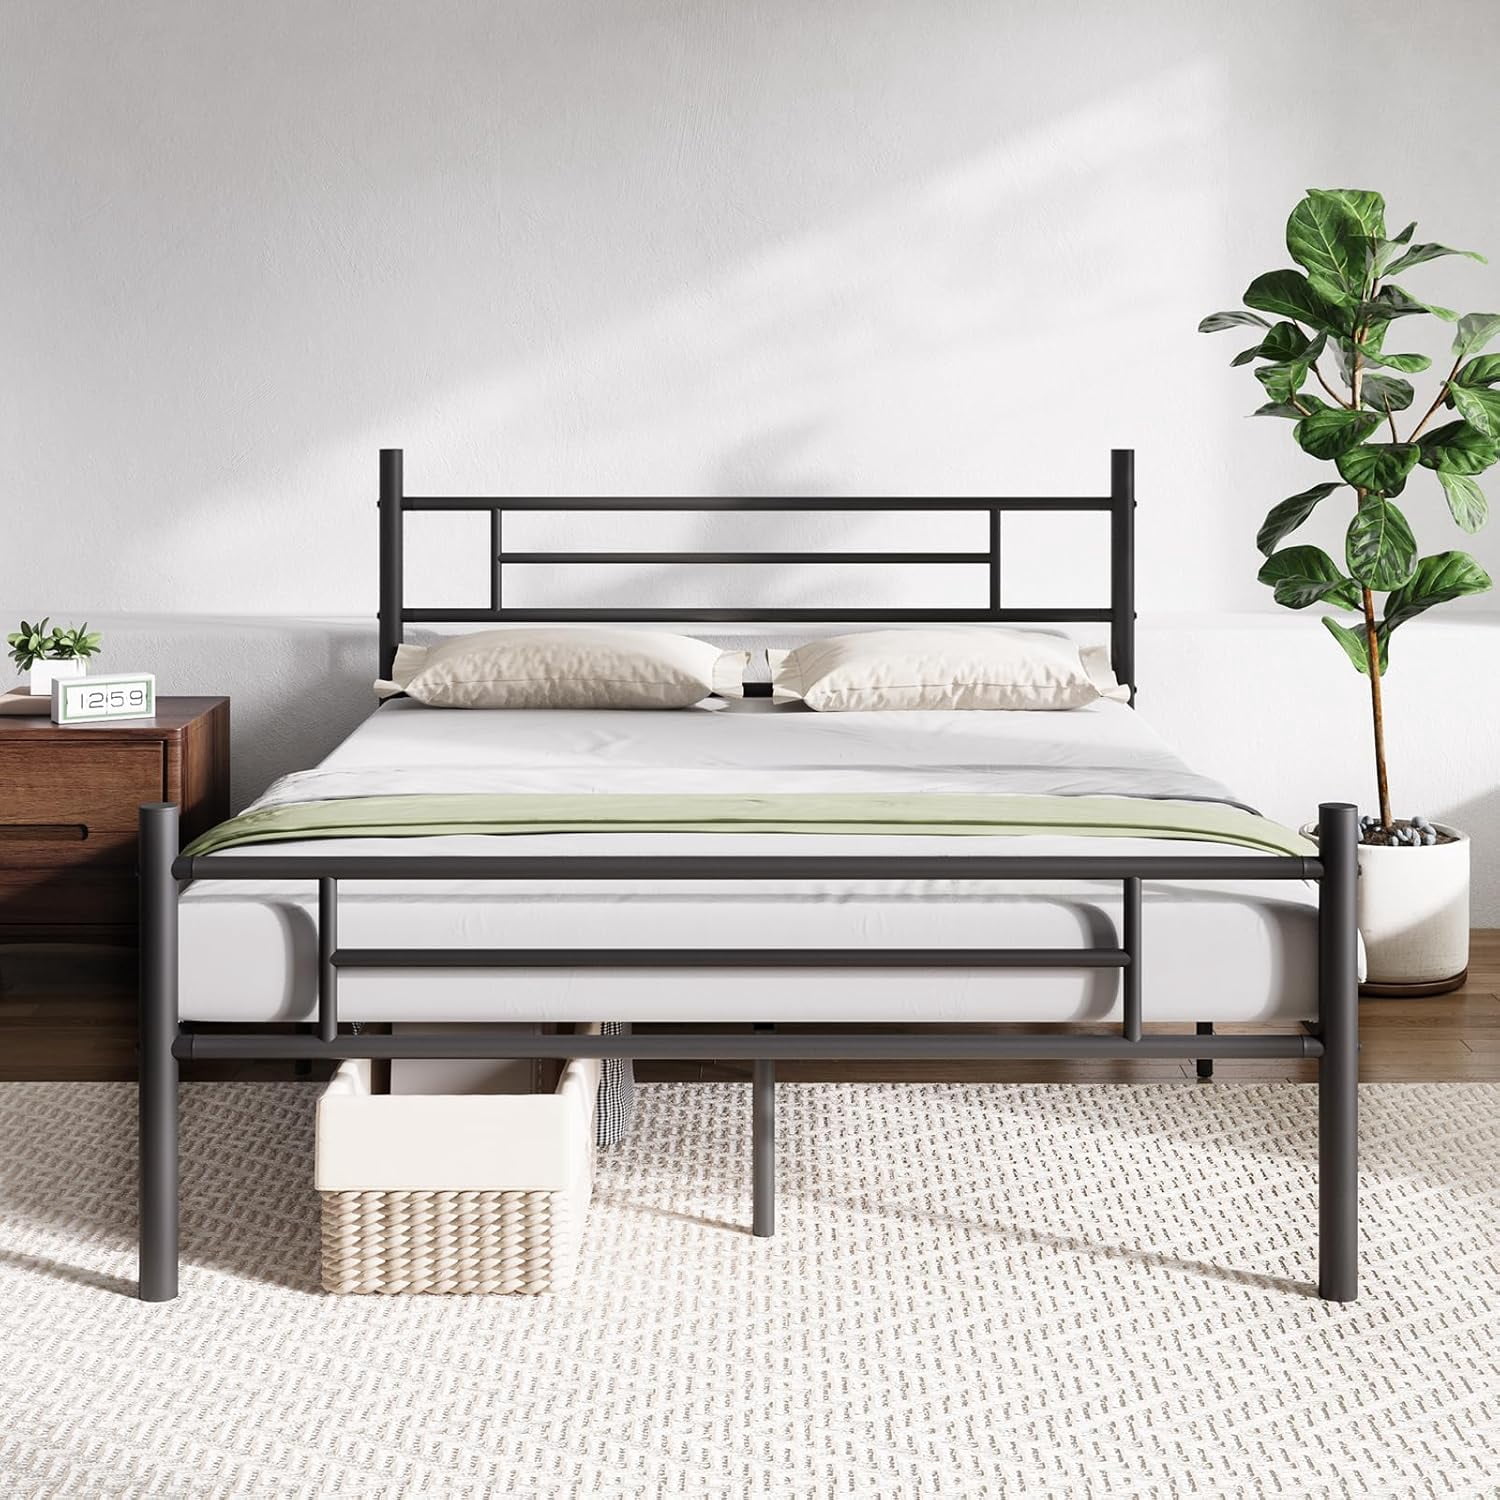
Ever stared at a sleek metal bed frame and thought, "This looks great, but where’s the cozy factor?" You’re not alone. Metal frames are durable, modern, and often budget-friendly, but they can feel a bit cold without the right additions. Adding a headboard or footboard transforms the whole vibe of your room. It’s not just about looks, though. A solid headboard gives you something to lean against when you’re reading late into the night or watching movies in bed. It stops pillows from falling behind the bed. And let’s be honest, it makes the whole space feel finished.
But here’s the thing that trips people up: attaching wood or upholstered pieces to metal isn’t always straightforward. You can’t just screw things in willy-nilly. Metal doesn’t forgive mistakes like wood does. If you get it wrong, you end up with a wobbly mess that creaks every time you roll over. Nobody wants that. The good news? It’s totally doable. You don’t need to be a carpenter or hire a pro. With the right tools and a bit of patience, you can make it rock-solid. Let’s dive into how to get it right the first time.
Understanding the Challenge of Metal Connections
Metal bed frames are built differently than their wooden cousins. They’re lighter, often hollow, and rely on specific connection points. When you try to attach a heavy headboard, gravity and movement work against you. The main issue is that metal threads strip easily if you force them. Plus, many modern frames have thin walls that can’t hold standard screws. This is why so many DIY attempts end in frustration. You tighten a bolt, think it’s secure, and then two weeks later, the whole thing is leaning at a weird angle.
The key is understanding what kind of metal frame you have. Is it a tubular steel frame? Or maybe a flat-bar design? Tubular frames are common in affordable sets, but they’re tricky because you’re drilling into a curved, hollow surface. Flat bars are easier to work with since they offer a flat surface for brackets. In 2026, many manufacturers are using hybrid designs, mixing metal supports with wooden accents. Knowing your frame type helps you choose the right hardware. Don’t guess. Look closely at the connection holes. Are they threaded? Do they have pre-drilled holes? These details matter more than you’d think.
Another factor is weight distribution. A headboard isn’t just sitting there; it’s taking pressure from your back, your pillows, and even accidental bumps. If the connection points aren’t reinforced, stress concentrates on small areas. Over time, this leads to loosening. That’s why experts recommend using multiple attachment points rather than relying on just two bolts. Spreading the load makes everything more stable. It’s basic physics, really. But it’s often overlooked in quick DIY guides. Take your time to map out where the stress will go before you pick up a wrench.
Gathering the Right Tools and Hardware
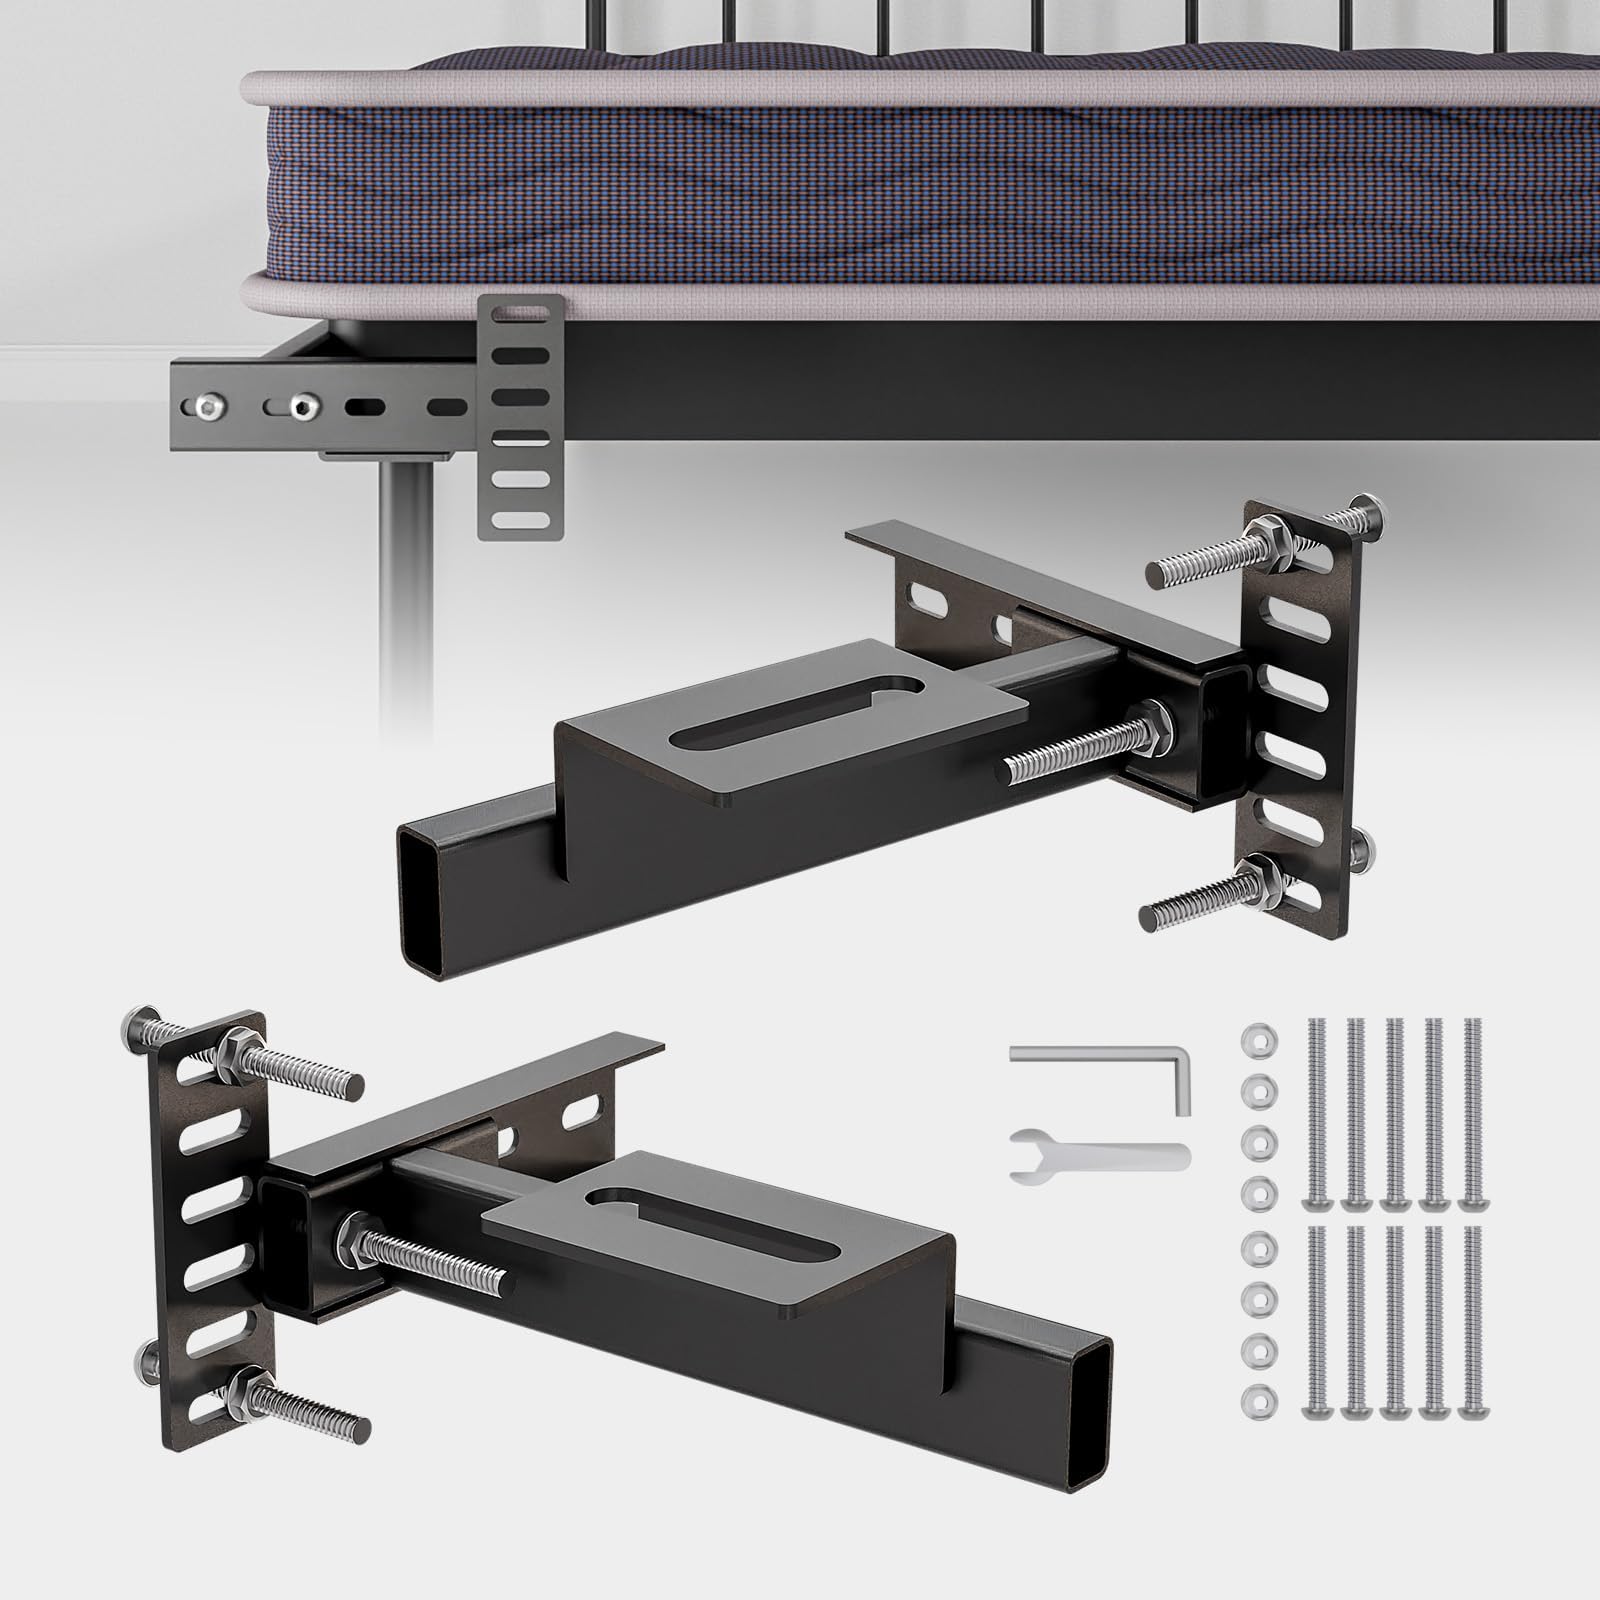
You might think you just need a screwdriver and some bolts. Not quite. To do this properly, you need specific items that ensure a tight, lasting fit. First, get a set of high-quality hex keys or Allen wrenches. Most metal frames use hex bolts because they provide better torque control than standard screws. Cheap ones strip easily, so invest in a decent set. You’ll also need a socket wrench with extensions. This helps you reach tight spots behind the frame where your hands might not fit comfortably.
Hardware is where people cut corners, and it’s a big mistake. Use grade 8 bolts if possible. They’re stronger and resist stripping. Pair them with lock washers and flat washers. The lock washer prevents the bolt from vibrating loose over time, which is a common issue with metal-on-metal connections. Flat washers distribute the pressure, protecting the finish of your headboard and frame. If you’re attaching a wooden headboard, consider using T-nuts or barrel nuts. These embed into the wood and provide a metal thread for the bolt to grip, creating a much stronger joint than screwing directly into wood.
Don’t forget thread-locking compound. It’s a liquid adhesive you apply to bolt threads before tightening. It keeps vibrations from loosening the bolts but still allows you to remove them later if needed. Blue Loctite is the standard choice for this. It’s not permanent, so you won’t ruin your frame if you ever move or upgrade. Also, keep a rubber mallet handy. Sometimes parts need a gentle tap to align properly. Never use a steel hammer on metal frames; you’ll dent or scratch the finish. A rubber mallet is forgiving and effective. Having these tools ready before you start saves you from mid-project trips to the hardware store.
Step-by-Step Attachment Methods
There are a few ways to attach a headboard, depending on your frame and headboard type. The most common method is using L-brackets. These are simple metal angles that connect the vertical posts of the headboard to the horizontal rails of the bed frame. Start by positioning the headboard against the wall where you want it. Measure the distance between the frame’s side rails and mark where the brackets will go. Pre-drill holes in the headboard posts to prevent splitting. Then, attach one side of the L-bracket to the headboard using wood screws. Leave the other side loose for now.
Next, align the bed frame with the headboard. This part usually requires a helper. Hold the frame in place while you slide the loose end of the L-bracket against the metal rail. Mark the drilling points on the metal. Use a center punch to create a small indent; this keeps the drill bit from slipping. Drill pilot holes in the metal using a bit slightly smaller than your bolt diameter. Insert the bolts through the bracket and frame, add washers, and tighten securely. Repeat for all brackets. Check for levelness as you go. A slight tilt now becomes a major headache later.
For frames without side rails, you might need to use a mounting plate. This is a flat metal bar that spans the width of the headboard and attaches to the frame’s central support. It’s ideal for platform beds or minimalist frames. Secure the plate to the headboard first, then bolt it to the frame’s center beam. This method distributes weight evenly across the entire width, reducing wobble. Whichever method you choose, take your time with alignment. Rushing leads to crooked headboards and stripped holes. Measure twice, drill once. It’s a cliché for a reason.
Solving Common Stability Issues
Even with careful installation, you might encounter wobble. It’s frustrating, but fixable. One common cause is uneven floors. If your floor isn’t level, the frame rocks slightly, transferring movement to the headboard. Check this with a spirit level. If the floor is the problem, use adjustable feet or shims under the bed legs to stabilize the base. This often solves the issue without touching the headboard connections. Don’t ignore the foundation; a shaky base makes everything else unstable.
Another culprit is loose joints in the frame itself. Metal frames have multiple connection points where legs meet rails. Over time, these can loosen. Go around the entire frame and tighten every bolt and screw. Pay special attention to the corners. If any parts feel loose, add thread-locking compound and retighten. Sometimes, the frame just needs a general tune-up. It’s surprising how much difference this makes. A rigid frame provides a solid anchor for the headboard.
If the headboard itself is still moving, check the bracket tightness. Metal expands and contracts with temperature changes, which can loosen bolts slightly. Retighten them after a few weeks of use. You can also add rubber gaskets between the metal bracket and the headboard. These absorb minor vibrations and reduce noise. For extra security, consider adding diagonal braces or gussets. These are triangular metal pieces that reinforce the corner joints. They’re invisible from the front but add significant rigidity. Think of them as insurance against future wobble.
Choosing the Right Headboard Style
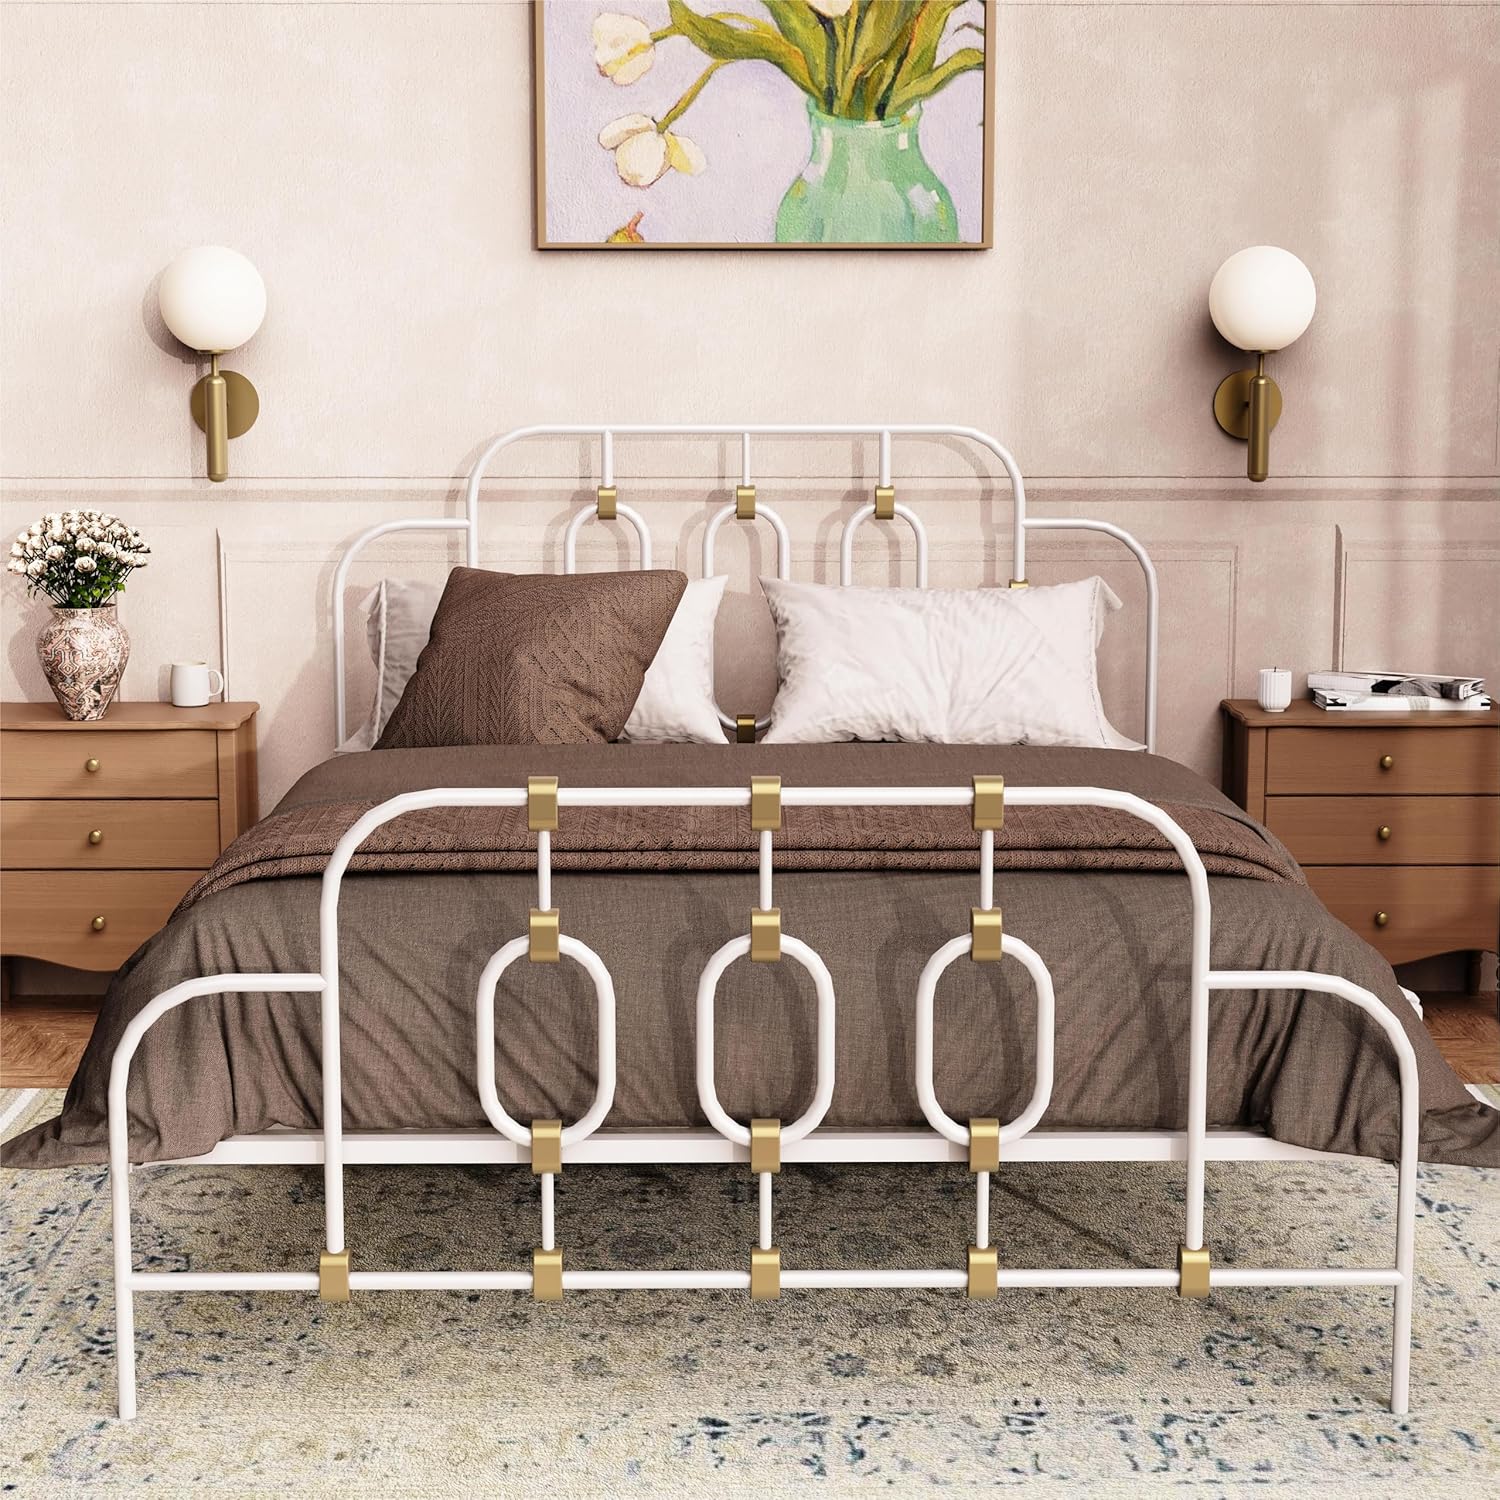
Not all headboards work well with metal frames. Heavy, solid wood headboards can overwhelm a lightweight metal structure. If your frame is slender, opt for a lighter headboard made of plywood, MDF, or upholstered fabric. These materials are easier to attach and put less stress on the connections. Upholstered headboards are particularly popular in 2026 because they add warmth and comfort. They’re also lighter than solid wood, making them ideal for metal frames. Just ensure the internal frame of the headboard is sturdy enough to hold bolts.
Consider the height and width too. A headboard that’s too tall might look disproportionate on a low-profile metal frame. Aim for a height that complements the frame’s lines. Standard heights range from 14 to 58 inches above the mattress. For a modern look, go lower. For a dramatic statement, go higher. Width-wise, match the headboard to the bed size. A king-size headboard on a queen frame looks awkward. Measure your mattress and add a few inches on each side for a balanced look.
Style matters for cohesion. Industrial metal frames pair well with rustic wood or leather headboards. Sleek, minimalist frames look great with upholstered or painted wood options. Avoid overly ornate headboards on simple frames; the clash can look unintentional. Think about the overall vibe you want. Cozy? Modern? Bohemian? Let that guide your choice. And remember, you can always paint or refinish a headboard to match your decor. Flexibility is one of the benefits of separate pieces. Don’t feel locked into one look forever.
Once your headboard is attached, don’t just forget about it. Regular maintenance keeps it looking good and staying secure. Every few months, check the bolts for tightness. Vibrations from daily use can slowly loosen them. A quick turn with a wrench takes seconds and prevents bigger problems. Inspect the finish for scratches or chips, especially around connection points. Touch up any exposed metal with matching paint to prevent rust. Metal frames are durable, but they’re not invincible.
Clean the headboard and frame regularly. Dust accumulates in corners and behind brackets. Use a soft cloth and mild cleaner for metal parts. For upholstered headboards, vacuum gently to remove dust and allergens. Avoid harsh chemicals that can damage finishes or fabrics. If you notice any squeaking, identify the source. It’s usually friction between metal parts. Apply a small amount of silicone lubricant to quiet it down. Don’t use oil-based lubricants; they attract dirt and gum up over time.
If you plan to move, disassemble the headboard carefully. Label the hardware and keep it in a baggie taped to the headboard. This saves huge headaches during reassembly. Transport the headboard upright to avoid cracking or warping. When setting up in the new place, follow the same installation steps. Don’t assume the old holes will align perfectly; walls and floors vary. Taking care of your setup ensures it lasts for years. A well-maintained bed frame and headboard combo is an investment in your comfort and sleep quality. Treat it well, and it’ll treat you right.
So, there you have it. Attaching a headboard to a metal bed frame isn’t rocket science, but it does require attention to detail. From choosing the right hardware to solving wobble issues, each step matters. The result is a bedroom that feels complete, cozy, and uniquely yours. Whether you’re upgrading an old frame or setting up a new one, these tips will help you avoid common pitfalls. Remember, patience pays off. Take your time, measure carefully, and don’t hesitate to ask for help if needed. Your future self, lounging against a sturdy headboard with a good book, will thank you. Sleep well.