Wet sneakers, stray soccer balls, tangled leashes, and a mountain of heavy winter coats cascading onto the hallway floor. If this chaotic scene sounds painfully familiar, you are experiencing the primary structural failure of almost every American entryway: the absence of a properly engineered drop zone.
When you step through the back door with an armload of groceries and a tired child, your body instinctively looks for a surface. You need a place to shed the physical weight of the outside world without turning your threshold into a hazard zone.
Enter the mudroom storage bench. It is far more than a simple piece of furniture. It is the absolute anchor of home organization, acting as a structural bridge between the unpredictable elements outside and the sanctuary of your living space.
Over the past decade of evaluating residential architectural layouts and building bespoke interior storage systems, I have watched the humble mudroom bench evolve from a rustic farmhouse afterthought into a masterclass of multi-functional engineering. Homeowners no longer settle for a flimsy bench that wobbles under the weight of a winter parka. They demand integrated seating, concealed cubbies, heavy-duty hardware, and materials that can withstand salt-crusted boots, muddy paws, and endless daily abuse.
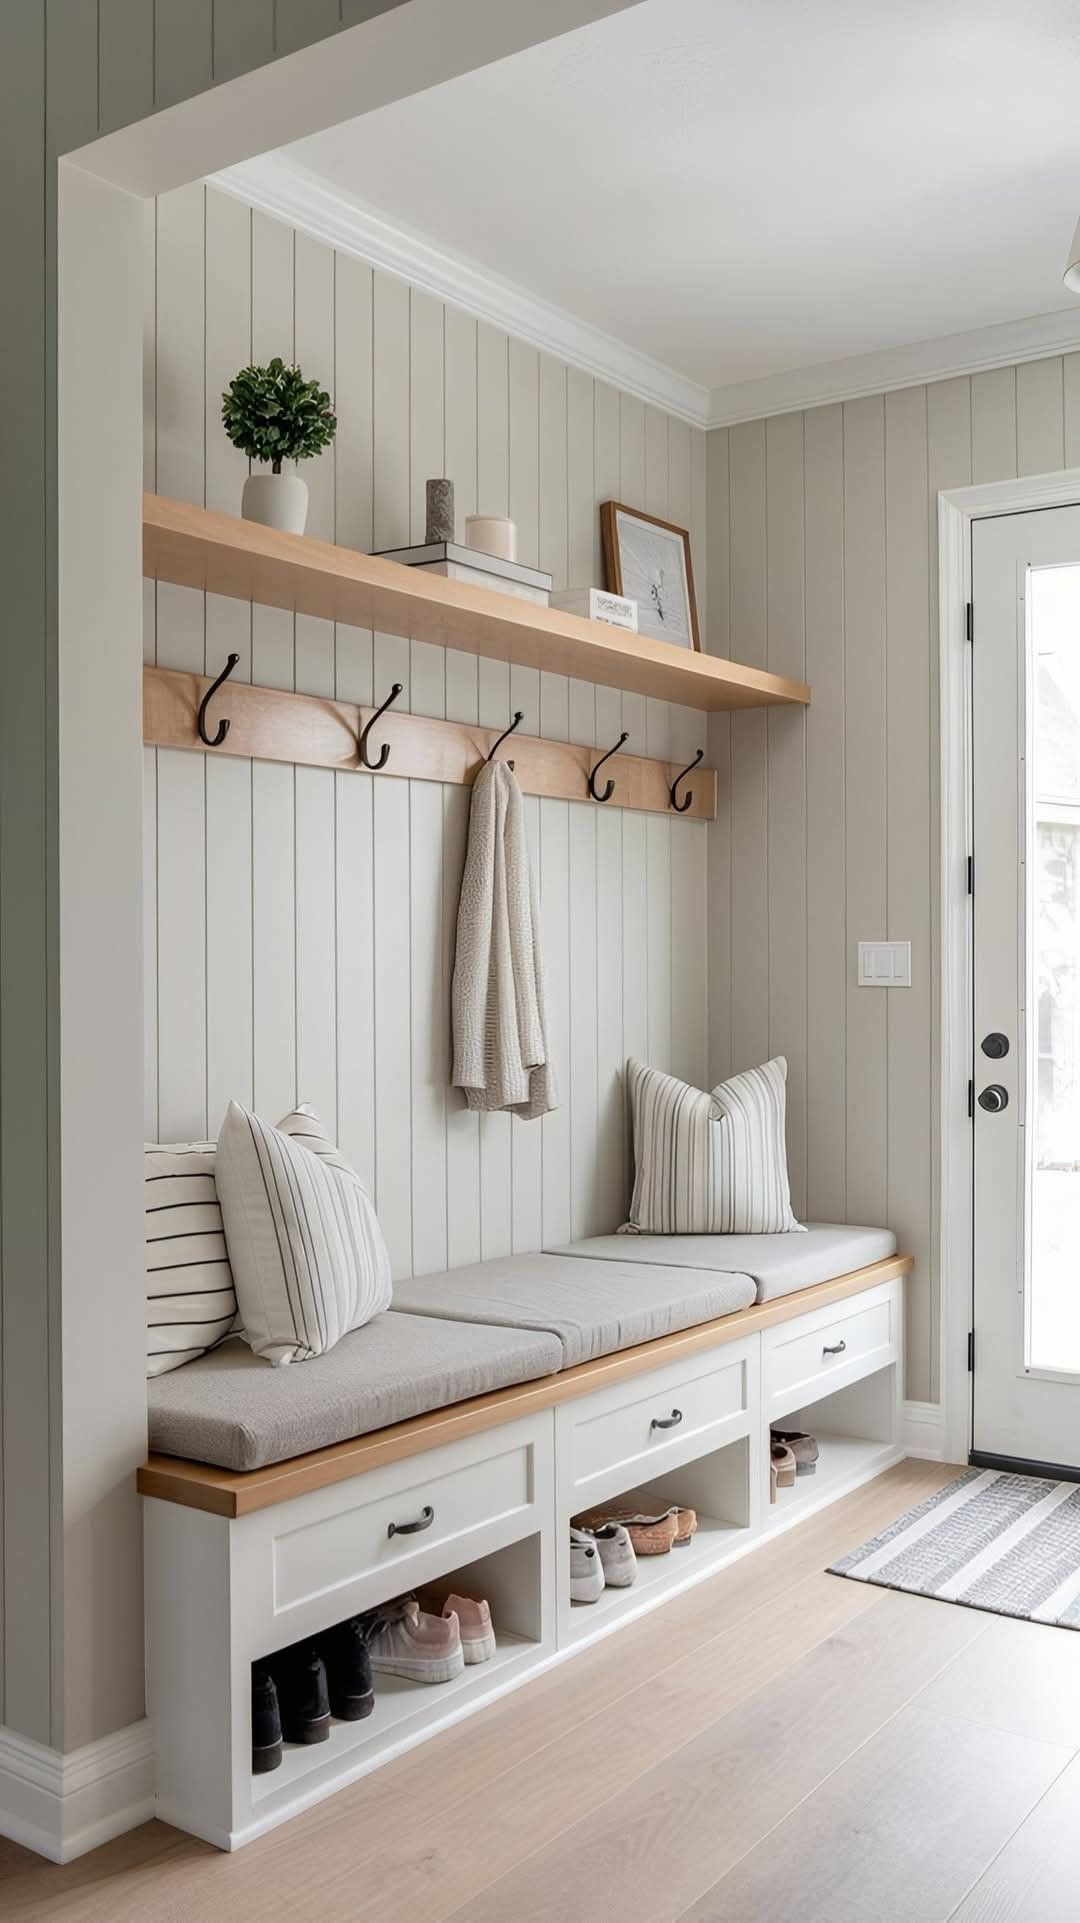
Designing or selecting this foundational piece requires a sharp understanding of ergonomics, spatial physics, material science, and daily human behavior. If you get the dimensions wrong by a mere two inches, your doors won't clear. If you specify the wrong finish, moisture from wet raincoats will warp your expensive millwork within a single season. Let us break down everything you need to know to get this right the first time.
The Anatomy of Entryway Ergonomics and Spatial Mechanics
Designing a functional drop zone starts with understanding human dimensions and traffic flow. A mudroom bench must serve two competing masters: comfortable human seating and high-capacity spatial containment. If your bench sits too high, children will struggle to sit and tie their shoes. If it sits too low, adults will find themselves awkwardly hunching over, creating unnecessary strain on the lower back. Standard ergonomic guidelines place an optimal seating height between 17 and 19 inches from the finished floor, matching standard dining chair heights which allow feet to rest flat while putting on footwear.
Depth is another critical variable that homeowners frequently miscalculate. If your bench depth is less than 15 inches, adults will find themselves perched precariously on the edge. Conversely, if you push the depth past 20 inches without adequate floor clearance, the bench consumes too much of the hallway footprint, turning a high-traffic corridor into an obstacle course. An optimal depth of 16 to 18 inches provides ample surface area for a seated adult while leaving room for walking paths.
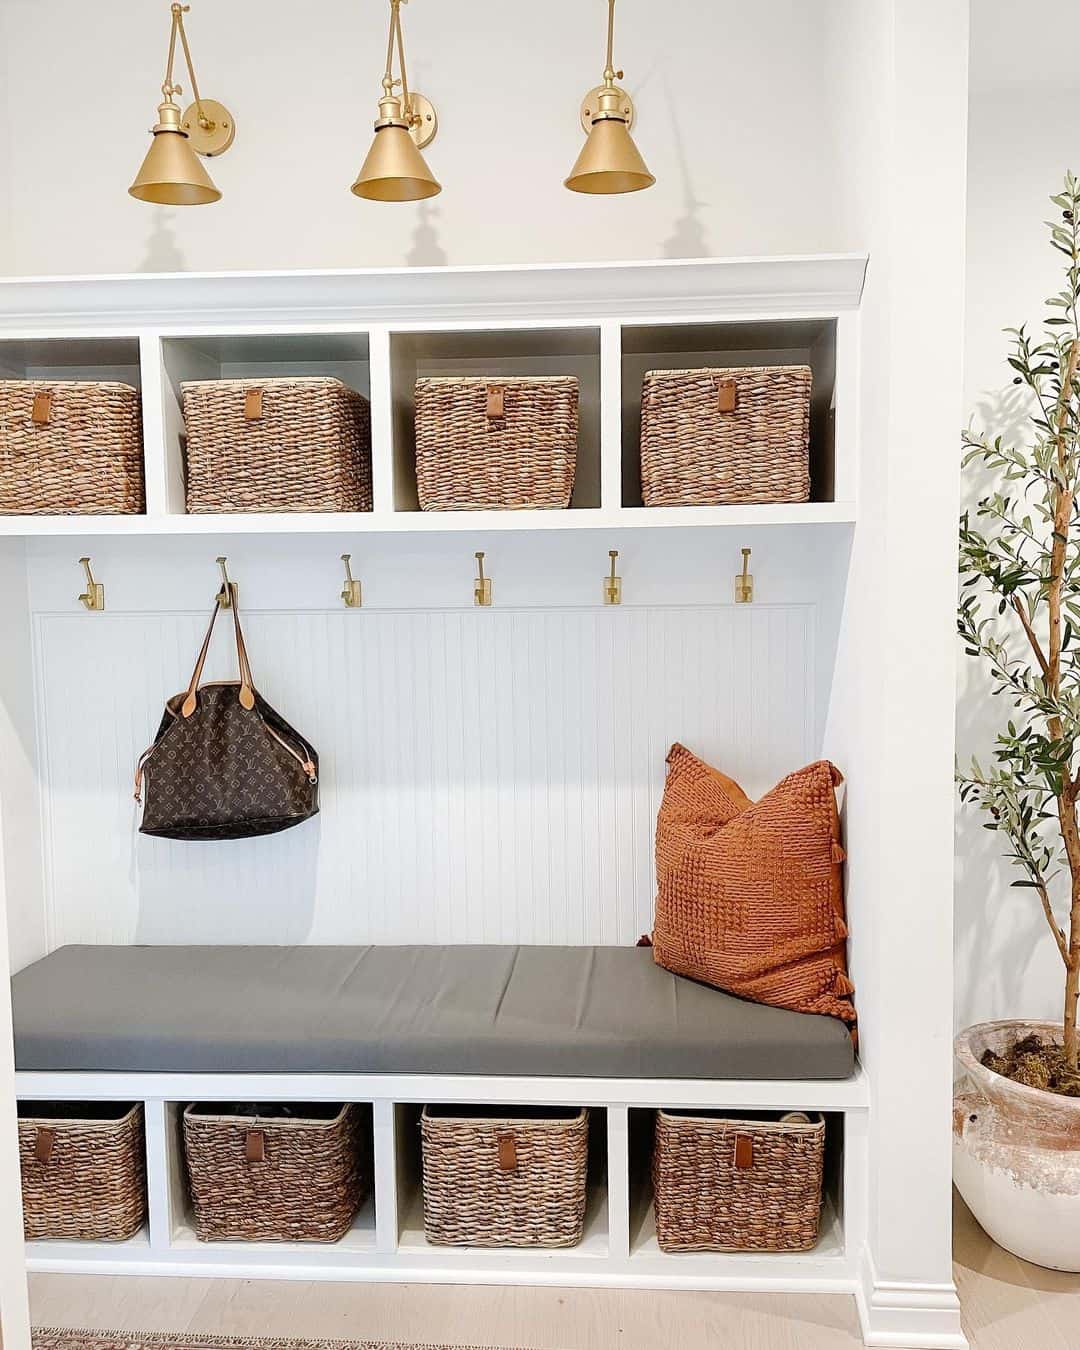
Beyond dimensions, load-bearing capacity separates amateur carpentry from professional millwork. A storage bench will frequently support multiple adults simultaneously—perhaps a parent and two children crowded together to lace up hiking boots. Structural integrity requires a continuous toe kick or reinforced interior vertical partitions spaced no more than 24 inches apart. If you rely solely on four corner legs for a six-foot span, the horizontal deck will eventually sag under dynamic loads.
We also have to account for vertical volume. The bench is only the lower tier of a comprehensive storage ecosystem. The vertical space extending three to four feet above the seat must remain clear for knee clearance when sitting, but the zone above that height is prime real estate for double-tiered hooks, upper closed cabinetry, or open shelving. Getting these spatial zones to talk to one another creates a seamless workflow that prevents clutter from migrating further into the home.
Material Selection and Durability in High-Moisture Zones
Mudrooms are severe environment zones. They endure sub-zero ice-melt salts, standing water from soaked umbrellas, abrasive gravel, and drastic seasonal humidity swings. Specifying interior furniture grade particleboard or untreated softwoods in this environment is a recipe for swelling, delamination, and structural failure. True durability demands an honest assessment of material science and finish integrity.
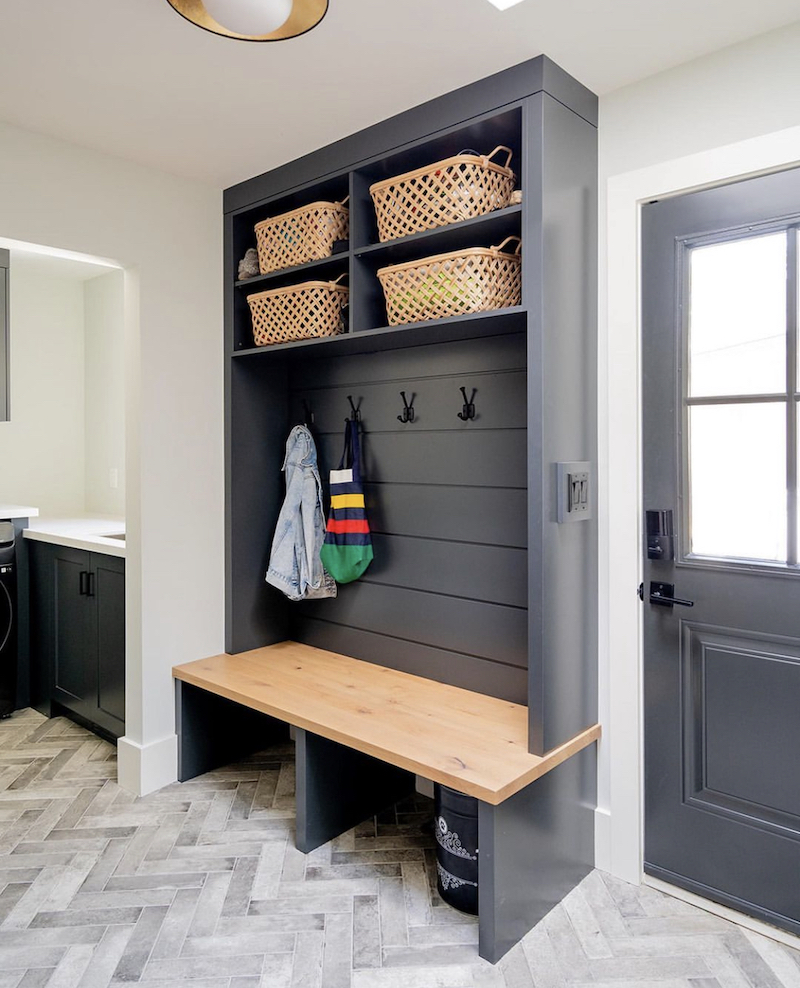
Hardwoods like white oak, hard maple, and select walnut remain the gold standard for high-end custom benches. White oak, in particular, possesses closed cellular structures that offer superior natural resistance to moisture penetration, which is why it has historically been used in boatbuilding and flooring. When sealed with a conversion varnish or a durable, matte two-part polyurethane, white oak can take a direct hit from a melting snowbank and wipe clean without staining.
For painted finishes, select moisture-resistant medium-density fiberboard (MR-MDF) for flat panel door faces and structural trim, paired with solid poplar or maple for load-bearing face frames. Standard MDF will drink up ambient moisture and swell like a sponge at the cut edges, but MR-MDF contains specialized moisture-resistant resins throughout its core. When paired with a sprayed-conversion lacquer or high-durability enamel paint, it yields an ultra-smooth, factory-grade finish that resists chipping from dropped keys and heavy boot heels.
Hardware selection is equally non-negotiable. Soft-close undermount drawer slides rated for at least 100 pounds ensure that rolling under-bench bins glide effortlessly even when packed with heavy winter gear. Avoid cheap zinc-plated screws that will rust within months due to salt exposure; instead, specify stainless steel or ceramic-coated fasteners. For hooks, look for cast iron, solid brass, or heavy zinc alloy models anchored directly into wall studs or solid blocking behind the drywall.
Step-by-Step Implementation Guide for Building or Installing Your Bench
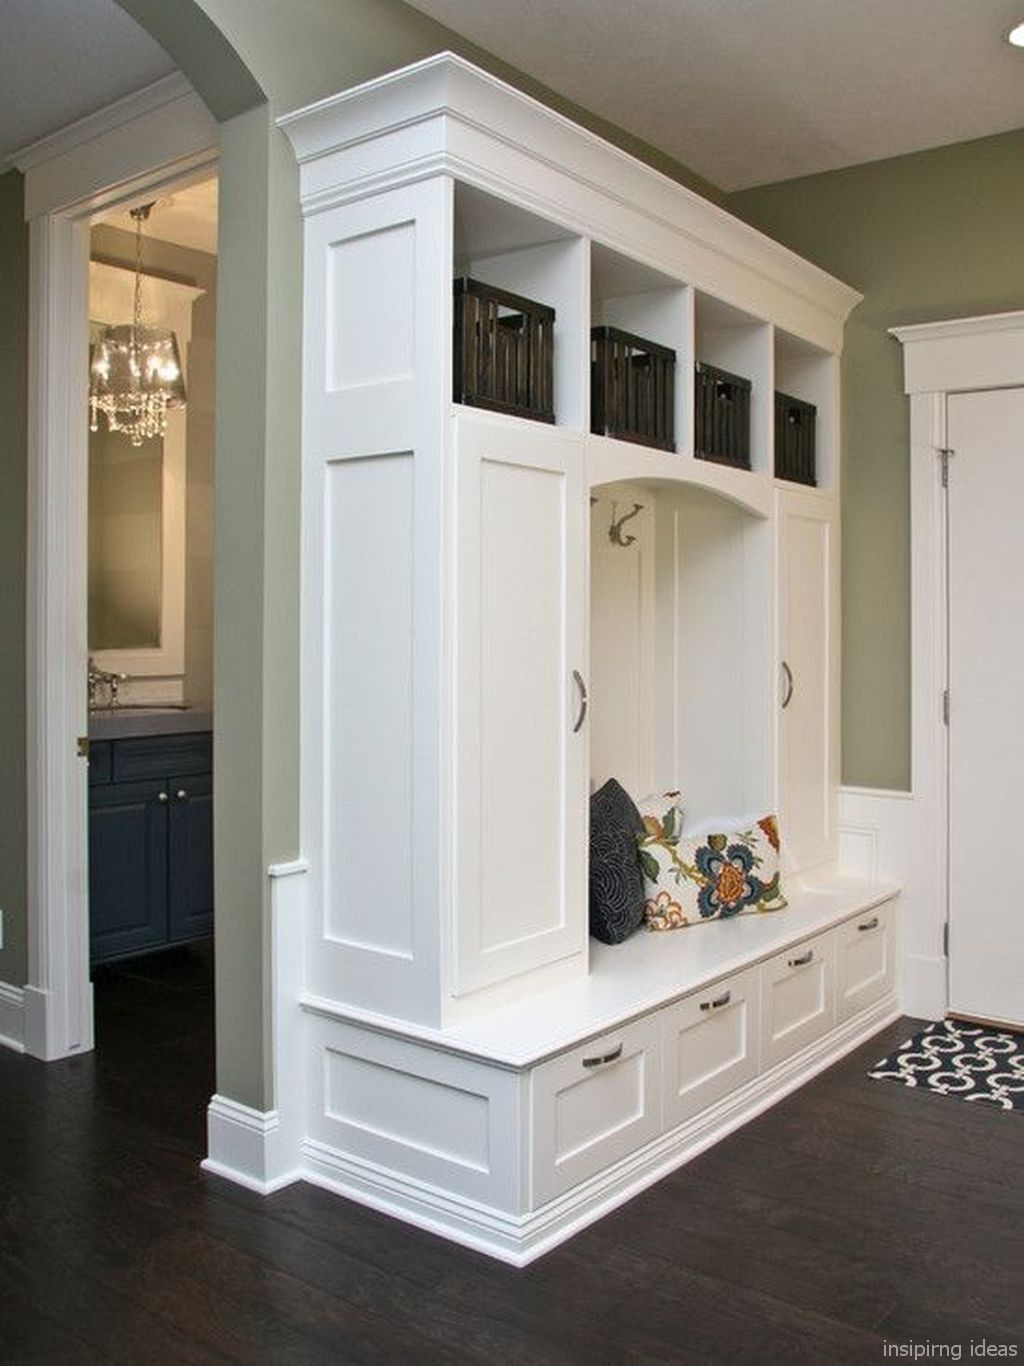
Executing a flawless mudroom storage bench installation requires precision measurement, patience, and adherence to structural best practices. Whether you are building a unit from scratch or modifying a modular freestanding piece, follow this field-tested methodology to ensure professional results.
Common Pitfalls and Field-Tested Workarounds
Even experienced DIYers and contractors occasionally stumble when designing entryway systems. Anticipating these common traps saves you from costly tear-outs and structural modifications down the road.
Holistic Perspectives: Sustainability, Longevity, and Home Value
Related Posts
Real Solutions for Organizing Entryways and Mudrooms Without Losing Your Sanity
How to Design Mudroom Storage That Actually Keeps Your Family Organized

Why interior designers recommend Halloween doorway curtains for effortless seasonal decorating
How Natural Light Changes Warm White Paint Colors Throughout the Day

Designing a Seasonal Fall Table Setup Using Foraged Elements and Everyday Dinnerware

How to Blend Different Decor Aesthetics Without Making Your Rooms Look Cluttered
When we zoom out from the immediate utility of keeping hallways tidy, a well-designed mudroom storage bench represents a strategic investment in the longevity and resale value of your property. In contemporary residential real estate, dedicated drop zones consistently rank among the most desired functional features for prospective home buyers. Families touring a home immediately gravitate toward an organized entryway because it signals that the rest of the house is well-maintained, efficient, and easy to live in.
From a sustainability standpoint, opting for heirloom-quality construction over flat-pack disposable furniture dramatically reduces environmental waste. By sourcing locally harvested hardwoods or utilizing Forest Stewardship Council (FSC) certified plywood, you ensure your millwork project supports responsible forestry management. Furthermore, building a piece that lasts for decades rather than replacing a warped, particleboard bench every three years keeps tons of furniture out of landfills.
Consider also the psychological impact of spatial organization. Environmental psychology research consistently demonstrates that visual clutter in transitional spaces elevates baseline cortisol levels. Walking past a chaotic pile of shoes and coats every time you enter or leave your home initiates a subtle, continuous micro-stress response. Conversely, stepping into an environment where every item has an assigned, hidden home fosters a sense of immediate calm and mental clarity as you transition between the outside world and your domestic sanctuary.
Actionable Recommendations and Strategic Frameworks
To maximize the return on your time, energy, and financial investment, approach your mudroom storage bench project through a structured, analytical lens. Do not design in a vacuum; audit your household inventory before drawing a single line on paper.
Designing and installing a mudroom storage bench is a transformative home improvement project. It bridges the gap between raw architectural space and lived human experience, turning a chaotic entryway into an elegant, highly functional masterpiece of daily organization. When you walk through your back door, drop your keys onto a dedicated surface, slide your boots into a custom-sized slot, and sit down without clutter pressing in around you, the true value of thoughtful craftsmanship becomes immediately apparent.
Take your time with the planning phase, respect the structural requirements of high-moisture environments, and do not compromise on materials. Whether you tackle this as an ambitious weekend woodworking project or commission a bespoke architectural built-in, the result will elevate your daily routine and protect your home's physical structure for years to come. The chaos of the outside world stops at your threshold—make sure your entryway is built to handle it.
