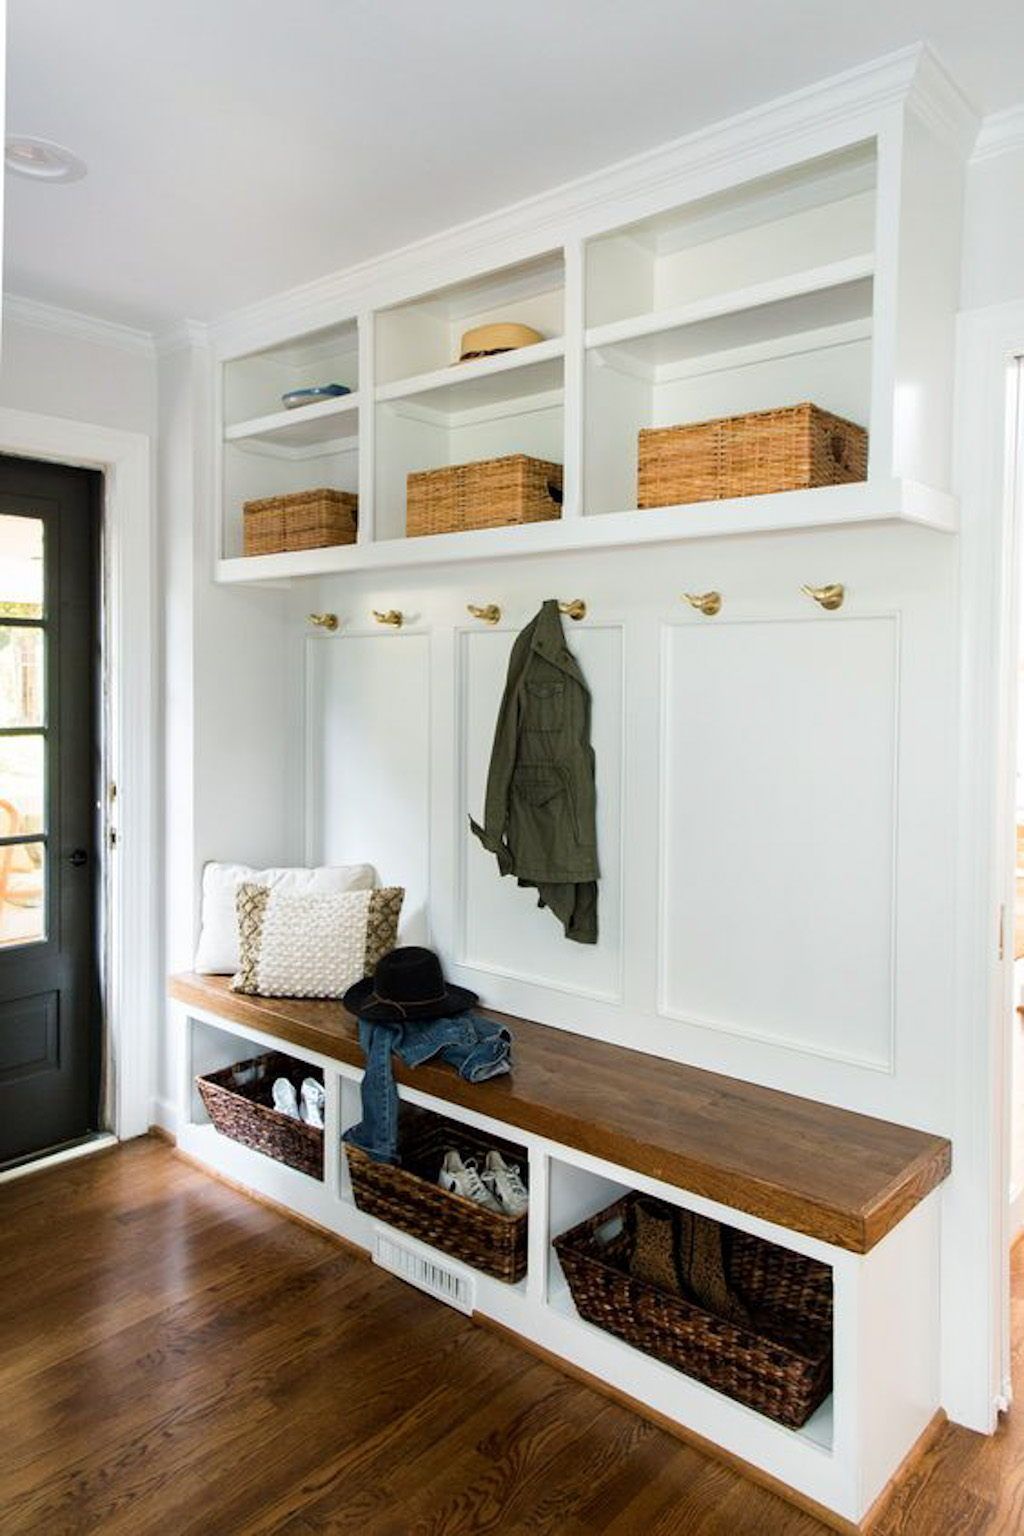
It starts innocently enough: a single pair of muddy hiking boots left on the welcome mat, a soggy umbrella leaning against the baseboard, and a school backpack draped over the back of the kitchen chair. Within a week, that micro-invasion snowballs. The entryway transforms into an obstacle course of cleats, lacrosse sticks, leashes, mail scraps, and winter parkas that swallow the floor space whole. Walking through the front or side door becomes an exercise in frustration, requiring a delicate balancing act just to kick off your shoes without knocking over a leaning tower of tote bags.
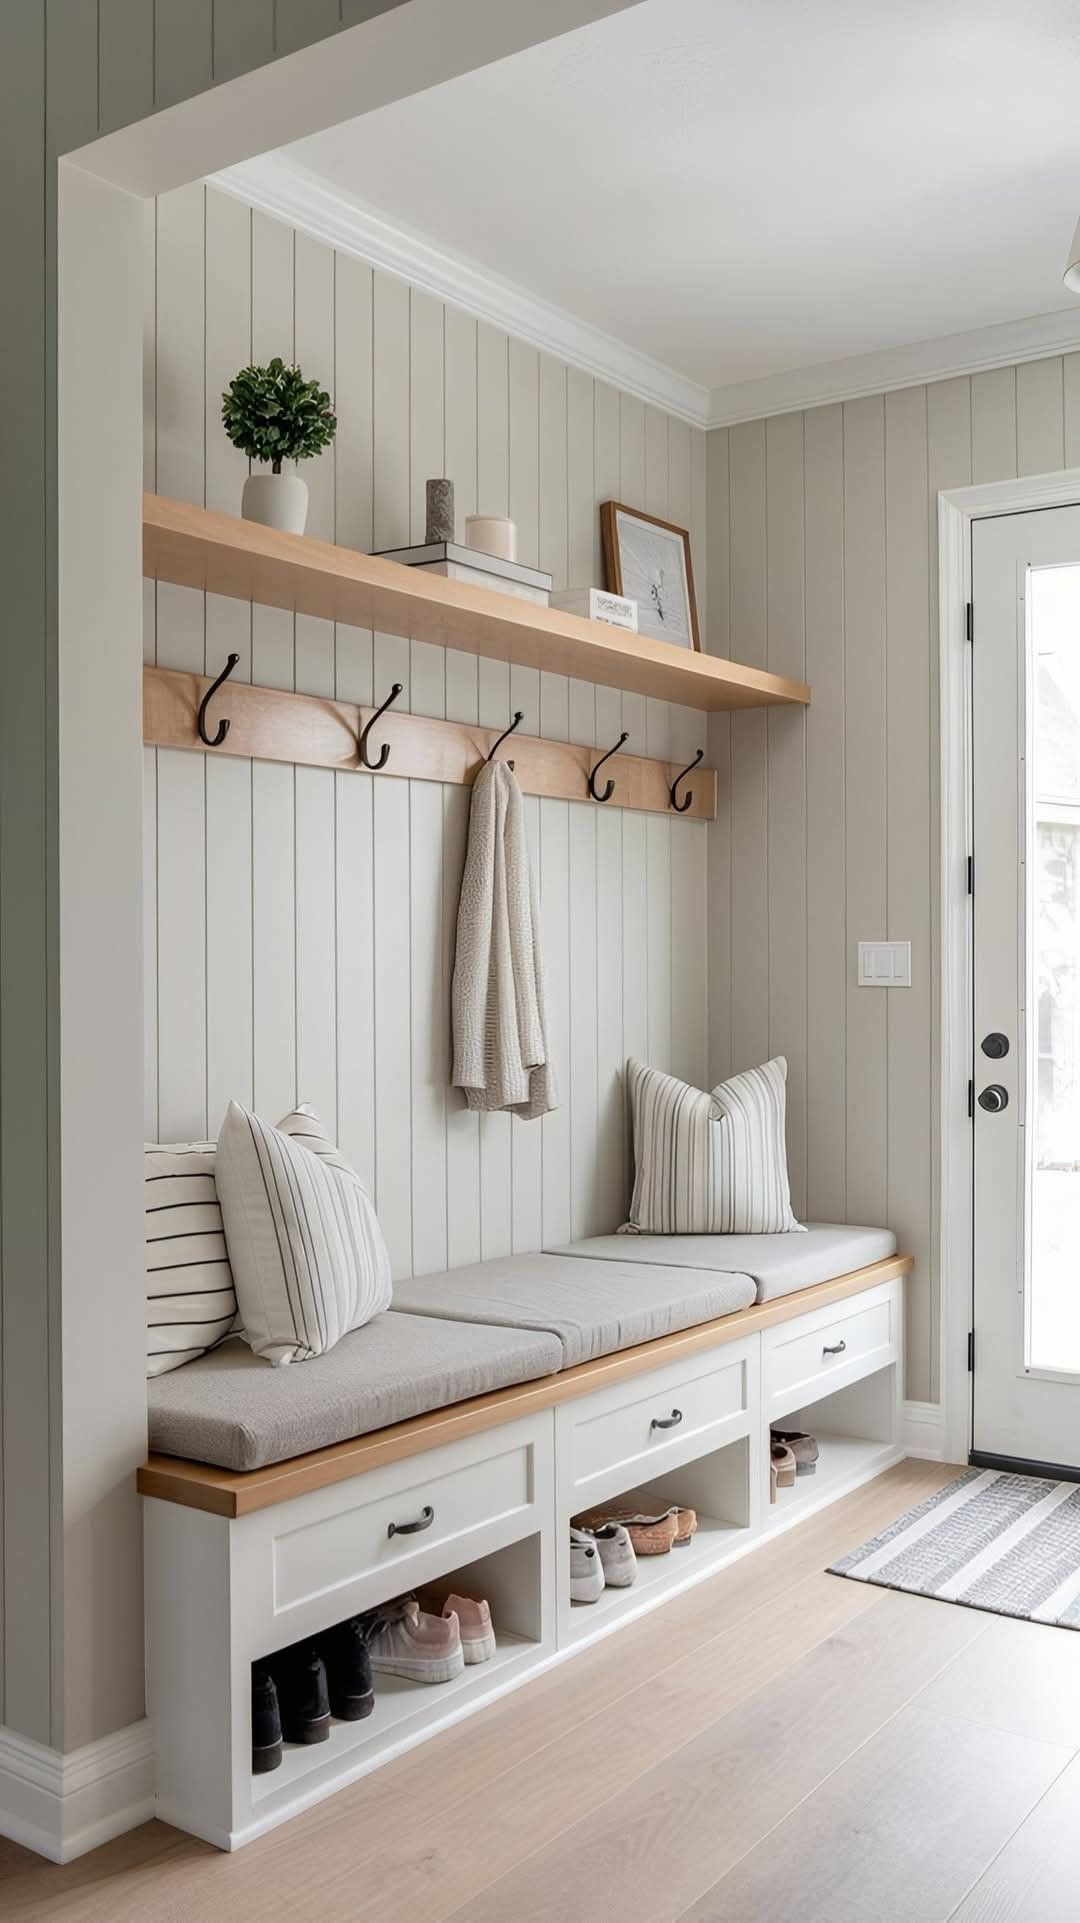
We have all lived this domestic friction point. The American Institute of Architects routinely notes that entryways and drop zones rank among the most requested architectural redesigns, yet homeowners often treat them as an afterthought. They buy a generic flat-pack bench from a big-box store, drop it against a wall, and wonder why it fails to contain the sprawling mass of gear generated by modern family life. True storage success requires abandoning the fantasy of the pristine, minimalist magazine cover and designing a system engineered for the messy, high-velocity reality of daily comings and goings.
Overhauling an entryway requires understanding that a mudroom is not merely a closet; it is an industrial-strength transition zone. It is the atmospheric airlock between the unpredictable outside world and the sanctuary of your living space. When you build the best mudroom storage setup, you are not just buying baskets; you are designing a workflow that intercepts dirt, moisture, and clutter before they can migrate into the heart of your home. Getting this right demands an honest assessment of your family's habits, footwear counts, seasonal gear rotation, and spatial constraints.
Engineering the Drop Zone: Understanding Entryway Dynamics and Load-Bearing Realities
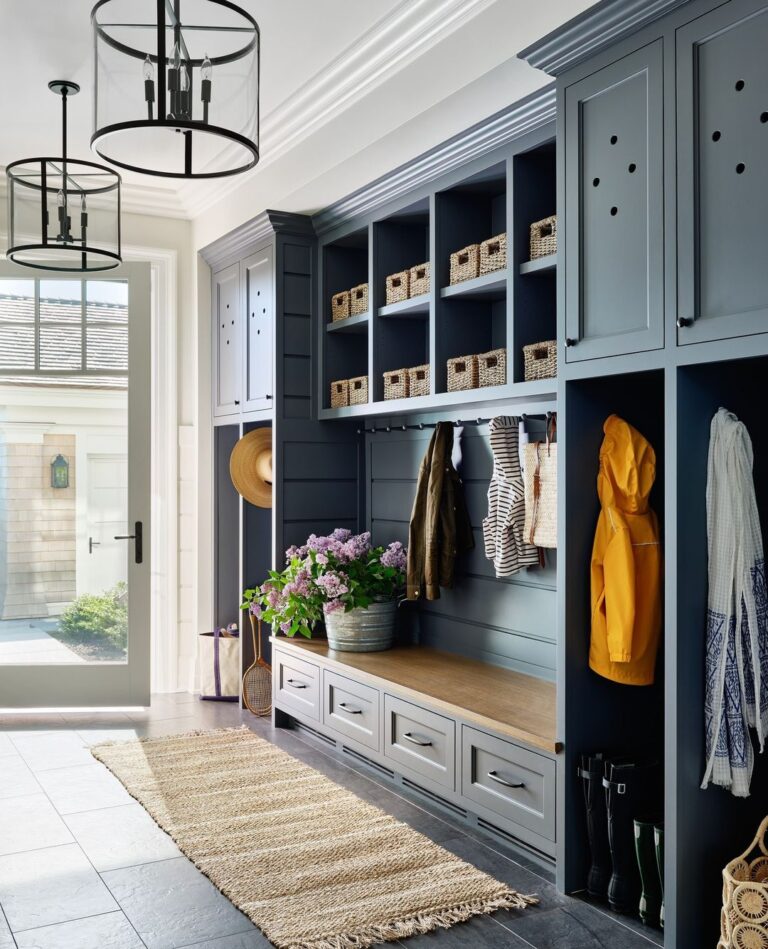
Before driving a single screw into a wall stud, you must analyze the physical physics and human behavior driving your household's clutter. Most entry failures happen because storage is designed symmetrically rather than functionally. If you have three children who play distinct sports, their gear footprints vary wildly. A hockey bag requires exponentially more cubic volume than a pair of ballet slippers. The foundation of effective mudroom design lies in auditing your family's gear inventory, sorting items by frequency of use, and matching them to the appropriate vertical and horizontal zones within the room.
Material selection forms the bedrock of any installation that expects to survive decades of abuse. Standard medium-density fiberboard (MDF) shelving might look charming on installation day, but throw a wet, twenty-pound canvas duffel bag against it all winter, and the edges will swell, delaminate, and fail. Professional interior carpenters and custom millworkers lean toward marine-grade plywood, moisture-resistant PVC trim boards, and solid hardwoods like maple or white oak for high-impact surfaces. Bench tops take a severe beating from cleats, boots, and sitting bodies, making butcher block or thick-gauge laminate essential choices for longevity.
Hardware is another silent battleground where cheap materials reveal their flaws. Standard zinc-plated hooks will snap under the weight of a water-logged winter parka combined with a heavy leather backpack. True mudroom durability demands cast iron, solid brass, or heavy-gauge stainless steel hardware anchored directly into structural framing or secured with heavy-duty toggle bolts. When evaluating hooks, look for double-prong designs that allow you to hang a coat on the top hook and a lanyard, hat, or dog leash on the bottom peg, doubling your vertical storage efficiency without adding visual clutter.
Vertical Mastery and Custom Locker Systems Versus Modular Units
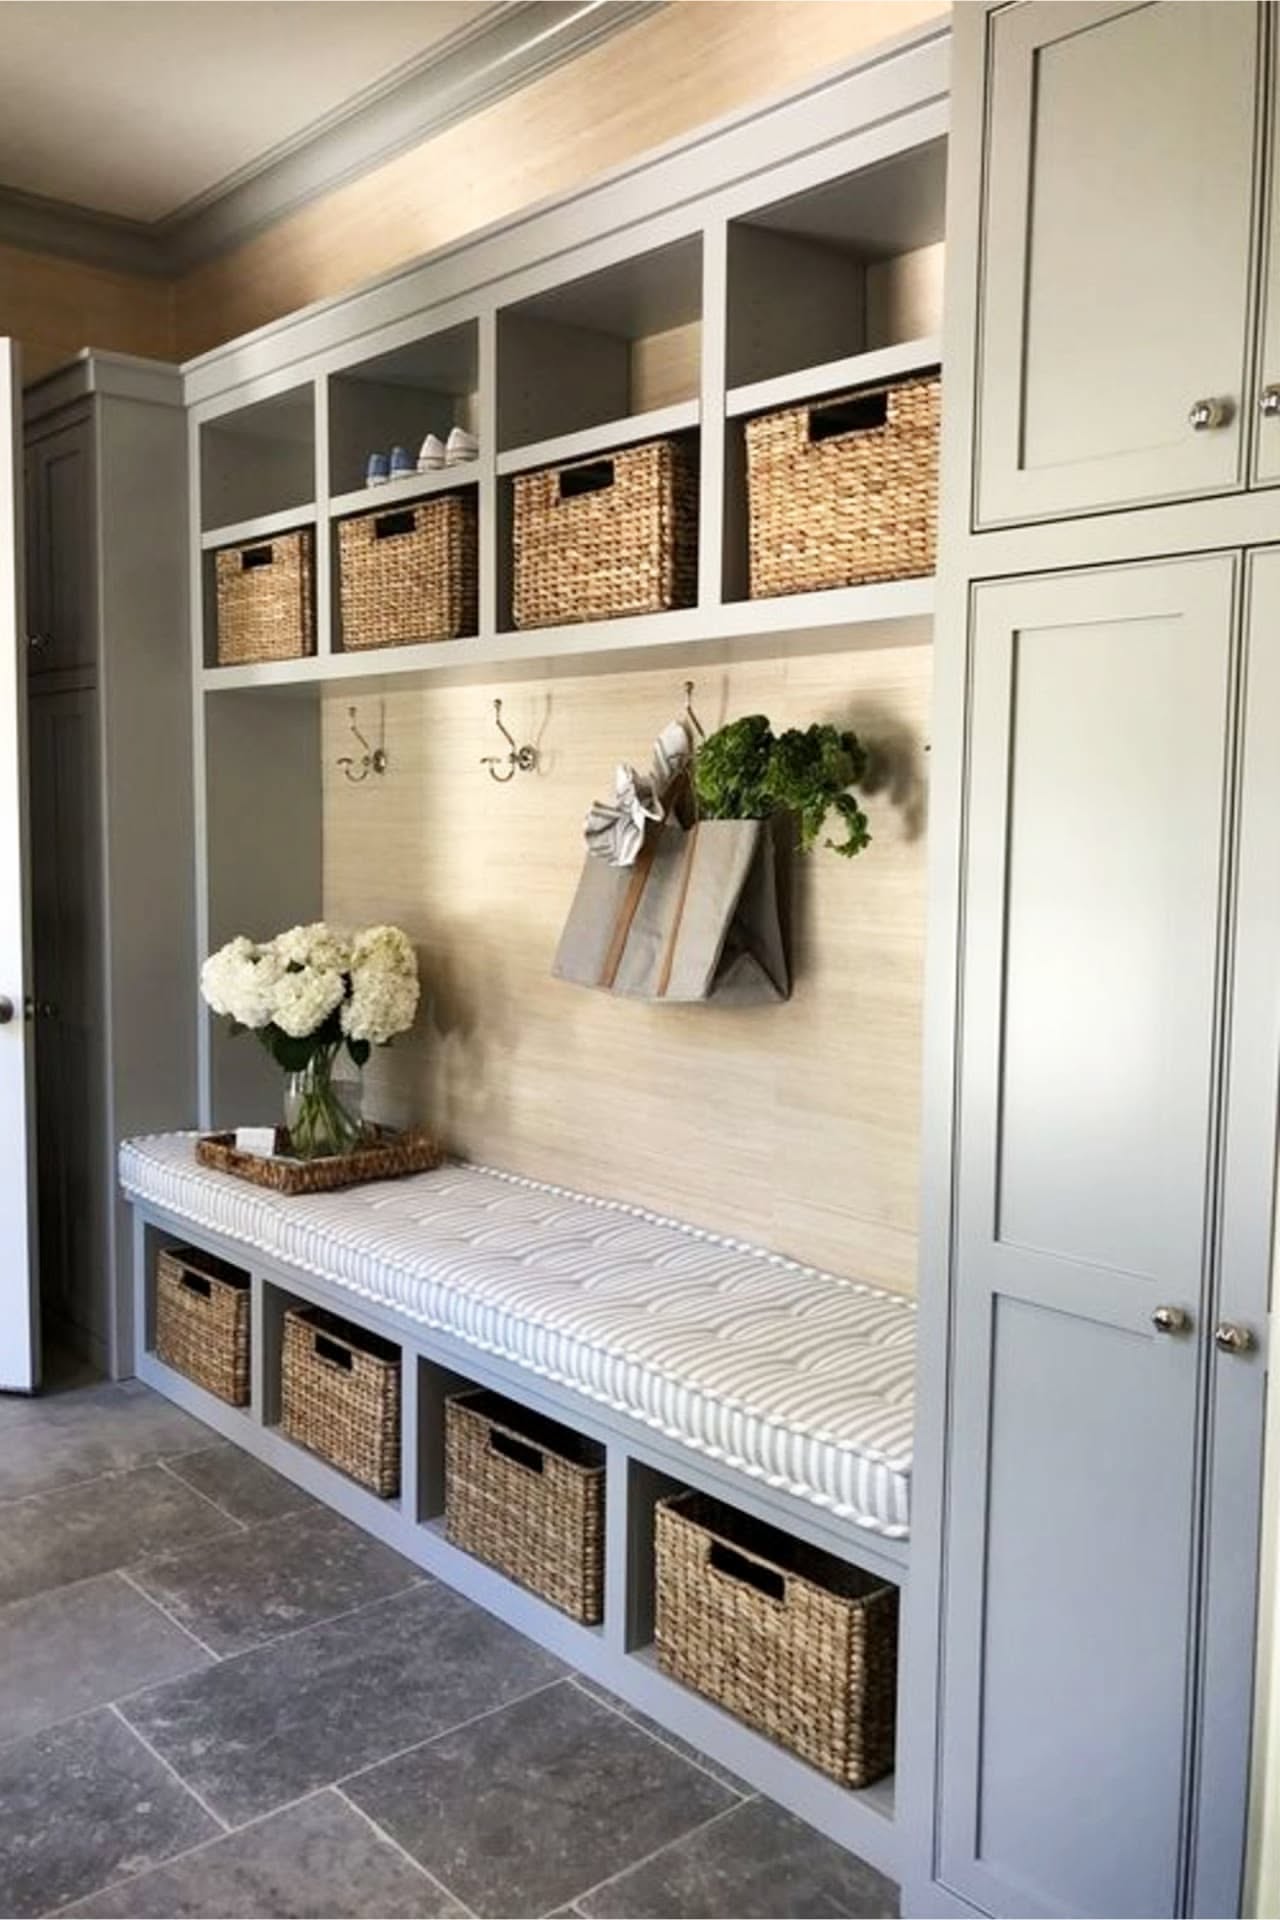
The vertical plane of your entryway is your most valuable real estate. Floor space is finite; once you account for the swing of a door and the clearance needed to sit down and pull off muddy Blundstone boots, you have very little square footage left to spare. This is why custom built-in lockers or floor-to-ceiling modular towers consistently outperform standalone furniture. By driving storage all the way up to the ceiling line, you claim dead air space and convert it into high-altitude storage for seasonal items like camping gear, snow pants, and spare guest duffels.
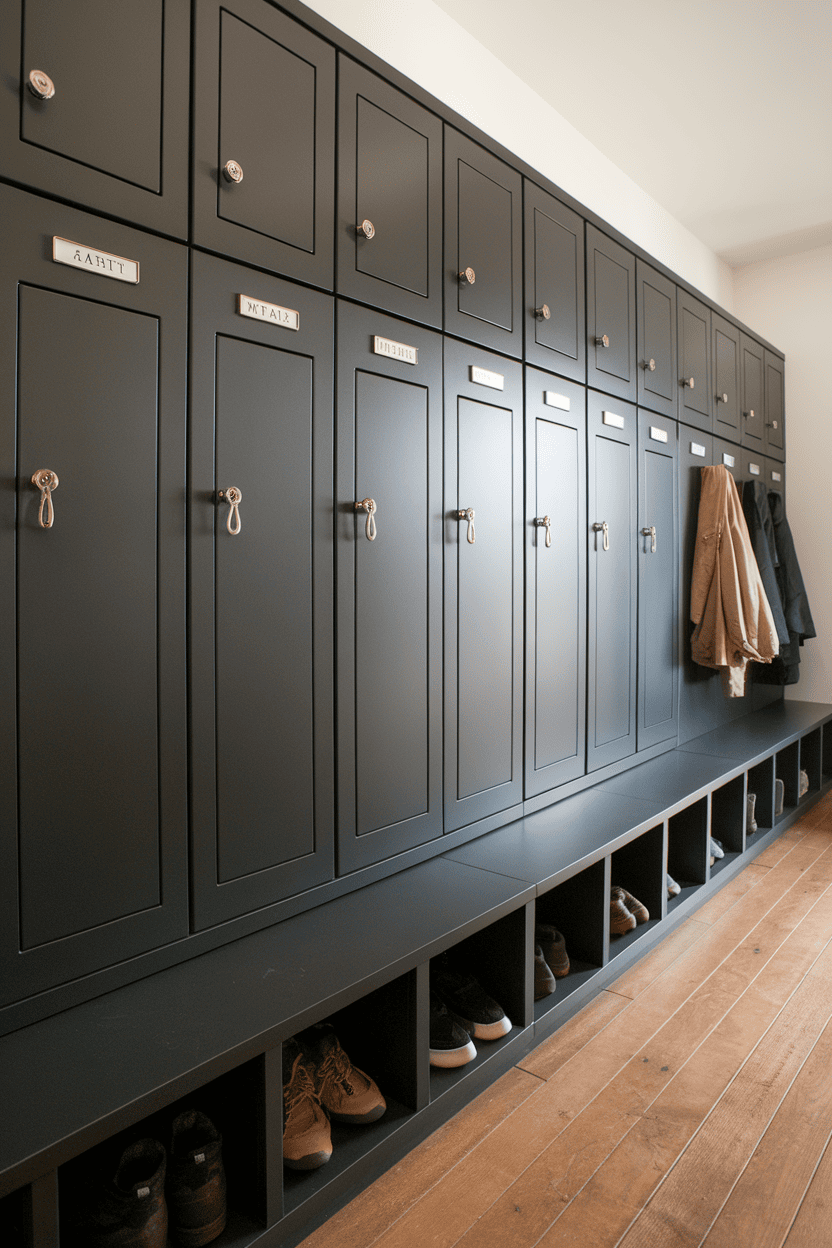
Designing individual locker bays for family members introduces a psychological element of accountability. When every person in the house has a designated vertical slot—complete with their own coat hooks, cubby, and shoe bin—the "it wasn't me" defense dissolves. Children learn routine because putting away a backpack requires a specific, repeatable action within their personal boundary. For smaller homes where full-height built-ins feel too imposing, modular systems using wall-mounted heavy-duty steel tracks allow you to adjust shelf and basket heights as children grow and their gear scales up.
Ventilation is an often-overlooked technical detail within enclosed locker systems. Trapping damp soccer cleats and wet raincoats inside a tight, wooden cubby creates a breeding ground for mildew and unpleasant odors. Professional builders incorporate subtle architectural details to combat this, such as drilling louvered vent holes in the back panels of custom lockers, using wire mesh inserts for bin doors, or installing low-profile perimeter floor registers that let HVAC air circulate gently upward through the base compartments.
The Step-by-Step Blueprint for Planning and Installing Your Mudroom Storage
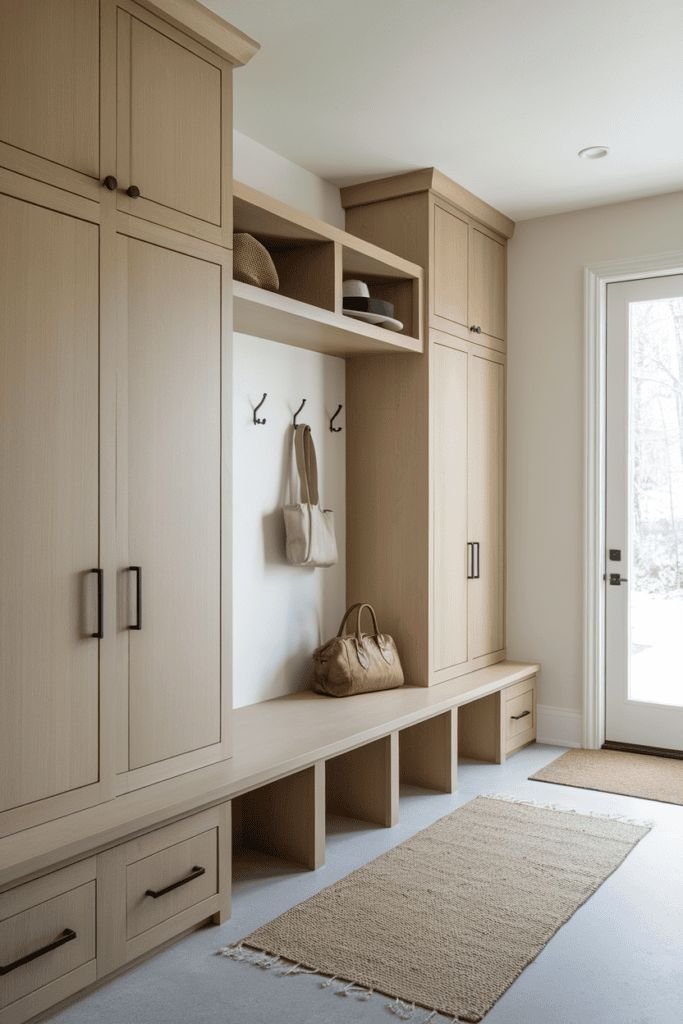
Executing a flawless mudroom storage upgrade requires a disciplined, sequential approach from initial demolition to final styling. Skipping a step in this workflow usually results in misaligned trim, overloaded wall anchors, or storage bays that cannot accommodate your tallest winter boots.
Navigating Common Design Flaws and Field-Tested Workarounds
Even experienced DIYers and seasoned contractors occasionally stumble when configuring entryway storage. Anticipating these missteps saves you from costly teardowns and frustrating daily compromises. One classic error is misjudging clearance zones. If your mudroom bench sits directly opposite a swinging exterior door, a person sitting down to tie their shoes will constantly block the doorway. Always map out full door swings, drawer extensions, and body clearance before locking in your layout dimensions.
Another frequent pitfall involves shoe storage math. Homeowners often design shallow cubbies that accommodate low-profile sneakers, completely forgetting that winter boots, tall riding boots, and rubber muck boots require significantly deeper and taller footprints.
The Long-Term Value of an Organized Transition Zone
Investing time and capital into elite mudroom storage yields profound dividends in terms of home valuation, daily mental bandwidth, and domestic harmony. Real estate professionals consistently report that functional drop zones rank high on modern buyer wishlists. When prospective buyers step through a side or garage entrance and see an immaculately organized system of lockers, durable tile flooring, and integrated seating, it signals that the entire home has been meticulously cared for and thoughtfully engineered.
From an economic standpoint, protecting your apparel and gear pays for itself over time. When winter coats are properly hung on heavy-duty pegs rather than crumpled into a damp heap in a hall closet, they dry out correctly and retain their insulation integrity. When expensive leather boots are stored upright on ventilated shelves rather than crushed beneath a pile of sneakers, they last for a decade instead of a single season. Good storage preserves your physical investments against the relentless wear and tear of daily life.
Furthermore, reducing entryway friction shifts the psychological tone of your entire household. Mornings are notoriously stressful; hunting for car keys, matching gloves, and stray backpacks while running late for school or work spikes cortisol levels for the whole family. A well-designed mudroom eliminates the frantic search party routine. Everything has a home, every person knows their station, and the transition from home to the outside world becomes a calm, frictionless ritual rather than a daily obstacle course.
Maximizing Small Spaces and Strategic Recommendations for Every Home
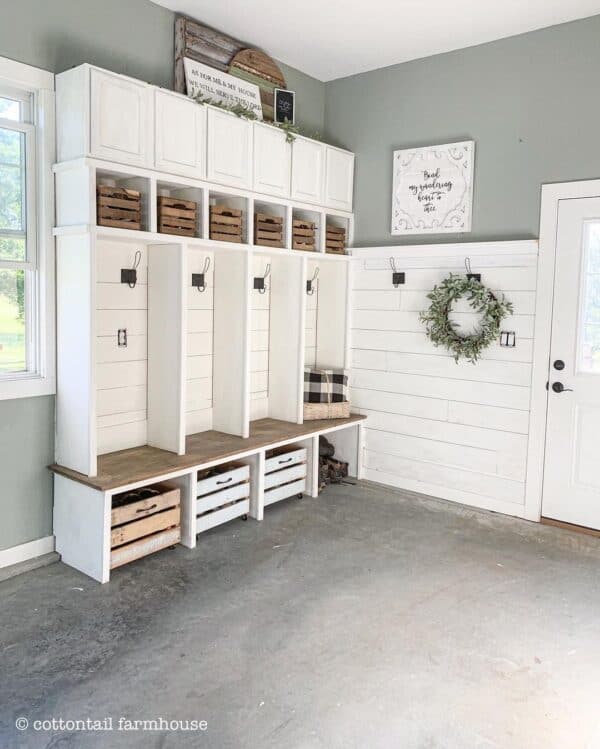
Not every house features a sprawling, dedicated ground-floor room explicitly labeled as a mudroom. Many modern urban townhomes, historic properties, and split-level layouts require you to carve out a drop zone from an awkward hallway nook, a garage entryway, or the back side of a kitchen island. Success in these constrained footprints depends on ruthlessly prioritizing vertical functionality and multi-use furniture pieces.
When floor space is severely limited, consider a slim-profile wall-mounted drop zone. Instead of deep lockers that protrude into a narrow walkway, use shallow wall panels equipped with heavy-duty peg rails, a fold-down wooden bench that tucks flush against the wall when not in use, and wire mesh baskets that provide visibility without bulk. Sliding barn doors can also conceal an entire entryway storage wall when guests arrive, instantly transforming a busy drop zone into a clean, architectural feature.
The architecture of our homes profoundly shapes the rhythm of our lives. When you strip away the surface-level styling trends, the best mudroom storage system is ultimately an exercise in empathy for your future self. It acknowledges that life is inherently messy, that outdoor adventures leave their mark, and that coming home should feel like an easing of burdens rather than the start of a new chore.
By treating your entryway with the structural seriousness and material respect it deserves, you reclaim control over your domestic environment. You replace morning chaos with calm predictability, protect your gear investments against premature wear, and create a welcoming airlock that buffers the noise of the outside world. Take the time to audit your space, choose materials built for real life, and build a system designed to weather whatever the elements—and your family—throw its way.