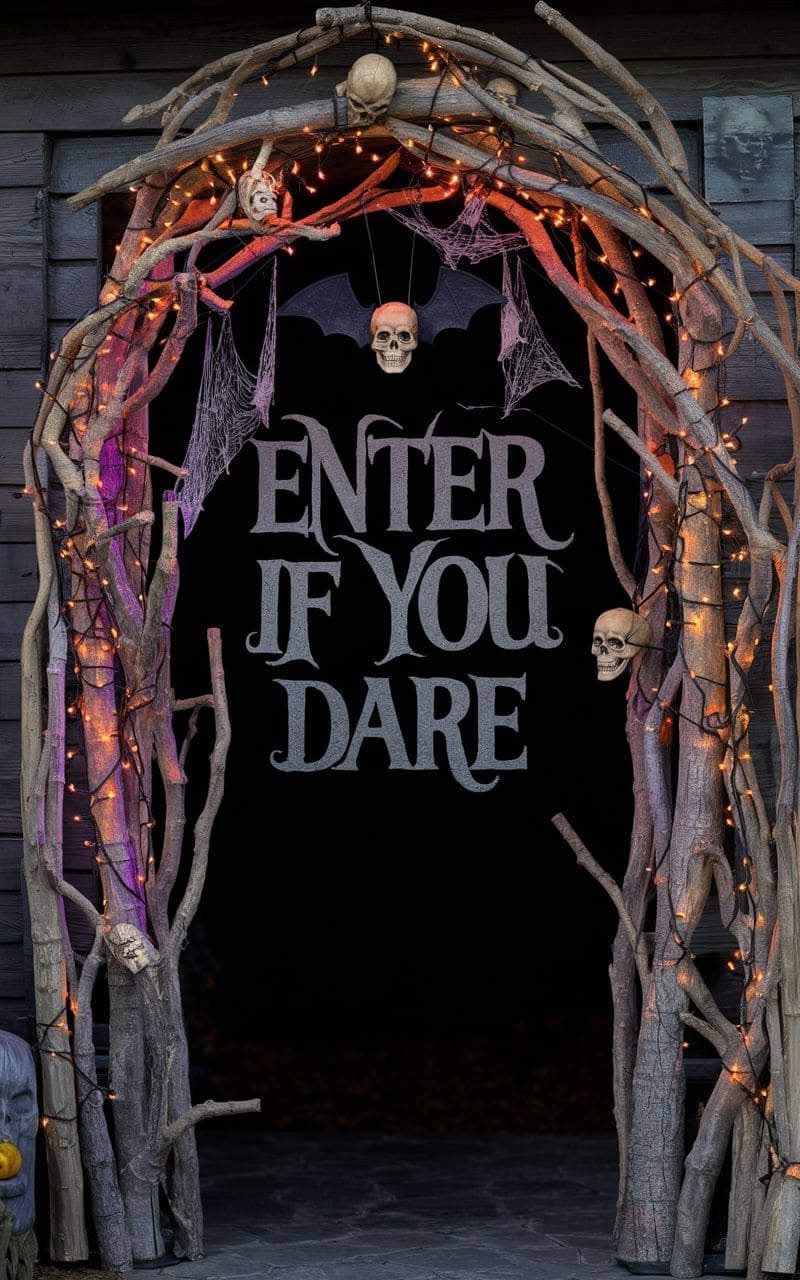
The crisp scent of decaying leaves hits the air long before October officially arrives, but the true marker of the season is the neighborhood arms race for outdoor Halloween displays. Every year, front porches transform into graveyards, haunted forests, and cinematic portals to the underworld. Yet, amidst the sea of inflatable ghosts and lawn stakes, one design element consistently commands attention and sets amateur decor apart from professional-grade spectacle: the Halloween doorway arch.
Standing beneath a towering entryway frame forces every trick-or-treater, courier, and passing neighbor to physically interact with your vision. It acts as an immersive threshold, shifting the boundary between the mundane suburban sidewalk and a fully realized alternate reality. But translating that cinematic ambition into a sturdy, wind-resistant installation requires more than just hot glue and optimism. If you have ever watched a hastily taped skeleton arch buckle under a sudden autumn gust or watched zip-ties snap midway through a stormy October night, you know the humbling reality of outdoor holiday styling.
Over years of trial, error, and late-night emergency repairs in driving rain, I have stress-tested dozens of framing systems, rigging techniques, and material combinations. Constructing a heavy-impact Halloween doorway arch is less about arts and crafts and more about lightweight structural engineering, load distribution, and strategic visual weight balancing. Whether you are aiming for an eerie, gothic wrought-iron look, a rotting organic woodland thicket, or an eerie, neon-lit cyberpunk portal, mastering the mechanics of the arch changes everything.
The modern appetite for elaborate holiday displays has evolved dramatically. Consumers are no longer satisfied with flat plywood cutouts nailed to a porch column. Driven by community display culture and shared design inspirations, residential decorators now utilize commercial-grade PVC frameworks, weather-rated outdoor floral wire, and programmable DMX lighting arrays to achieve studio-quality results at home. This shift demands a higher standard of technical execution. You need to understand how wind shear affects overhead spans, how to anchor frames without damaging historic brickwork, and how to layer textures so your arch looks just as impressive under harsh midday sun as it does bathed in twilight fog.
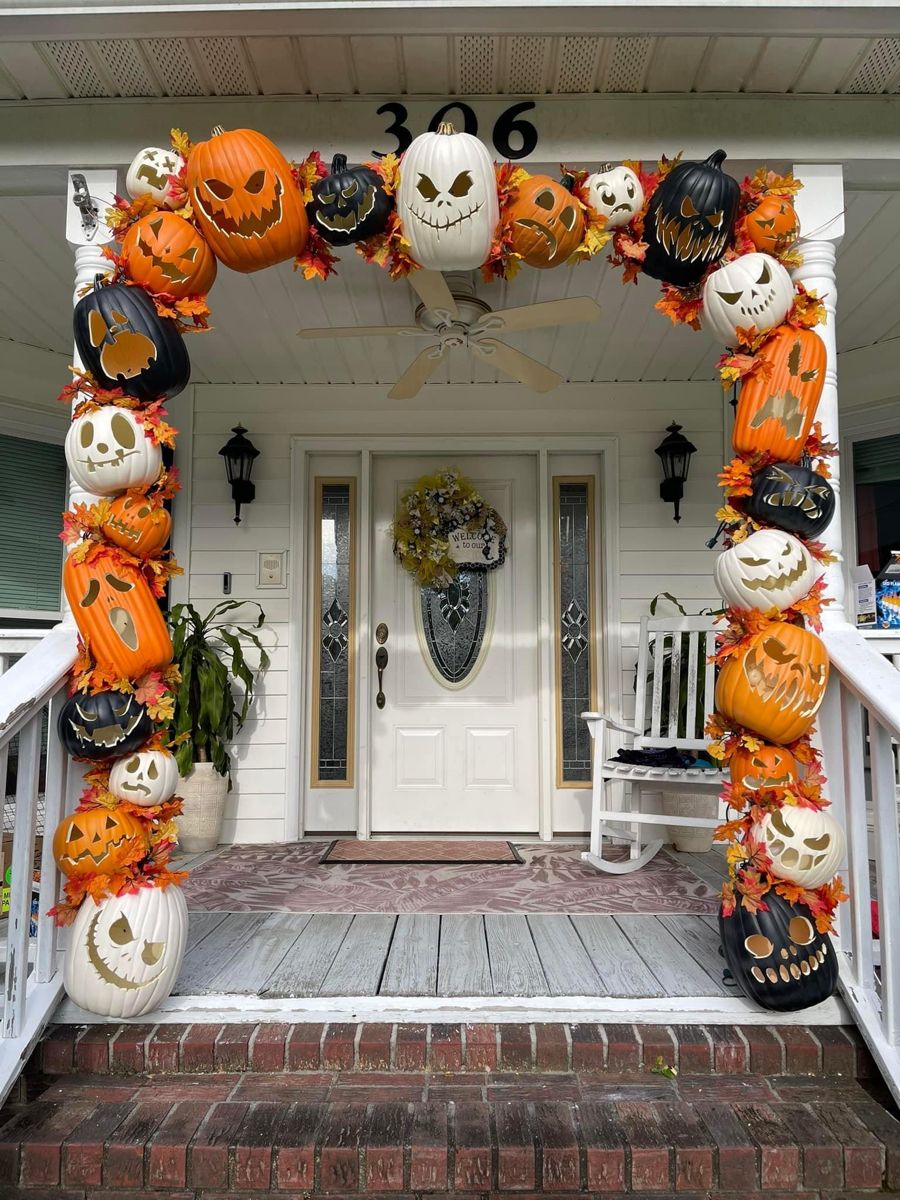
Structural Engineering and Frame Mechanics for Front Porch Arches
Building a doorway arch that can withstand October weather begins long before the first decorative spiderweb or plastic skull is hung. The foundational skeleton must be rigid enough to support significant distributed weight while remaining light enough to assemble and anchor safely around your home's exterior. The most reliable structural medium for residential holiday arches is Schedule 40 PVC pipe, typically 3/4-inch or 1-inch diameter. PVC offers an ideal balance of tensile strength, flexibility, and weather resistance, standing up to rain and temperature drops without warping or rusting like untreated steel.
To span a standard residential doorway—which usually measures roughly three feet wide by seven feet high—you need an arch clearance that allows tall visitors to pass comfortably without ducking. A finished interior clearance of at least eight feet in height and four feet in width provides a generous safety margin, ensuring that voluminous draping materials or hanging lanterns do not snag clothing or pose a tripping hazard. Constructing the frame requires a combination of straight pipes, 90-degree elbows, and three-way corner connectors. For a classic semi-circular or gothic pointed arch, heat-bending PVC using a simple heat gun allows you to achieve graceful curves without compromising the structural integrity of the plastic walls.
Load distribution is the silent factor that determines whether your display survives Halloween night. If you concentrate heavy props—such as massive resin gargoyles, heavy foam tombstones, or dense clusters of artificial pumpkins—at the very apex of the arch, you introduce a dangerous bending moment. The center of the span will sag, placing undue stress on your corner joints. Instead, distribute heavy elements evenly along the vertical uprights and anchor the base securely to heavy planters, weighted sandbags, or specialized mounting brackets that clamp securely to porch railings without drilling destructive holes into stucco or masonry.
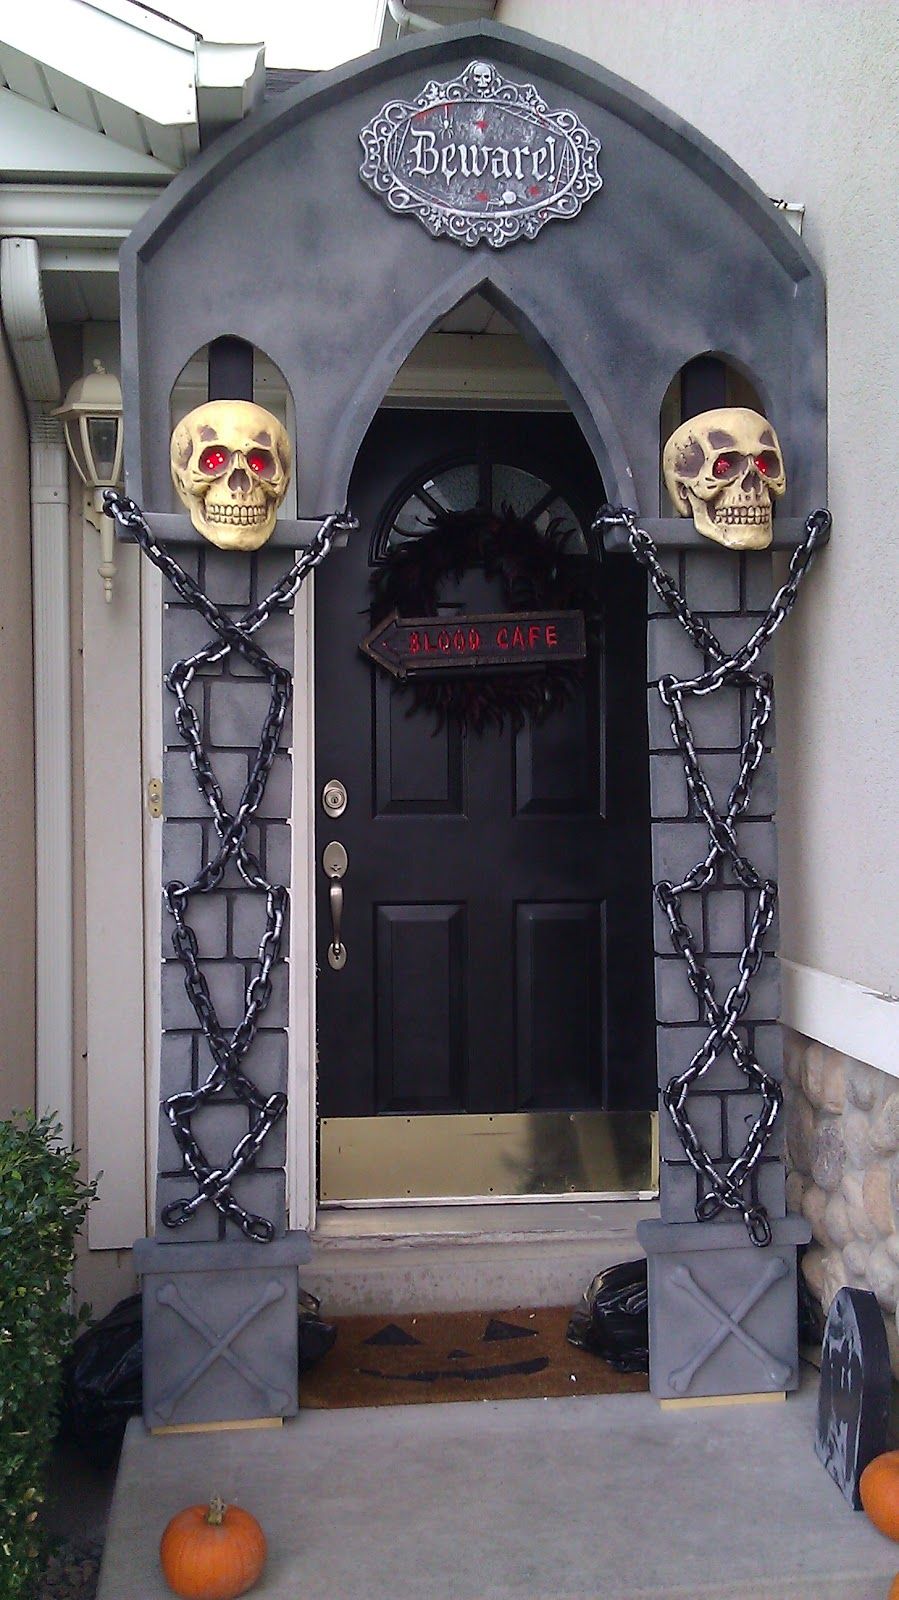
Wind shear is another critical variable that amateur decorators frequently underestimate. A large, densely decorated arch acts essentially as a sail. When October wind gusts funnel between houses, they exert lateral force capable of tipping freestanding structures over instantly. To counteract this, every professional arch must feature a multi-point stabilization system. Guy wires anchored discreetly to ground stakes, heavy-duty ratchet straps hidden behind foliage, or rigid wooden bracing fastened to existing porch posts will ensure your architectural marvel remains steadfast through severe weather warnings.
Material Selection and Weatherproofing for Outdoor Longevity
Once your structural frame is anchored and secure, the focus shifts to the skin of the arch—the materials that create its visual identity. Choosing the right elements requires understanding how different textiles, plastics, and organic items react to moisture, ultraviolet radiation, and freezing temperatures. If you live in a region known for damp, foggy autumns, cheap cardboard-backed decorations or untreated fabrics will warp, bleed dye, and disintegrate within a single weekend.
For a classic organic or woodland theme, starting with a base layer of heavy-duty chicken wire or plastic utility mesh wrapped tightly around the PVC frame creates an ideal armature for weaving artificial ivy, moss mats, and dried branches. Zip ties are your best friend here, securing every stem and garland directly to the wire mesh rather than relying on the slick surface of the PVC pipe. When selecting faux foliage, look for UV-resistant polyethylene plastics rather than cheap silk or paper-based leaves. Silk foliage will absorb morning dew, turn soggy, and rot or grow mold before November arrives.
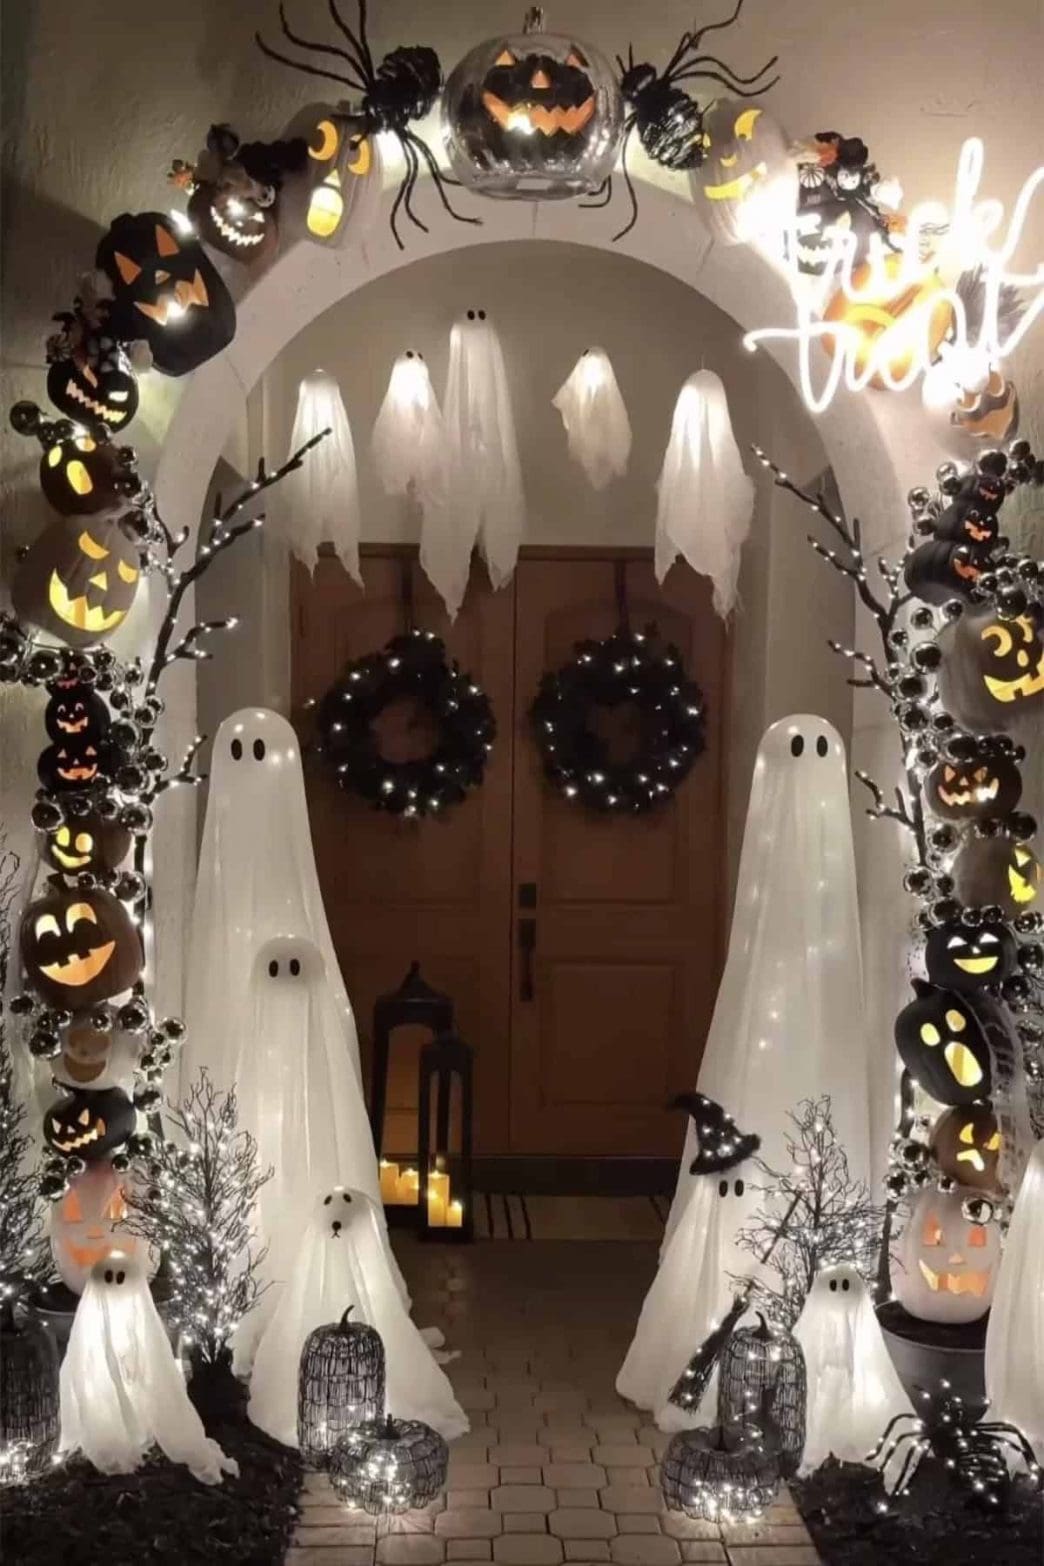
If your aesthetic leans toward a gothic cathedral or wrought-iron estate, rigid polyurethane foam panels carved and painted to resemble weathered stone or cast iron provide a lightweight alternative. You can score and snap high-density insulation foam into masonry blocks, assemble them around your frame with foam-safe construction adhesive, and seal them with exterior latex paint mixed with fine sand for an authentic texture. This approach creates massive visual weight—making your arch look like ancient, heavy stone—while keeping the actual physical load light enough for easy installation and teardown.
Weatherproofing your electrical components is non-negotiable for safety and longevity. Halloween arches invariably feature integrated lighting, whether it is warm vintage-style Edison string lights, pulsing purple LED tape, or hidden strobe fixtures. Every connection point between extension cords and light strands must be protected inside weather-resistant outlet covers or wrapped securely in self-fusing silicone electrical tape. Never allow plug junctions to rest directly on damp soil or pooling porch water. Ground Fault Circuit Interrupter (GFCI) outlets must be utilized for all exterior power sources to prevent catastrophic electrical shorts during unexpected autumn downpours.
Step-by-Step Practical Implementation Guide
Executing a professional-grade Halloween doorway arch requires methodical execution. Rushing the assembly phase often leads to unstable frames, tangled wiring, and a messy visual finish that requires total teardown. Follow this field-tested workflow to ensure a smooth build from raw materials to a finished, head-turning neighborhood landmark.
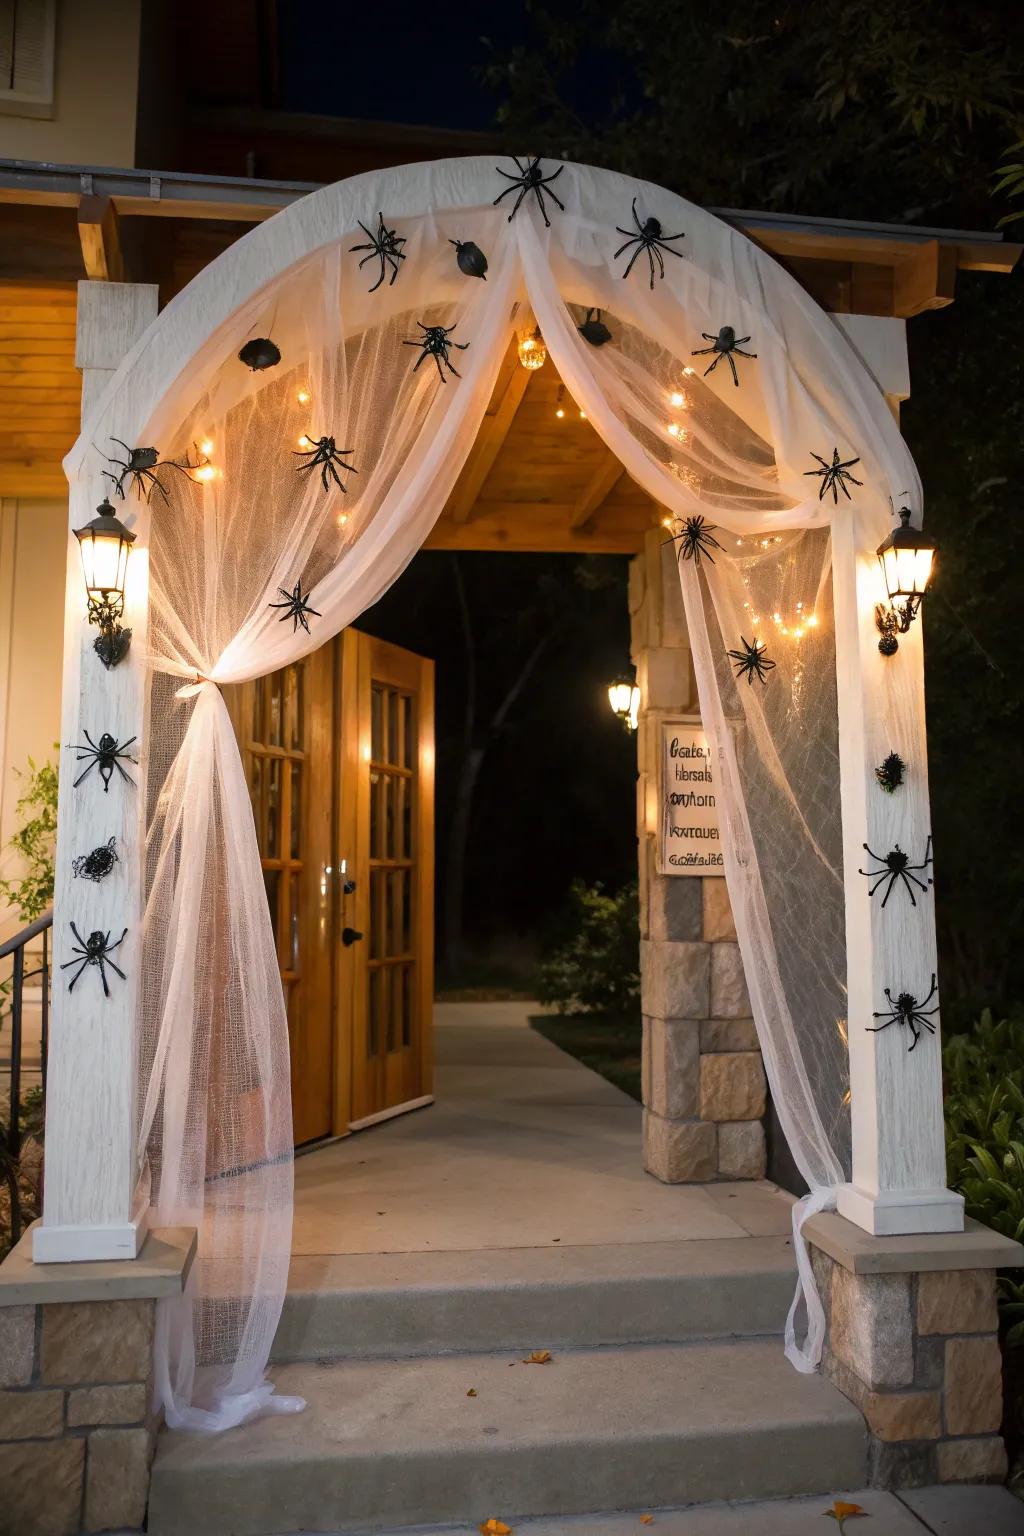
Common Pitfalls and Field-Tested Workarounds
Even experienced decorators occasionally run into unexpected design hurdles when installing complex outdoor displays. Anticipating these common failure points saves hours of frustration and prevents damage to both your home and your decorations.
Holistic Perspectives and Long-Term Impact
Investing time and craftsmanship into a custom Halloween doorway arch reflects a broader cultural appreciation for handcrafted placemaking and neighborhood engagement. In an era dominated by digital isolation and mass-produced convenience, physical neighborhood traditions provide a powerful anchor for community connection. When families walk blocks out of their way just to pass beneath your meticulously crafted threshold, your home becomes a memorable touchstone in local folklore and childhood memory.
Related Posts
Real Solutions for Organizing Entryways and Mudrooms Without Losing Your Sanity
How to Design Mudroom Storage That Actually Keeps Your Family Organized
What Years of Home Design Interviews Taught Me About Choosing a Mudroom Storage Bench
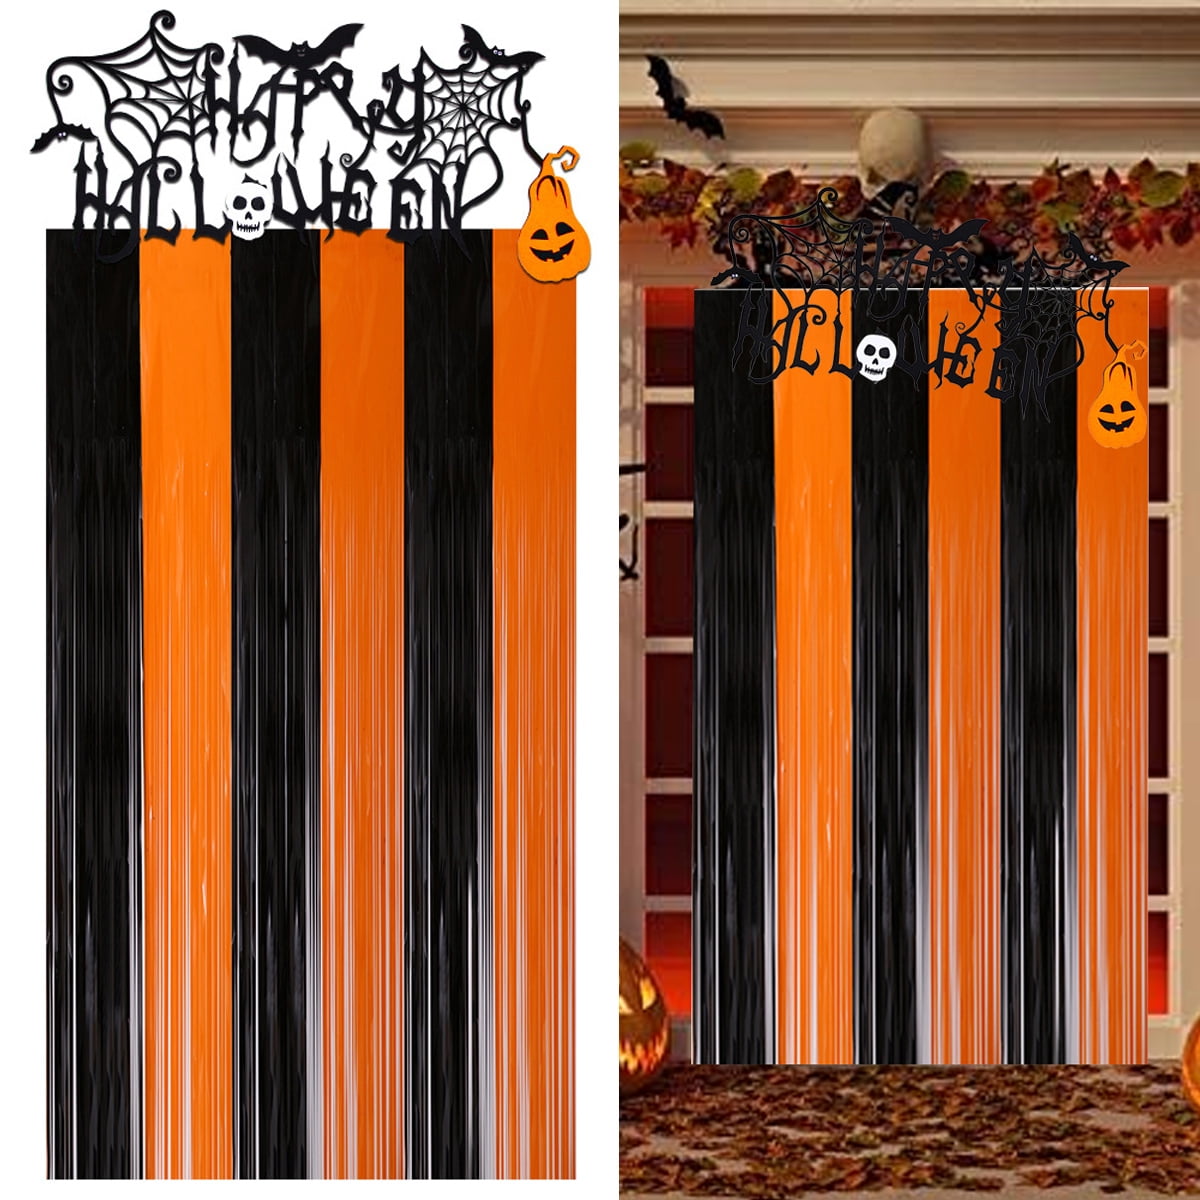
Why interior designers recommend Halloween doorway curtains for effortless seasonal decorating
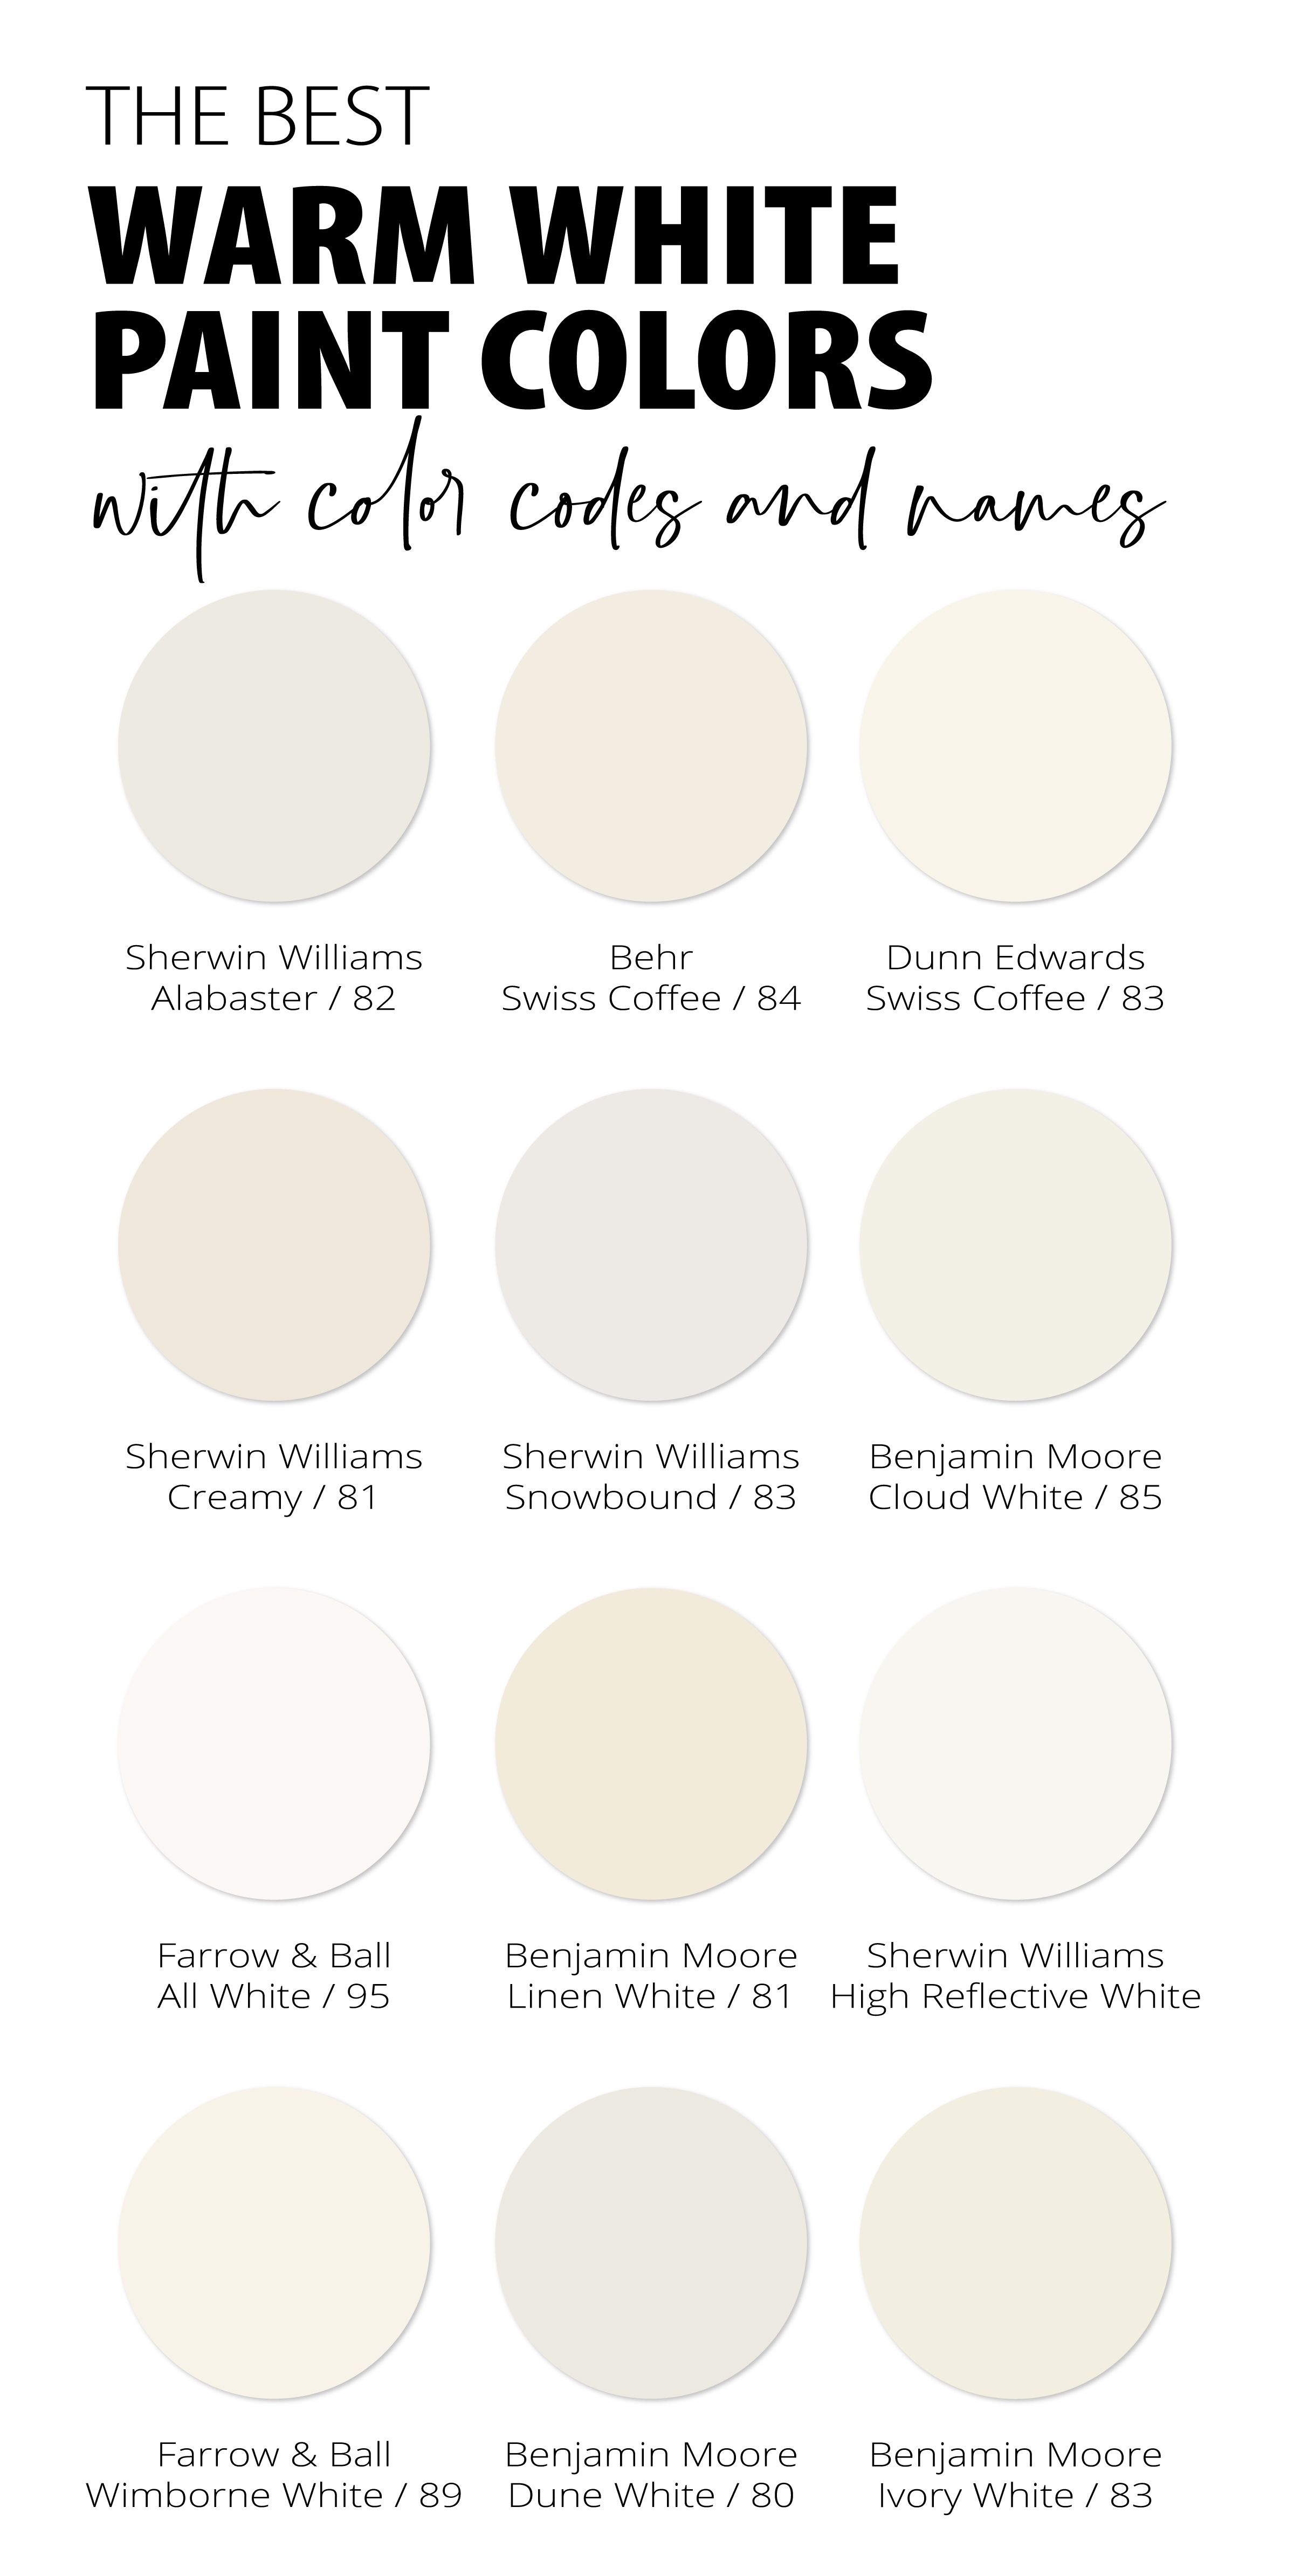
How Natural Light Changes Warm White Paint Colors Throughout the Day
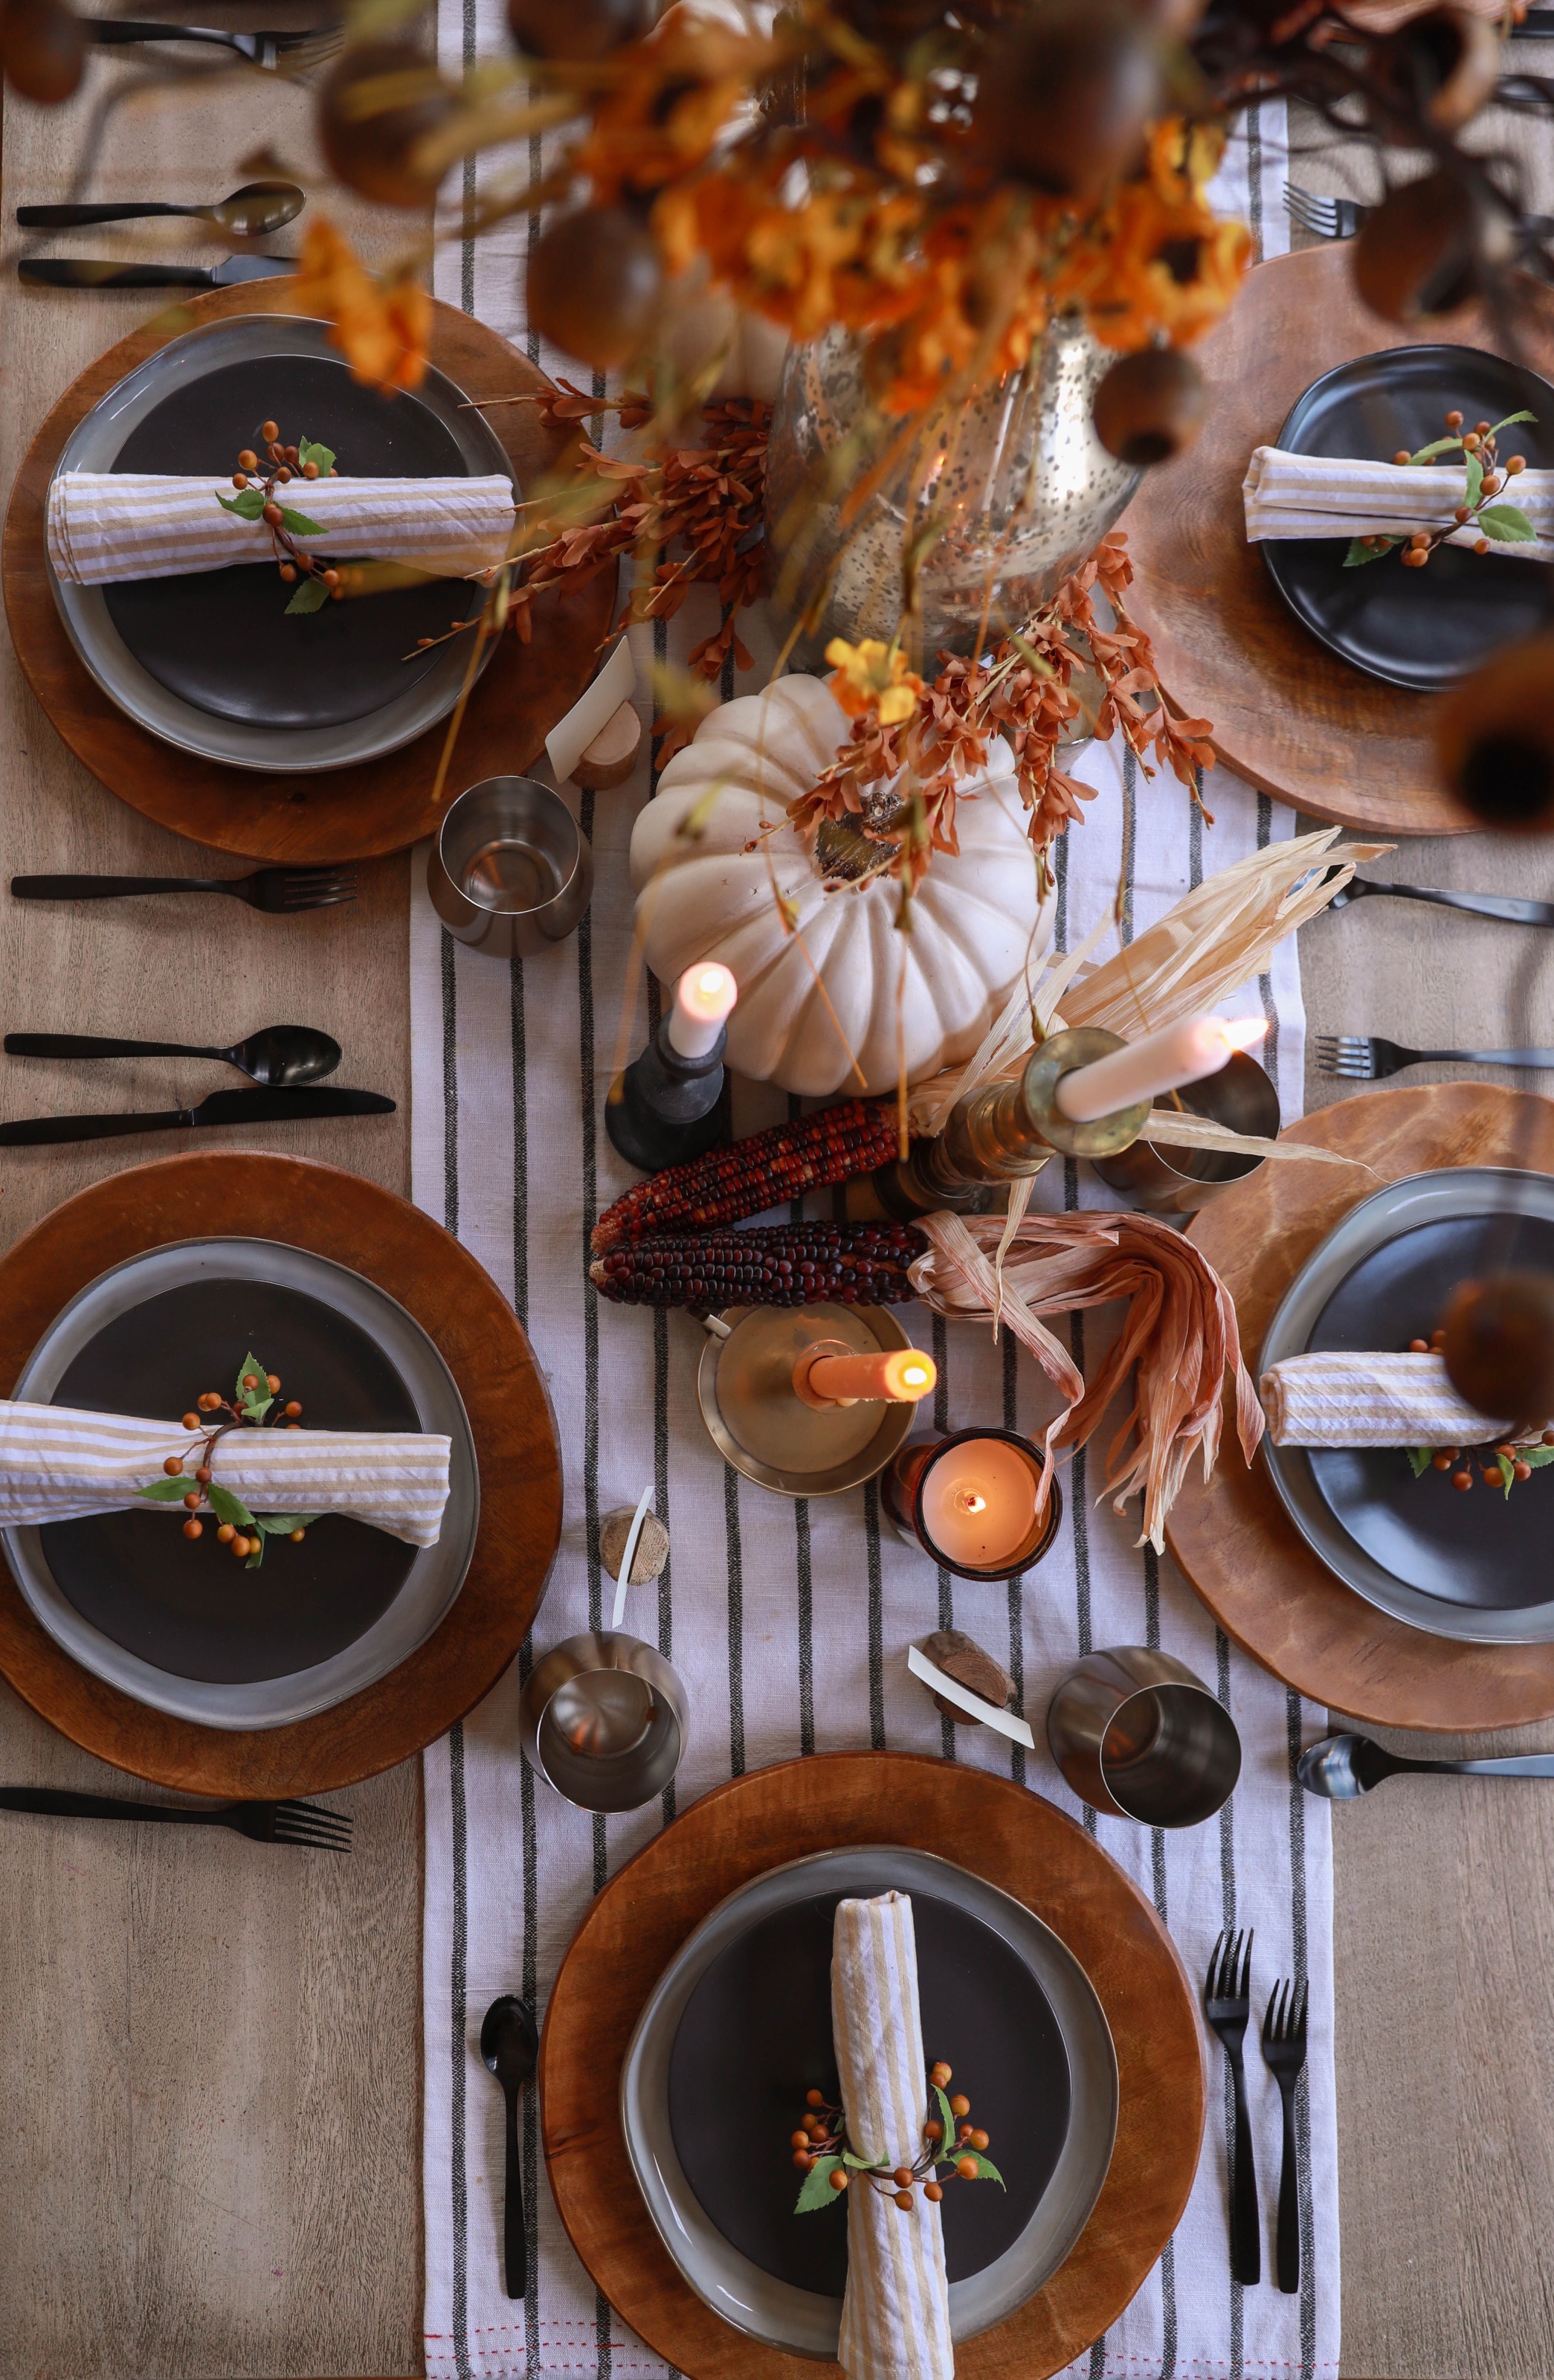
Designing a Seasonal Fall Table Setup Using Foraged Elements and Everyday Dinnerware
From an economic and environmental standpoint, moving away from cheap, disposable holiday decor toward modular, durable framing systems represents a significant shift toward sustainable decorating. A well-constructed Schedule 40 PVC frame, stored properly in a dry garage during the off-season, can last for a decade or more. Instead of buying flimsy, single-season inflatables that end up in landfills every November, you can continually reinvent your arch year after year by simply swapping out the surface foliage and lighting themes. One year it is an overgrown gothic ruin; the next, it is an alien bio-dome or an enchanted wizard's grotto.
This modular approach also fosters continuous creative problem-solving and skill development. Decorators experiment with basic carpentry, low-voltage electrical wiring, structural physics, and color theory without the pressure of a commercial stakes environment. It turns a routine seasonal chore into an engaging, tactile art form where you learn how to manipulate light, shadow, and physical space to evoke genuine emotional responses—from playful spookiness to theatrical awe.
Actionable Recommendations and Key Takeaways
To ensure your Halloween doorway arch project achieves maximum visual impact while remaining safe and structurally sound, keep these core principles at the forefront of your planning and execution:
The humble front porch has always served as the stage where private domestic life intersects with public neighborhood community. By building a custom Halloween doorway arch, you are not simply decorating for a single autumn evening; you are curating an experience, sparking imagination in young minds, and participating in an enduring tradition of communal theatricality. The hours spent measuring pipes, threading lights, and adjusting creeping vines pay dividends the moment the sun dips below the horizon and the neighborhood children gasp in delight as they step through your glowing portal.
As outdoor display technology continues to evolve with smarter lighting, more durable weather-resistant materials, and increasingly creative community standards, the backyard engineer and holiday stylist have more tools at their disposal than ever before. Take what you have learned here, adapt it to the unique architecture of your own home, and do not be afraid to push your creative boundaries. The street is your canvas, and October is your season to build something unforgettable.
