Sunlight slants through the bedroom blinds, casting jagged, golden stripes across rumpled cotton sheets. Curled right in the middle of that warm architecture of domestic peace is a heavy, snoring mound of fur. Anyone who shares their living space with a canine companion knows this exact vignette. It is a portrait of absolute safety, unconditional trust, and quiet routine. Capturing that precise moment on canvas—turning a fleeting domestic snapshot into a permanent work of fine art—is the ultimate pursuit for many pet owners and painters alike.
The intersection of domestic portraiture and animal art carries a rich history, stretching from Victorian parlor masterpieces to contemporary digital DIY kits found across platforms like Pinterest and Target. Yet, painting a dog resting on a bed presents unique technical hurdles. You are not merely rendering an animal's anatomy; you are portraying soft textiles, complex folds of fabric, contrasting shadow weights, and an emotional narrative of sanctuary. Mastering this subject requires balancing the hard rules of perspective and color theory with the loose, intuitive strokes needed to convey a living, breathing companion.
The Anatomy of Comfort: Understanding Composition and Spatial Depth
Building a successful painting of a dog on a bed begins long before the brush ever touches gesso. The primary challenge lies in staging the relationship between the subject and its environment. A bed is not a flat plane; it is a chaotic landscape of pillows, blankets, duvets, and wrinkles. If the bed looks stiff, the animal will look pasted onto the surface rather than resting within it. Achieving depth requires careful attention to scale, perspective lines, and the weight of the animal's body sinking into the mattress.
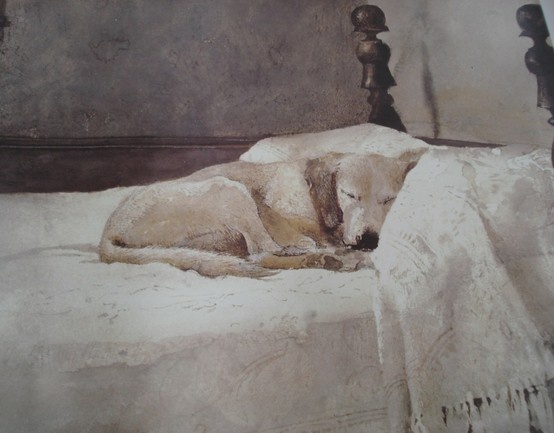
When an eighty-pound lab mix collapses onto a memory foam mattress, the fabric compresses. Capturing that physical depression is what separates amateur illustrations from compelling fine art. The folds of the duvet should radiate outward from the dog’s body, wrapping over paws and tucking beneath flanks. This creates a tactile sense of mass and gravity. Furthermore, the horizon line of the headboard or the edge of the frame must be drawn with correct linear perspective to prevent the bed from looking like a tilted ramp.
Choosing the right reference photograph dictates the entire trajectory of the piece. Avoid using overly flashed, flatly lit phone snapshots taken from a standing height. Instead, get down on the dog's level. Shoot from a three-quarter angle with natural side lighting pouring in from a window. This angle accentuates the contours of the dog's skull, highlights the texture of its coat, and casts long, sculptural shadows across the bedding. These shadows are crucial because they anchor the dog physically to the bed, providing the illusion of three-dimensional space on a two-dimensional canvas.
Mastering Materials and Palette Architecture for Fur and Fabric
Selecting your medium sets the technical boundaries of your workflow. While oils offer a luxurious, slow-drying working time that allows for seamless blending of fur and cloth, acrylics dominate the modern pet portrait scene due to their rapid drying time and forgiving layering properties. For beginners and intermediate painters alike, heavy-body acrylics mixed with an acrylic retarder strike the ideal balance. They hold brush texture well while granting enough working time to soften hard edges where fur meets blanket.
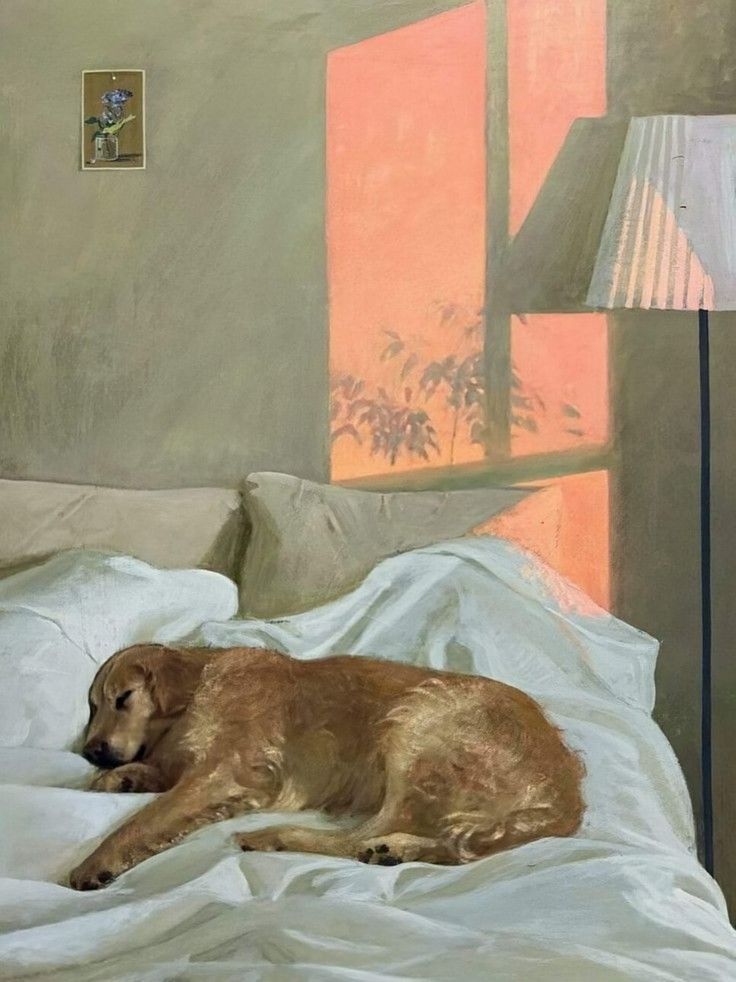
Your color palette must be curated with intentionality. Do not rely on black and white tubes of paint for a black-and-white dog. Pure black paint can kill the luminosity of a shadow, turning it into a dead, flat hole on the canvas. Instead, mix chromatic blacks using Ultramarine Blue and Burnt Umber. This creates a rich, vibrating dark tone that shifts subtly in different light temperatures. Similarly, white bedsheets are rarely pure titanium white; they reflect the colors of the room, absorbing warm ambient light from wooden floors or cool tones from a north-facing window.
Brush selection is equally critical when transitioning between rendering a sleek or wiry coat and soft cotton textiles. Flat synthetic brushes work wonders for laying down broad blocks of background bedding and establishing the sweeping planes of a duvet. For the dog itself, long-handled filbert brushes and synthetic riggers become indispensable. A filbert allows you to lay down soft, curved strokes that mimic the natural growth direction of fur, while a rigger brush lets you pull individual whiskers and stray hairs with surgical precision in the final stages of the painting.
A Step-by-Step Practical Blueprint for Your Dog Bed Masterpiece
Transforming a blank white canvas into a finished, emotionally resonant portrait of your dog lounging on your bed requires a methodical, layered approach. Skipping ahead or rushing the foundational stages often leads to muddy colors and skewed proportions. Follow this structured roadmap to keep your workflow clean and controlled.
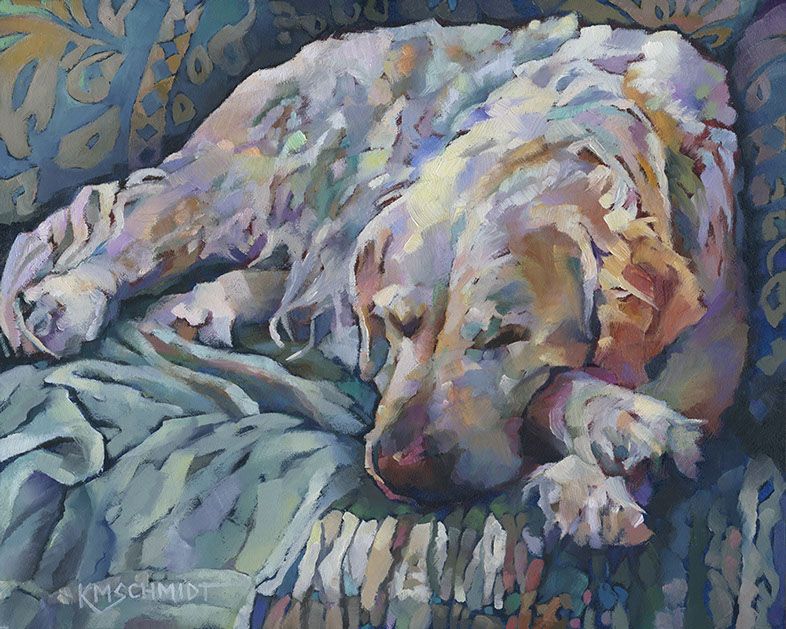
Navigating Common Pitfalls and Field-Tested Workarounds
Even experienced painters stumble when tackling complex subjects that combine organic animal forms with architectural textiles. Recognizing these recurring traps saves hours of frustrating repainting and elevates the final aesthetic quality of your artwork.
The Broader Cultural Resonance of Domestic Pet Art
The enduring popularity of painting pets in domestic settings points to a deeper cultural shift in how humans view companion animals. Historically, animal portraiture was largely reserved for aristocracy—grand oil paintings of hunting hounds, prized horses, or royal lapdogs posed against sweeping estate backdrops. Today, the democratization of art through DIY kits, custom commission artists on platforms like PetDecorArt, and online tutorials has shifted the focus from status symbols to emotional intimacy.
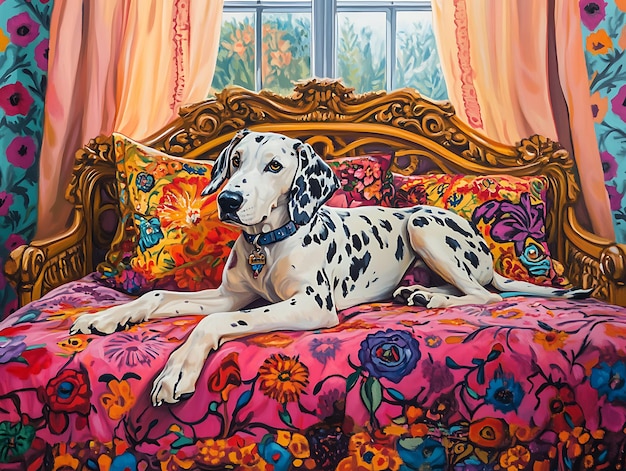
A painting of a dog sleeping on a bed is an ode to sanctuary and shared vulnerability. Our dogs seek out our beds not just for warmth, but because our scent lingers there, making it the safest place in their world. By capturing this specific scenario on canvas, artists and owners alike are archiving a fleeting chapter of domestic life. Dogs have relatively short lifespans compared to ours; immortalizing them in the exact spot where they snore, stretch, and take up entirely too much mattress space serves as a permanent monument to unconditional companionship.
Furthermore, the process of painting offers a profound exercise in mindfulness. In an era dominated by hyper-fast digital consumption, spending four hours meticulously mixing the exact shade of golden-brown for a terrier's ear or mapping the soft indentation of a flannel sheet forces a radical deceleration of time. It requires deep observation—noticing the way morning light catches a stray whisker or how a worn quilt softens under a sleeping paw. This meditative engagement bridges the gap between creator and subject, infusing the final canvas with a tangible, emotional resonance that mass-produced wall art can never replicate.
Practical Recommendations for Displaying and Preserving Your Pet Portrait
Once your dog-on-the-bed painting is complete, protecting your investment of time and emotion is paramount. Proper framing, environmental control, and display choices ensure your artwork remains a focal point of your home for decades to come, passing down as a cherished family heirloom.
Related Posts

Bedroom furniture ideas that make small spaces feel calmer and more useful
Understanding joinery and materials before you commit to a floating design

Navigating Regional Styles From Provence to Paris When Designing Your French Bedroom

Building a Peaceful Bedroom Environment Through Better Furniture Planning Methods
Navigating the Difference Between Flush Stitched Edges and Standard Pillow Tops

Understanding Air Valve Types to Prevent Leaks During Setup
Always varnish your finished piece once the paint has completely cured—wait at least one to two weeks for acrylics, and up to six months for thick oil paintings. A satin or UV-resistant gloss varnish protects the pigment surface from household dust, tobacco smoke, and ultraviolet fading caused by sunlight streaming through windows. When selecting a frame, choose a moulding style that complements both the painting and your interior decor; a warm, natural wood frame often enhances the rustic, cozy nature of a bedroom scene better than a stark, modern metal border.
Hang your portrait in a room with stable humidity and temperature control. Avoid placing it on exterior walls that experience heavy condensation swings or in direct, blazing afternoon sunlight. If you are commissioning a custom piece rather than painting it yourself, communicate clearly with your artist about the specific emotional mood you want to evoke. Share multiple reference photos that showcase your dog's quirks—whether that means one floppy ear, a habit of sleeping completely upside down, or a proprietary grip on a favorite pillow.
Creating or acquiring a portrait of your dog resting on your bed is ultimately an act of translation. It takes the quiet, unscripted beauty of an ordinary Tuesday morning and etches it into physical permanence. Through thoughtful composition, disciplined color mixing, and patient attention to the interplay between fur and fabric, you build much more than a likeness on a stretcher bar.
As you stand back to evaluate your finished canvas, look past the technical mechanics of brushwork and value scales. Look for the spirit of the animal resting comfortably within your shared space. That quiet presence—captured in oil, acrylic, or mixed media—will continue to greet you from the wall long after the sun has shifted across the floorboards, reminding you of a love that defines the very concept of home.
