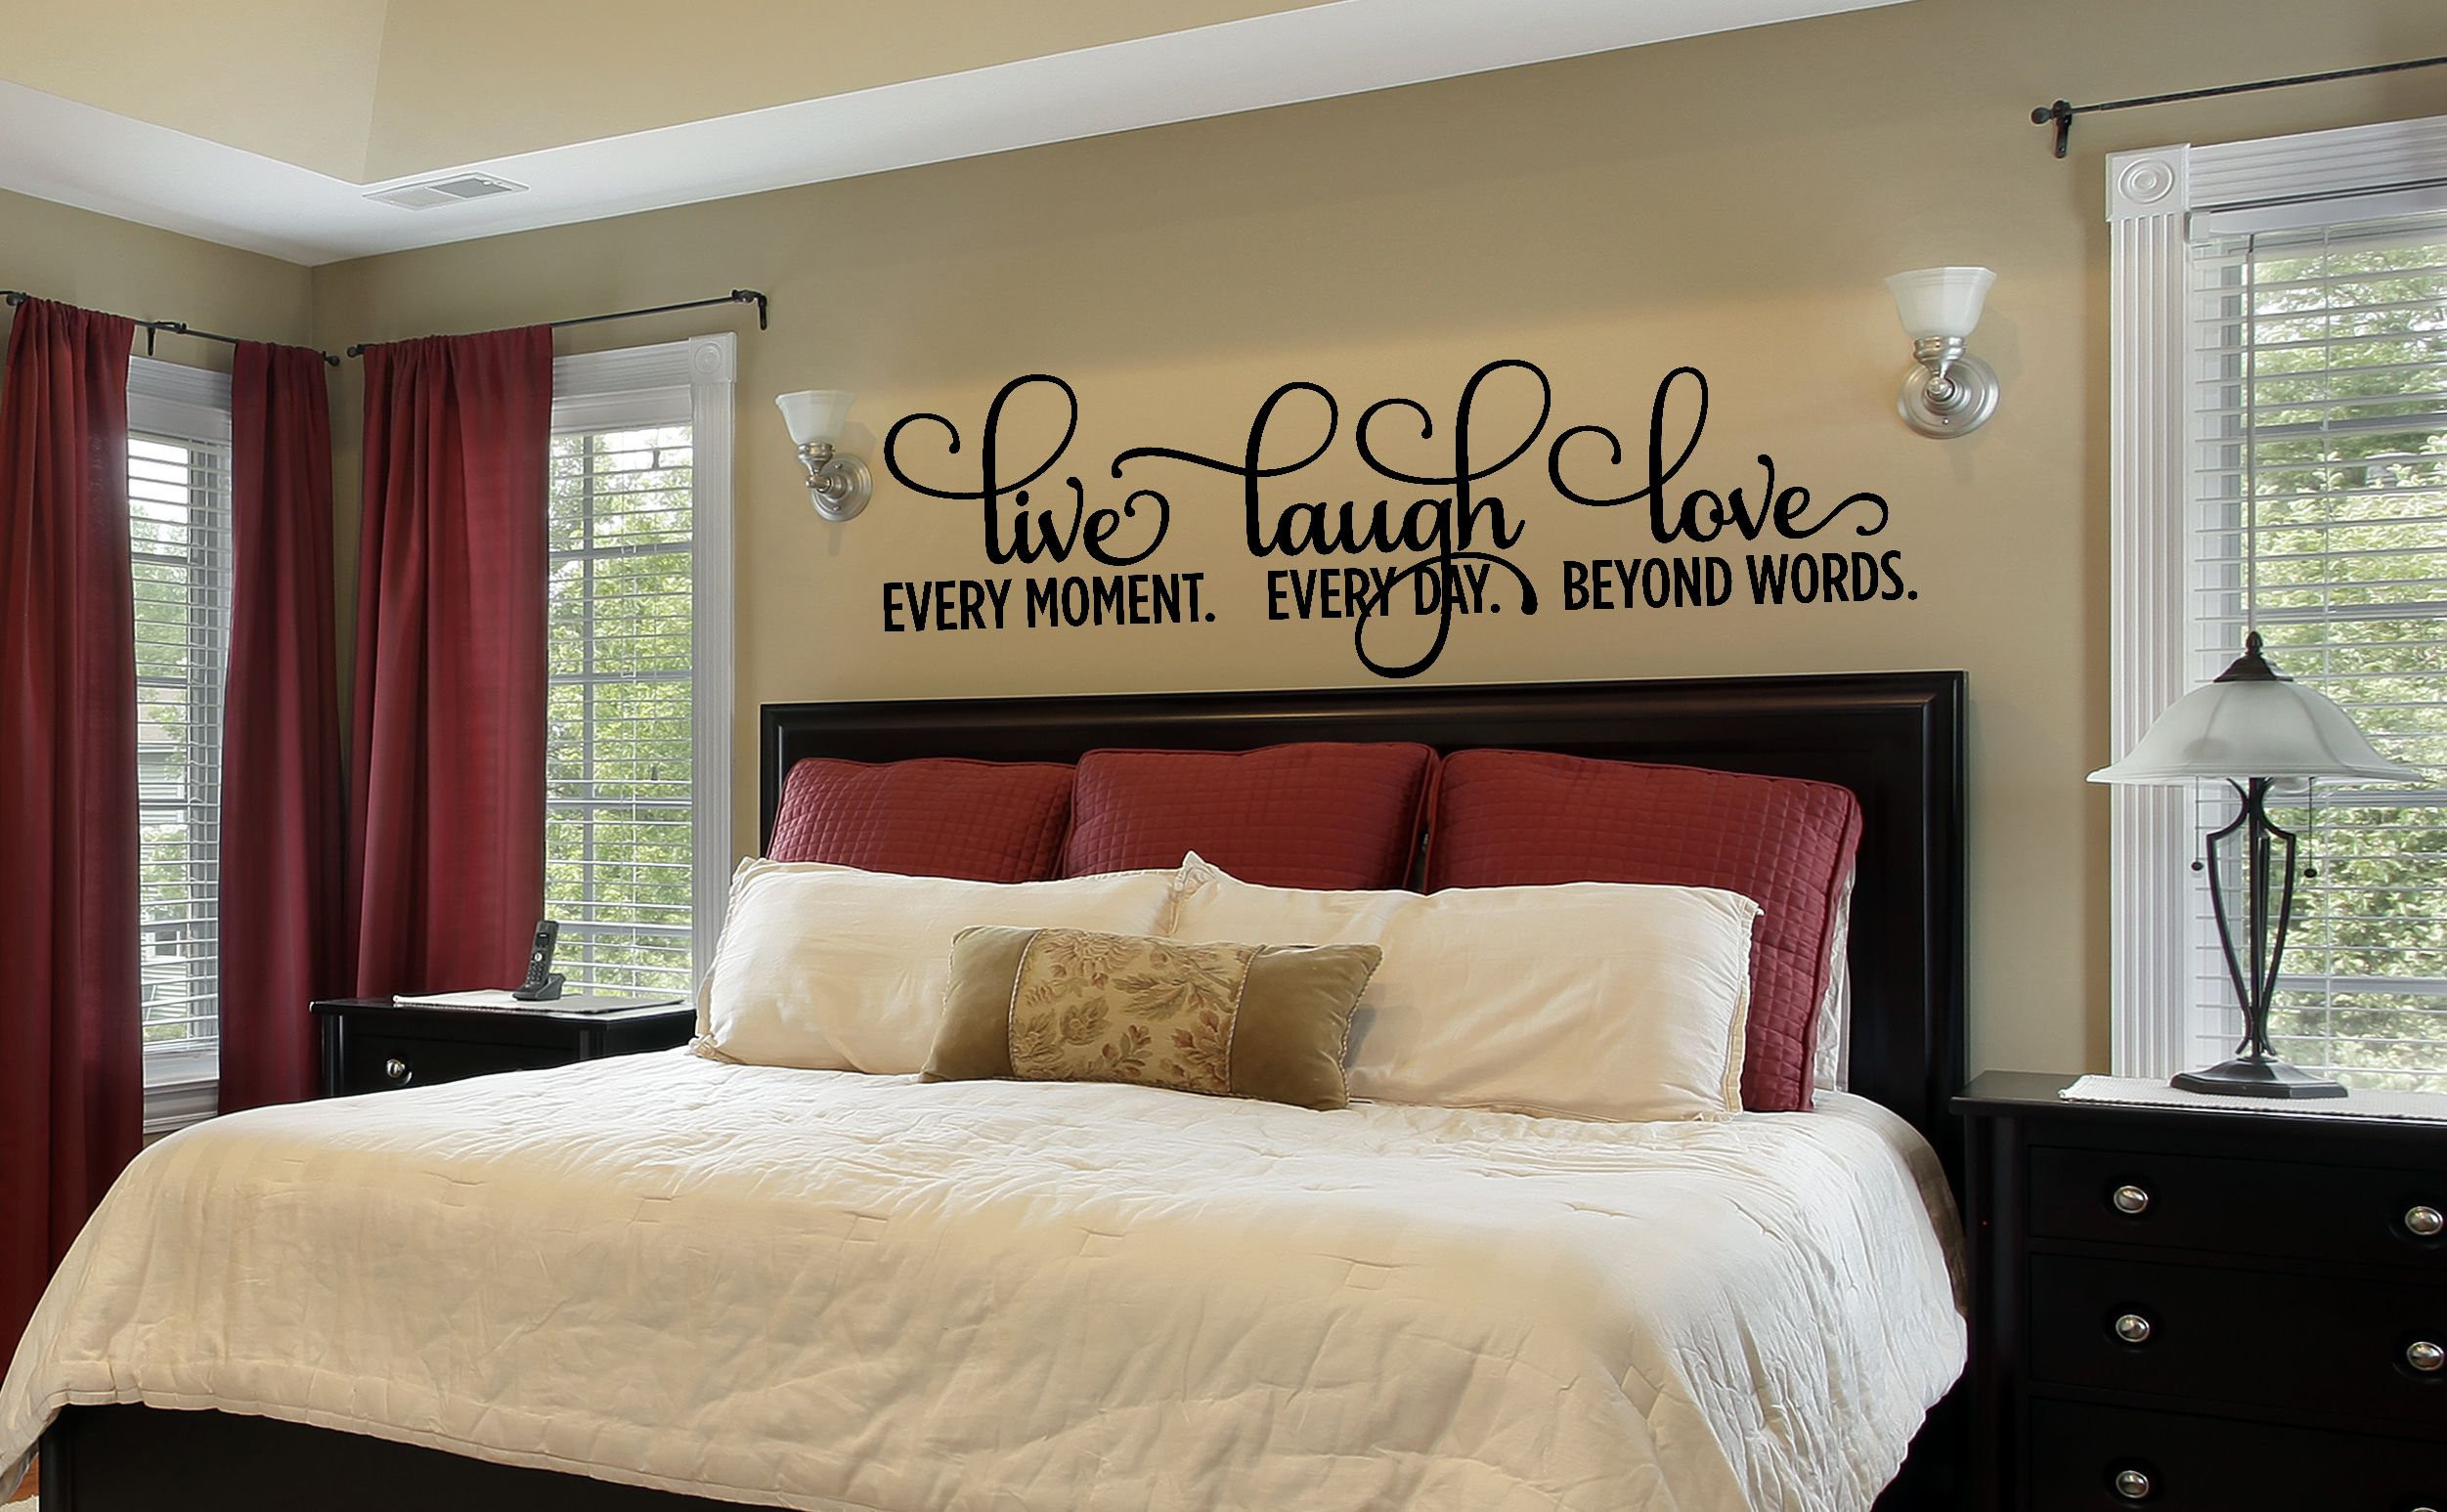
The rental agreement stared back from the kitchen island, a rigid reminder of deposit clauses and the eternal dread of loss-of-deposit fees. Above the bed in the master suite hung a blank, chalky expanse of builder-grade beige—a canvas begging for personality yet imprisoned by the landlord's strict prohibition against permanent alterations. This is the modern spatial dilemma: how to anchor a room’s soul without waging war on drywall, spending thousands on custom millwork, or committing to traditional wallpaper that demands a steaming iron and a contractor’s touch to remove.
Enter the renaissance of high-grade architectural vinyl. Far from the glossy, peel-and-stick cartoons of childhood bedrooms, contemporary wall decals have evolved into sophisticated design elements favored by interior stylists and apartment dwellers alike. They mimic the crisp lines of hand-painted murals, introduce architectural depth through geometric abstraction, and offer a low-stakes avenue for dramatic aesthetic shifts. Yet, transforming a flat piece of adhesive plastic into a seamless, high-end feature wall requires more than simply ripping off a backing paper and smoothing it down with a thumb. It demands an understanding of material physics, surface tension, color psychology, and meticulous application techniques.
Achieving a professional-grade finish with bedroom wall decals requires marrying creative vision with technical precision. Whether you are aiming to craft an enveloping botanical sanctuary, a moody minimalist reading nook above your headboard, or an abstract focal point that balances high ceilings, the difference between a cheap-looking sticker and an integrated wall art installation lies entirely in the execution. This guide strips away the guesswork, delivering field-tested strategies, expert recommendations, and practical solutions to help you master the art of vertical styling.
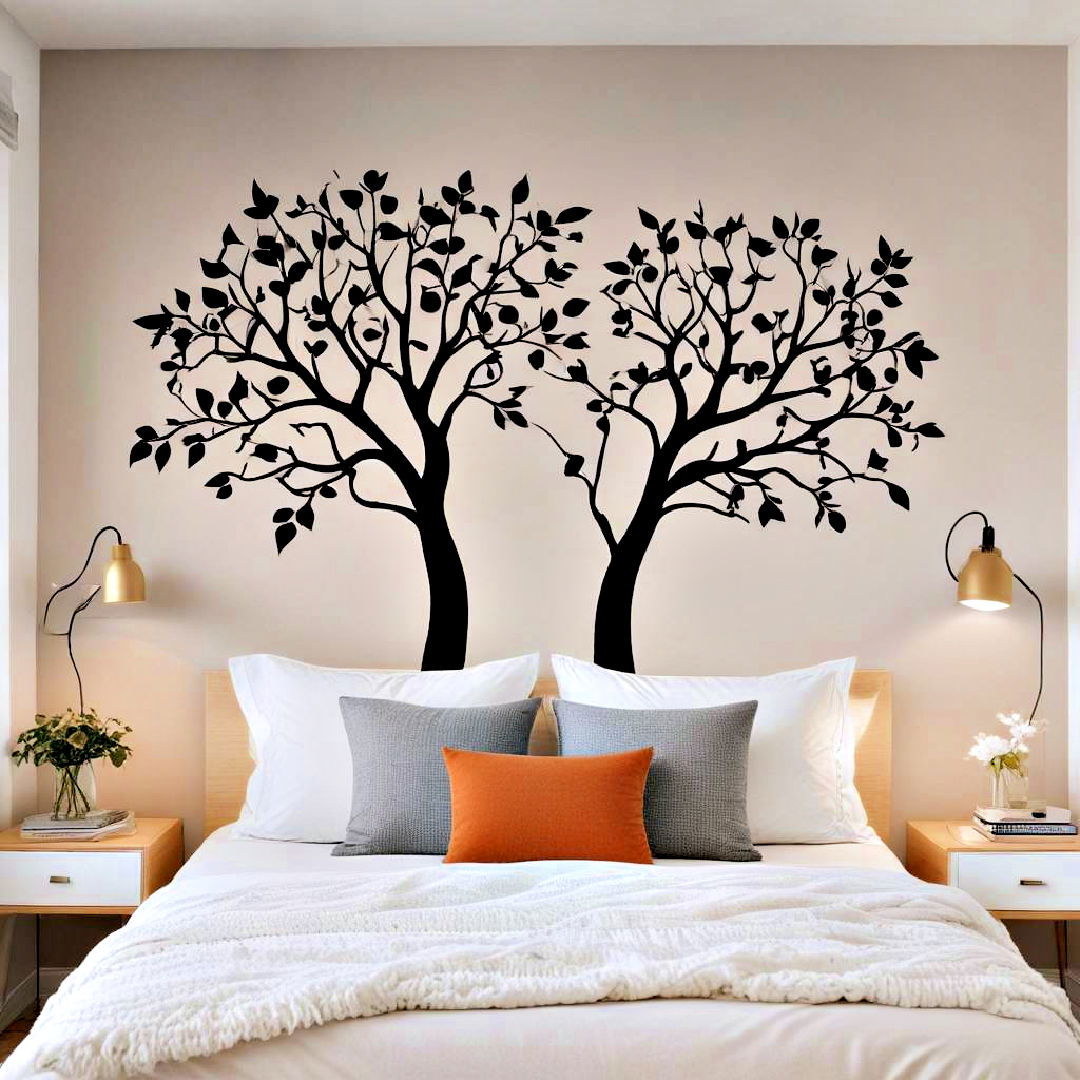
Decoding Wall Decal Materiality and Surface Science
The foundation of any successful wall decal installation begins long before the first piece of vinyl touches the paint. Not all wall stickers are created equal, and understanding the physical composition of these products separates amateur attempts from professional design transformations. Low-cost decals often utilize cheap, heavy-caliper PVC films combined with aggressive rubber-based adhesives. These materials trap moisture, shrink over time, pull away at the edges, and—worst of all—take chunks of drywall paper with them when peeled off. Premium decals, conversely, are crafted from thin, flexible cast or polymeric calendered vinyl featuring low-tack, water-based acrylic adhesives designed for clean removal.
Surface compatibility remains the single most common variable affecting performance. Modern interior walls are rarely neutral substrates; they are painted with varying sheens, textured with knockdown or orange-peel finishes, and sometimes coated with stain-resistant, zero-VOC (volatile organic compound) paints that actively repel adhesives. Low-VOC and matte latex paints contain silicone or fluoropolymer additives that reduce surface energy, making it difficult for standard adhesives to create a lasting bond. Evaluating your wall texture is critical. If your walls feature a heavy trowel texture, standard flat vinyl will bridge the gaps, trapping air beneath the sticker and creating micro-failures where the vinyl will eventually lift.
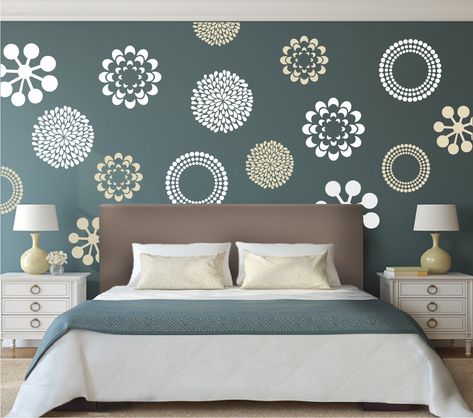
Investing in matte-finish vinyl rather than gloss or semi-gloss makes an immense visual difference in a bedroom setting. Glossy decals reflect light unevenly, instantly betraying their plastic nature and looking like cheap stickers. Matte vinyl absorbs light, diffusing it in a way that tricks the eye into perceiving a direct paint application or a hand-painted fresco. Additionally, understanding the dimensional stability of the material helps you account for environmental fluctuations. Bedrooms experience temperature swings and humidity changes—especially rooms with en-suite bathrooms or exterior walls. High-grade vinyl stretches predictably under tension without warping its graphic proportions, ensuring that your investment maintains its structural integrity across changing seasons.
Conceptualizing Your Bedroom Layout and Aesthetic Vision
Before ordering custom typography or sweeping botanical branches, you must analyze the spatial dynamics of your bedroom. A decal that looks stunning on a sprawling Pinterest mood board can easily become visually suffocating when crammed into a compact urban apartment. The bed acts as the gravitational center of the bedroom, making the headboard wall the prime real estate for decal placement. However, treating this wall requires restraint. Placing an oversized, chaotic decal directly behind a tufted headboard creates visual clutter, fighting for attention with your existing textiles and lighting fixtures.
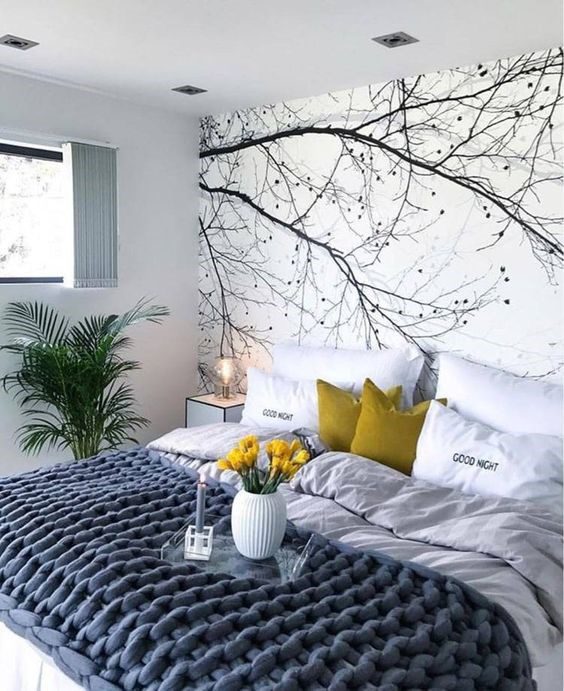
Scale and negative space are your most powerful design tools. If you choose an expansive nature-inspired motif, such as weeping willow branches or a panoramic mountain skyline, let it breathe by keeping adjacent walls entirely clear of clutter. For minimalist aesthetics, geometric decals—such as intersecting arcs, fractured lines, or asymmetrical Bauhaus-inspired blocks—provide structural rhythm without overwhelming the resting space. Color psychology also plays a massive role in bedroom design; cool tones like sage greens, muted indigos, and desaturated slate grays promote parasympathetic nervous system activation, lowering heart rates and preparing the mind for sleep. Conversely, highly saturated primaries can overstimulate, making them ill-suited for the sanctuary of a bedroom.
Consider architectural quirks as design opportunities rather than obstacles. Sloped attic ceilings, awkward corner columns, and asymmetrical window placements can be harmonized using strategically placed vertical or diagonal decals. For instance, a cascade of abstract botanical leaves flowing upward from a bedside table can draw the eye along a slanted ceiling line, transforming a cramped architectural flaw into a dramatic design feature. By mapping your room’s natural focal points and lighting angles, you can position decals to catch morning or evening light, casting subtle shadows that enhance the three-dimensional illusion of the installation.
The Professional Step-by-Step Installation Methodology
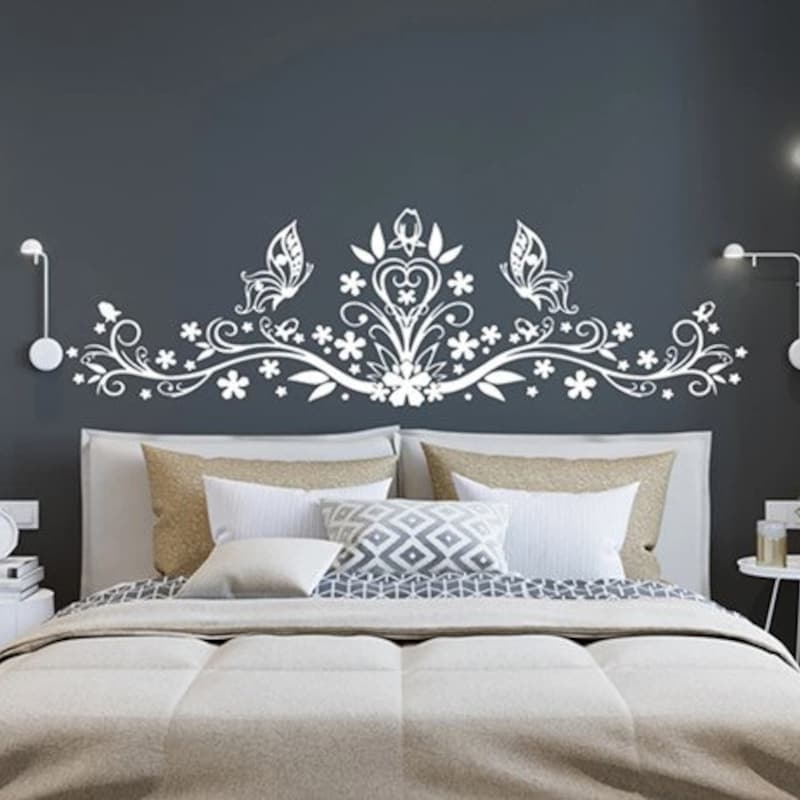
Applying large-scale wall decals without professional tools is a recipe for frustration, bubbles, and misaligned panels. Rushing this phase risks creasing the vinyl or tearing delicate cutouts. Follow this field-tested methodology to guarantee a flawless, bubble-free application that looks indistinguishable from custom wall painting.
Navigating Common Pitfalls and Field-Tested Workarounds
Even with meticulous preparation, unexpected challenges frequently arise during wall decal installation. Recognizing these hurdles before they ruin your project saves both materials and sanity.
Related Posts
Bedroom furniture ideas that make small spaces feel calmer and more useful
Understanding joinery and materials before you commit to a floating design

Navigating Regional Styles From Provence to Paris When Designing Your French Bedroom

Building a Peaceful Bedroom Environment Through Better Furniture Planning Methods
Navigating the Difference Between Flush Stitched Edges and Standard Pillow Tops

Understanding Air Valve Types to Prevent Leaks During Setup
Long-Term Maintenance, Rental Realities, and Sustainable Design
One of the greatest economic and environmental advantages of wall decals lies in their transient nature. In an era where interior design trends cycle rapidly through minimalist neutrals, maximalist botanical prints, and neo-geo abstractions, wall decals offer a sustainable design paradigm. They generate zero chemical waste compared to stripping traditional wallpaper, require no toxic paint thinners, and leave zero permanent footprint behind when you decide to change your bedroom's aesthetic.
For renters, wall decals represent the ultimate tactical design weapon. Landlord disputes over unauthorized paint colors or damaged drywall forfeit thousands of dollars in security deposits annually. High-grade removable vinyl operates within the safe bounds of standard lease agreements. When moving out, warming the decals slightly with a hairdryer softens the acrylic adhesive molecules, allowing the entire graphic to peel away cleanly in one continuous sheet without stripping the rental paint underneath. If minor adhesive residue remains, a dab of citrus-based adhesive remover on a microfiber cloth dissolves it instantly without abrading the wall surface.
From a long-term economic perspective, investing in custom or artisanal wall decals proves far more cost-effective than hiring a decorative painter or purchasing heavy framed art installations that require structural wall anchors. As your family grows, your personal tastes evolve, or your living space changes, updating a bedroom becomes as simple as peeling away last year’s motif and pressing down a fresh design. This adaptability fosters a dynamic relationship with your living space, proving that high-end interior styling does not require permanence to be profoundly impactful.
Actionable Recommendations for Curating Your Bedroom Sanctuary
Synthesizing expert design principles with practical execution ensures that your bedroom wall decal project exceeds expectations. To maximize the visual impact and longevity of your investment, keep these core frameworks in mind.
The bedroom remains our final domestic refuge—a quiet space where we retreat to decompress from the sensory overload of the digital world. Shaping this sanctuary should feel liberating rather than burdensome. By moving past the intimidation of bare walls and rigid rental restrictions, you reclaim creative autonomy over your immediate environment.
Wall decals bridge the gap between temporary convenience and permanent artistry. When approached with patience, the right materials, and a clear spatial vision, a simple roll of architectural vinyl transforms an uninspiring room into a deeply personal haven. As interior design continues to champion flexibility, personalization, and sustainable material choices, the humble wall decal stands out as an enduring tool for modern self-expression. Take your time, measure twice, and let your walls tell your story.
