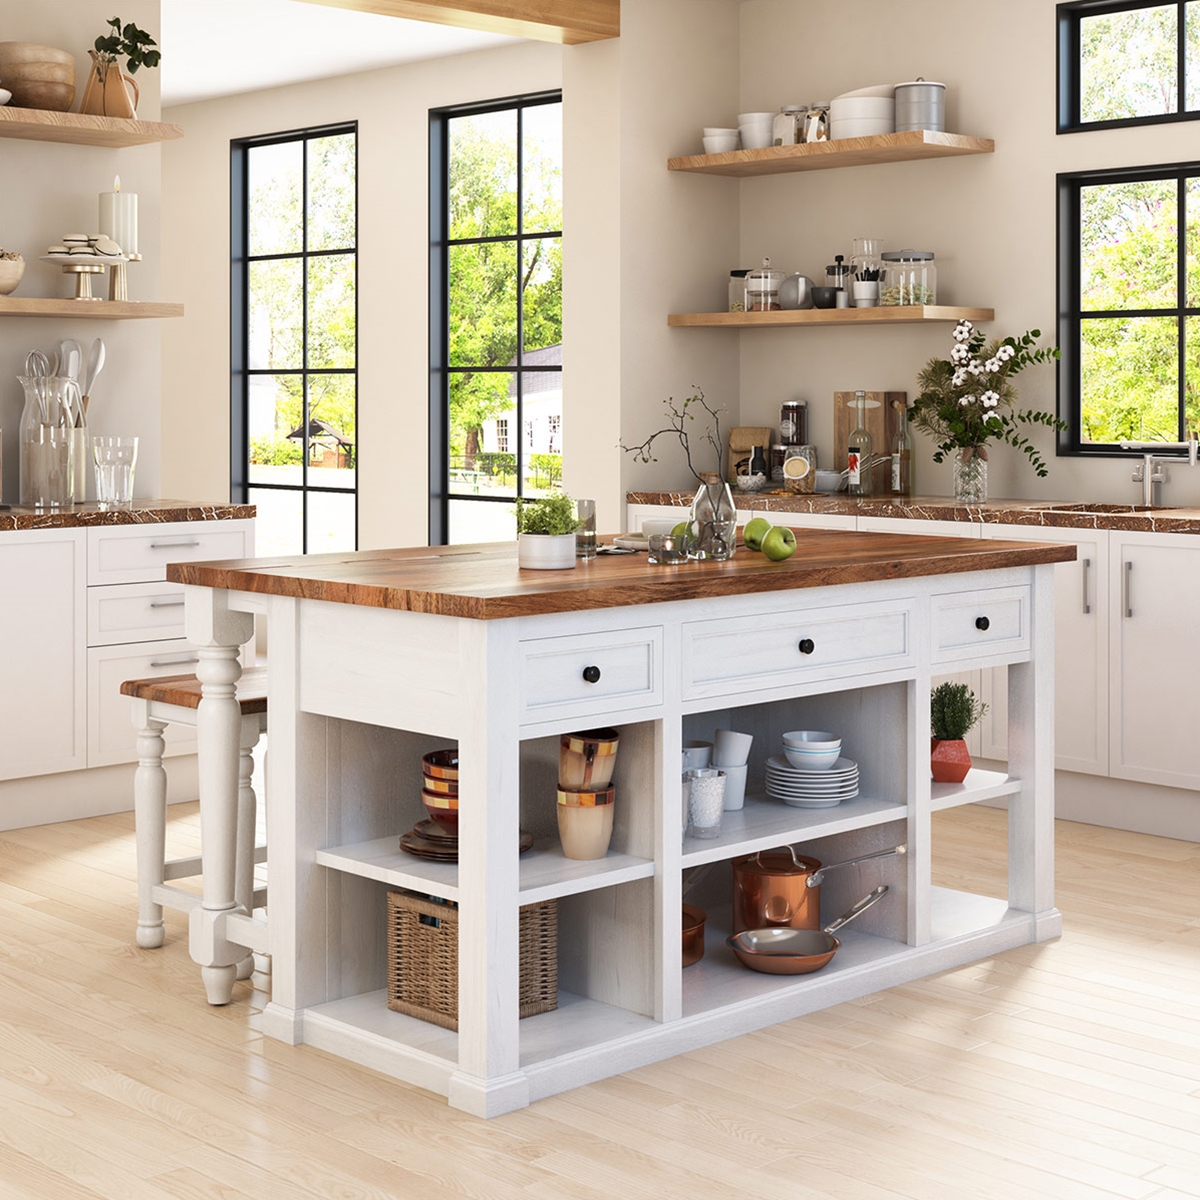
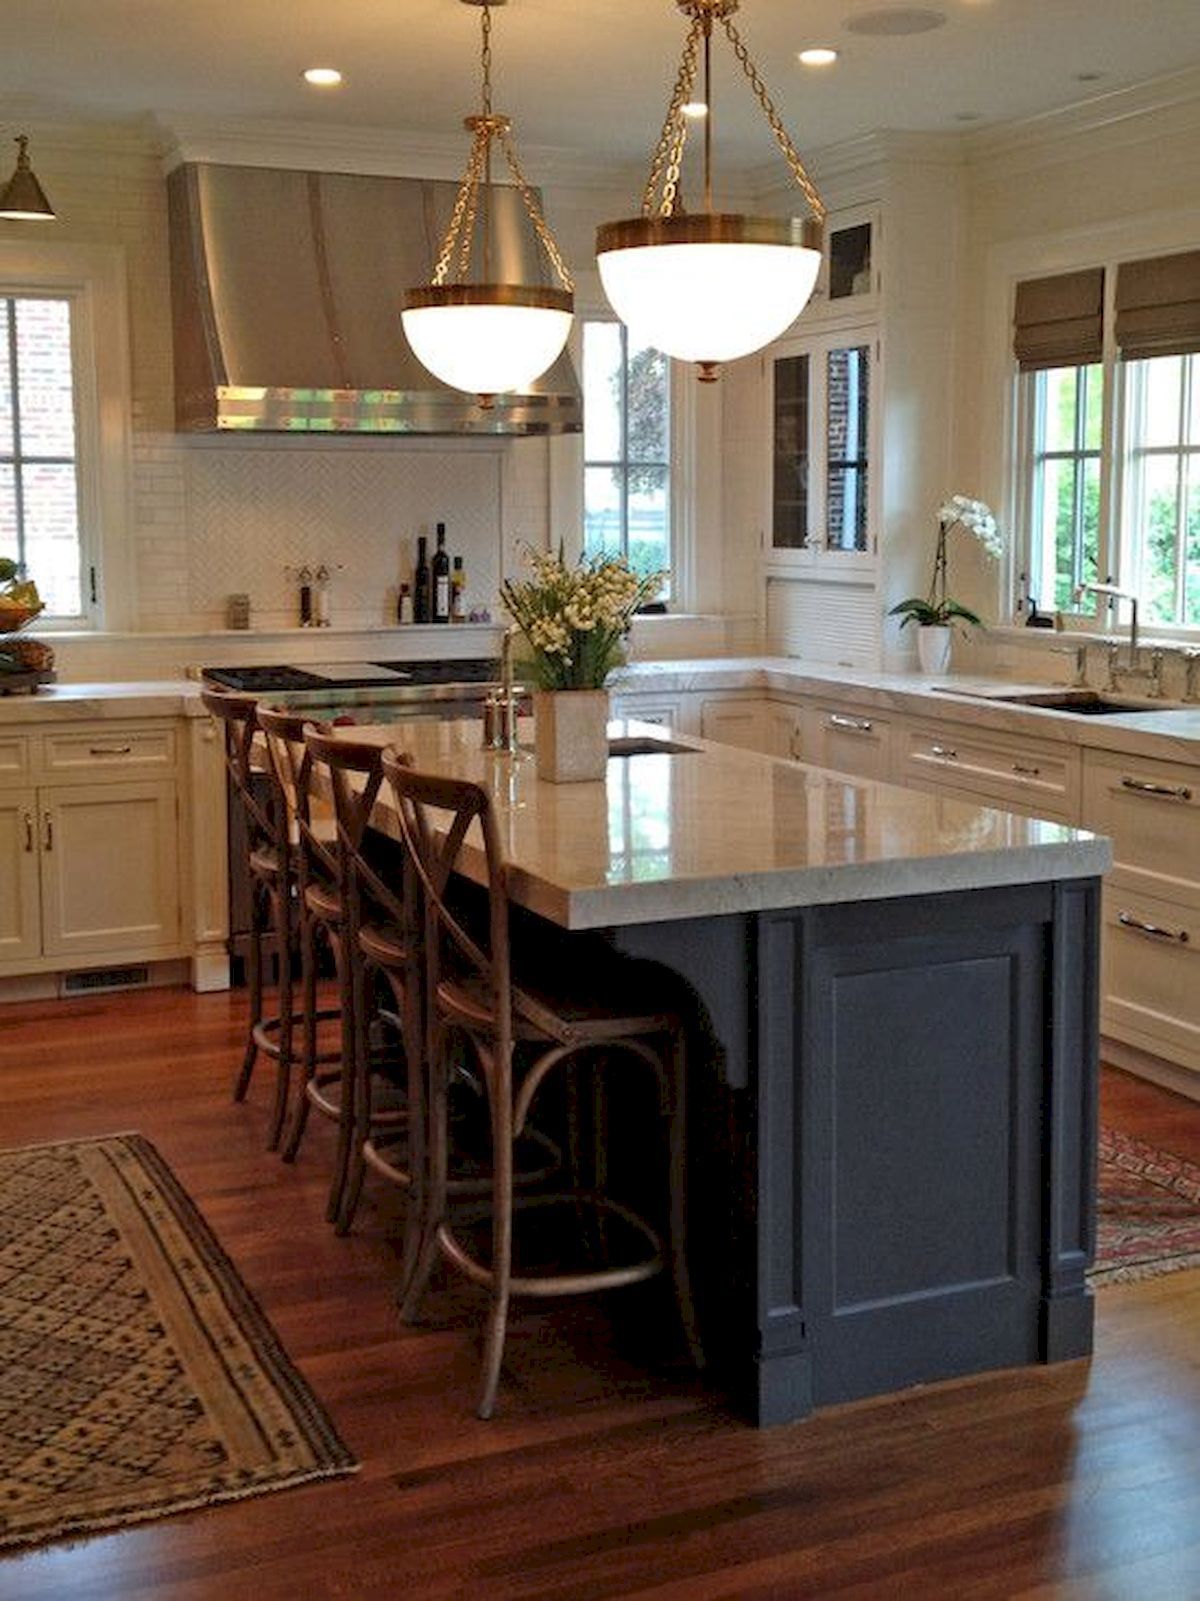
Standing in the heart of a gutted, mid-century ranch kitchen at twilight, the structural reality of poor planning becomes painfully clear. The drywall is scarred with wire patches, the contractors are waiting for a definitive answer, and the central focal point—an eight-foot quartz-topped island—hangs in shadow. You hold a glossy design magazine in one hand and a tape measure in the other, realizing that choosing kitchen island lighting is rarely just about picking out a pretty glass globe. It is an intricate geometry problem involving lumens, sightlines, spatial rhythm, and human behavior.
Kitchens have evolved from hidden, utilitarian service wings into the undisputed command centers of contemporary residential architecture. They are spaces where laptops sit next to cutting boards, where kids tackle algebra homework while dinner simmers, and where guests naturally congregate with a glass of wine. Because the kitchen island serves as a multi-functional stage for all these contrasting activities, the overhead illumination must perform a delicate balancing act. It needs to provide intense, shadow-free task lighting for knife work, yet shift effortlessly into a warm, ambient glow that flatters the room once the meal is served.
Navigating the overwhelming universe of residential fixtures requires stripping away marketing hype and looking closely at how light behaves in a three-dimensional room. Over the past decade of consulting on high-end residential renovations, the most common regret homeowners voice is not buying a more expensive fixture, but failing to calculate scale and electrical zoning correctly. When you master the core physics of light output, vertical clearance rules, and architectural rhythm, you transform your kitchen from a dark cavern into an intentional, beautifully balanced workspace.
Decoding the Physics and Anatomy of Layered Kitchen Illumination
Getting the lighting right over a kitchen island starts with abandoning the outdated notion that a single overhead dome light can carry the weight of the room. Professional lighting designers rely on the concept of layered illumination, which combines ambient, task, and accent lighting to create depth and visual comfort. The island itself is primarily a task zone, demanding crisp, direct downward light that illuminates the countertop without casting annoying shadows against your chest or face as you chop vegetables.
Task lighting requires specific lumen outputs and color rendering indices to prevent eye strain and ensure food safety. Color Rendering Index, or CRI, is a metric measured from 0 to 100 that indicates how accurately a light source reveals true colors compared to natural daylight. For a kitchen workspace, specify LED modules or bulbs with a CRI of 90 or higher, ensuring that a red bell pepper actually looks vibrant and fresh rather than muted and gray. Color temperature is equally critical, typically measured in Kelvin. While ultra-warm 2200K bulbs create a cozy vibe, they can make food prep hazardous; instead, aim for a sweet spot between 2700K and 3000K, which provides clean clarity without feeling sterile or clinical.
Beneath the surface, the physical anatomy of the fixture determines how that light is distributed across your stone or wood countertops. Direct-down fixtures, such as industrial metal shades or focused cylindrical pendants, push 100 percent of their light straight down, creating sharp pools of illumination and potential glare on polished marble or quartz surfaces. Diffused fixtures using frosted glass, opaline globes, or fabric shades soften the output, casting a gentle, omnidirectional glow that minimizes harsh contrasts. Understanding your countertop material is vital here; highly polished surfaces act like mirrors, bouncing direct glare right back into your eyes if the hanging height or beam spread is miscalculated.
Beyond the fixtures themselves, the electrical infrastructure dictates what is possible once the drywall is patched and painted. Installing a multi-point pendant setup requires careful coordination with your electrician to ensure that junction boxes are centered precisely over the island, not just the room's overall footprint. Furthermore, integrating low-voltage dimming systems—specifically ELV (Electronic Low Voltage) dimmers compatible with modern LED drivers—is non-negotiable. Being able to drop the light output down to a sultry 10 percent transforms the kitchen island from a prep station into a welcoming lounge area as the evening winds down.
Mastering Proportions, Scale, and the Golden Rules of Sizing
One of the most persistent design anxieties centers around scale: how do you know if a pendant is too large, too small, or visually crushing the rest of the room? The architecture of the kitchen dictates these dimensions through mathematical ratios that have been tested and refined by generations of interior designers and master builders. Ignoring these proportions leads to fixtures that either look like timid golf balls floating in a vast expanse or monstrous, hovering spaceships that dominate the entire field of view.
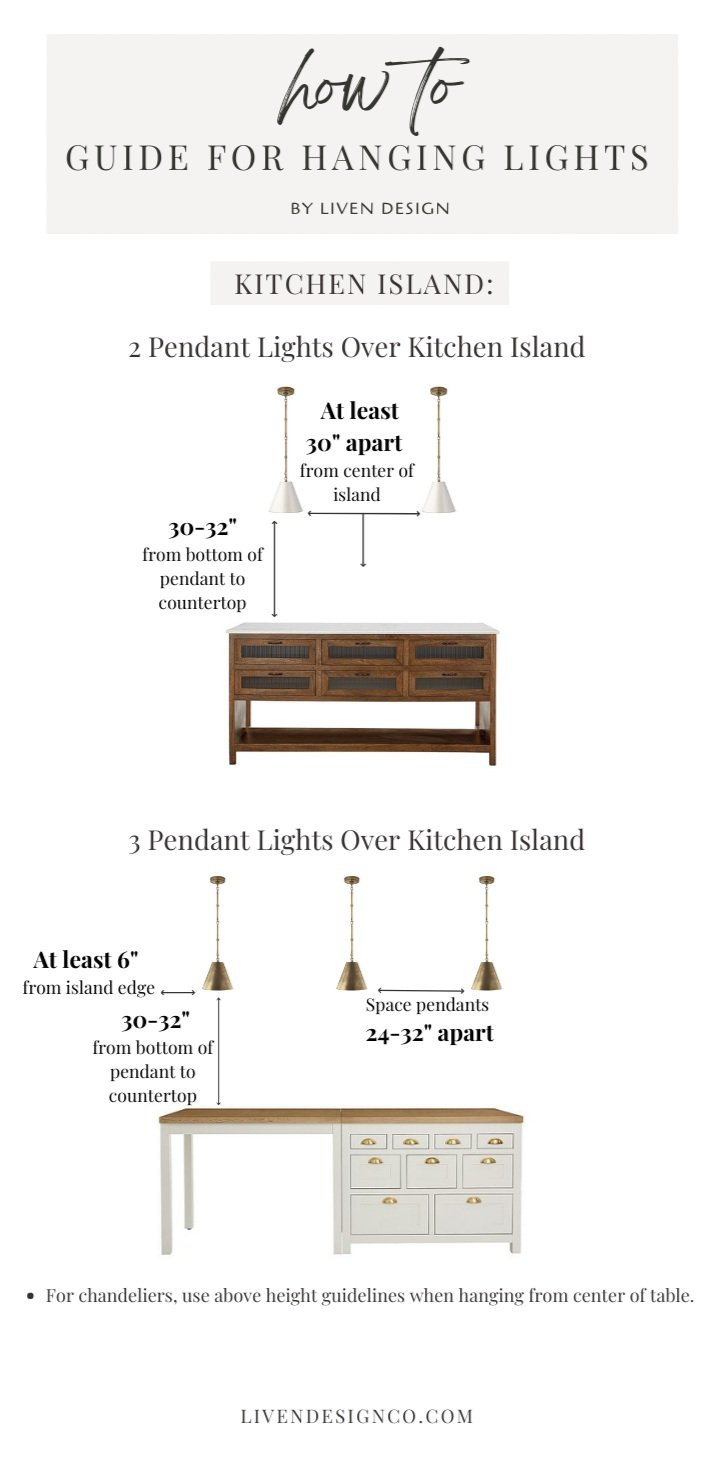
When evaluating how to choose kitchen island lighting based on size, start with the physical footprint of the island itself. A standard rule of thumb for linear pendant clusters or multi-light bars is that the total combined width of the fixtures should occupy roughly two-thirds to three-quarters of the island's total length. If you have an eight-foot island (96 inches), your lighting layout should span between 64 and 72 inches from the outer edge of the first fixture to the outer edge of the last. This leaves a comfortable buffer zone of about 12 to 16 inches from each end of the island, preventing the fixtures from looking awkward or clipped at the margins.
Pendant spacing follows a similar geometric logic, especially when hanging multiple single pendants in a row. For a balanced composition, divide the total length of the island by the number of pendants plus one to find the precise center-to-center distance between fixtures. For instance, three pendants over a seven-foot island require four equal intervals, spacing the hanging points neatly to achieve visual equilibrium. When dealing with odd versus even numbers, designers almost universally lean toward odd numbers—three or five pendants—because asymmetrical human perception finds odd groupings naturally more dynamic and engaging than rigid pairs.
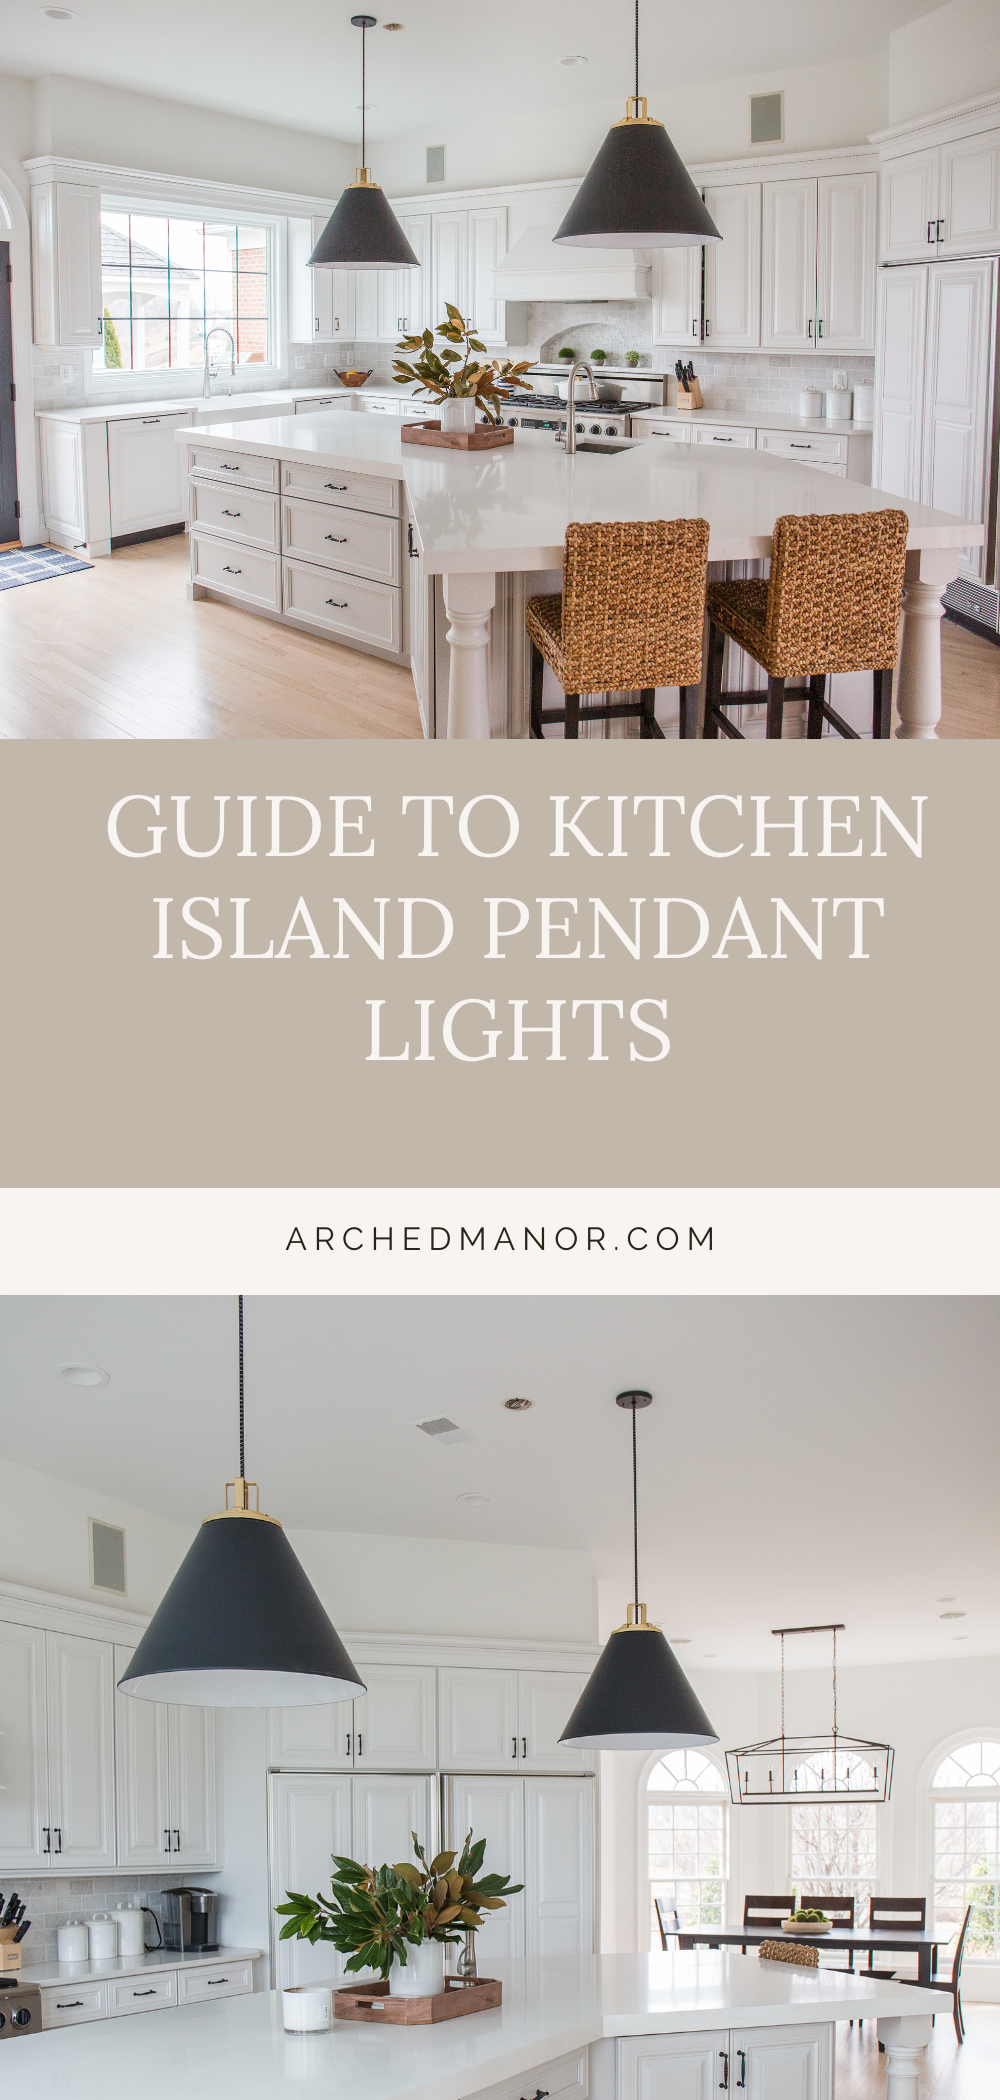
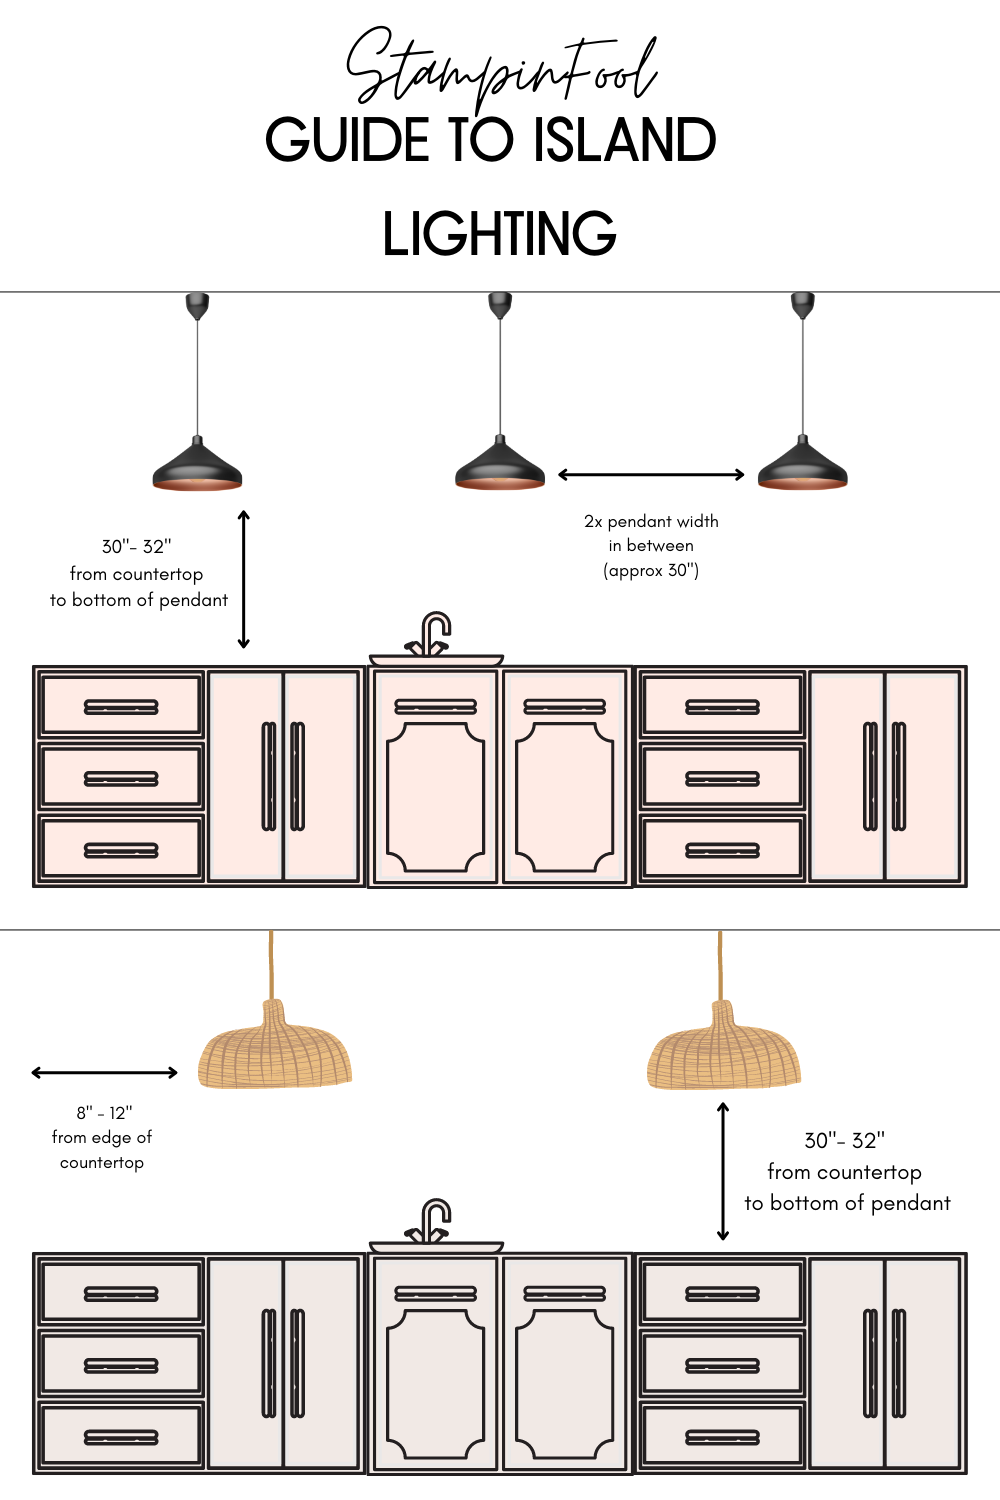
Vertical hanging height is another battleground where millimeter-level precision prevents daily frustration. The industry standard dictates that the bottom of any island pendant should hang between 30 and 36 inches above the finished surface of the countertop. This places the light source comfortably out of the line of sight for an adult standing at the island while keeping the fixture low enough to deliver effective task illumination. However, you must always factor in the height of the household members; if you share your home with towering professional athletes, nudging that height up to 38 inches prevents accidental head-bumping without completely destroying the downward light spread.
Step-by-Step Methodology for Selecting and Positioning Your Fixtures
Translating architectural theory into a finished, working kitchen requires a disciplined, chronological methodology. Skipping steps in this sequence almost always results in expensive change orders, misaligned electrical boxes, or lighting that fails to meet your daily functional needs.
Following this sequence protects you from emotional decision-making at the showroom floor, where dazzling displays often cause buyers to forget scale and technical compatibility. By anchoring your choices in actual spatial metrics and household workflows, you ensure that the physical installation goes smoothly and the finished product performs flawlessly.
Avoiding Costary Traps and Field-Tested Workarounds
Even experienced designers occasionally stumble when navigating the vast array of lighting options on the market today. Recognizing these common traps before you pull out your credit card saves you from frustrating teardowns, scratched stone countertops, and wasted installation budgets.
The Broader Impact of Illumination on Spatial Dynamics and Home Value
Lighting is the invisible architect of the modern home. Beyond its immediate utility, the way you light your kitchen island fundamentally alters the perceived volume, warmth, and emotional resonance of the entire main floor. In contemporary open-concept architecture, where the kitchen bleeds seamlessly into the living room and dining area, the island lighting acts as an anchor for the visual composition. It draws the eye inward, defining spatial boundaries without the need for restrictive interior walls.
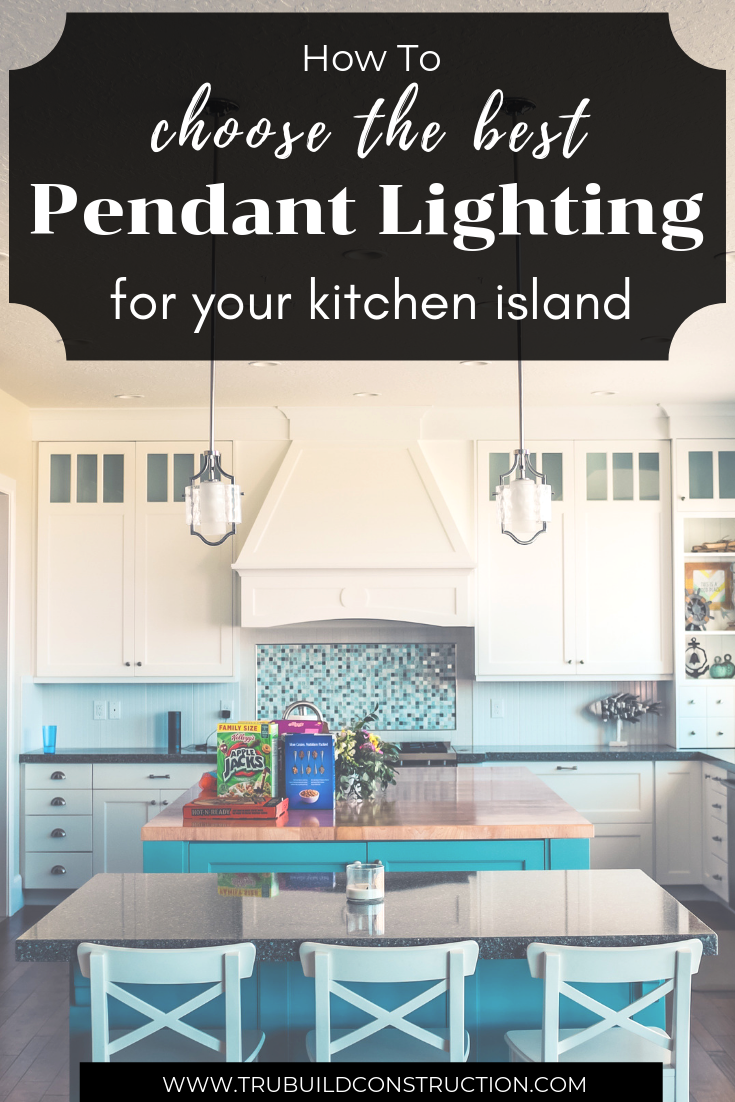
From an economic perspective, thoughtful lighting design delivers an exceptionally high return on investment. Real estate analyses consistently show that kitchens remain the primary driver of home resale value. Prospective buyers walking into a home do not just notice the quartz countertops or custom cabinetry; they respond viscerally to the quality of light washing over those surfaces. High-end, well-scaled fixtures that are properly dimmed communicate a level of architectural sophistication and quality construction that elevates the perceived value of the entire property.
Moreover, the shift toward human-centric lighting technology has transformed how we interact with our living spaces on a biological level. Modern integrated LED systems now offer tunable white technology, allowing your kitchen island pendants to shift from a crisp, energizing 4000K daylight simulation during morning coffee prep to a calming, circadian-friendly 2200K amber glow during late-night conversations. This integration of wellness and architectural design proves that choosing kitchen island lighting is an investment in both your home's aesthetic pedigree and your family's daily well-being.
Actionable Frameworks for Pulling Your Kitchen Lighting Design Together
To synthesize everything into a clear mental checklist for your project, evaluating your island lighting comes down to three non-negotiable pillars: proportion, performance, and personality. When these three elements align, your kitchen achieves that effortless, magazine-worthy balance that feels both stunningly curated and entirely livable.
Begin your selection process by auditing your architectural constraints. Take precise measurements of your ceiling height, island dimensions, and distance to adjacent architectural features like windows or doorways. Remember the golden rule: standard ceiling heights of nine feet accommodate the 30-to-36-inch hanging height effortlessly, while lower eight-foot ceilings require flush mounts or semi-flush fixtures rather than long-stemmed pendants to maintain safety and proportion.
Next, establish your performance criteria by specifying high-CRI LEDs, proper lumen counts, and robust dimming controls. Do not compromise on dimming capability; the ability to dial down the intensity is what separates a harsh, clinical workspace from an inviting heart-of-the-home gathering space. Finally, let your personal aesthetic guide your choice of finish—whether that means warm brushed brass tying into cabinet pulls, matte black grounding a transitional space, or polished nickel reflecting minimalist modernism.
Remodeling a kitchen is an exercise in delayed gratification, testing your patience through clouds of drywall dust and endless contractor decisions. Yet, standing in that completed space as the sun dips below the horizon and you click the dimmer switch for the first time, all those meticulous calculations dissolve into pure satisfaction. The pendants cast a warm, pools-of-gold illumination across the quartz surface, highlighting the grain of the stone and turning a functional workspace into the emotional anchor of your home.
As lighting technology continues to advance, our relationship with residential illumination will only grow more sophisticated, blending smart-home automation with timeless architectural principles. By refusing to treat lighting as an afterthought and instead approaching it with the rigor of a master builder, you create a space that stands up to the demands of daily life while offering moments of quiet beauty. Take your measurements, trust your spatial instincts, and illuminate your home with intention.