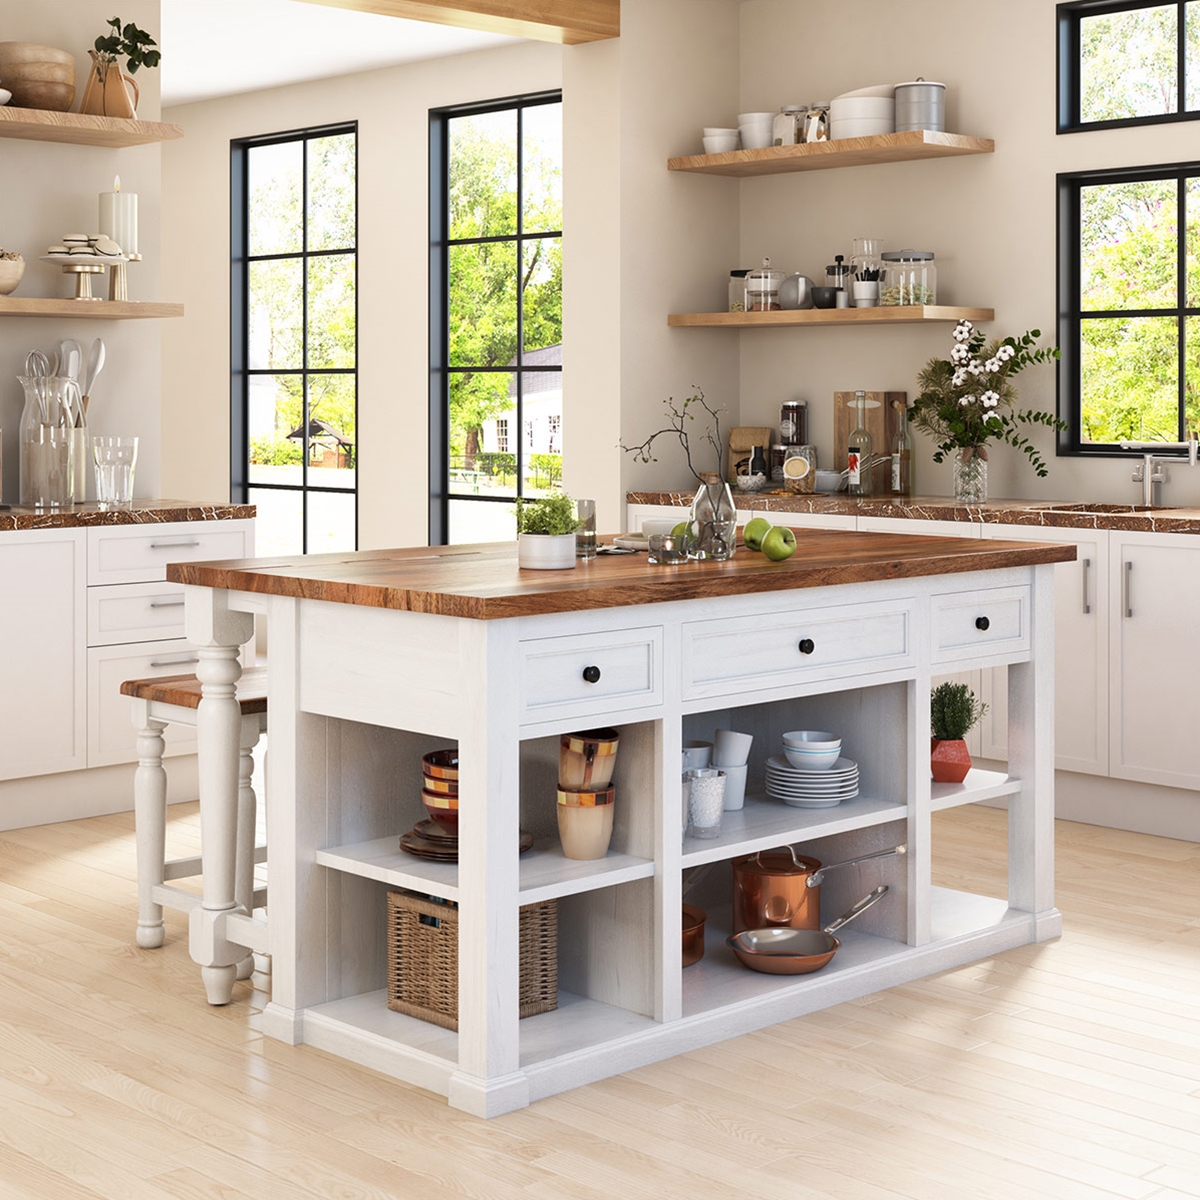
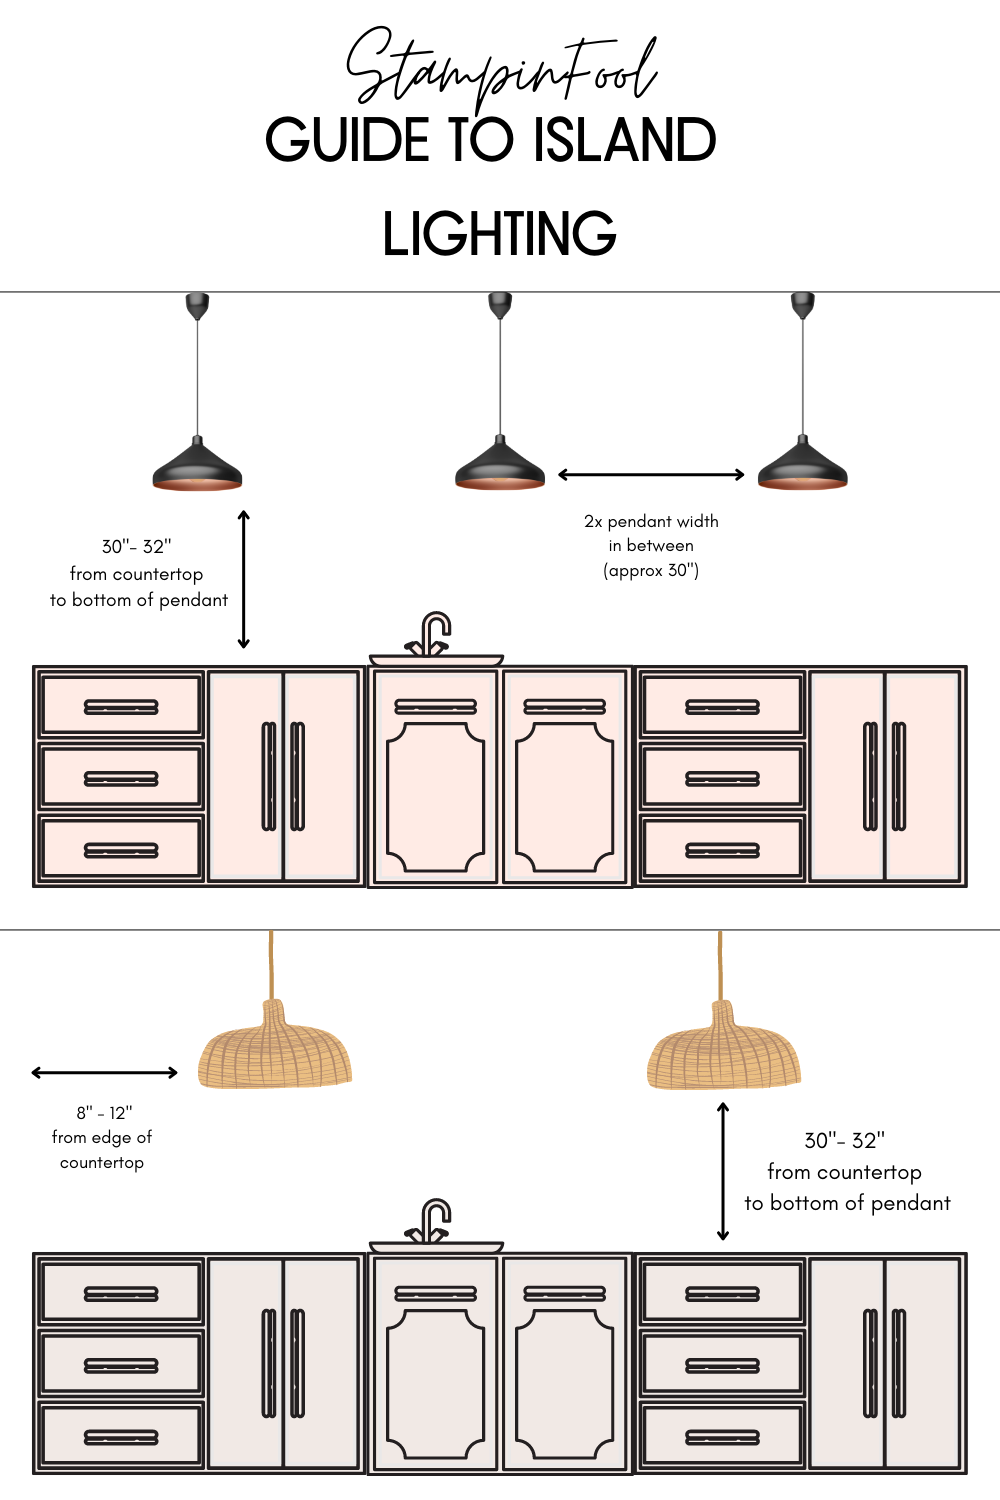
The drop of a heavy cast-iron skillet onto a quartz countertop echoes through an empty house, instantly announcing where the gravity of modern residential architecture has shifted. Years ago, the kitchen wall held the range, the refrigerator stood sentinel in a dark corner, and the cook faced a sheetrock barrier while slicing vegetables away from the rest of the household. Today, that hierarchy has dissolved entirely. The kitchen island has evolved from a simple auxiliary cart into the undisputed emotional and structural core of the home. It is where morning espresso shots are pulled, elementary homework is supervised over spilled milk, and complex culinary operations unfold under pendant lighting.
Yet, designing this centerpiece requires a careful balancing act between aesthetic ambition and punishing ergonomic realities. Space planning mistakes made on a two-dimensional architectural blueprint routinely reveal themselves as catastrophic functional failures once actual humans attempt to cook, clean, and congregate in the finished space. A poorly proportioned clearance zone turns a high-end kitchen into a frustrating obstacle course, while a neglected electrical layout leaves high-powered appliances stranded far from the nearest outlet. Moving past superficial Pinterest boards requires a deep dive into the engineering, spatial dynamics, and material science that make a kitchen island truly exceptional.
Over the past decade of consulting on residential architectural layouts, watching homeowners navigate the chaotic intersection of wish lists and square footage constraints has become second nature. The kitchen island is no longer just a trend-driven piece of cabinetry; it is a complex machine requiring precise clearances, structural fortitude, and intuitive zoning. Whether renovating a compact suburban galley or outfitting an expansive open-plan farmhouse, understanding the mechanics behind brilliant kitchen island ideas separates a functional masterpiece from a costly architectural regret.
The Spatial Geometry and Ergonomic Foundations of Island Design
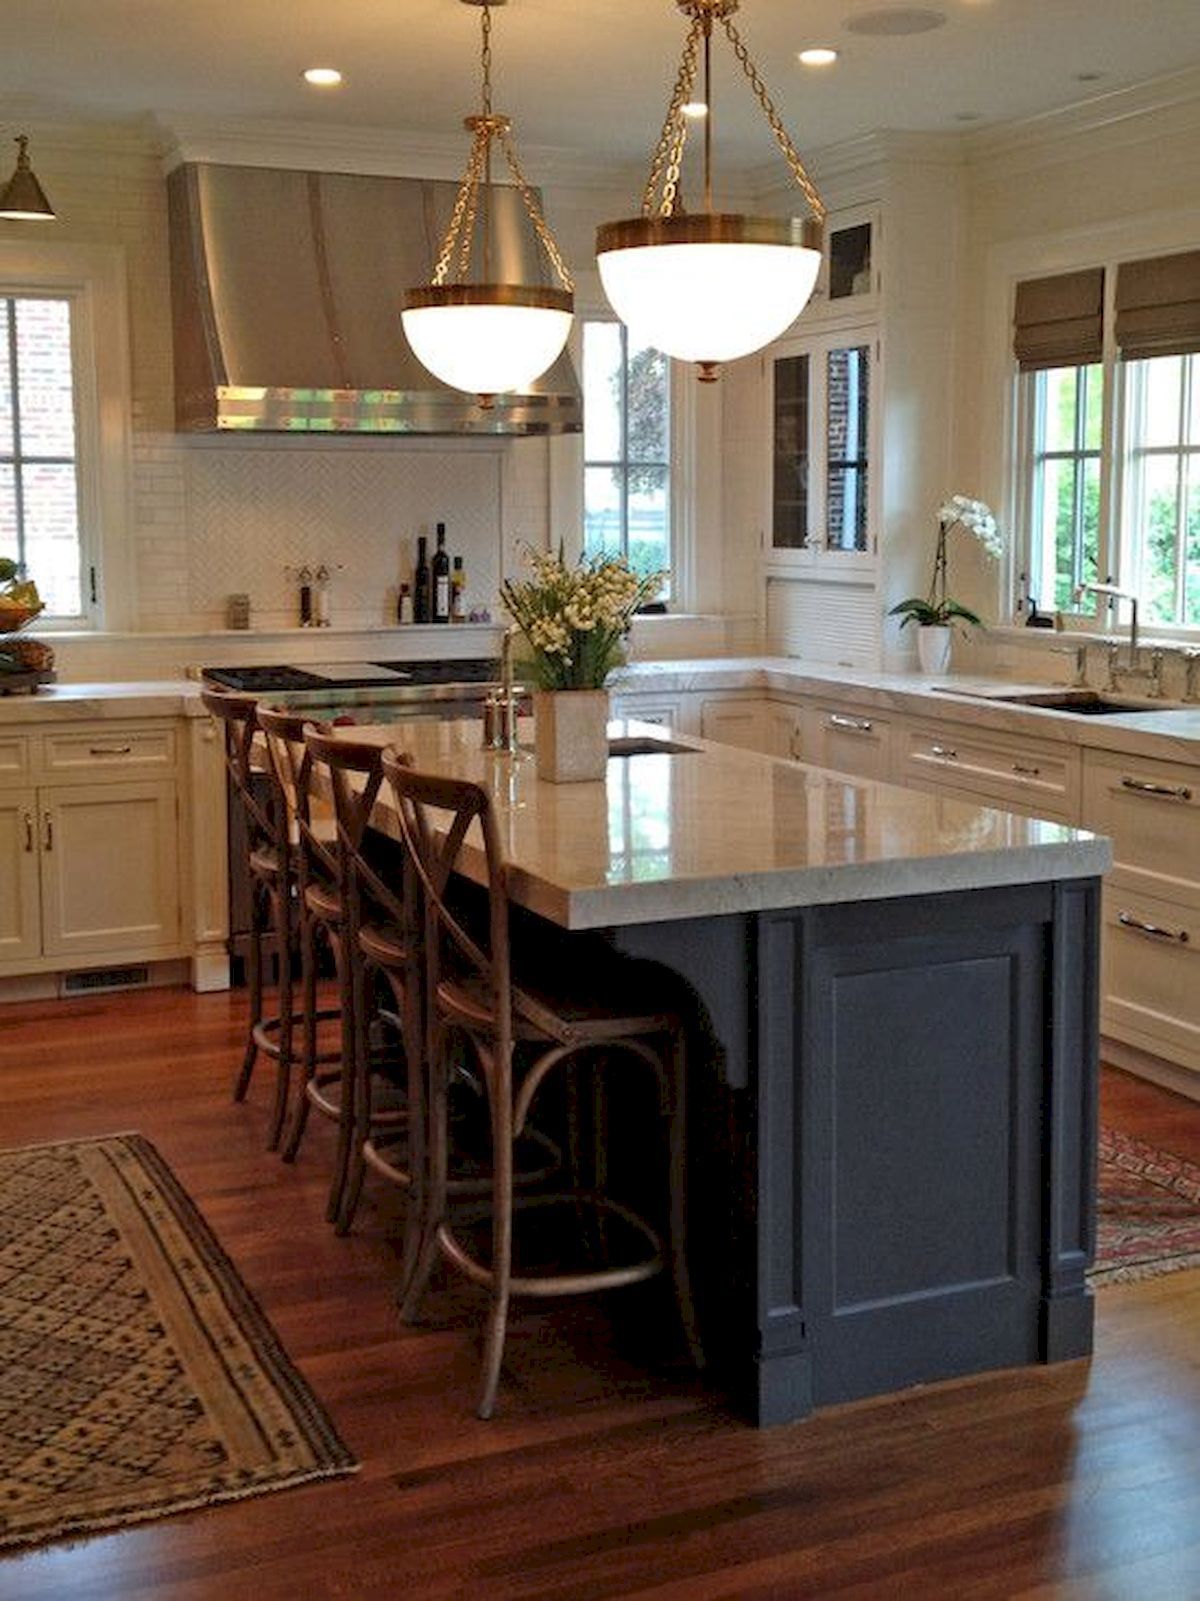
Spatial flow dictates whether a kitchen functions as a harmonious workspace or a daily source of friction. The National Kitchen and Bath Association (NKBA) provides foundational guidelines, but real-world cooking styles demand a more nuanced application of spatial geometry. An island cannot simply be dropped into the center of a room; it must relate dynamically to the perimeter cabinetry, specifically regarding the classic work triangle formed by the sink, refrigerator, and range. When an island intercepts this triangle, it can either facilitate effortless pivoting or create an infuriating bottleneck where two people trying to prep dinner constantly bump elbows.
Clearance zones represent the single most critical measurement in layout planning. Walking paths around an island should maintain a minimum width of 36 inches for a single-cook kitchen, while multi-cook households require 42 to 48 inches to allow smooth passage behind someone seated at a bar stool or bending over an open dishwasher door. Ignoring these spatial realities leads to severe pinch points. For instance, placing a dishwasher directly opposite an island base cabinet without accounting for the door's swing radius creates an impassable barrier, rendering the kitchen functionally paralyzed during cleanup.
Beyond mere pathways, the absolute height and depth of the island structure dictate physical comfort. Standard base cabinetry sits at 34.5 inches, which, topped with a 1.5-inch countertop, yields a finished working surface of 36 inches. However, taller cooks frequently report lower back fatigue when prepping on standard surfaces, prompting a shift toward split-level islands where a primary prep zone is elevated to 38 or 40 inches. Conversely, integrated seating zones require a deliberate drop to counter-height (36 inches) or bar-height (42 inches), each demanding specific stool leg clearances and knee-space overhangs—typically 15 inches of clear depth for comfortable dining without slouching.
Internal zoning within the island structure transforms a static block of wood and stone into a high-performance workstation. Allocating specific quadrants for distinct tasks prevents cross-contamination and clutter. The primary prep zone should feature immediate access to a trash pull-out and compost bin, minimizing drips across the floor when clearing waste. Meanwhile, storage planning must account for the heavy kinetic load of everyday items; storing cast-iron pans and heavy ceramic mixing bowls in deep, full-extension drawers beneath the counter prevents the shoulder strain associated with lifting heavy cookware from upper or lower wall cabinets.
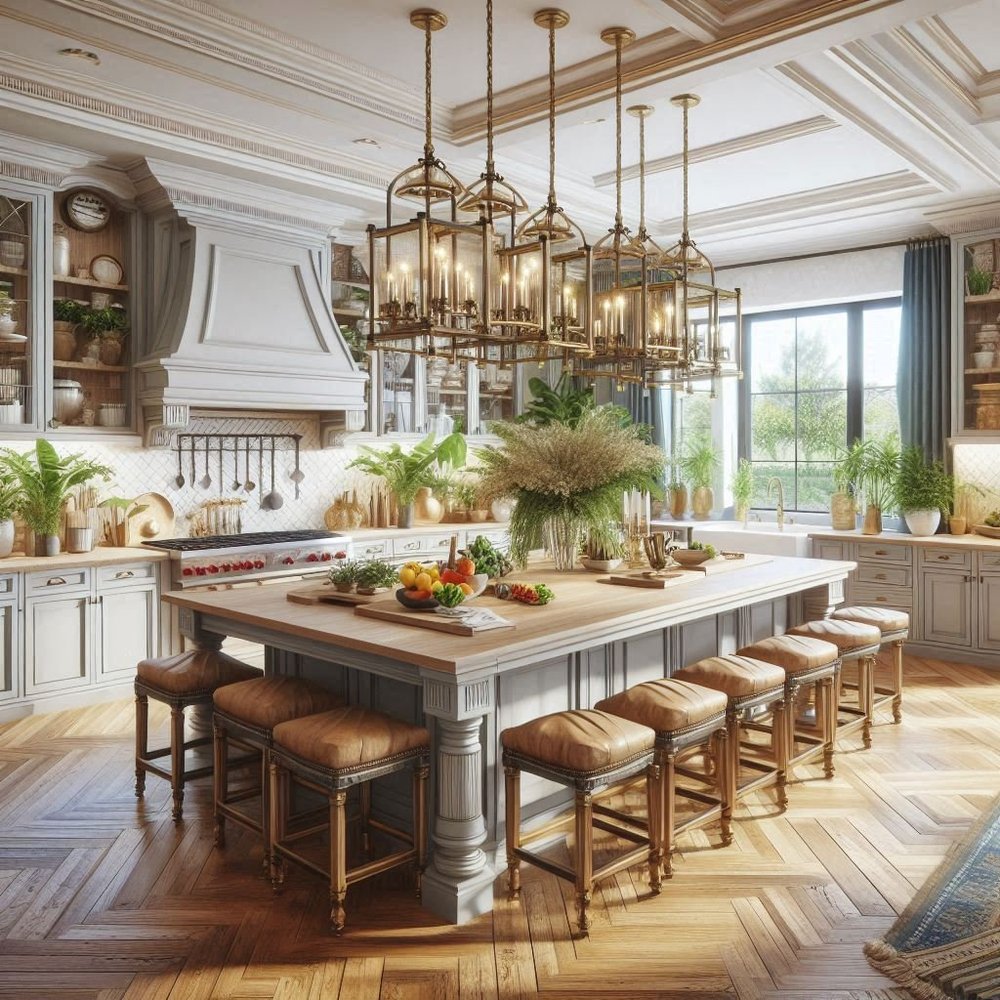
Material Selection, Surface Engineering, and Durability Metrics
Choosing the surface materials for an island is a high-stakes decision where aesthetic desires collide with brutal domestic realities. The island is the hardest-working horizontal plane in the house, subjected to acidic lemon juice, red wine spills, blistering hot baking sheets, and the relentless impact of heavy ceramic bowls. Natural stone like marble offers an undeniable classic elegance, but its calcium carbonate composition makes it exceptionally vulnerable to etching and staining. A single evening with a spilled Pinot Noir can permanently scar a honed Carrara marble top unless sealed with aggressive industrial impregnators.
Engineered quartz has dominated modern design conversations because of its non-porous nature and extreme flexural strength. Composed of roughly 90 to 93 percent crushed natural quartz bound with polymer resins, quartz requires zero sealing and resists bacterial growth naturally. However, fabricators often issue strict warnings regarding direct heat exposure; placing a 450-degree cast-iron skillet directly onto a quartz surface can scorch the resin binders, leaving a permanent discoloration that cannot be buffed out. Incorporating integrated trivets or heat-resistant composite pads directly into the stone layout mitigates this vulnerability without sacrificing the sleek continuity of the waterfall edge.
Wood butcher block introduces a tactile, organic warmth that cold stone simply cannot replicate, making it a favorite for dedicated prep islands. End-grain construction, where the wood fibers stand vertically to absorb knife impacts, heals minor scratches naturally when treated with food-safe mineral oils and beeswax. Yet, wood demands disciplined maintenance. Standing water left near an undermount sink cutout will cause localized swelling and black mold infiltration if the polyurethane or oil seal fails. Homeowners must weigh the patina of a well-loved wooden work surface against the reality of routine maintenance schedules.
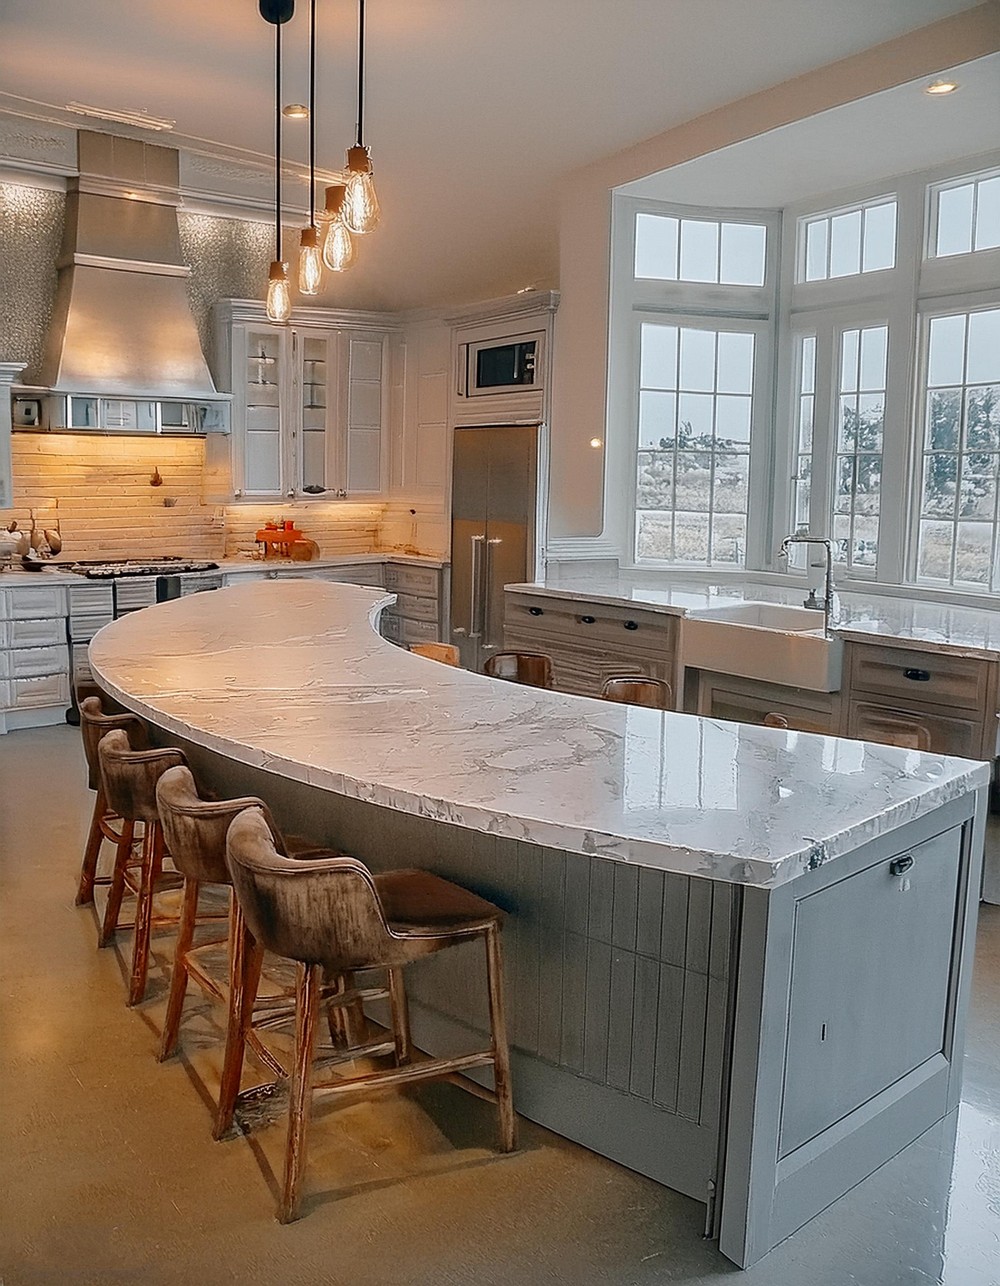
Metal accents and structural bases add another layer of design complexity. Brushed brass, matte black steel, and unlacquered brass foot rails anchor the lower cabinetry while providing structural rigidity for cantilevered overhangs. When designing an island with an expansive seating ledge, steel sub-frames or concealed L-brackets become non-negotiable engineering requirements. Without adequate internal steel reinforcement, a heavy quartz or granite overhang acts as a massive cantilever, risking catastrophic structural failure and personal injury if someone leans heavily on the unsupported edge.
Step-by-Step Implementation Framework for Designing a Custom Island
Bringing a custom kitchen island from conceptual sketches to physical reality requires a disciplined, sequential methodology. Skipping steps in the planning phase invariably leads to costly change orders from general contractors and cabinetmakers.
Common Pitfalls and Field-Tested Workarounds in Island Construction
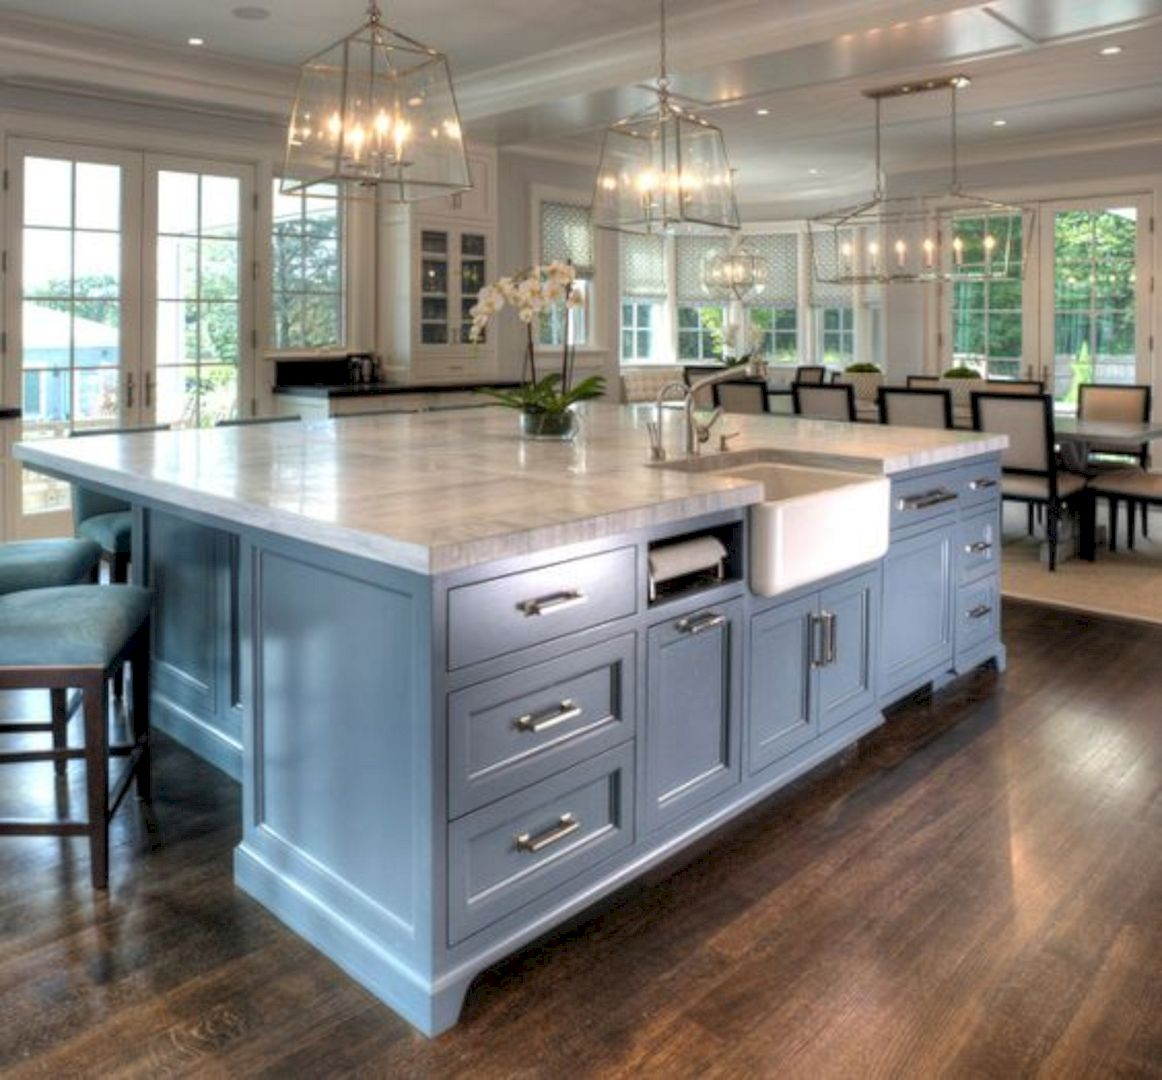
Even seasoned builders and interior designers occasionally stumble into classic spatial and mechanical traps when executing complex kitchen island ideas. Recognizing these recurring mistakes prevents expensive rework.
Holistic Perspectives on Longevity, Sustainability, and Economic Value
The kitchen island occupies a unique position at the intersection of domestic lifestyle evolution and real estate economics. Real estate appraisers consistently cite an upgraded, well-proportioned kitchen island as a primary driver of home resale value, often serving as the emotional hook that convinces prospective buyers during a walkthrough. However, chasing fleeting micro-trends—such as overly ornate carved corbels or hyper-specific brightly colored cabinetry—can date a kitchen within five years. True longevity relies on restrained, architectural forms that prioritize modularity and timeless materials.
Sustainability in island design has shifted from a peripheral consideration to a core specification criterion. Homeowners and architects increasingly demand Forest Stewardship Council (FSC) certified domestic hardwoods, zero-VOC finishing lacquers, and recycled glass or responsibly quarried regional stone surfaces. Furthermore, designing islands with modular internal cabinetry allows for future adaptations; a deep drawer bank designed for pots and pans today can easily be retrofitted with vertical tray dividers or specialized pegboard organizers tomorrow as household needs evolve.
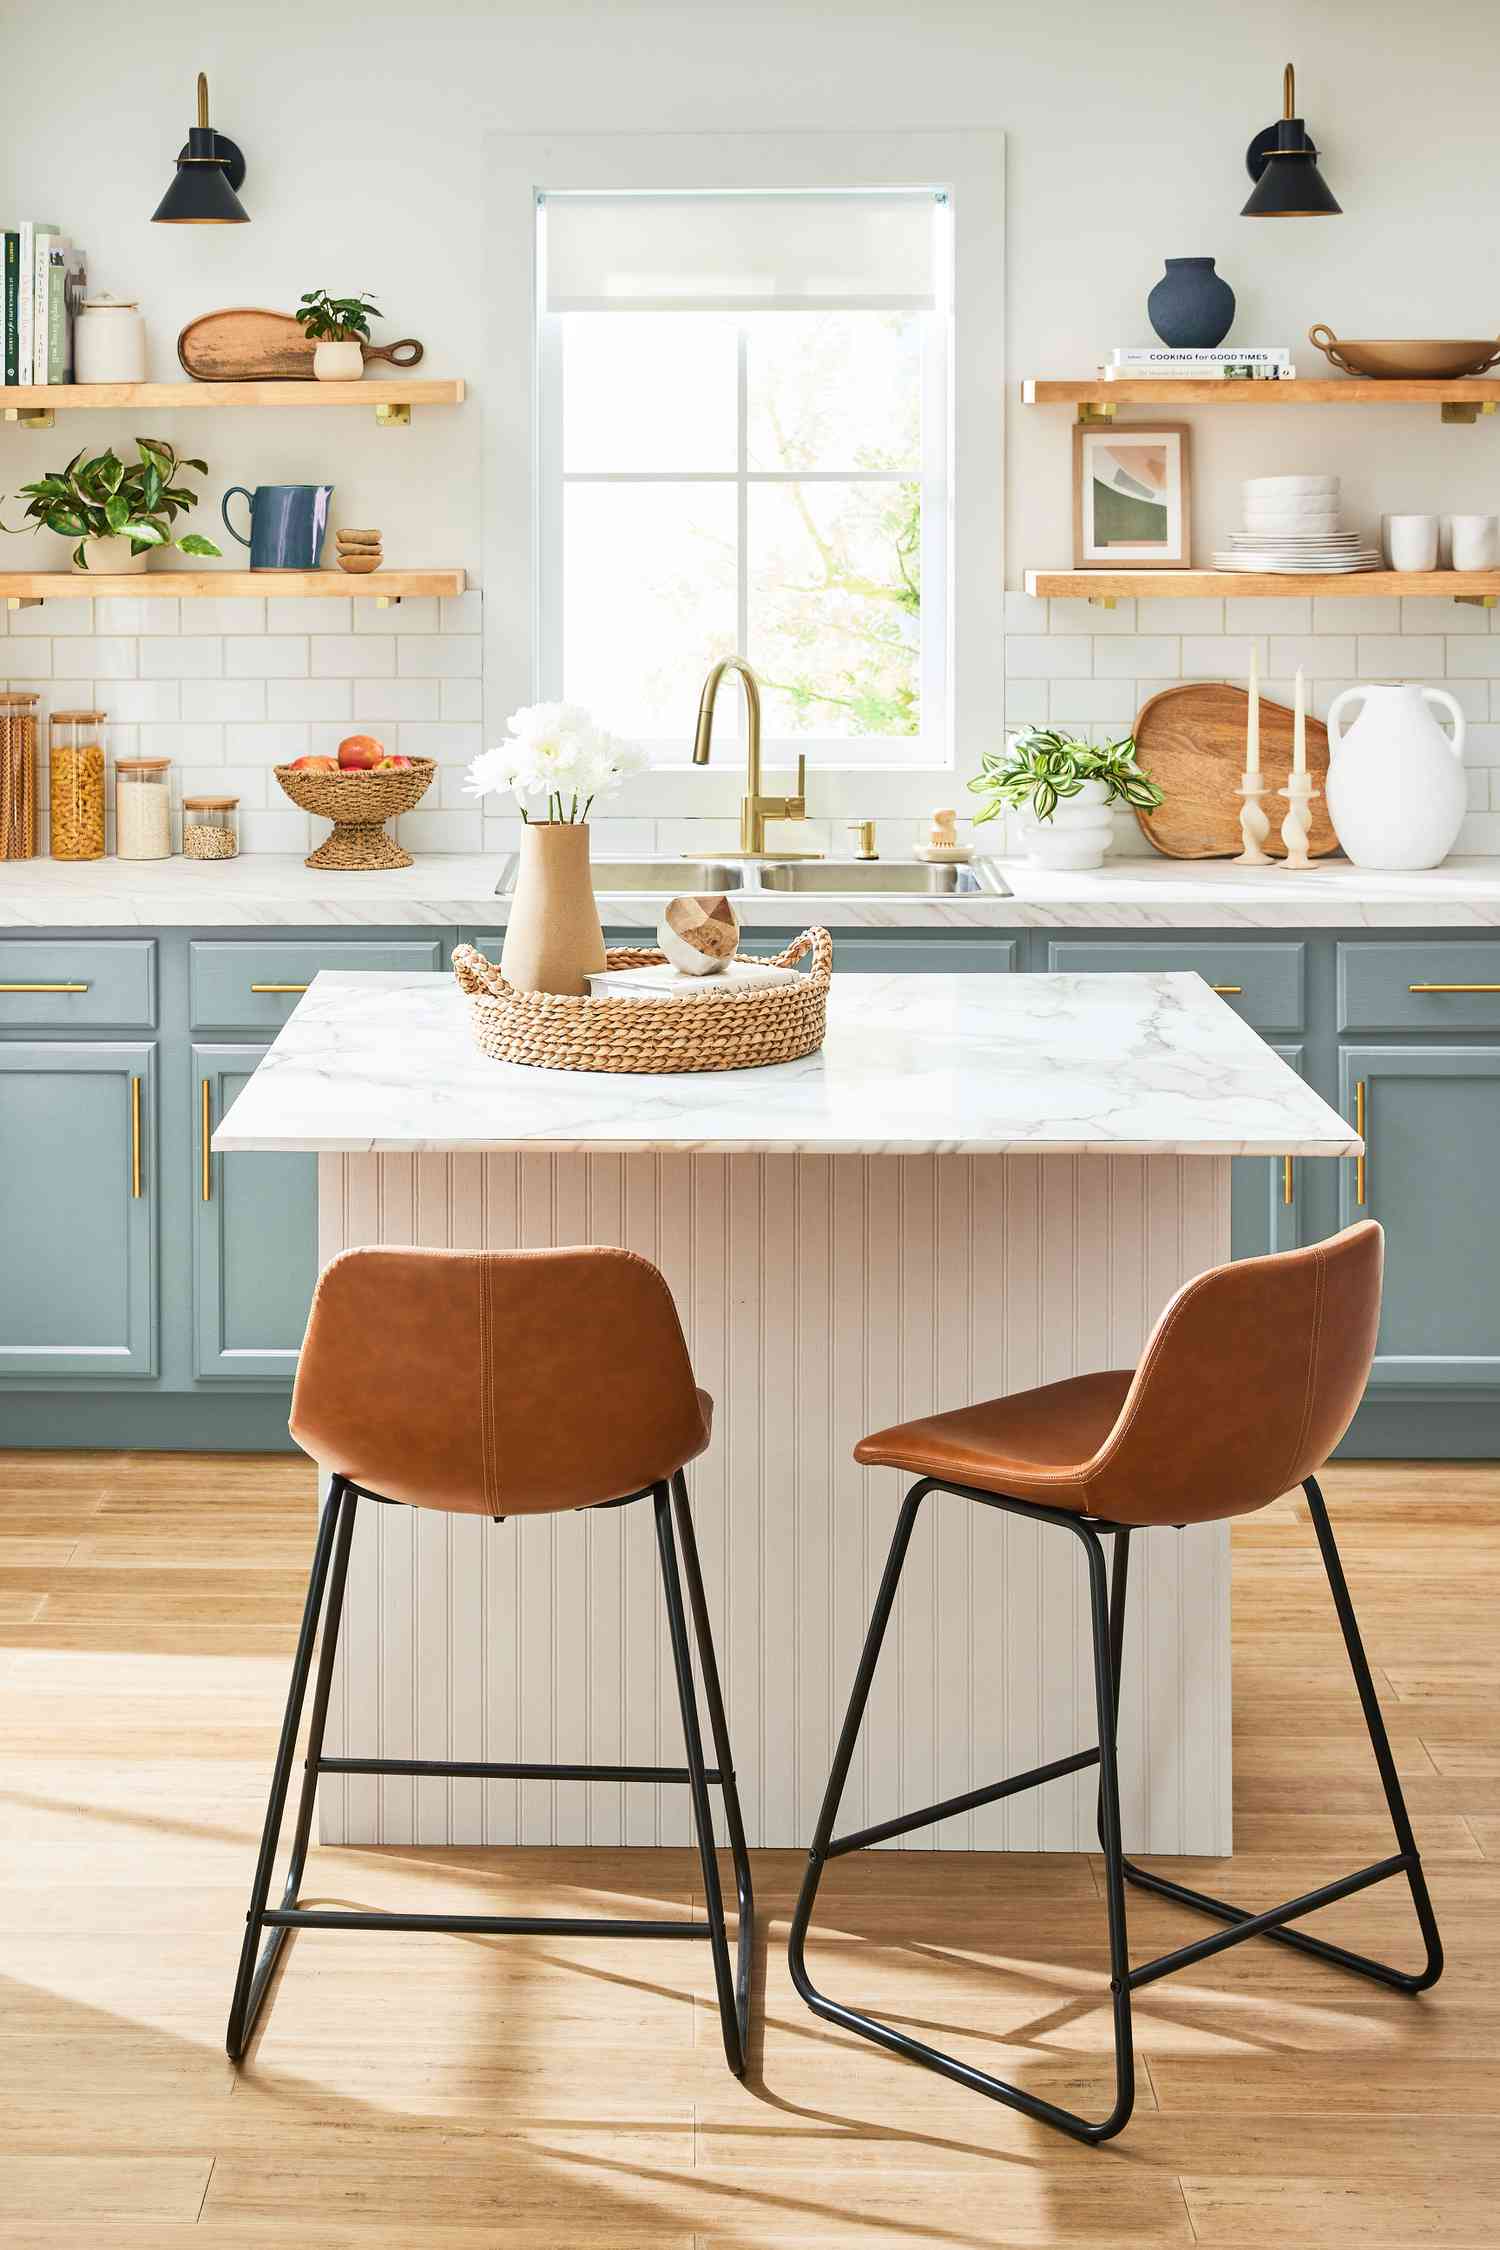
The psychological impact of the island layout cannot be overstated. By converting the solitary chore of meal preparation into a communal, face-to-face interaction, the island heals the historic fragmentation of the traditional domestic floor plan. Parents no longer turn their backs on their children while making dinner; guests naturally gravitate toward the edge of the quartz slab with a glass of wine, transforming cooking from a mechanical chore into an inclusive performance art. This spatial democratization explains why the island remains the most heavily budgeted and passionately debated feature in contemporary residential design.
Actionable Recommendations for Executing Your Island Vision
Translating grand kitchen island ideas into a cohesive, buildable reality requires clear frameworks and decisive prioritization. Balancing aesthetics, budget, and engineering constraints ensures that the final installation exceeds expectations.
The trajectory of the kitchen island over the past several decades proves that our homes are fundamentally living ecosystems, adapting in real time to how we work, eat, and connect. What started as a utilitarian table shoved into the middle of a workspace has matured into a sophisticated piece of architectural furniture, combining plumbing, electrical engineering, structural steel, and fine cabinetry into a single cohesive unit.
As we look toward the future of residential design, the focus will continue to sharpen around flexibility, sustainability, and intuitive technology integration—such as wireless charging surfaces embedded directly beneath stone countertops and smart refrigeration drawers seamlessly blended into the island cabinetry. Yet, beneath all the technological integration and material luxury lies a deeply human motivation. The island endures because it gathers us together. By approaching its design with rigorous spatial planning, profound respect for ergonomics, and an honest assessment of daily life, you create far more than a physical workstation; you build the beating heart of your home.