Imagine sliding beneath cool sheets after a punishing sixteen-hour workday, reaching blindly to elevate your head into that sweet-spot reading position, and meeting only dead silence. No low-humming linear actuator. No soft LED backlight. Just a piece of cold plastic sitting inert in your palm. For millions of people relying on adjustable foundations for sleep apnea, lower back trauma, or simple nocturnal comfort, losing a remote isn't just an annoyance; it is an immediate disruption to physical well-being.
The panic usually sets in fast. You pull out your phone, type a frantic search query into a browser, and are immediately bombarded by generic advice telling you to "change the batteries" or buy an expensive manufacturer-branded handset without knowing if the issue lies in the handheld transmitter, the under-bed control box, or the power supply itself. The aftermarket for sleep technology accessories is a confusing maze of proprietary protocols, frequency bands, and deceptive universal listings that look identical on the outside yet fail to communicate with your specific mechanism.
Navigating this terrain requires more than luck. It demands an understanding of how modern linear actuator systems communicate, the subtle differences between radio frequency (RF) and infrared (IR) pairings, and the exact diagnostics required to avoid wasting money on incompatible hardware. Whether you are dealing with a dead handset from legacy manufacturers or trying to decode a proprietary pairing sequence for a modern 24V linear motor setup, this definitive guide provides the exact field-tested steps needed to restore your sleep sanctuary.
The evolution of adjustable bed technology over the past two decades has shifted these once-hospital-grade devices into sleek, consumer-friendly pieces of modern furniture. Early models relied on bulky, hard-wired pendant controls connected via multi-pin tether cables. If the cord frayed, the entire system became crippled. Today, wireless radio frequency and Bluetooth-enabled handsets dominate the landscape, offering multi-zone articulation, massage wave patterns, under-bed lighting control, and programmable memory presets.
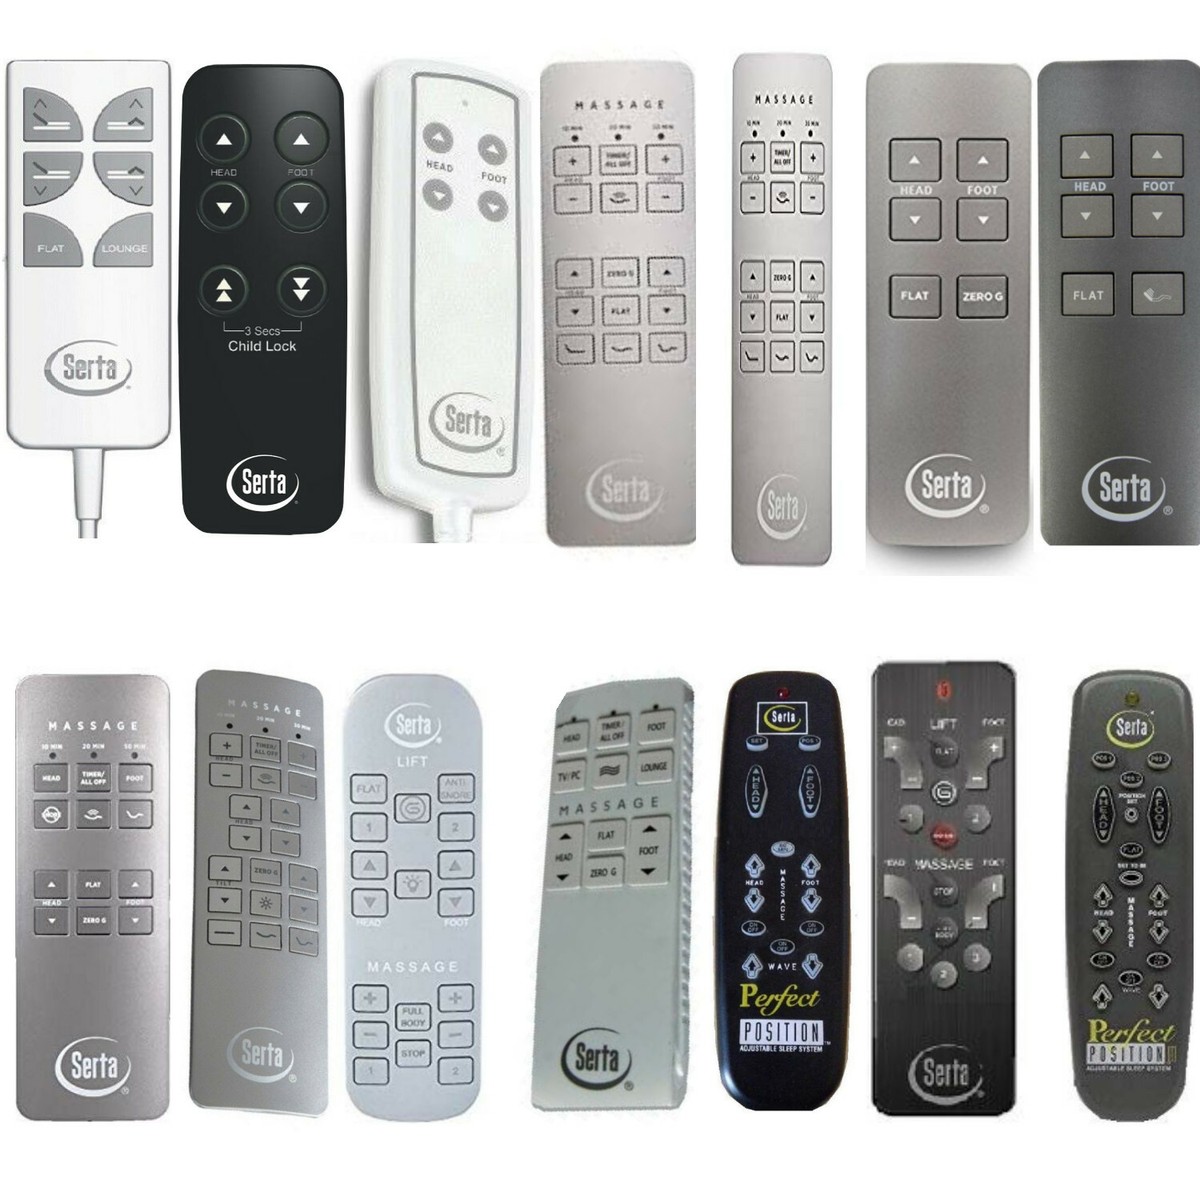
Yet, this wireless convenience introduces new vulnerabilities. RF interference from nearby Wi-Fi routers, dropped handsets that fracture internal solder joints, and battery acid corrosion can all render a thousand-dollar sleep foundation temporarily unusable. Furthermore, industry consolidation means that major electronics suppliers like Richmat, Okin, and Leggett & Platt manufacture OEM control boxes for dozens of distinct bed brands under different private labels. A remote stamped with a mattress retailer's logo is often just a rebranded OEM unit operating on a specific radio frequency. Understanding this underlying architecture is the secret to sourcing an exact replacement without paying inflated markup prices from original retail showrooms.
Decoding the Anatomy of Modern Sleep Foundation Controls and OEM Ecosystems
Before spending a single dollar on a replacement remote, you must understand the underlying ecosystem powering your specific adjustable bed. The marketplace is dominated by a few massive original equipment manufacturers who supply electronics to hundreds of brand-name mattress companies. If you own a bed from Tempur-Pedic, Sealy, Serta, or Reverie, the actual brain of the system—the control box bolted to the steel frame beneath the mattress—was likely manufactured by companies such as Okin, Richmat, Limoss, or Leggett & Platt. Each manufacturer utilizes specific operating frequencies, ranging from older 2.4GHz radio frequency signals to encrypted Bluetooth protocols designed to prevent signal cross-talk between neighboring bedrooms in apartment buildings.
Identifying your hardware begins underneath the bed, not on top of the mattress. Crawling down with a flashlight to read the silver or white compliance label on the primary control box is the single most important diagnostic step you can take. This label reveals the exact model number, voltage requirements—typically 24V DC for modern linear actuators—and the FCC ID or frequency band. Sourcing a replacement remote requires matching these parameters precisely. Purchasing a generic universal remote online without verifying whether your control box operates on an RF pairing button system or a direct sync sequence is a gamble that rarely pays off.
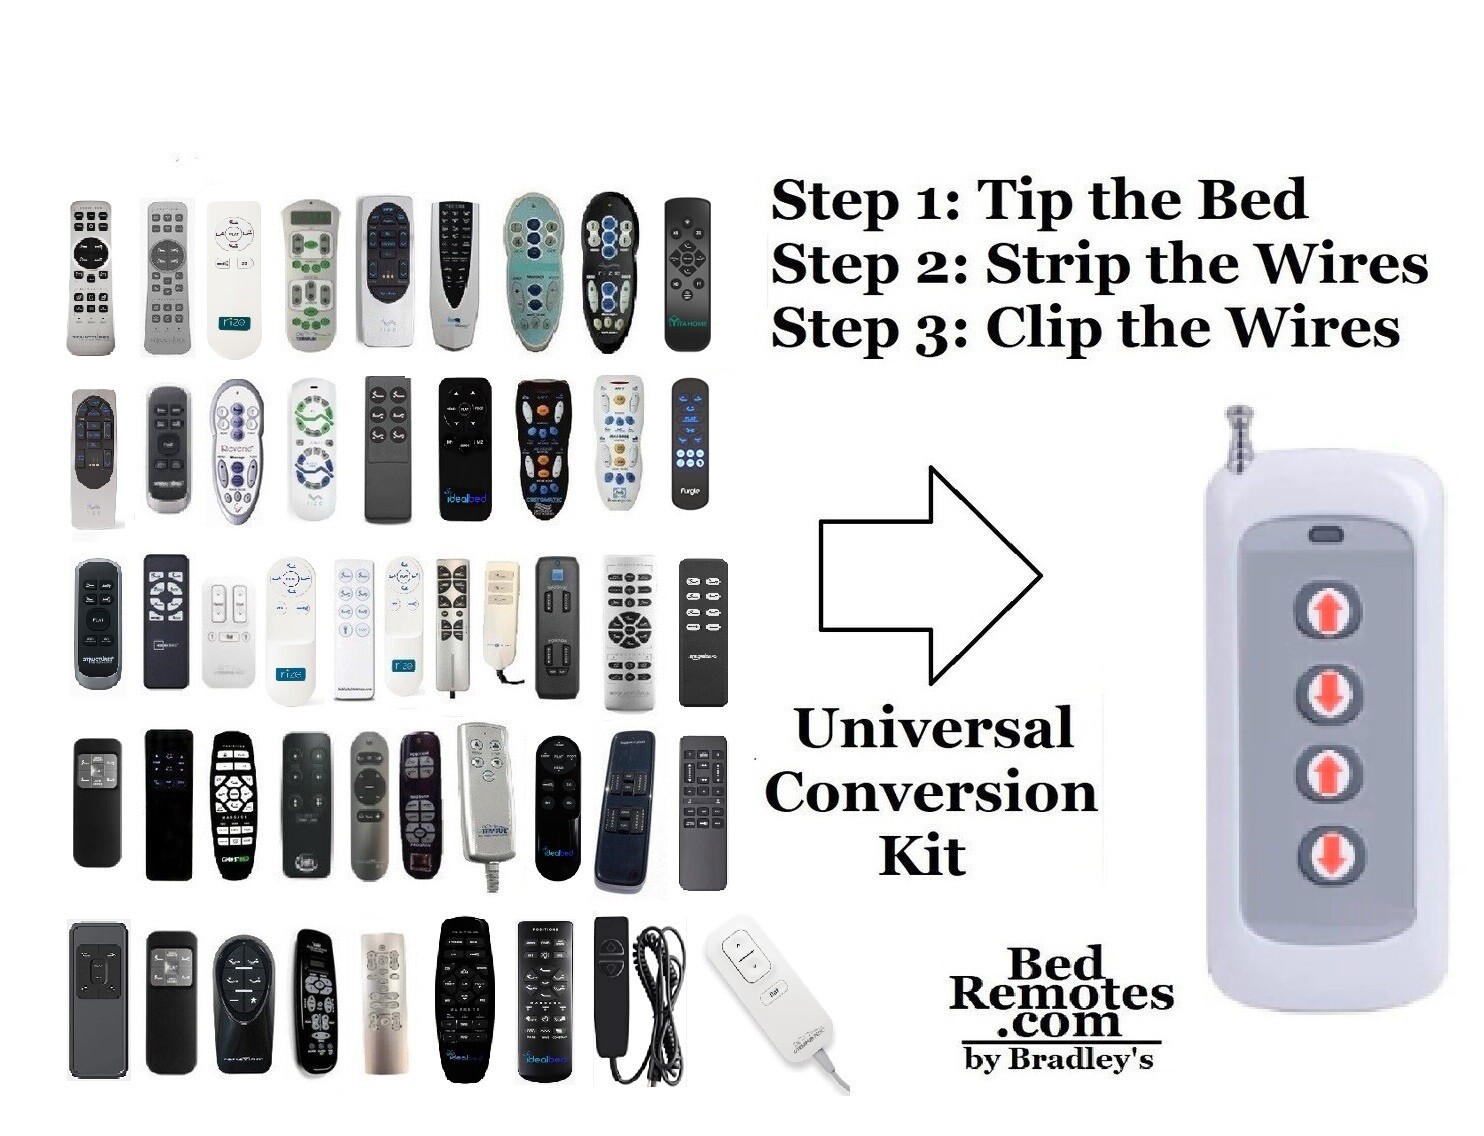
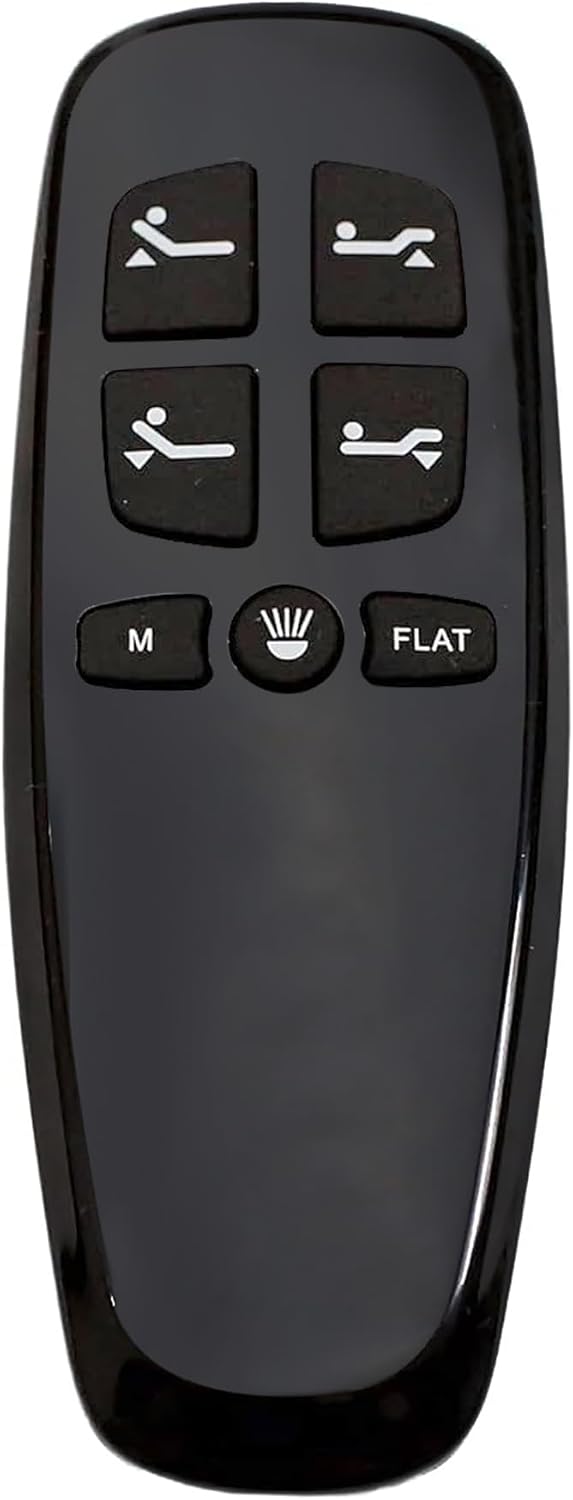
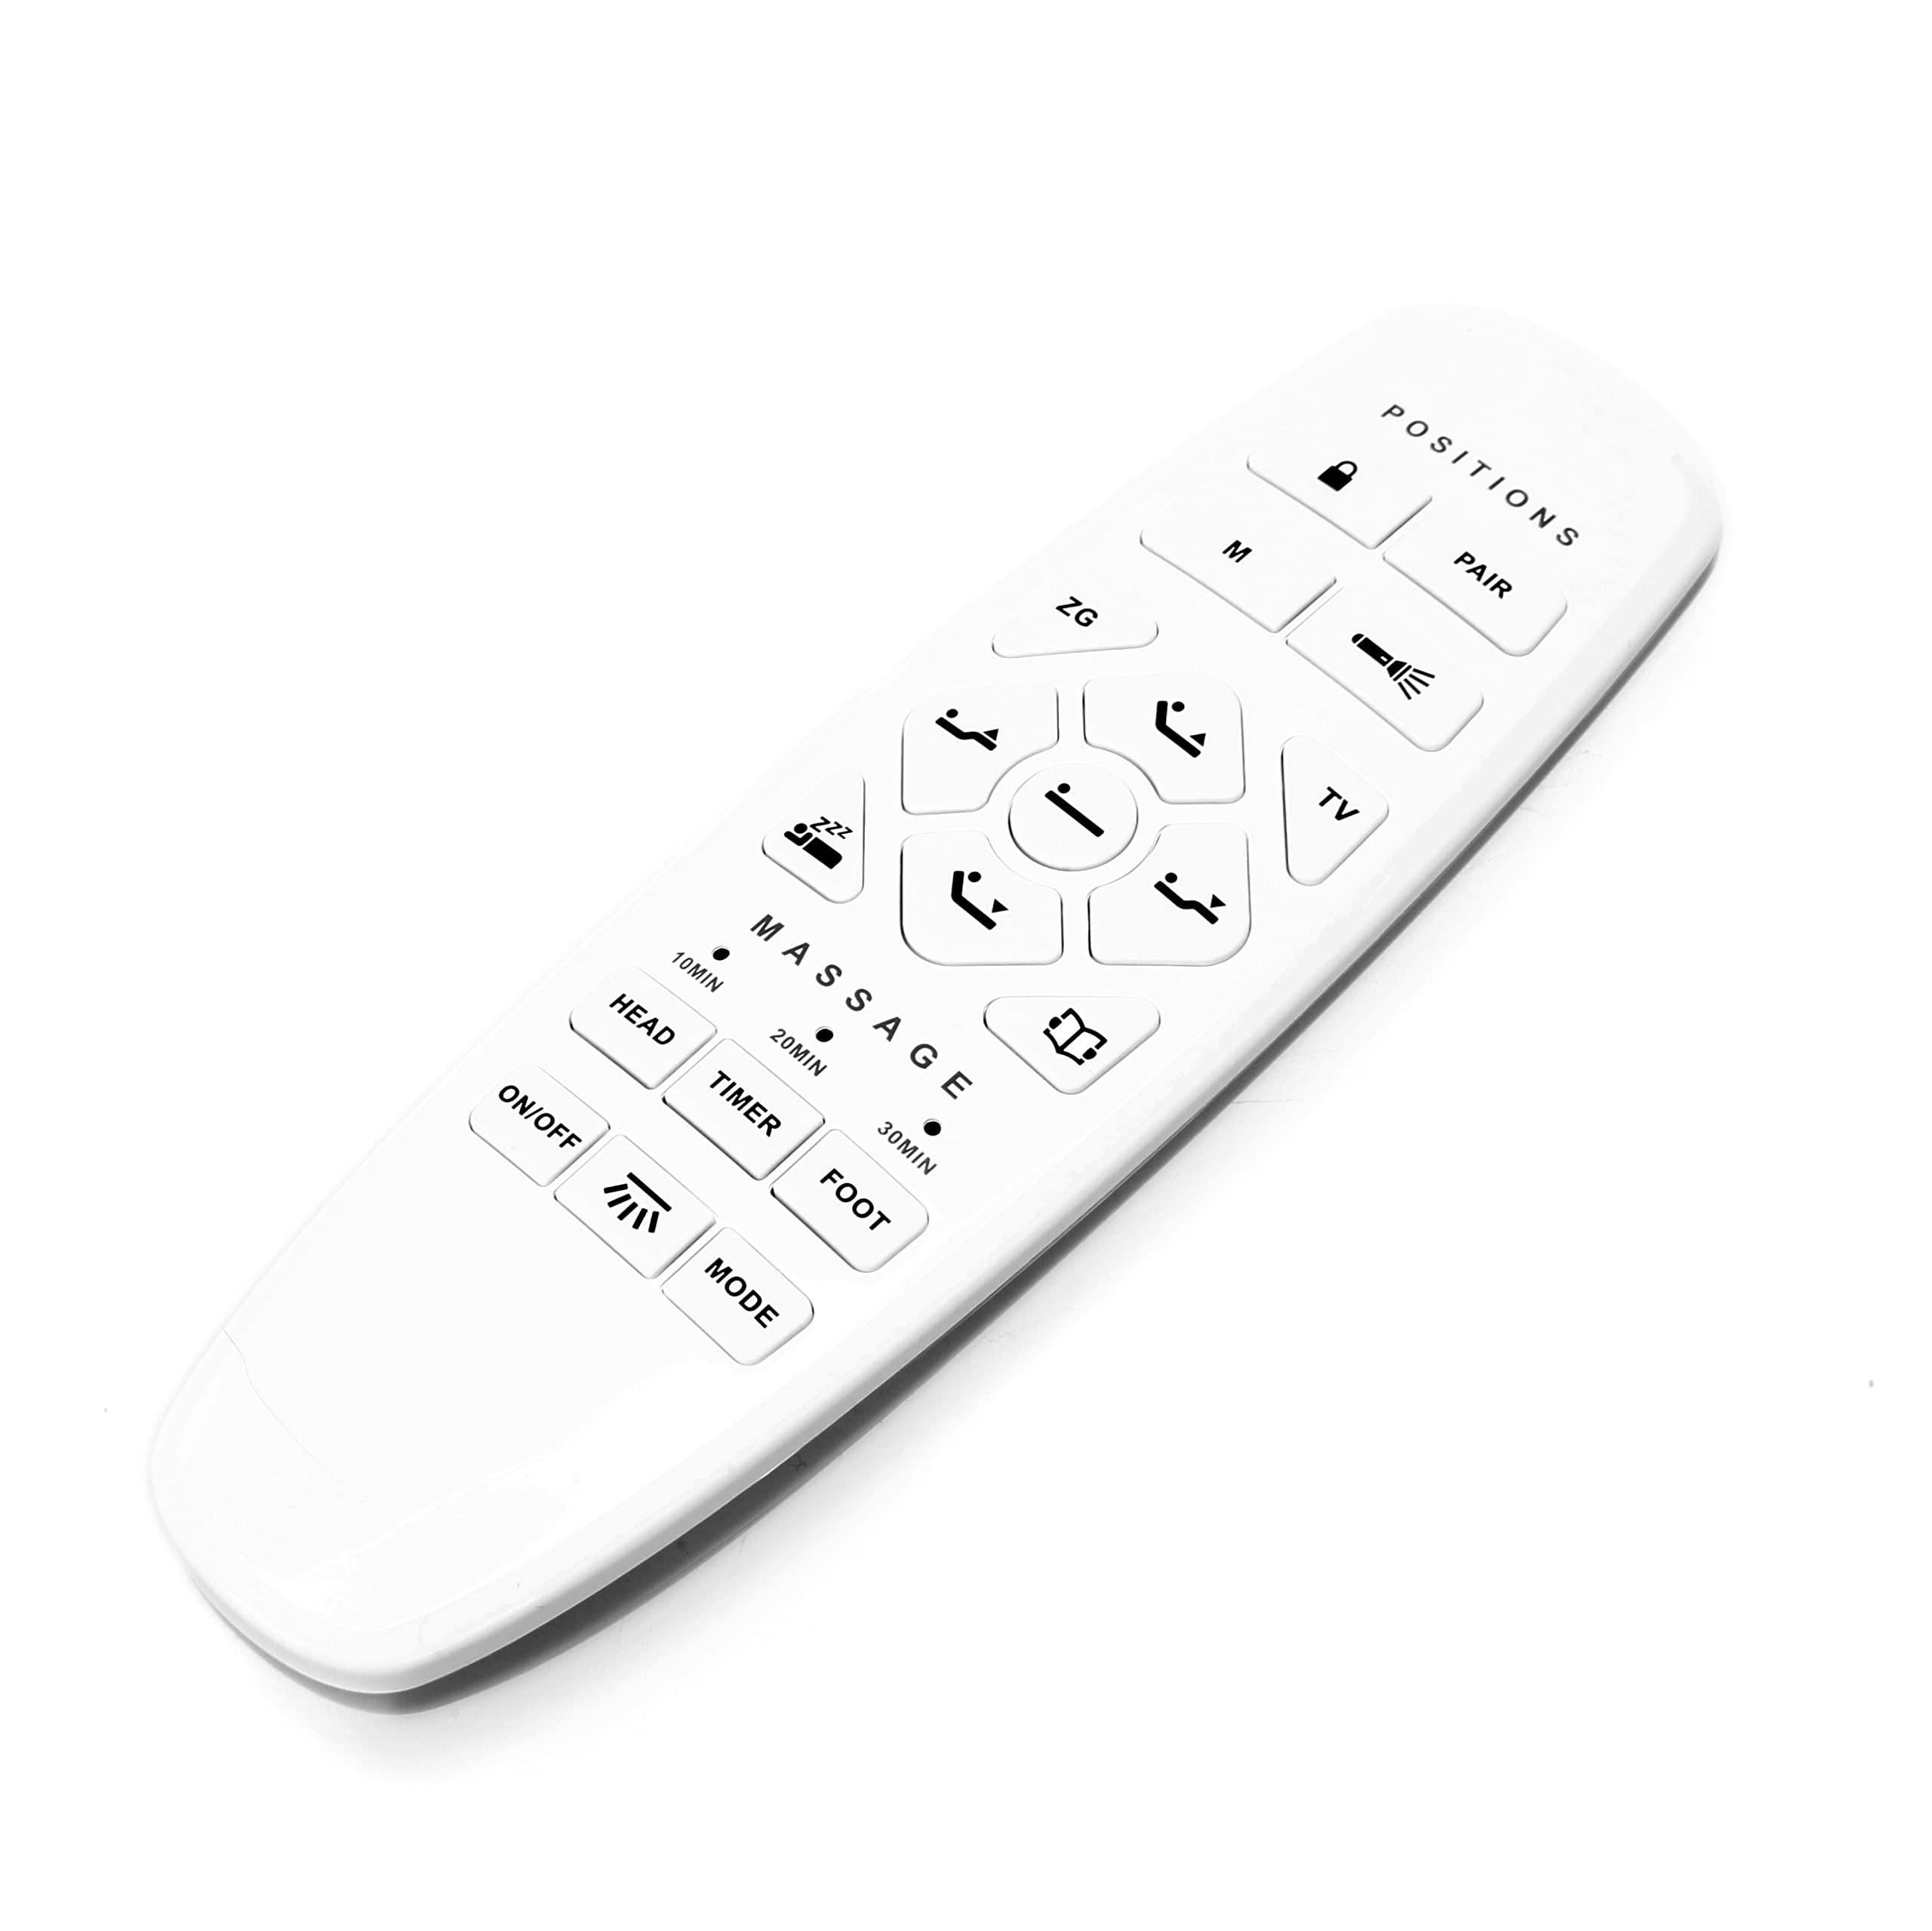
The physical design of the remote itself tells a story about its internal capability. Basic entry-level units feature four simple buttons controlling head and foot elevation independently. Mid-tier handsets incorporate zero-gravity presets, flat buttons, and massage toggles. Luxury units feature multi-channel Bluetooth capabilities that allow dual-motor synchronization for split-king configurations or integration with smart home automation apps. Recognizing these tier levels helps you determine whether a simple basic replacement will suffice or if you require an exact OEM match to retain advanced features like wall-hugging lumbar support or programmable memory slots.
When these handsets fail, the root cause is rarely systemic electrical failure; it is usually mechanical shock or environmental degradation. Handsets dropped onto hardwood flooring frequently suffer from fractured internal quartz oscillators or dislodged battery contact terminals. Conversely, control boxes subjected to damp basement environments or power surges can experience blown fuses or fried logic boards. Differentiating between a broken transmitter and a non-responsive receiver saves both time and money. A systematic approach to troubleshooting prevents the frustration of buying a brand-new replacement remote only to discover the bed's control box refuses to receive the signal.
Comprehensive Diagnostic Strategies for Non-Responsive Systems
Diagnosing an unresponsive adjustable bed requires a methodical process of elimination that moves from the most obvious power sources down to deep component-level analysis. Never assume a remote is broken simply because pressing a button yields no movement. Modern sleep foundations rely on unbroken power delivery across multiple modular connection points: the wall outlet, the surge protector, the transformer brick, the DC power cord, and the under-bed control box. A loose connection anywhere in this chain mimics a dead remote control entirely.
Start with the fundamental power check. Ensure the power cord is securely plugged into a working wall outlet, and verify that the inline transformer box shows an active LED indicator light. If the transformer light is dark, test the outlet with another household appliance or swap out the AC power cord entirely. Many users overlook the emergency battery backup box—often housing two 9-volt batteries designed to lower the bed during a blackout. If these batteries have leaked or corroded inside their compartment, they can create a short circuit that disables the entire control box logic board, rendering all remote signals ineffective.
Once continuous power is confirmed, turn your attention to the handset itself. Remove the battery cover and inspect the spring contacts for white, powdery alkaline corrosion. If corrosion is present, clean the terminals meticulously using a cotton swab dipped in isopropyl alcohol. Always replace old batteries with fresh, high-drain alkaline cells rather than cheap heavy-duty carbon-zinc variants, which lack the consistent voltage output required to power radio frequency transmitters. If the remote features an LED backlight, press a button and observe whether the light flashes, indicating low power, or remains completely dark, indicating a dead circuit or reversed polarity.
The final diagnostic frontier involves testing the RF communication link between the handset and the control box. Many control boxes feature a physical "Learn" or "Pair" button located directly on the housing or dangling on a short wire lead. Pressing this button initiates a listening window where the control box scans for an incoming radio frequency handshake from a compatible remote. If the control box fails to respond to this pairing mode or emits no clicking sound from its internal relays, the issue lies within the receiver unit itself rather than the handheld transmitter, requiring a control box replacement rather than a remote swap.
Step-by-Step Practical Implementation Guide for Remote Pairing and Replacement

Executing a successful remote replacement and pairing procedure demands adherence to strict procedural sequences. Skipping a single step in the handshake protocol can leave you stranded with a handset that refuses to command the motors. Follow this field-tested methodology to swap, sync, and calibrate your new adjustable bed remote control safely and efficiently.
Common Pitfalls and Field-Tested Workarounds for Adjustable Bed Remotes
Navigating the replacement process exposes users to several recurring traps that can waste money and compromise system integrity. Recognizing these obstacles beforehand ensures a smooth restoration of your sleep environment.
Holistic Perspectives on Sleep Ergonomics and Long-Term Base Maintenance
Viewing an adjustable bed remote solely as a piece of plastic hardware misses the broader picture of modern sleep ergonomics and preventative home maintenance. An adjustable foundation is a sophisticated electro-mechanical appliance subject to mechanical wear, dust accumulation, and electrical stress. Treating the system with proactive care extends the operational lifespan of both the mattress support platform and its sensitive electronic controls, safeguarding your physical comfort and financial investment.
Environmental factors inside the bedroom play a silent yet critical role in electronic reliability. Bedrooms accumulate lint, pet dander, and dust particles that migrate under the bed and settle into control box ventilation ports and remote battery compartments. Regular under-bed cleaning and inspecting cords for pet chewing or pinching against heavy steel frame hinges prevents premature hardware failure. Furthermore, plugging your adjustable bed into a dedicated surge protector rather than a standard wall outlet shields the sensitive logic boards and transformer bricks from destructive voltage spikes caused by electrical storms or grid fluctuations.
The ergonomic value of a fully functional remote cannot be overstated for individuals managing chronic conditions like acid reflux, degenerative disc disease, or peripheral edema. Being able to effortlessly transition into a zero-gravity posture—where the head and knees are elevated slightly above the heart—relieves spinal pressure and improves nocturnal circulation. When a remote fails, the loss of these therapeutic positions directly impacts sleep quality, triggering muscle stiffness and fatigue. Maintaining a backup remote or knowing how to manually override the linear actuators via the control box emergency power-down port ensures you are never left stranded in an uncomfortable physical position.
As smart home integration continues to mature, the traditional handheld remote is increasingly complemented or replaced by smartphone applications and voice-activated control modules. While apps offer supreme convenience, they also introduce software update dependencies and Bluetooth pairing dropouts. Maintaining a physical RF handset alongside digital alternatives provides a reliable, fail-safe control method that functions independently of Wi-Fi router stability or smartphone battery levels, ensuring uninterrupted comfort through every night of the year.
Actionable Recommendations and Key Takeaways for Seamless Remote Replacement
Successfully managing your adjustable bed remote replacement and maintenance comes down to a structured set of best practices that eliminate guesswork and protect your investment. Implement these core recommendations to maintain total command over your sleep environment:
The humble adjustable bed remote sits at the intersection of modern convenience and restorative human well-being. What appears to be a minor handheld gadget is actually the vital command center for a sophisticated electro-mechanical support system designed to alleviate physical pain, enhance respiratory function, and deliver deep, uninterrupted rest. When that link breaks, the frustration serves as a powerful reminder of how deeply integrated these sleep technologies have become in our daily lives.
By moving past the initial panic of a non-responsive bed and applying systematic diagnostic logic—verifying power delivery, identifying exact OEM part numbers, and executing clean pairing sequences—you reclaim complete control over your sleep sanctuary. As sleep technology continues to evolve with smarter automation and wireless protocols, the core principles of proactive maintenance, proper hardware identification, and careful troubleshooting remain your most reliable tools. Approach your sleep environment with technical clarity, and you will ensure that comfort is never more than a button-press away.