I was helping a client pick out Whitehaus tiles for her kitchen backsplash when she handed me a brochure that said 'timeless elegance.' Three months later, she was calling me frantic because the grout was crumbling and the tiles were lifting. That's when I realized most people just don't understand how these tiles work. After working with Whitehaus for nearly five years, I've seen enough disasters to know exactly what goes wrong—and how to fix it.
Whitehaus tiles are beautiful, yes—but they're also tricky. I've watched countless homeowners and contractors make the same mistakes that end up costing hundreds in repairs. The key isn't just picking the right tile; it's understanding how they behave, what they need, and how to handle them properly. Most people assume these are like regular ceramic tiles, but they're actually quite different. I've learned that even experienced installers can fall into traps if they don't know the specifics.
Why Whitehaus Tiles Matter for Your Space
Whitehaus tiles aren't just decorative—they're a statement piece. When I did the master bathroom renovation last year, I chose their limestone collection for its subtle texture and warm tones. The client loved how they made the space feel luxurious without being overwhelming. But here's what I've learned: these tiles are particularly effective in areas with moderate humidity, like bathrooms and kitchens, where they can really shine. They're also great for creating focal points in larger spaces. The trick is knowing which collection works best for your environment.
How I Approach Whitehaus Tile Projects
I always start by assessing the substrate and moisture conditions before anything else. My process includes: checking the wall surface for flatness, ensuring proper waterproofing in wet areas, selecting the right thinset (I prefer unmodified thinset for most applications), and using a high-quality sanded grout. I also always recommend a 3/8-inch gap between tiles, which is crucial for proper expansion. I've had clients who tried to save money by skipping the extra spacing, and it usually leads to cracked tiles or uneven grout lines. In one case, I had to redo an entire backsplash because someone had installed them too close together.
The Mistakes I Made with Whitehaus Tiles
Early on, I underestimated the importance of proper surface preparation. I once installed Whitehaus tiles in a bathroom without adequately sealing the substrate, and within six months, water damage started seeping through. I also learned that not all thinsets are created equal—I used a modified thinset in a high-humidity area, and it didn't hold up well under temperature changes. Another mistake? Trying to rush the installation. I've found that taking time for proper alignment and allowing adequate curing time is absolutely essential. It's frustrating when you're trying to meet deadlines, but rushing these tiles leads to costly fixes down the road.
What Most People Get Wrong About Whitehaus Tiles
Here's what I wish more people understood: Whitehaus tiles are not meant to be installed anywhere. They require specific conditions to perform well. Most people assume they're just like standard ceramic tiles, but they actually have unique properties that make them sensitive to moisture and temperature fluctuations. I've seen installations fail because people didn't account for expansion joints, or they used inappropriate adhesives. And don't get me started on grout selection—many people think any grout will do, but for Whitehaus tiles, you need a sanded grout that matches the tile's porosity. I've had clients return tiles because they used unsanded grout and ended up with discoloration.
Choosing the Right Whitehaus Tile Collection
Not all Whitehaus collections are created equal. The limestone series works beautifully in traditional settings, but the porcelain options are better for high-moisture environments. I always ask clients about their lifestyle first—do they have pets? Do they cook frequently? For busy households, I recommend the more durable porcelain options. I've also learned that some collections are more forgiving than others when it comes to minor imperfections in the substrate. The 'Copper' collection, for example, has a slight texture that hides small flaws better than smoother options. It's also worth noting that Whitehaus doesn't offer every color in every collection, so plan ahead.
Frequently Asked Questions About Whitehaus Tiles
• Can I install Whitehaus tiles myself?
Yes, but it's not easy. You need experience with tile installation and access to proper tools. I'd say it's definitely doable for experienced DIYers, but I've seen too many amateur attempts go wrong.
• Do I need to seal Whitehaus tiles?
Most Whitehaus tiles don't require sealing, but some collectors do. Always check with the manufacturer or your supplier.
• What's the best grout to use?
Sanded grout is recommended for most Whitehaus tiles. Unmodified thinset works well for adhesion.
• Are Whitehaus tiles suitable for bathrooms?
Absolutely, but make sure to use proper waterproofing and ventilation. I've had great success in bathrooms with proper installation.
• How often should I clean Whitehaus tiles?
Regular cleaning with mild soap and water is sufficient. Avoid acidic cleaners that can damage the finish.
Whitehaus tiles are stunning, but they demand respect. I've learned that the difference between a successful installation and a disaster lies in attention to detail—from substrate prep to grout selection. If you're planning to use these tiles, invest in proper installation and don't cut corners. I'd recommend getting a consultation with someone experienced, especially if you're new to tile work. I still remember the look of satisfaction on that client's face when we finally got her bathroom right after that first messy attempt. That's what good tile work should feel like—beautiful and lasting. My advice? Take your time, do your homework, and when in doubt, call a pro.


Related Posts
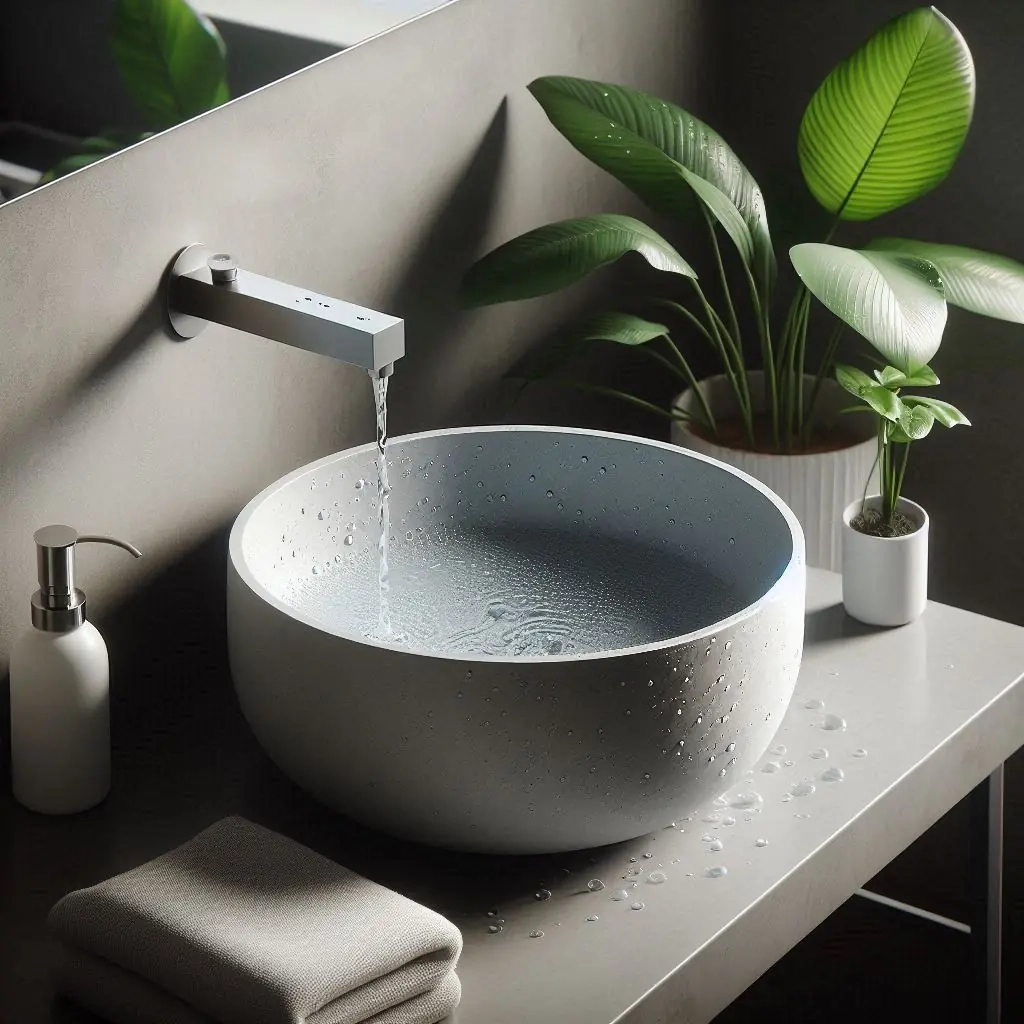
How Ceramic Vessel Sinks Enhance Bathroom Aesthetics and Functionality
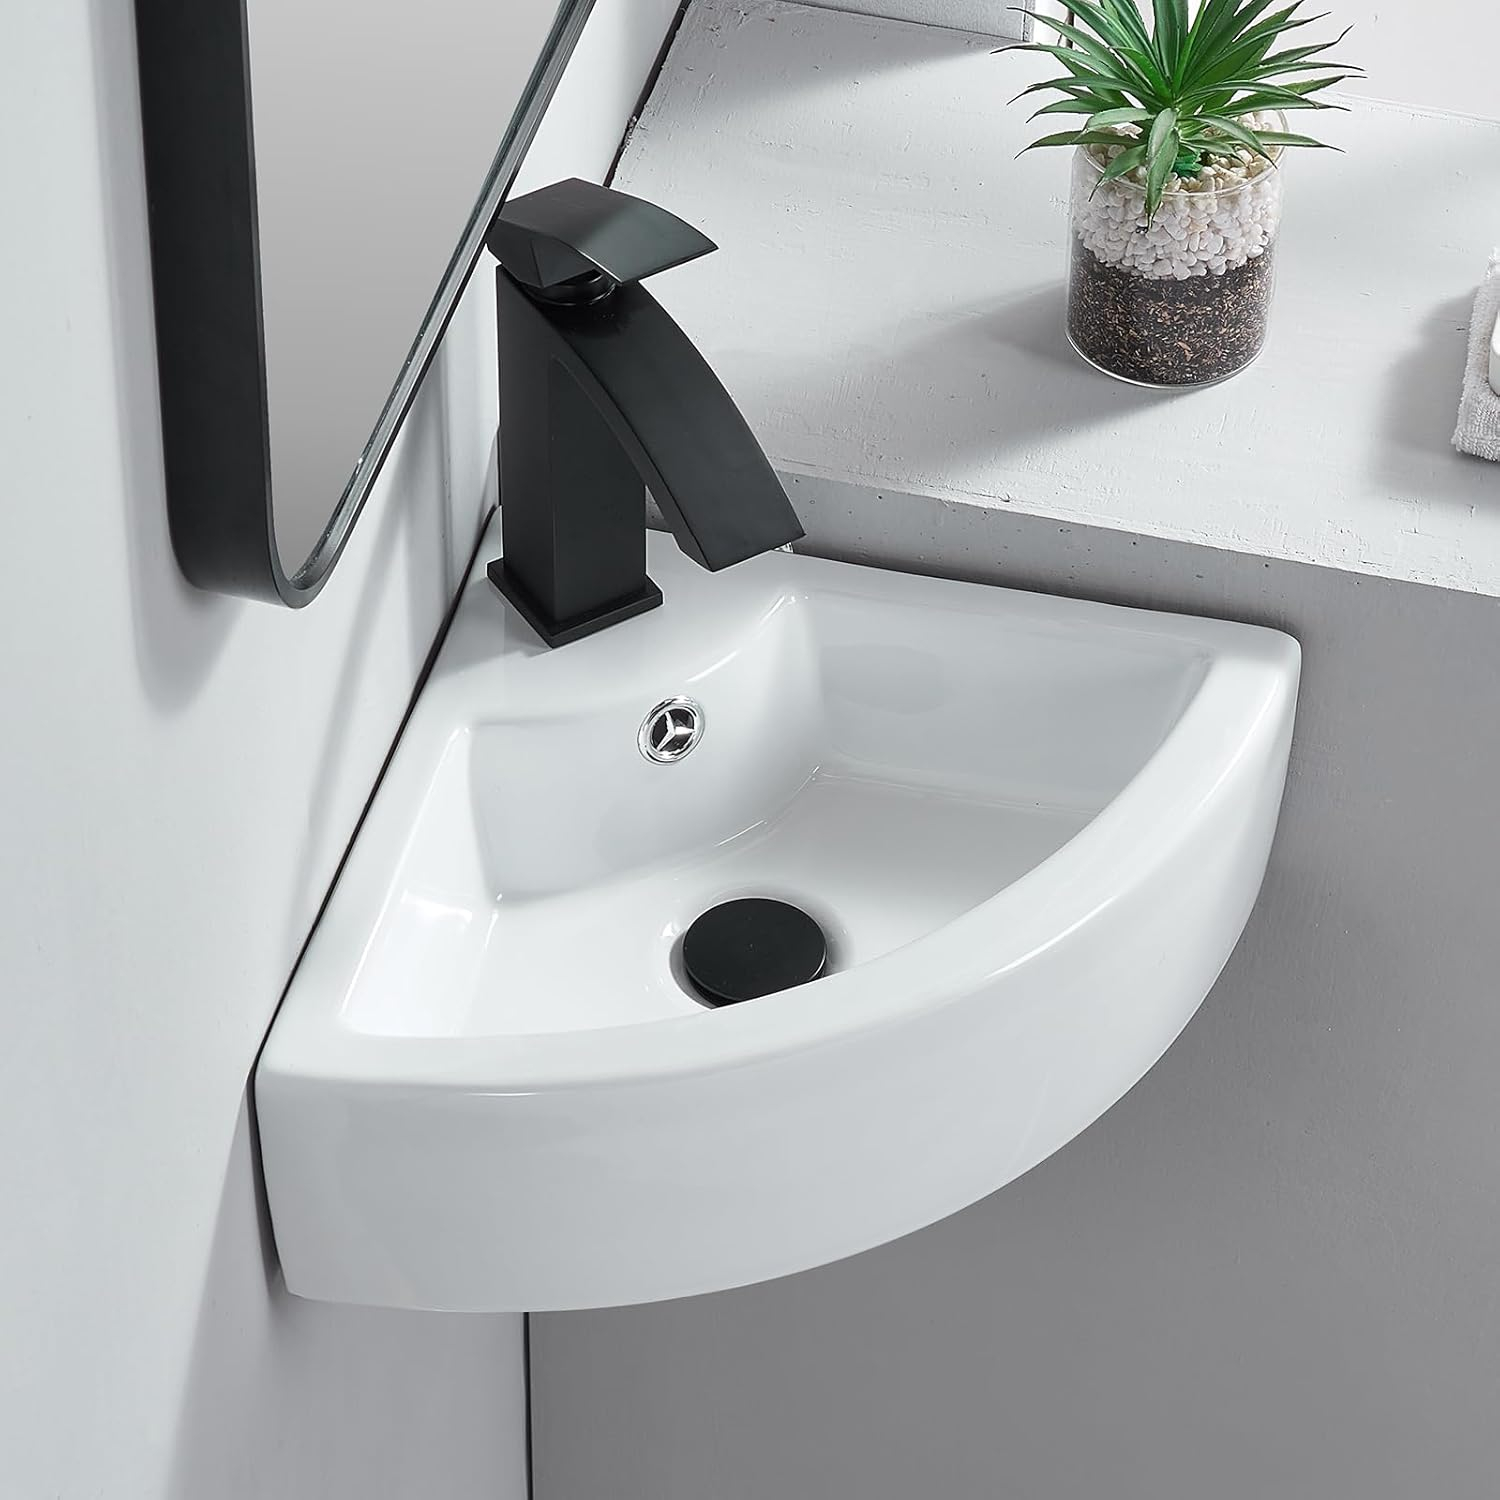
How to Choose the Right Wall Mounted Corner Sink for Your Bathroom Space
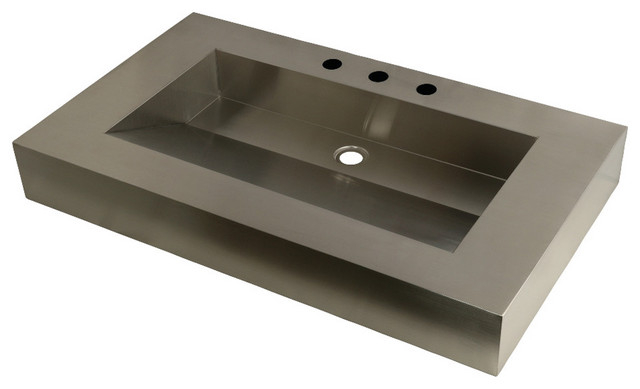
Design and Durability Analysis of the Kingston Brass GLTS37225 Brushed Basin
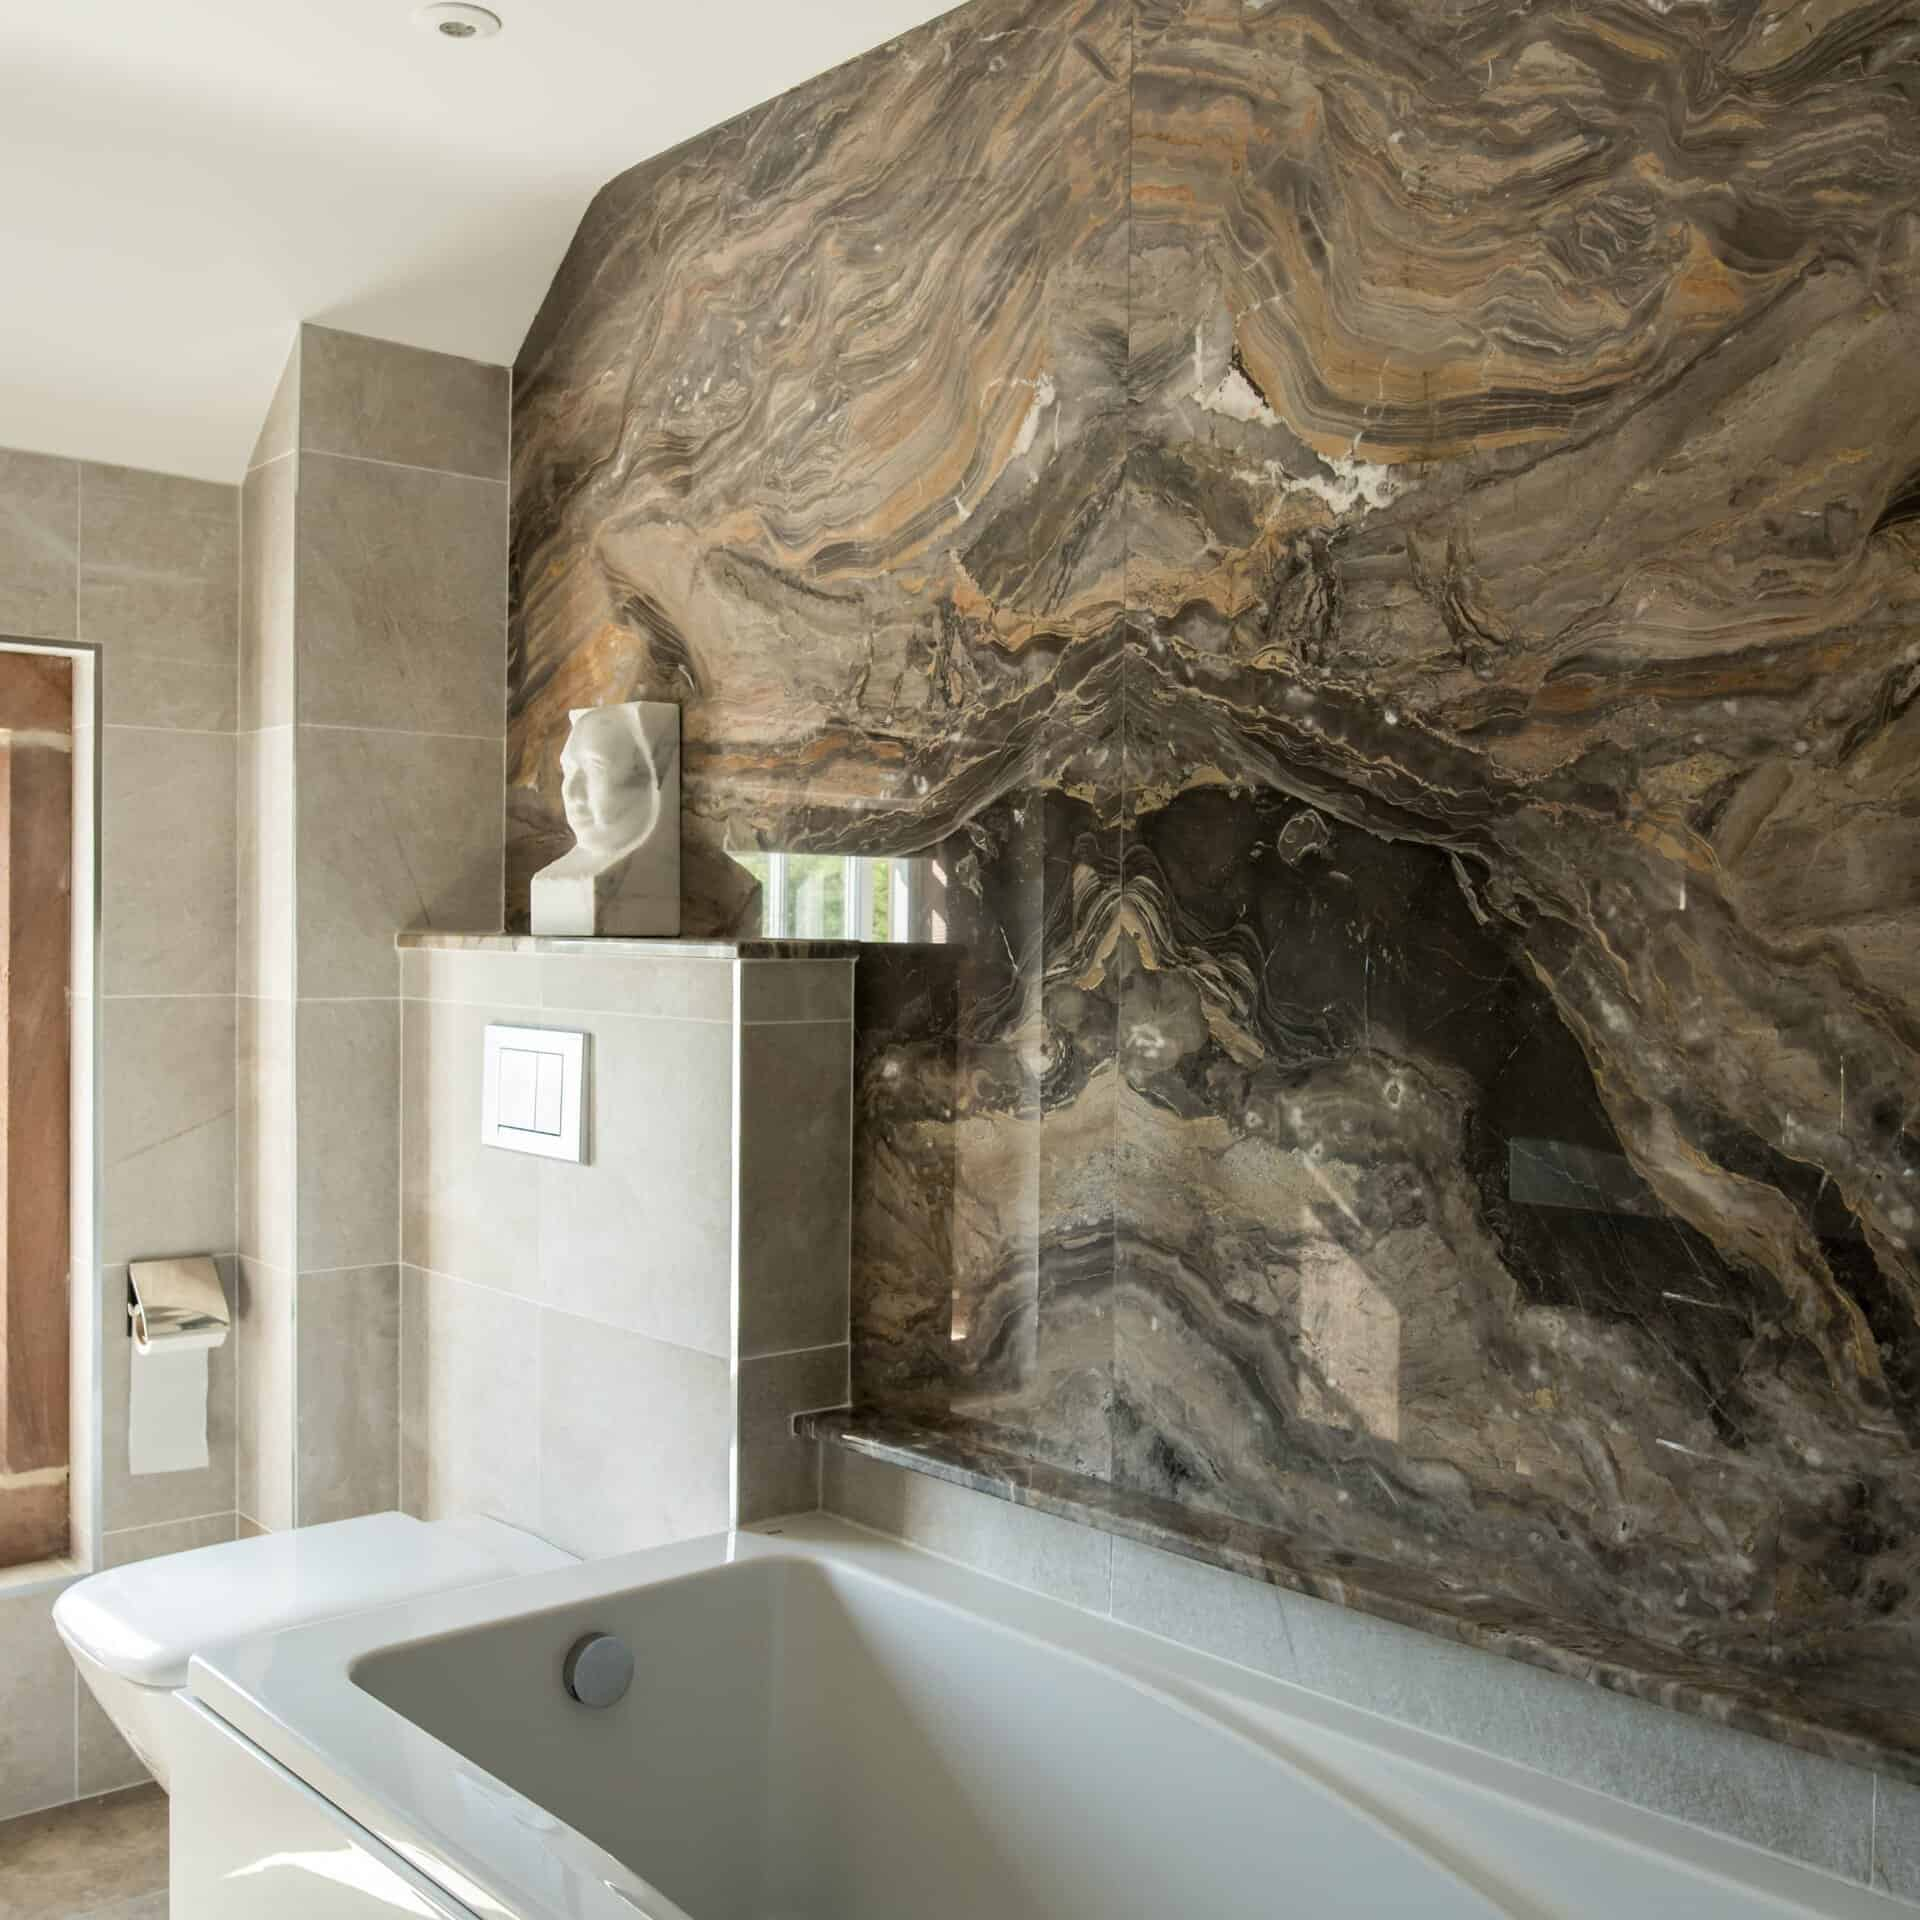
Transforming Your Bathroom with Textured Stone Surfaces
Choosing the Perfect Small Undermount Sink for Your Home Decor