Picture walking through your front or side door on a freezing, slush-drenched Tuesday evening. If your current entryway greets you with a precarious avalanche of untied sneakers, sodden dog leashes, and oversized winter coats draped over every available doorknob, you understand the visceral chaos of a home missing an intentional transition zone.
The threshold between the unpredictable elements of the outside world and the sanctuary of your interior living space is arguably the hardest-working zone in residential architecture. Yet, it is frequently treated as an afterthought—a narrow hallway or a cramped corner left to fend for itself.
Transforming this friction point requires more than decorative baskets purchased on a whim. It demands deliberate, highly calculated mudroom storage plans that account for the messy, unpredictable realities of daily household movement. Over the past fifteen years of inspecting architectural layouts and working alongside veteran finish carpenters, I have learned that a truly functional drop zone is an exercise in applied human ergonomics. It relies on a rigorous understanding of traffic flows, load-bearing capacities, moisture-resistant materials, and the sheer volume of gear that a modern family accumulates across four distinct seasons.
Whether you are carving out a dedicated transition space from an existing oversized laundry room, converting a garage entry corridor, or drafting architectural blueprints for a brand-new custom build, designing an effective drop zone requires moving past Pinterest aesthetics and confronting the structural physics of household storage.
Deconstructing Spatial Dynamics and Traffic Flow in Entryway Design
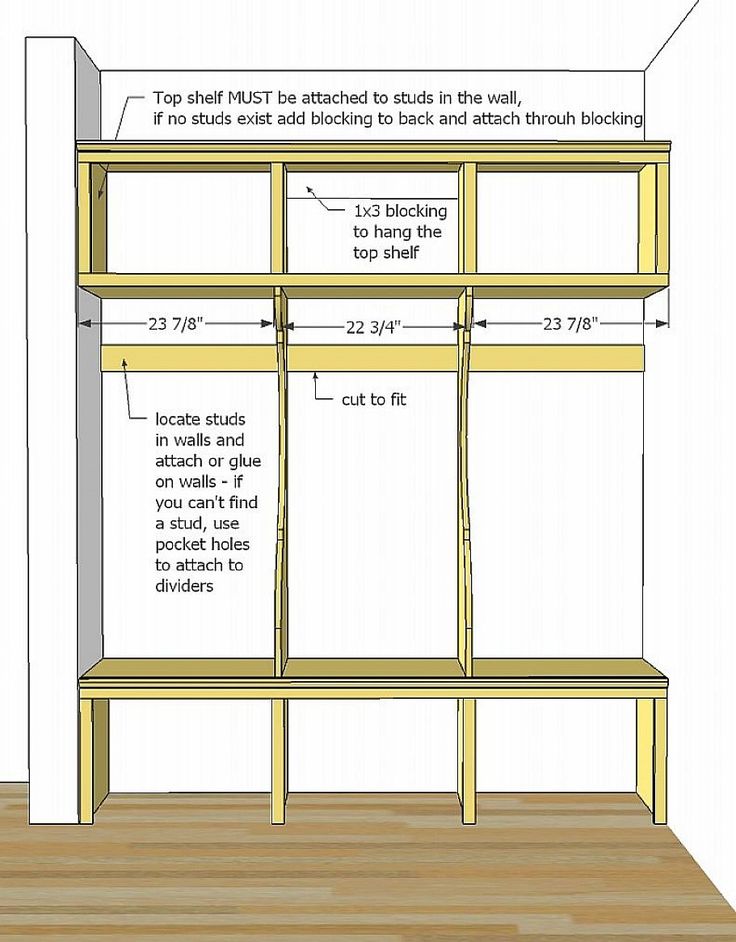
The primary failure of most residential drop zones stems from a fundamental misunderstanding of spatial clearances. A mudroom is a high-velocity intersection. During morning departures and evening arrivals, multiple family members converge on the exact same square footage simultaneously, shedding layers of outerwear, backpacks, and sports equipment. If your layout forces people to trip over each other or blocks the operational swing of an exterior door, no amount of custom millwork will save the space from daily frustration.
When establishing functional mudroom storage plans, you must first calculate the primary clearance corridor. Interior designers and residential architects generally recommend maintaining a minimum unobstructed aisle width of 36 to 48 inches. This allows an adult to comfortably bend down to untie muddy boots or maneuver a bulky hockey bag without slamming their elbow into an adjacent wall or bench face. If you are incorporating built-in lockers or bench seating along one wall, remember that a standard base cabinet or bench depth requires roughly 18 to 24 inches of floor footprint. Consequently, placing cabinetry on opposing walls is rarely feasible in standard hallways unless your transitional footprint measures at least six feet wide.
Traffic mapping is another critical analytical step that professionals use before drawing a single line of cabinetry. Observe how your household naturally moves through the entry point. Where do people instinctively drop their keys? Which direction does the exterior door swing? Does the entry path intersect with a powder room or garage access door? By aligning your storage zones with these organic movement patterns, you eliminate friction.
For instance, high-use items like daily school backpacks and work keys should be positioned immediately adjacent to the primary entry path, while seasonal overflow—such as camping gear, out-of-season snow boots, and guest coats—belongs higher up or deeper within enclosed architectural pantries. Ignoring these behavioral patterns results in expensive custom built-ins that sit empty while gear piles up on the kitchen island.
Engineering Ergonomic Lockers, Benches, and Vertical Storage Zones
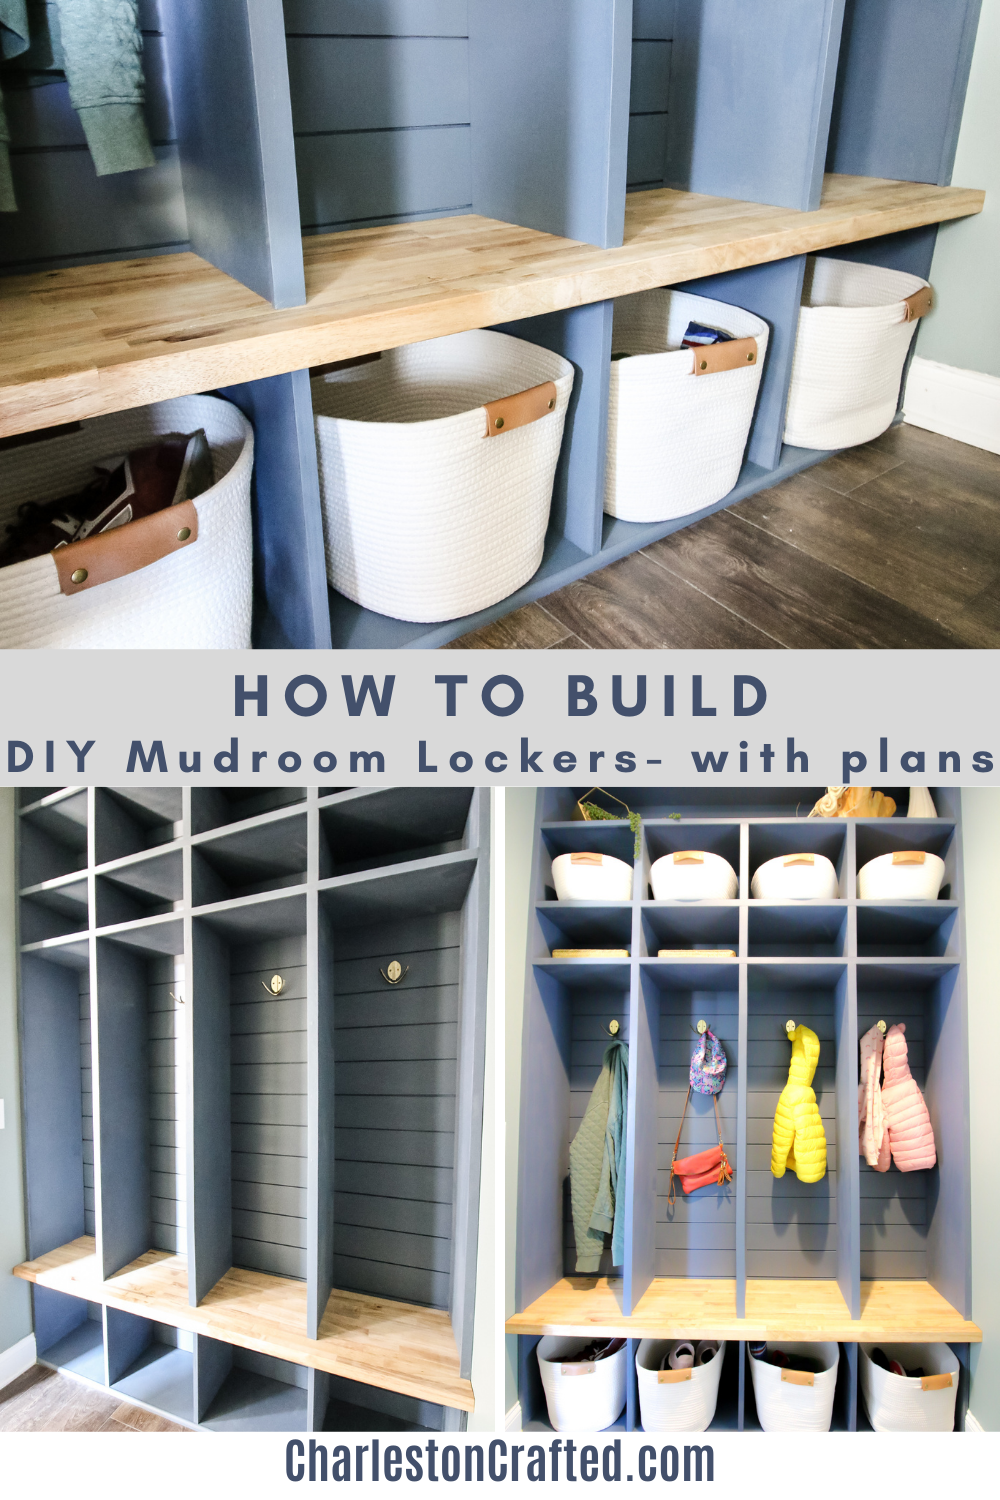
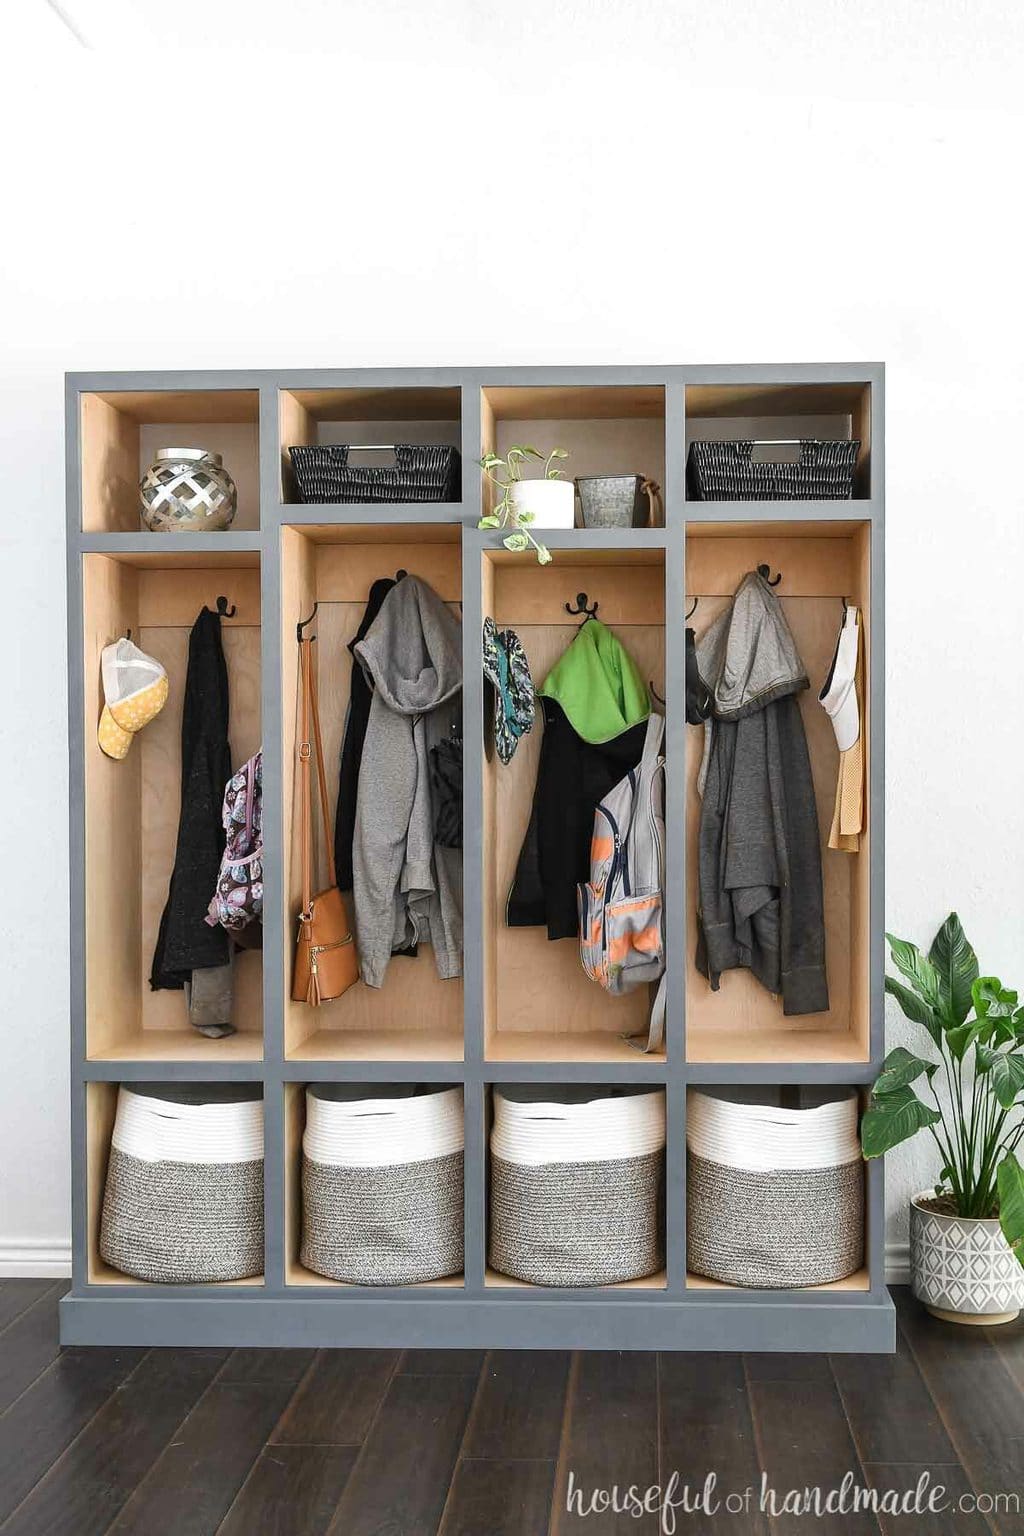
Once spatial clearances are locked in, the architectural focus shifts vertical. The gold standard of effective mudroom storage plans relies on the individual locker or cubby system, breaking a continuous wall into dedicated vertical domains for each family member. However, simply slapping a row of hooks on a drywall surface and calling it a day is a recipe for structural failure. Real-world gear is heavy, wet, and relentlessly abrasive.
An engineered locker unit typically spans roughly 24 inches in width per person, though narrower 18-inch profiles can suffice in compact footprints. The vertical anatomy of a successful locker station is divided into three distinct functional tiers: the lower boot bench, the mid-level active zone, and the upper seasonal repository. The bench surface, sitting comfortably at 18 inches off the finished floor, must be structurally reinforced to support not just a sitting adult, but the dynamic load of someone dropping heavily onto it with a loaded pack. Using three-quarter-inch hardwood plywood or solid butcher block prevents the sagging and splitting common with cheap particle board construction.
Beneath the bench, avoid relying on open floor space where clutter pools invisibly. Instead, incorporate heavy-duty pull-out drawers, slatted shoe shelves with positive air-circulation angles, or rolling caster bins that children can easily wheel out and push back into place.
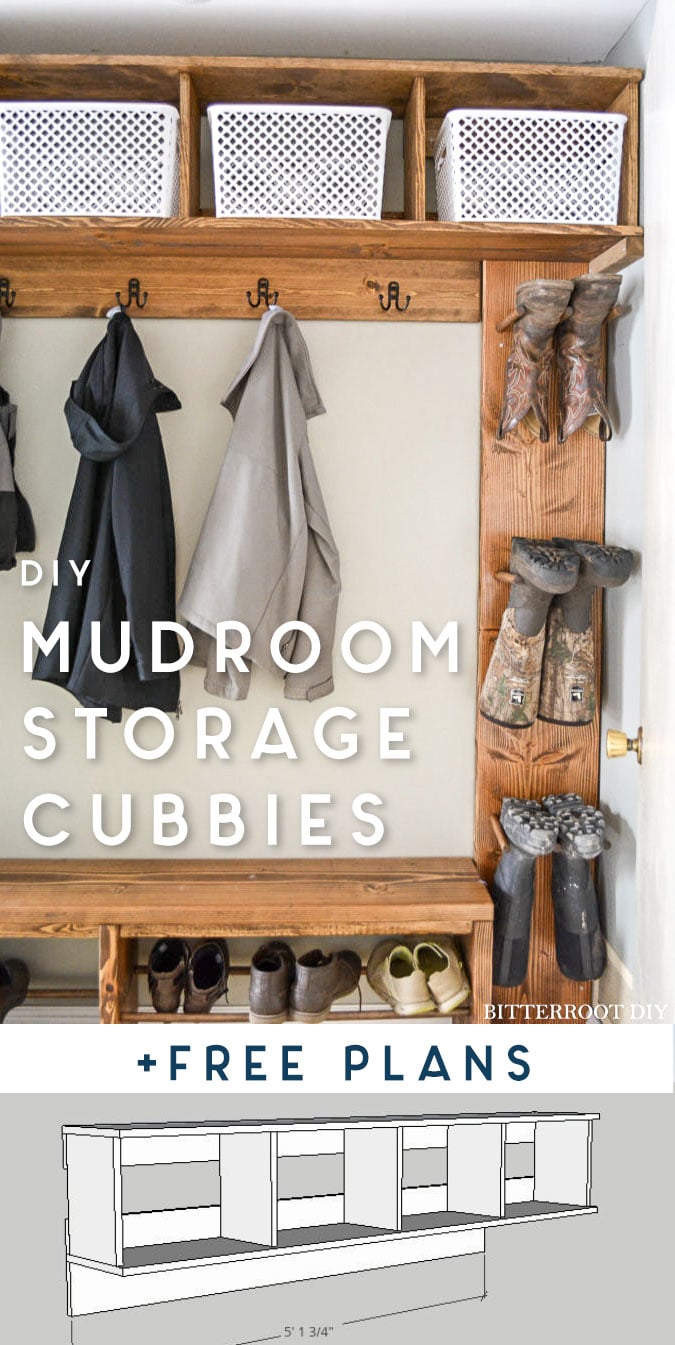
The mid-level active zone houses double-prong heavy-duty coat hooks installed at heights appropriate for your household demographics—typically around 48 inches for younger children and 60 to 64 inches for adults. Avoid single decorative hooks, which allow heavy winter coats to slip off under their own weight.
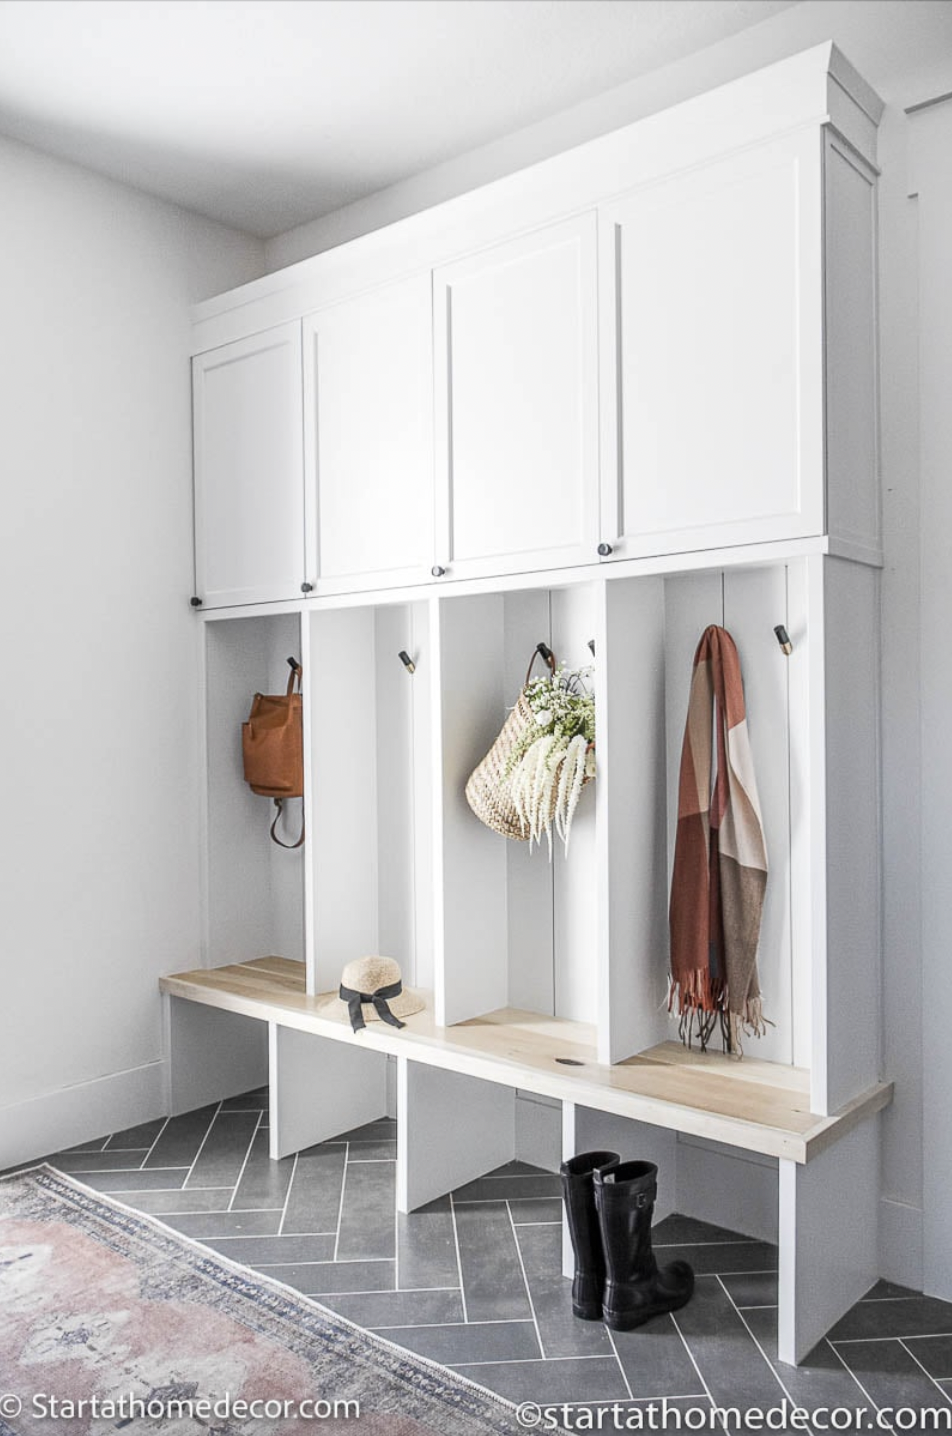
Above the hook strip, enclosed upper cabinets with doors conceal visual clutter while providing dust-free storage for items that are only accessed occasionally, such as heavy wool blankets, rain ponchos, or specialized sports safety gear. If your ceiling height exceeds nine feet, consider stacking a secondary tier of upper cabinets with touch-latch hardware to maximize every vertical inch right up to the drywall crown molding.
Selecting Moisture-Resistant Materials and Hardware That Endure
The silent killer of residential millwork is moisture. Mudrooms are subject to melting snow, pouring rain, muddy canine paws, and damp athletic gear dropped straight from practice. If you build your custom drop zone out of standard medium-density fiberboard (MDF) without sealing the exposed edges, the first time a soaked winter coat sits against the baseboard, the material will swell, delaminate, and ruin the installation.
Professional-grade mudroom construction demands moisture-resistant substrates and marine-grade finishes. For architectural elements exposed to high moisture, exterior-grade or moisture-resistant MDF (often color-coded green or purple at lumber yards) provides a stable, smooth substrate for painted built-ins, provided all cut edges are sealed with an oil-based primer before installation. For bench tops and high-impact contact zones, solid hardwoods like white oak, maple, or walnut offer unmatched durability. White oak, in particular, possesses natural tannins and a closed grain structure that resists moisture penetration far better than porous softwoods like pine.
Hardware selection is equally critical. Flimsy cabinet hinges and lightweight drawer slides will fail within six months under the daily abuse of slamming locker doors and heavy canvas bags. Specify soft-close, concealed European cup hinges rated for heavy commercial use, along with under-mount drawer slides featuring a minimum 100-pound dynamic load capacity.
When choosing hooks, pulls, and knobs, look for solid brass, stainless steel, or heavy cast iron protected by electroplated finishes. Avoid cheap hollow zinc hardware, which pits, rusts, and snaps off at the base when subjected to the torsional leverage of a dripping wet canvas duffel bag.
Step-by-Step Methodology for Planning and Constructing Your Mudroom
Avoiding Common Structural and Organizational Pitfalls in Entryway Planning
Even experienced DIYers and seasoned contractors occasionally fall into predictable traps when executing mudroom storage plans. Recognizing these hazards before you pick up a saw saves you from costly tear-outs and chronic daily frustration.
Holistic Integration, Economic Value, and Sustainable Material Choices
A well-executed mudroom is much more than a collection of boxes bolted to a wall; it acts as an environmental airlock for your entire home. By trapping dirt, moisture, allergens, and thermal drafts at the point of entry, a properly designed transition zone protects the structural integrity of interior flooring materials like hardwood and high-end carpeting throughout the rest of the house. Real estate data consistently demonstrates that functional mudroom spaces rank among the top micro-renovations that deliver a high return on investment, appealing directly to buyers seeking turnkey organization and practical family utility.
Related Posts



From a sustainability standpoint, planning a transition zone with longevity in mind significantly reduces material waste. Instead of purchasing flimsy flat-pack furniture that ends up in a landfill after weathering a few seasons of moisture exposure, investing in sustainably harvested domestic hardwoods, zero-VOC water-based finishes, and modular cabinetry systems ensures the installation will endure for decades.
Furthermore, optimizing airflow within your storage plan—such as incorporating vented back panels behind lockers or integrating slight reveals around bench cushions—prevents mold and mildew growth, preserving indoor air quality and safeguarding the health of your household.
Strategic Frameworks for Long-Term Maintenance and Adaptability
The ultimate test of any storage plan is how well it performs three years after installation. Families evolve, children grow, and storage needs shift drastically from toddler strollers and diaper bags to high school athletic gear and oversized winter coats. Building adaptability into your initial design ensures your investment remains relevant through every life stage.
Designing a functional transition space is an exercise in empathy. It requires you to look closely at the daily rhythms, frustrations, and friction points of your household and translate those human realities into physical architecture. When your mudroom is engineered with correct spatial clearances, moisture-resistant substrates, ergonomic vertical tiers, and adaptable storage zones, it ceases to be a passive dumping ground.
Instead, it becomes a quiet, resilient partner in your daily routine. By taking the time to plan deliberately, source durable materials, and execute clean construction methodologies, you build an enduring threshold that absorbs the chaos of the outside world, giving you and your family a calm, orderly welcome home every single day.
