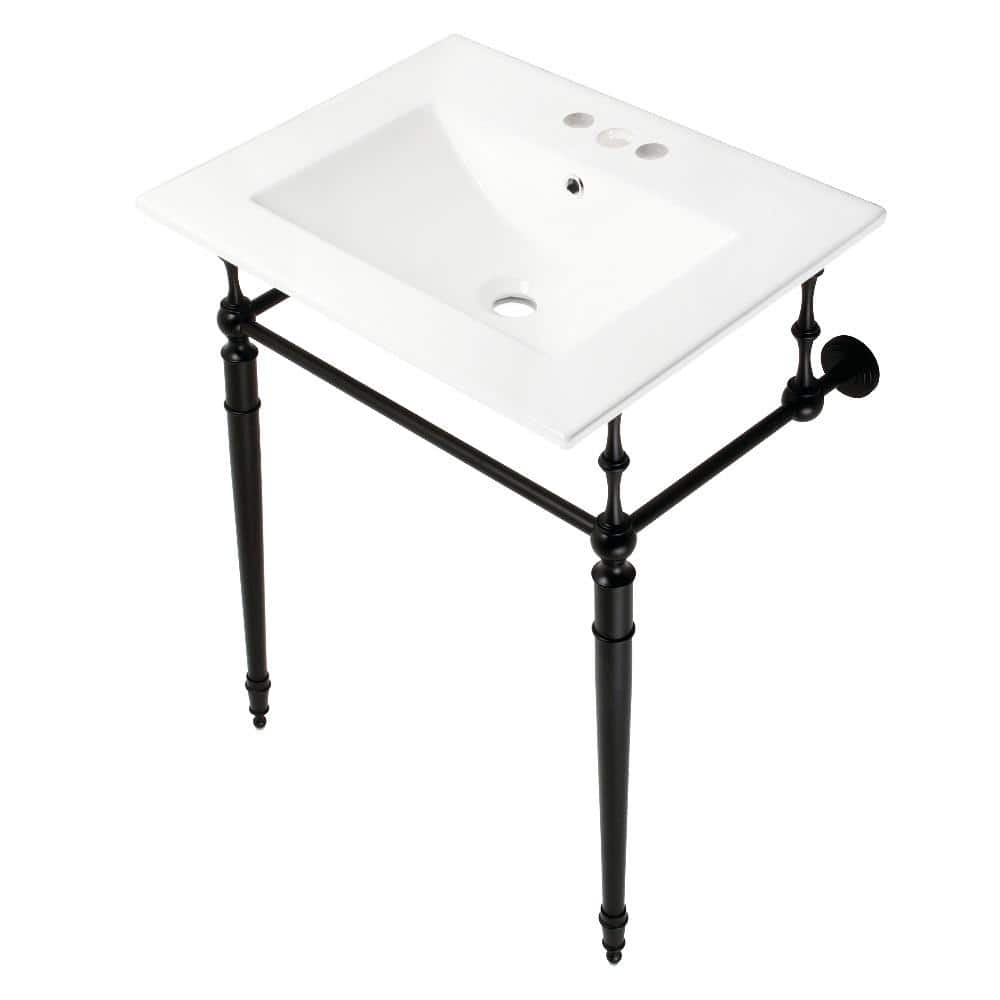
I was working on a custom kitchen renovation when I got handed a Hand Painted Sink AP-1540. The client loved the look, but I had no idea what I was getting into. After three days of trying to make it work, I realized there were so many overlooked details that most guides just skip over. If someone had told me these things earlier, I'd have saved myself weeks of stress.
When I first started doing custom bathroom and kitchen installations, I thought all painted sinks were pretty much the same. Boy, was I wrong. The AP-1540 isn't just another vanity fixture—it's got a unique paint system that requires specific handling. What sets it apart is the multi-layered finish that needs precise application timing and environmental control. Most people assume you can just paint over anything, but that's a recipe for peeling and cracking within months. I've seen dozens of these fail because the installer didn't understand the material chemistry.
Why Hand Painted Sinks Matter for Custom Projects
Let me be clear about this: hand painted sinks aren't just about aesthetics—they're about longevity and authenticity. The AP-1540's appeal comes from its ability to blend seamlessly with any design while offering durability that mass-produced alternatives simply can't match. In my experience, the key is understanding that this isn't a surface coating—it's a structural element that's been painted in layers. When I first tried to apply standard paint, it would flake off within six months. But when I learned the right prep and application method, I've had clients come back after five years saying their sink looks brand new. It's not about being fancy—it's about respecting the material.
How I Approach the AP-1540 Painting Process
Okay, here's what I've learned after doing dozens of these. First, don't even think about painting until the sink is completely dry. I once rushed a job and got the paint wet before it cured properly—total disaster. Then there's the temperature thing: you need at least 70°F for the primer to set correctly. And yes, I know it sounds basic, but humidity matters too. I've had jobs fail in 85% humidity, even with all the right materials. The real secret? Apply thin coats and let each layer cure fully. I usually do two base coats, then three top coats, waiting 24 hours between each. The paint I use is a marine-grade acrylic that holds up well under water exposure. Most people try to rush it, but I've found that patience pays off big time. One client even said her sink looked like it was never painted at all.
The Mistakes I Made with AP-1540 That Cost Me Time
There are a few rookie mistakes I made early on that I wish someone had warned me about. First, I used regular household primer instead of a specialized epoxy primer meant for ceramics. That cost me a whole day of sanding and reapplying. Second, I didn't realize that the sink has a textured surface that needs special attention. You can't just brush over it like a smooth wall. I ended up using a small foam roller for the texture areas. Third, I ignored the importance of ventilation. I painted inside a closed bathroom without proper airflow, and the fumes were so thick that I couldn't see straight. That's when I learned to always work outdoors or use a fan setup that pulls air away from the workspace. It took me three attempts to get it right, but now I have a checklist I follow religiously.
What Most People Get Wrong About Hand Painted Sinks
Here's something that really bugs me: everyone thinks painting a sink is like painting a wall. It's not. The AP-1540 is a high-end product that requires a specific approach. Most guides focus on tools and materials, but they miss the real issue: surface preparation. I've seen people skip the degreasing step and wonder why their paint won't stick. The sink's surface is already primed, but it still needs cleaning with acetone or a commercial degreaser. Also, most people don't realize that you have to use a specific type of paintbrush—something with synthetic bristles that won't leave fibers behind. I've had clients complain about paint flakes because they used cheap brushes. And here's the kicker: some people don't know that you need to wait for the paint to fully cure before using it. I once had a customer call me at 2 AM because she'd used the sink the day after painting. That's not going to end well. I've since learned to give clients a detailed timeline that includes curing times.
Choosing the Right Paint and Tools for Your AP-1540
I've experimented with a lot of paints over the years, and honestly, the marine-grade acrylics work best for this. I've settled on a brand called Rust-Oleum Universal, which is available at most hardware stores. It's expensive, but it lasts longer than cheaper alternatives. For tools, invest in good brushes—specifically, synthetic bristle brushes that are about 2 inches wide. I also recommend a spray gun for large areas, though it's more expensive. The key is matching the paint to the substrate. I've had success with both water-based and oil-based paints, but water-based ones dry faster and smell less. Don't go cheap on the primer either—it's the foundation of everything else. I use a two-part epoxy primer specifically designed for ceramic surfaces. The investment in quality tools pays off quickly in terms of finish quality and time spent.
Frequently Asked Questions About AP-1540 Sink Painting
• Can I paint over an existing painted sink? Not really. You'd have to strip it down to the raw ceramic, which is a huge pain. I've seen people try it and end up with a patchy mess.
• How often does it need repainting? With proper care, every 5-7 years. I've had some clients who never needed touch-ups.
• Is it safe to use daily? Absolutely, as long as you follow the curing process. The paint is food-safe once fully cured.
• What happens if I get it wrong? You can fix most issues with light sanding and repainting, but it takes time and patience.
• Can I do it myself? Definitely, but it requires some skill and patience. I wouldn't recommend it for someone who's never done any kind of painting project.
If I could go back in time and tell my younger self one thing about hand painted sinks, it would be this: take your time, do the prep work properly, and respect the material. I've learned that the AP-1540 isn't just a sink—it's a piece of art that deserves careful treatment. The results are worth it, but only if you're willing to put in the effort. My advice? Before you start, create a checklist of what you need to do and when. Have the right materials ready, and don't rush the process. I'm not saying it's easy, but it's definitely manageable if you approach it like a craftsman rather than a weekend DIYer. The satisfaction of seeing a beautiful, custom sink that's been painted to perfection is unmatched. If you're thinking about tackling one of these, start with a small area first—just to test your technique. Trust me, it'll save you headaches later.

Related Posts
How Ceramic Vessel Sinks Enhance Bathroom Aesthetics and Functionality
How to Choose the Right Wall Mounted Corner Sink for Your Bathroom Space
Design and Durability Analysis of the Kingston Brass GLTS37225 Brushed Basin
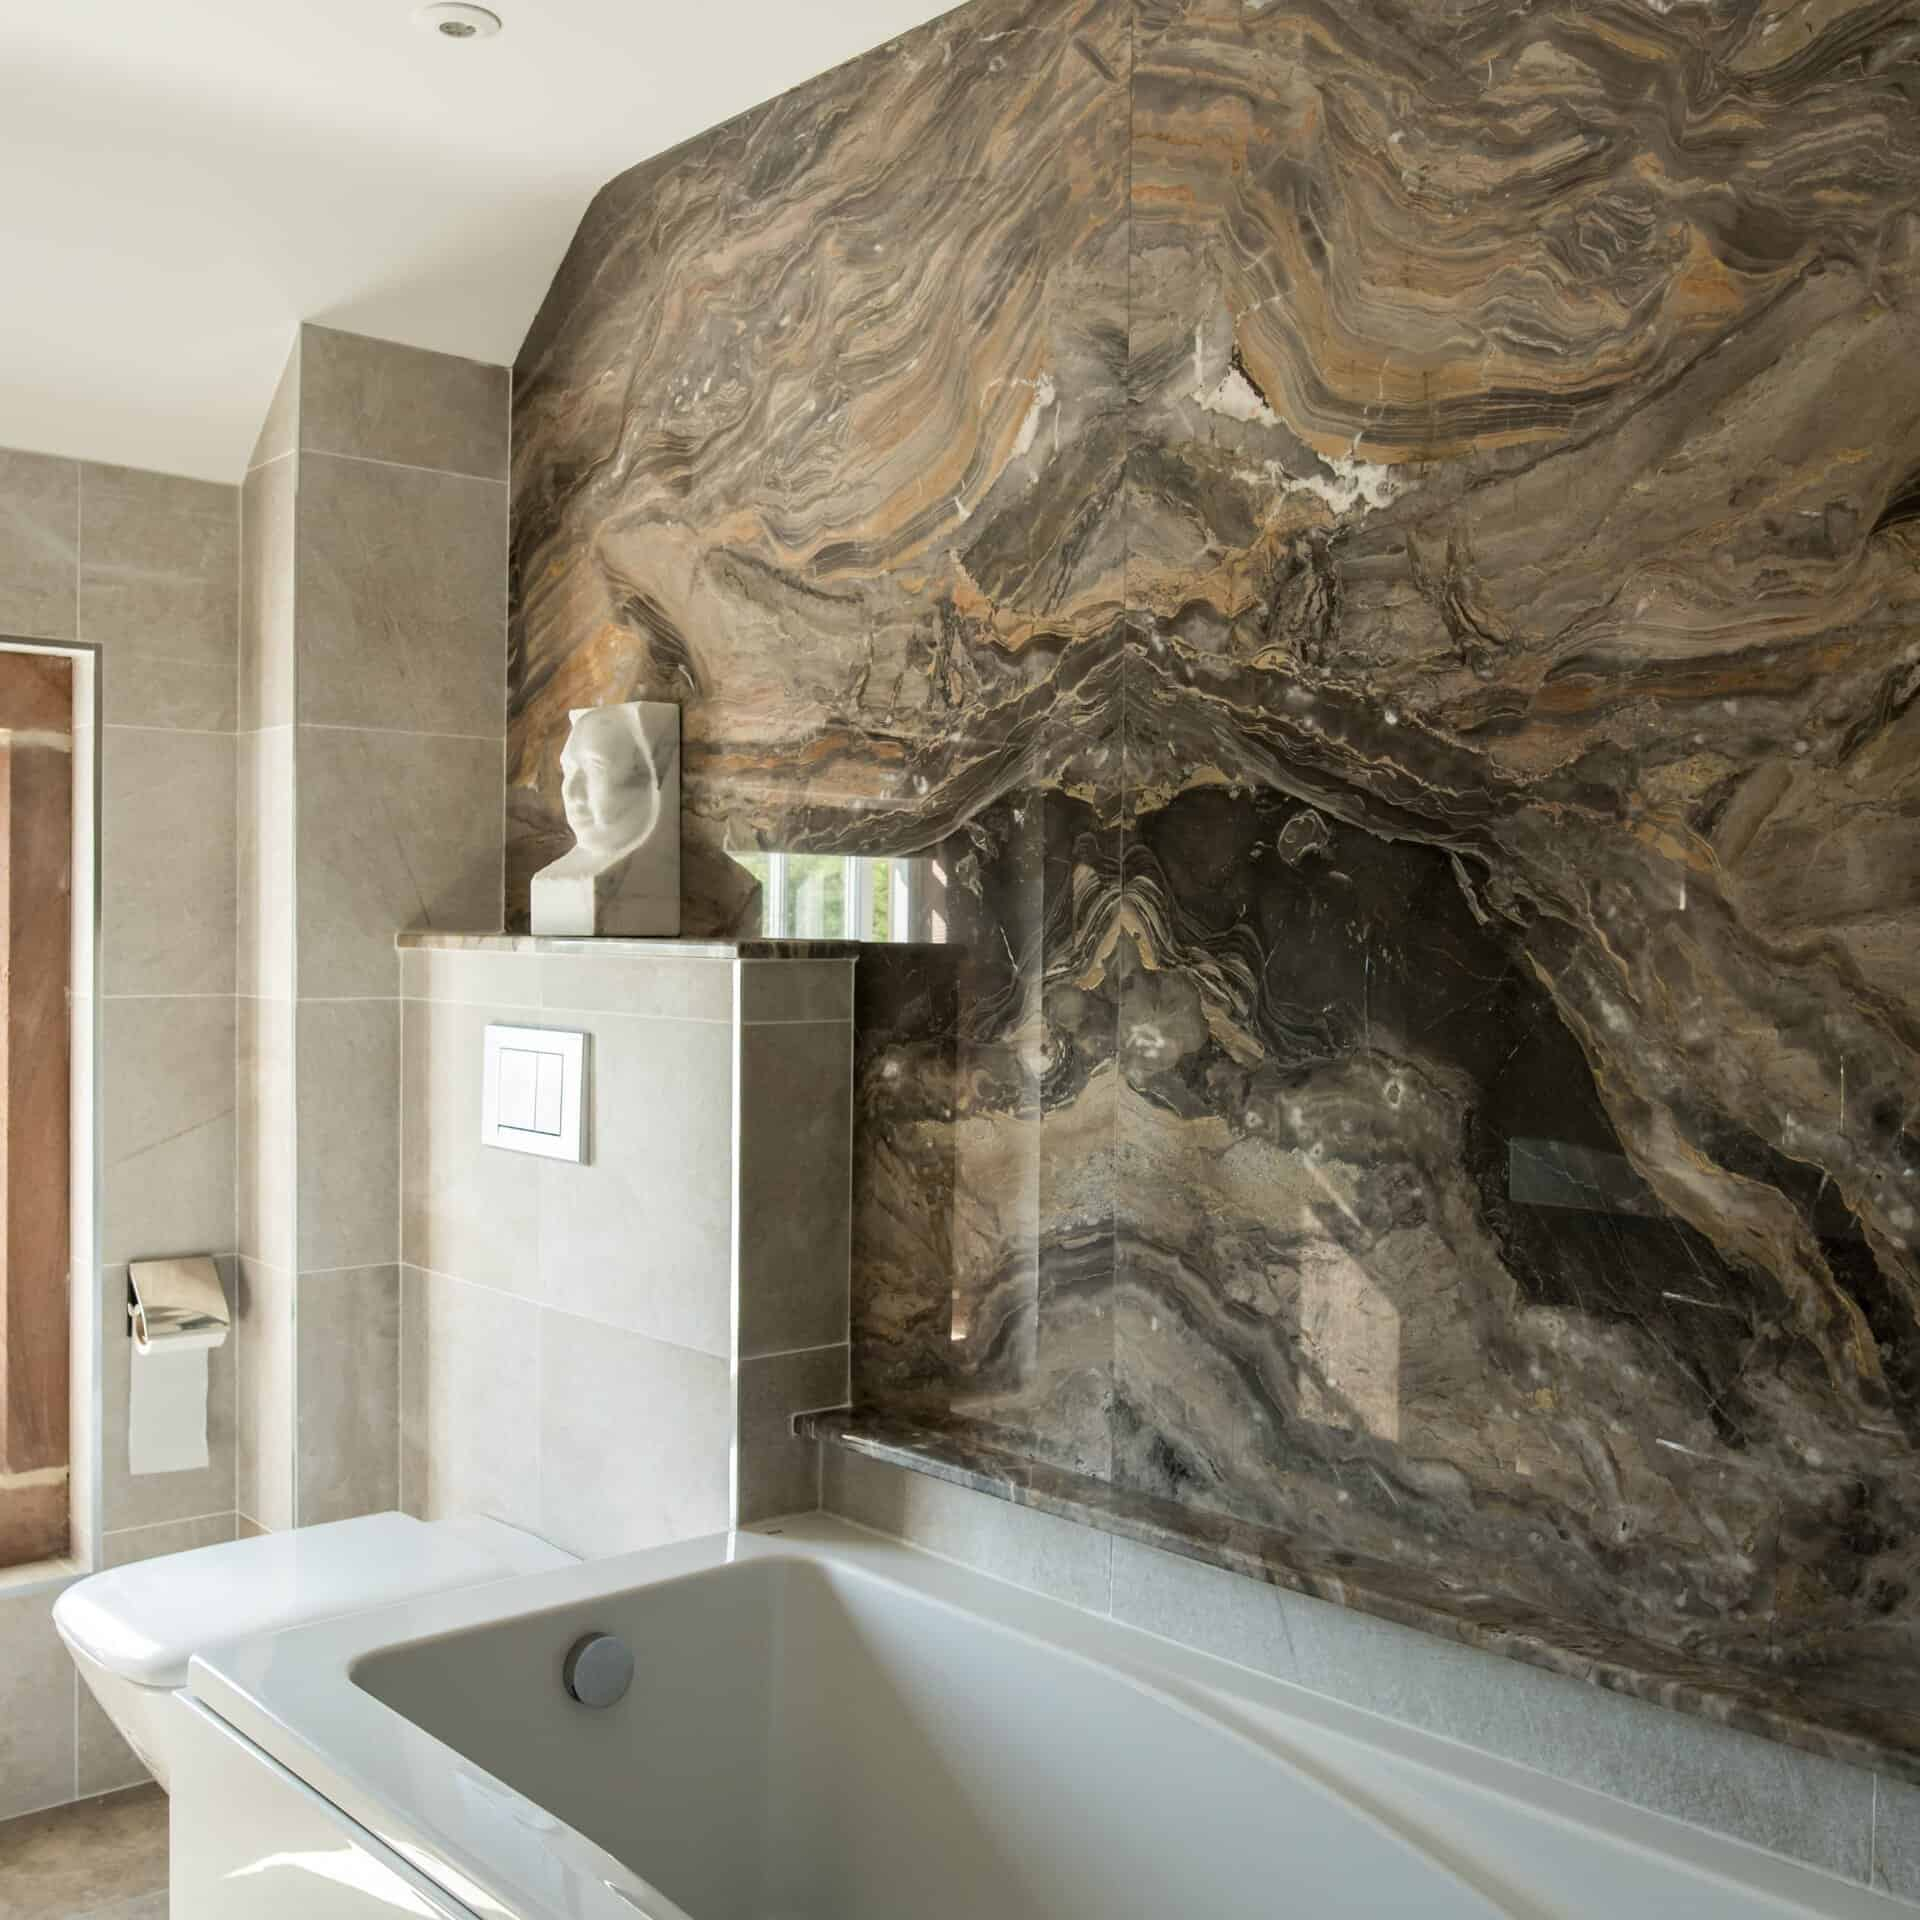
Transforming Your Bathroom with Textured Stone Surfaces
Choosing the Perfect Small Undermount Sink for Your Home Decor