I remember spending three full days trying to install a WS Bath collection in a tight bathroom renovation. The tiles kept cracking, the grout was impossible to work with, and I couldn't figure out why the wall panels wouldn't align properly. That's when I realized I'd been missing some critical installation secrets that every professional should know.
Working with WS Bath collections has taught me that these products are beautiful but unforgiving if you don't know what you're doing. After installing over 40 bathroom collections across various projects, I can tell you that the key isn't just following instructions—it's understanding the subtle nuances that make all the difference. What I wish someone had told me earlier is that these collections require a specific approach to prep work, tile selection, and finishing techniques that most guides don't cover in detail.
Why WS Bath Collections Matter for Bathroom Renovations
WS Bath collections offer something rare in bathroom design: durability combined with elegant aesthetics. In my experience, they're particularly effective in high-traffic areas where water resistance matters. They also handle temperature changes better than many alternatives, which is crucial in bathrooms. I've seen installations that lasted over 15 years without showing signs of wear when installed correctly, versus other materials that needed replacement after just 7-8 years.
How I Approach WS Bath Collections Installation Now
My current process starts with a careful assessment of the space before anything else. First, I check for any existing moisture issues in the walls or floor that might compromise adhesion. Then I always pre-test the tile samples in the actual lighting conditions of the room to ensure color consistency. For installation, I use a modified thin-set mortar specifically designed for wet environments and allow 24 hours between applying the base layer and installing the tiles. I also recommend using a level and measuring tape at every step to catch alignment issues early.
The Mistakes I Made with WS Bath Collections
The biggest mistake I made early on was rushing the preparation phase. I once installed a collection without properly priming the substrate, which led to inconsistent adhesion and tiles lifting after just six months. Another error was not accounting for thermal expansion differences between the collection and surrounding materials. I learned that you really need to plan for expansion gaps, especially in larger installations. And yes, I've also had my share of grout-related disasters when I used standard grout instead of the recommended epoxy-based formulas.
What Most People Get Wrong About WS Bath Collections
Most people assume that since WS Bath collections look like ceramic tiles, they can be treated the same way. Here's what they miss: these collections are engineered with specific material properties that require specialized handling. I've seen countless projects fail because installers didn't understand that the collection's surface texture requires a different approach to grouting. Also, most people don't realize that these installations often need additional waterproofing layers that aren't included in basic installation guides. Frankly, I think the industry underestimates how much time and attention these installations require.
Choosing the Right Products for Your WS Bath Collection
I've learned that selecting the right accessories and complementary materials is crucial. For example, the grout colors matter more than you might expect—they can either blend seamlessly or create visual clutter. I typically recommend using the manufacturer's specified grout lines rather than trying to adjust them for aesthetic reasons. When it comes to sealers, I always go with the premium option even though it costs more upfront. It's worth noting that some collectors come with built-in anti-microbial treatments, so make sure to read the specifications carefully.
Frequently Asked Questions About WS Bath Collections
• Do I need special tools? Yes, a good quality tile cutter and a grout float specifically designed for textured surfaces work best. • Can I install over existing tiles? Only if the old tiles are in excellent condition and properly adhered—otherwise it's a recipe for future problems. • How long does it take to install a full collection? Expect 3-5 days depending on complexity and size. • Are these collections suitable for showers? Absolutely, but proper waterproofing is essential. • What's the best way to maintain them? Regular cleaning with mild soap and water works great; avoid harsh chemicals that might damage the finish.
If I had known these secrets before starting my first WS Bath project, I probably would have saved weeks of rework and frustration. The key takeaway is that patience and attention to detail pay off big time. My advice? Invest in proper preparation, use the right materials, and don't skip the small steps that seem insignificant. I'm still learning new things about these collections, but now I'm confident enough to tackle any bathroom renovation with them. If you're planning to work with WS Bath collections, I strongly suggest getting familiar with their unique requirements before starting. You'll thank yourself later.

![2023 New Arrival Cobblestone Embossed Bathroom Bath Mat [Video] [Video ... throughout Struggling With WS Bath Mood 25-5/8" Tiles? Here's What's Actually Wrong](https://cdn.buildsimplehouse.com/2025/12/2023-new-arrival-cobblestone-embossed-bathroom-bath-mat-video-video-throughout-struggling-with-ws-bath-mood-25-5-8-tiles-heres-whats-actually-wrong.jpg)

Related Posts
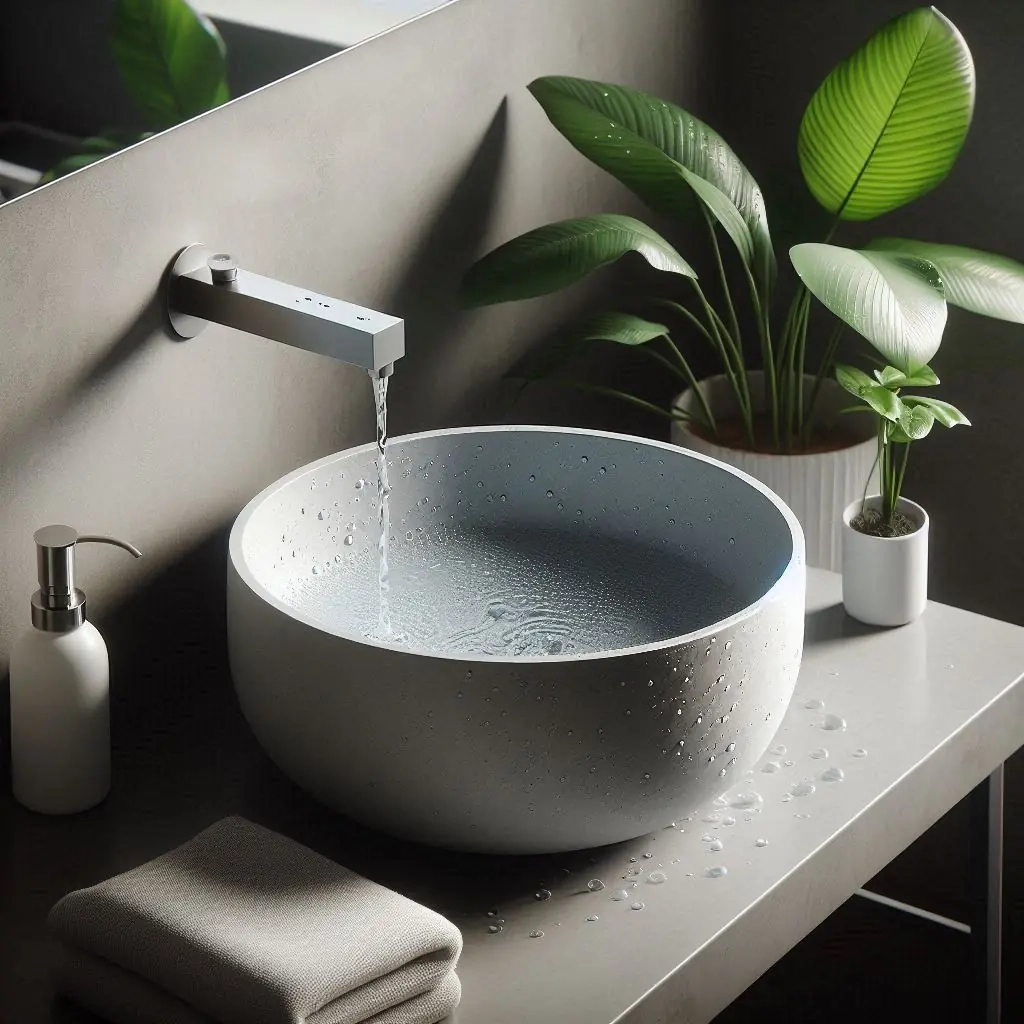
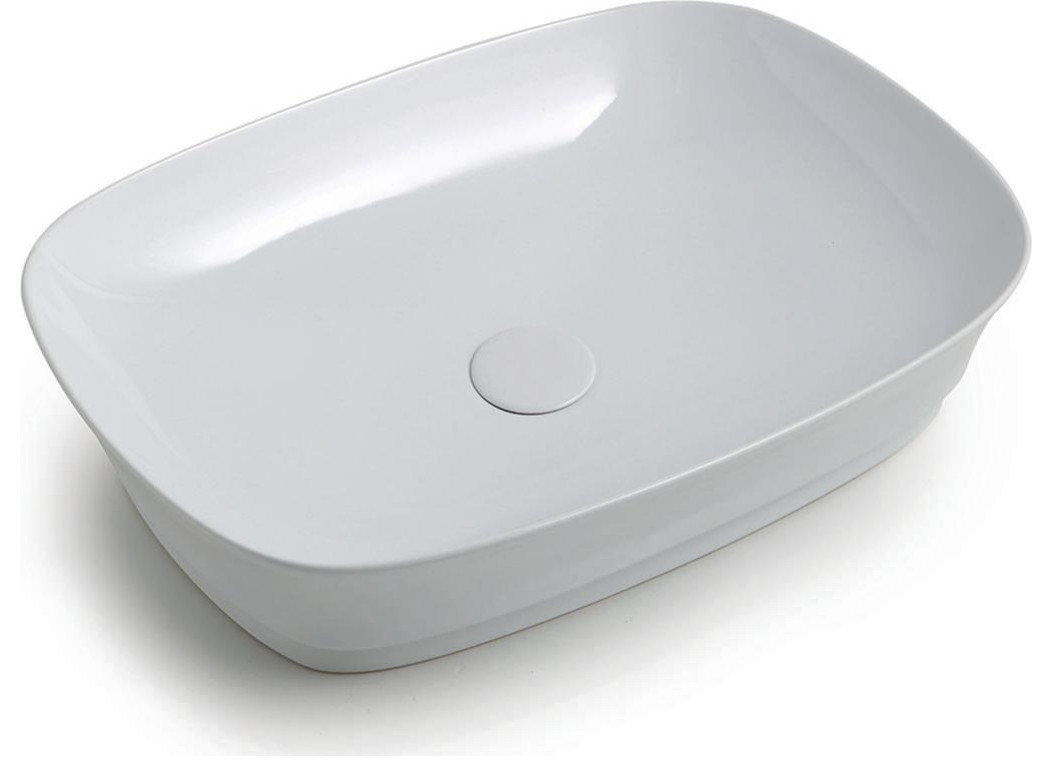
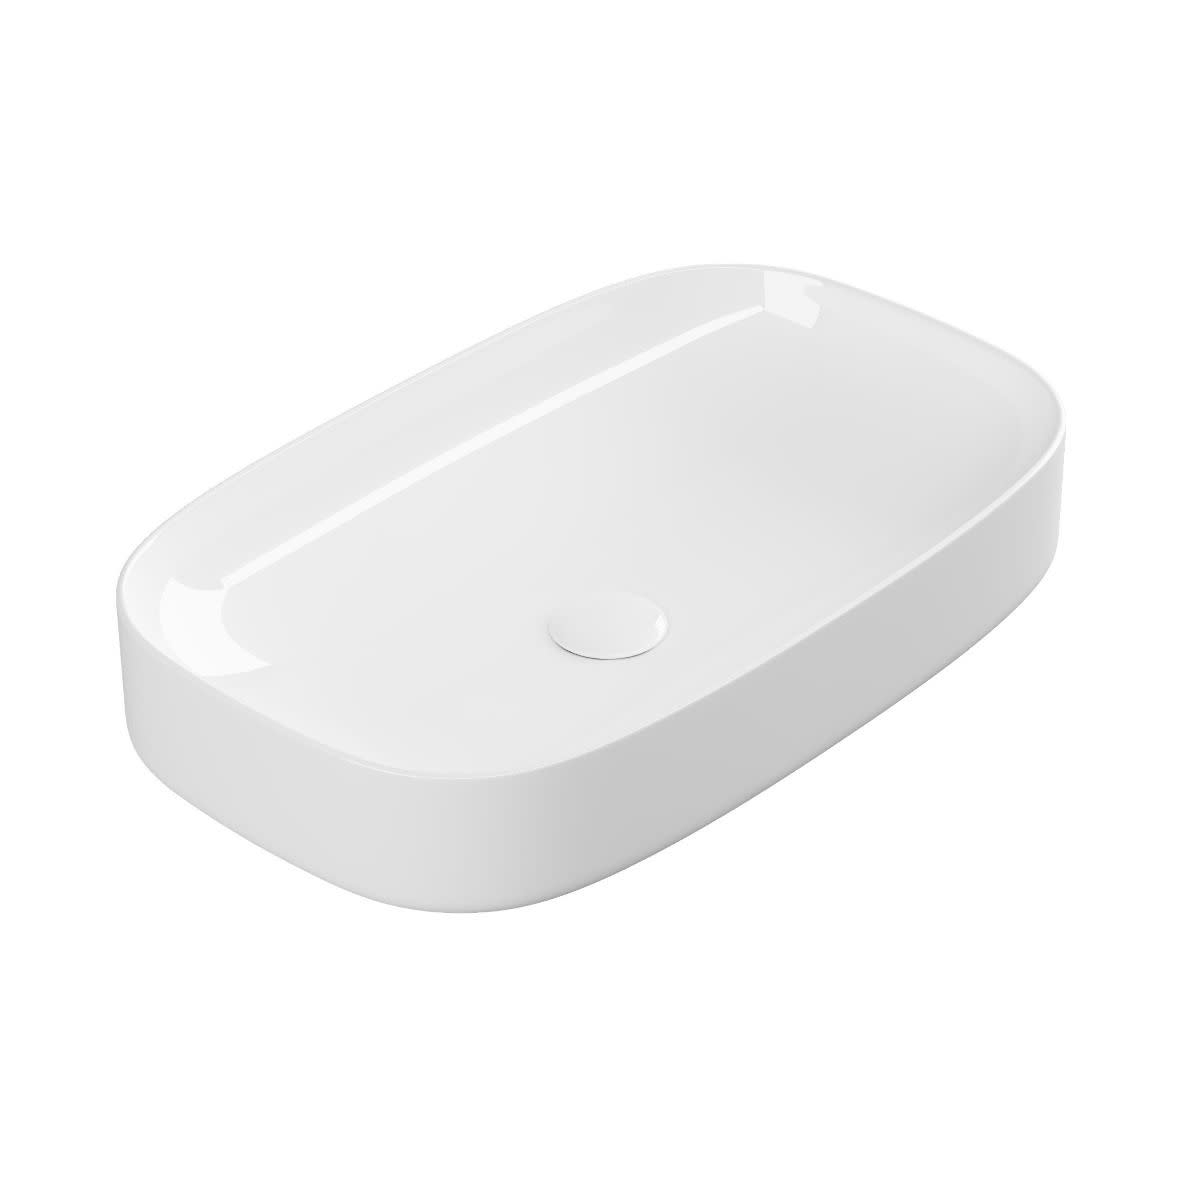
How Ceramic Vessel Sinks Enhance Bathroom Aesthetics and Functionality
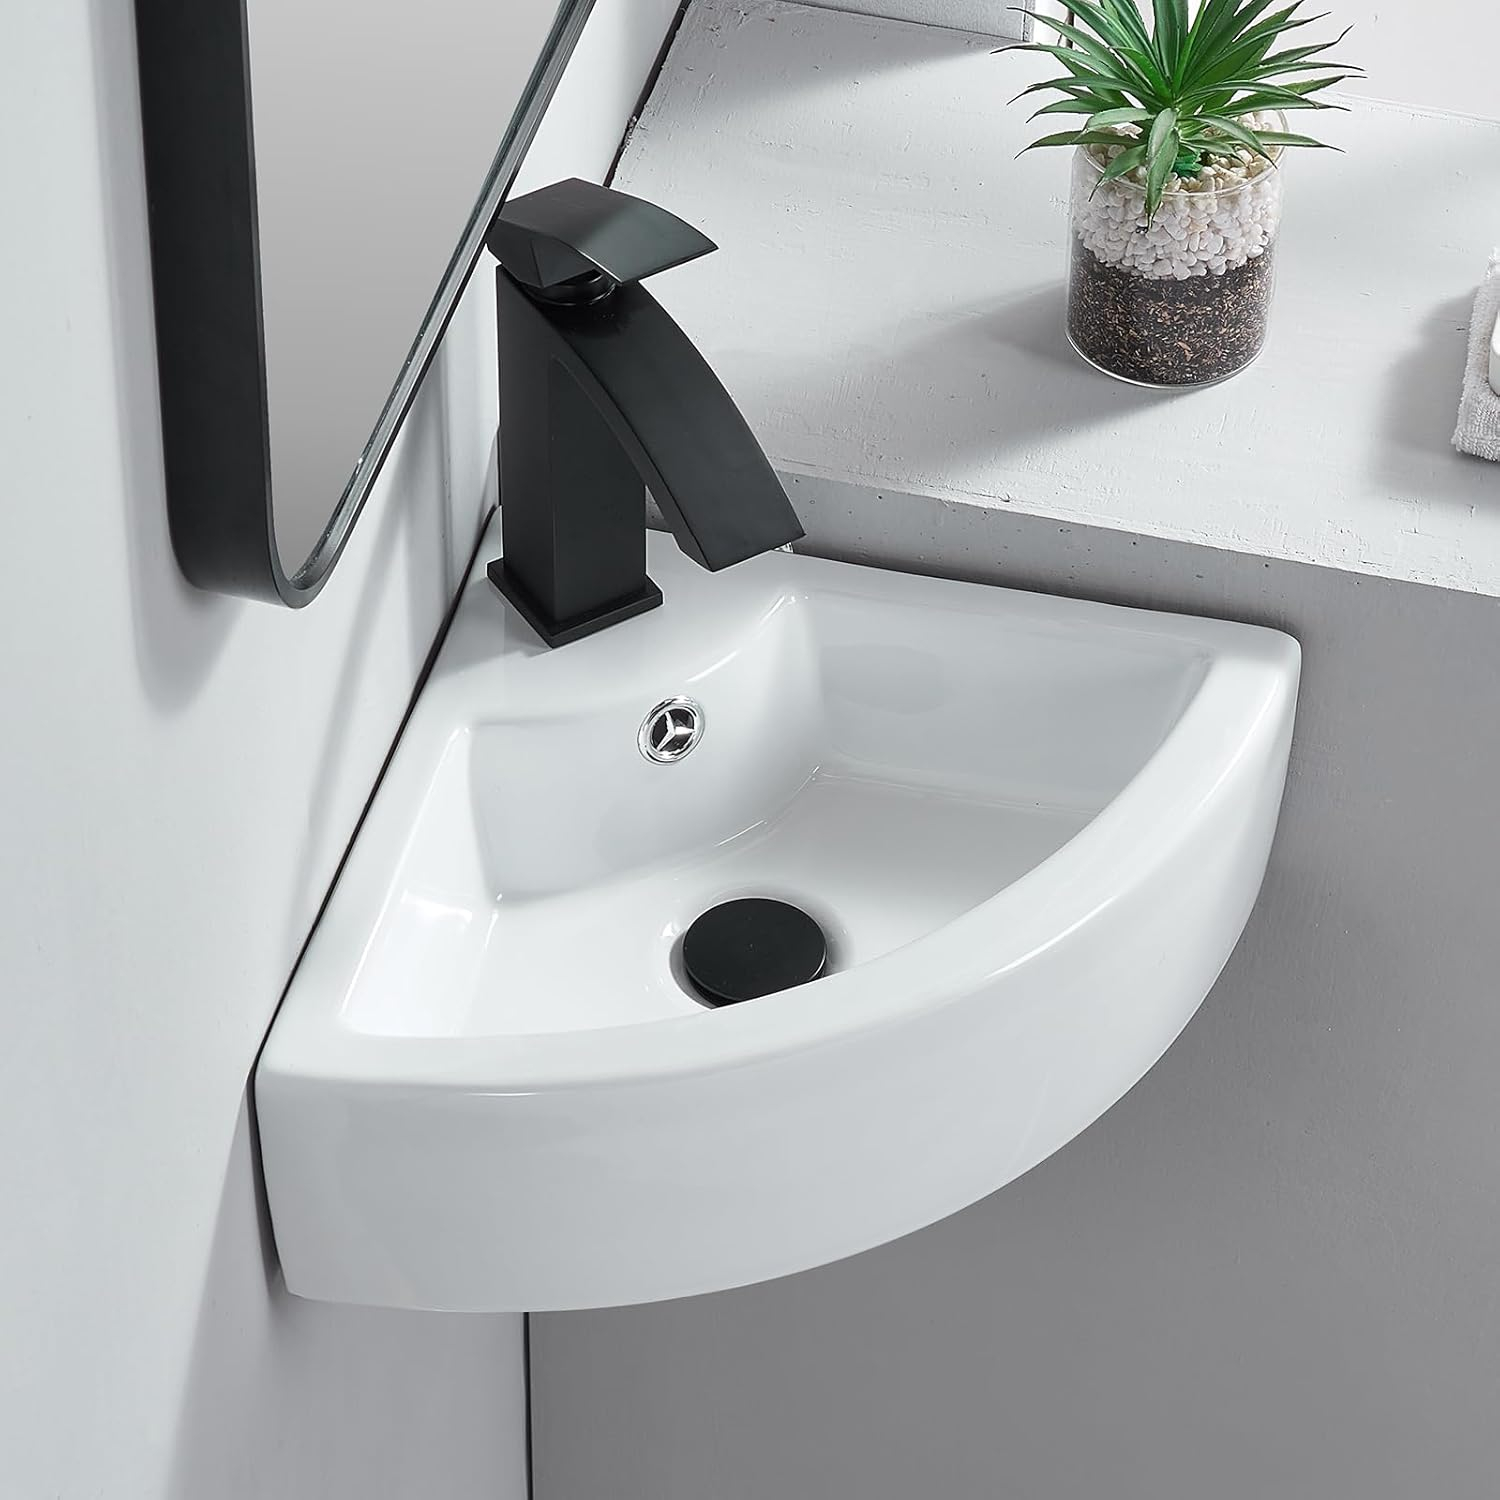
How to Choose the Right Wall Mounted Corner Sink for Your Bathroom Space
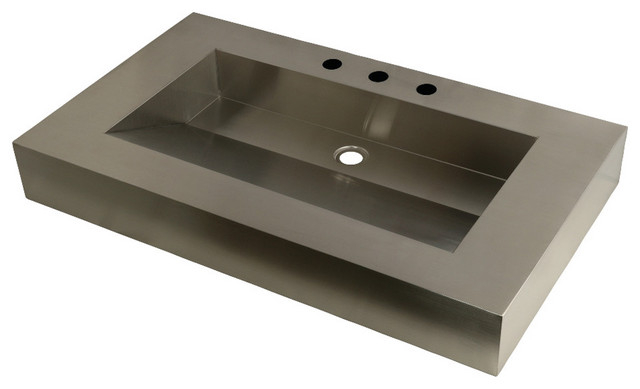
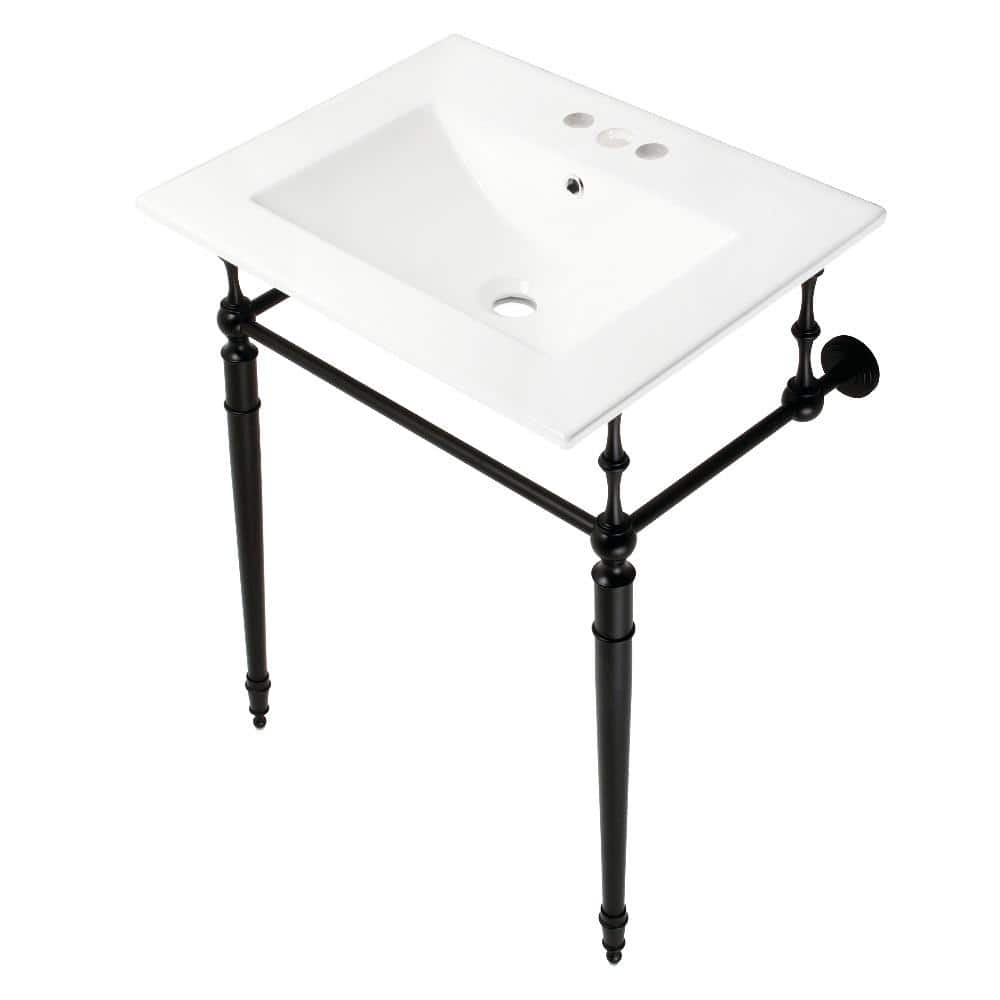
Design and Durability Analysis of the Kingston Brass GLTS37225 Brushed Basin
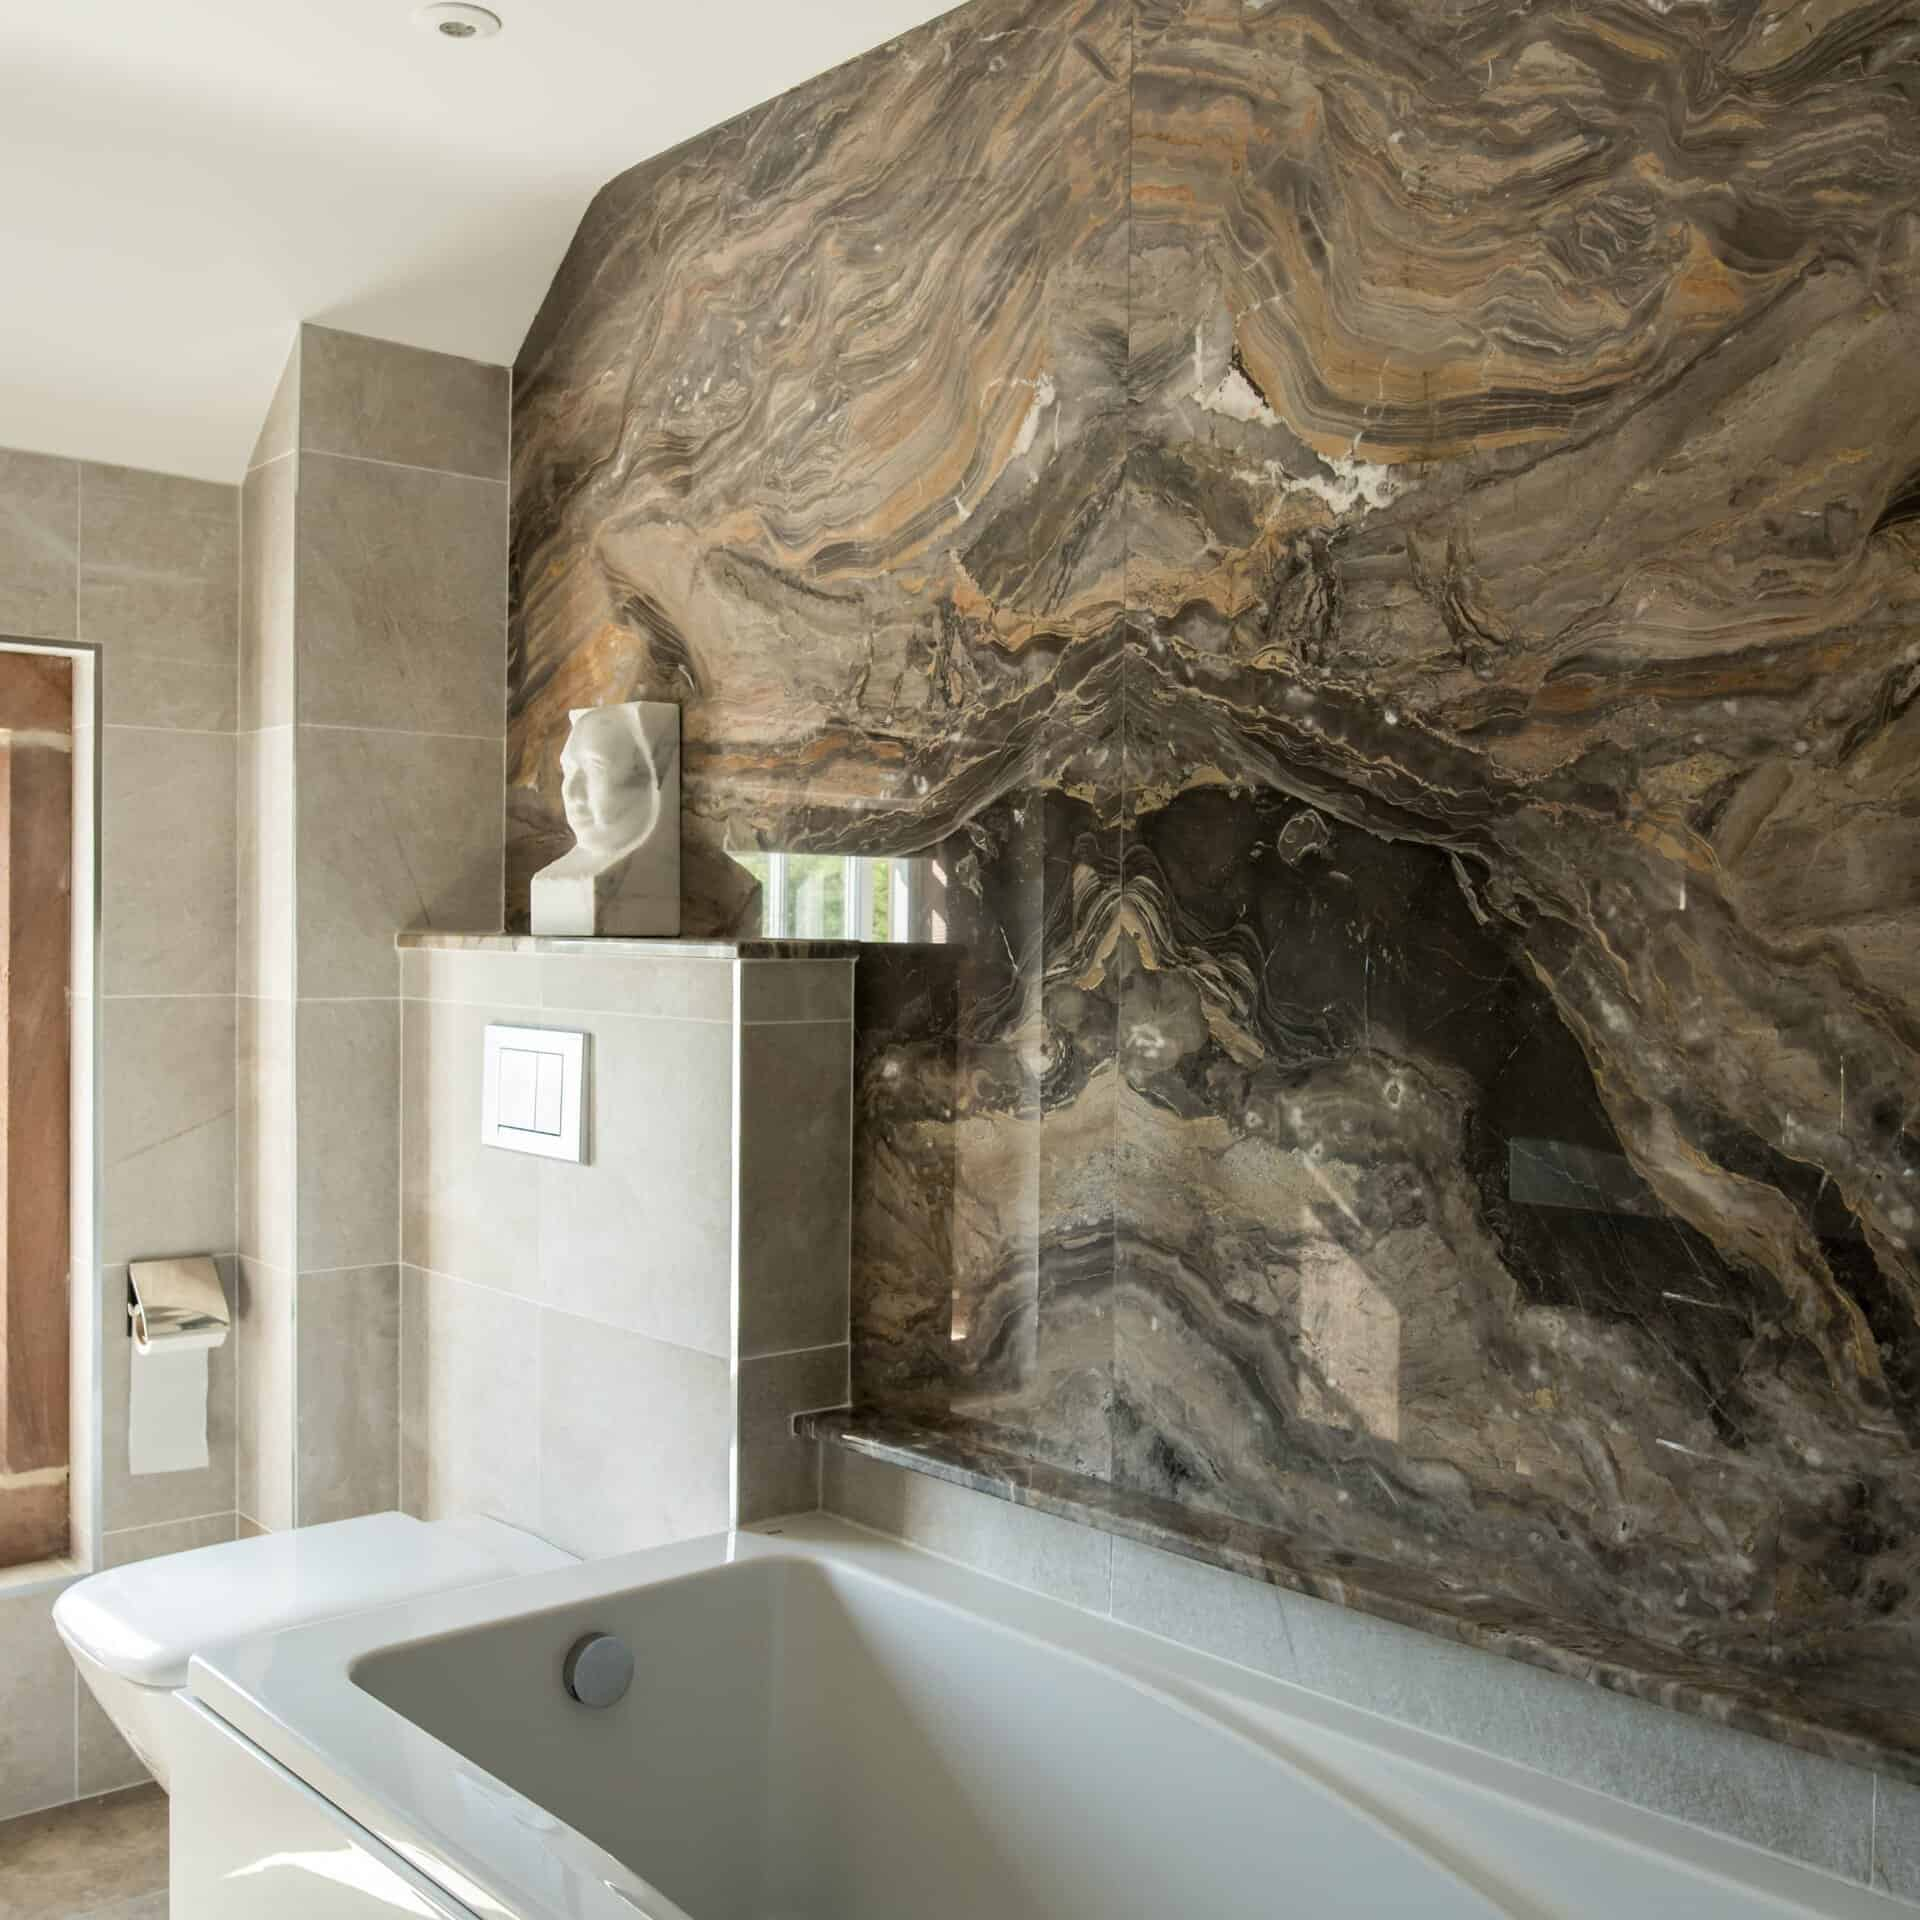
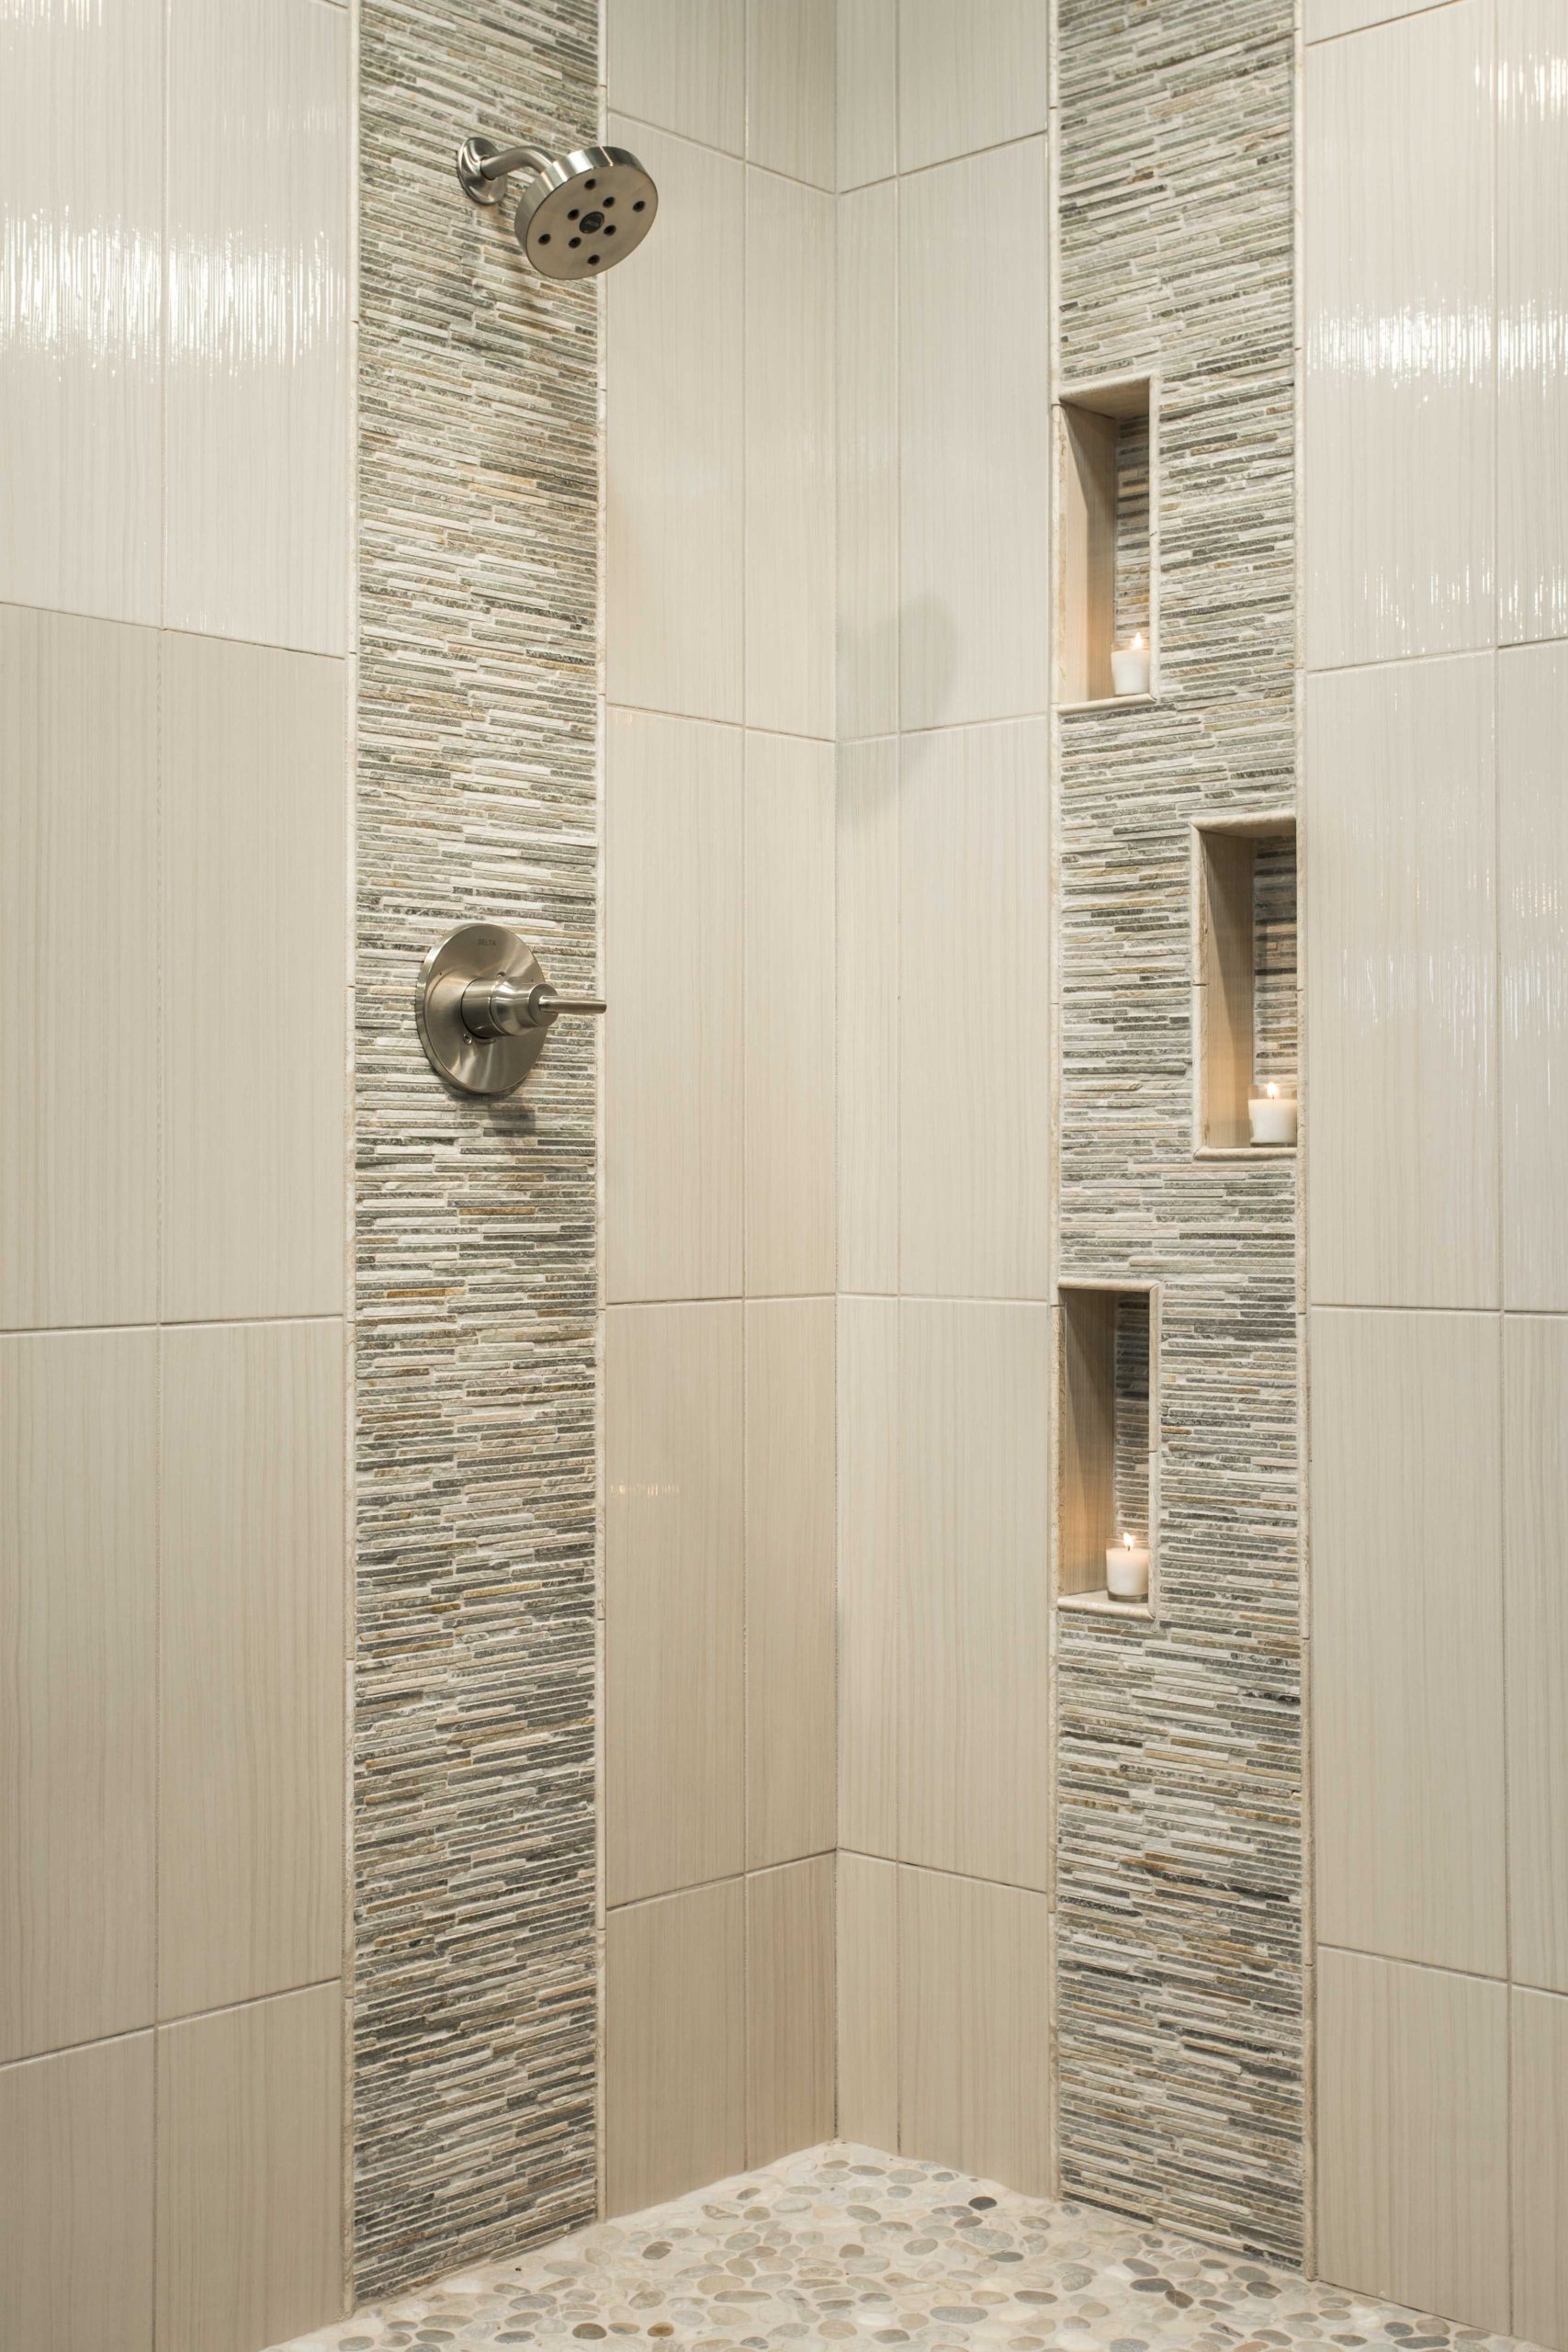
Transforming Your Bathroom with Textured Stone Surfaces
Choosing the Perfect Small Undermount Sink for Your Home Decor