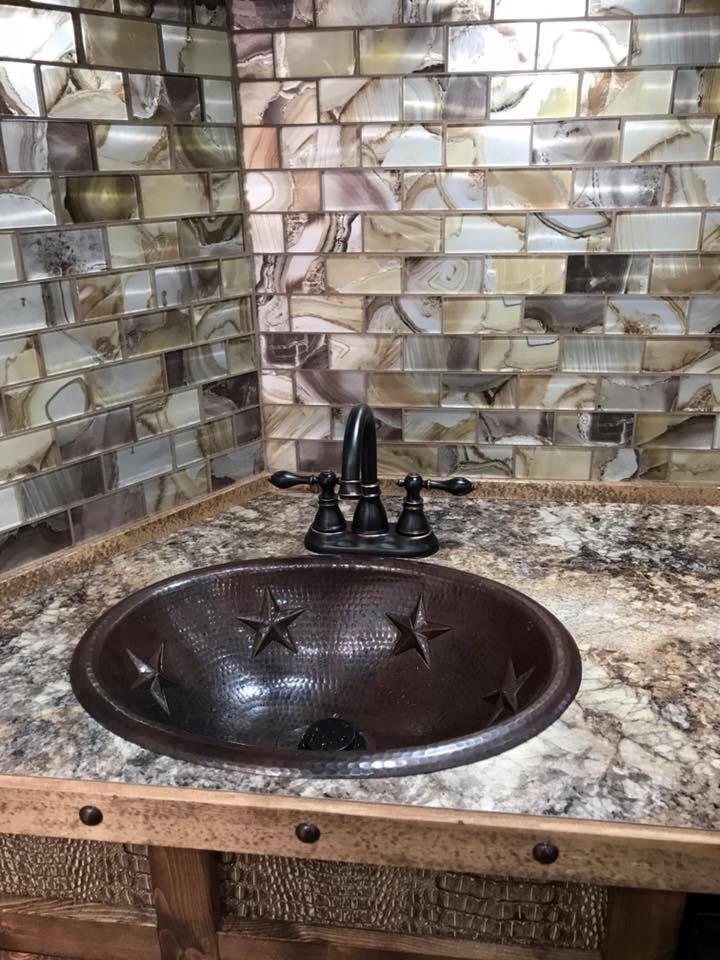
I was helping a client install their dream 19" oval copper bath sink last month when everything went sideways. The sink was supposed to fit perfectly in their vintage bathroom, but when I tried to position it, there was literally an inch of clearance left on one side. It was like the old plumbing had been designed with a different era in mind. I'd installed dozens of sinks, but this one had me stumped for hours.
Let me be upfront - installing a 19" oval copper bath sink isn't just about measuring the space and dropping it in. There are specific gotchas that catch even experienced plumbers off guard. The metal work, the drainage setup, the fact that copper is so much heavier than plastic - all of it matters. I've spent years working with various sink materials, but there's something particularly finicky about these copper oval designs that seems to throw people for a loop. The key is knowing what to look for before you even start measuring.
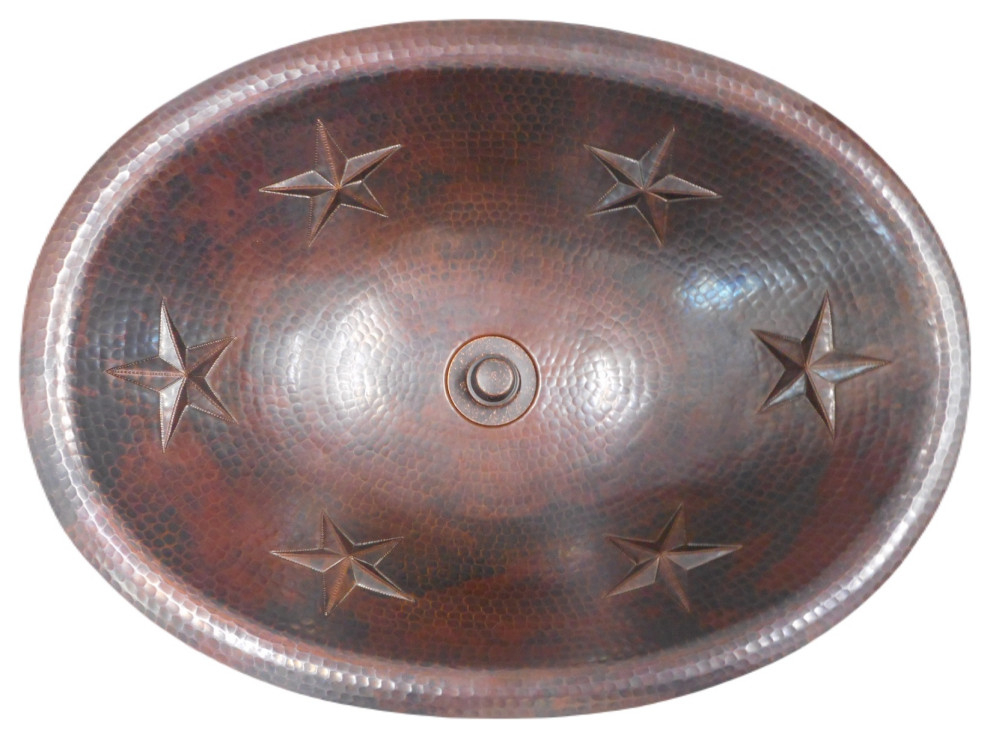
Why 19" Oval Copper Bath Sink Installation Difficulties Are So Common
I've seen this happen to more homeowners than I can count. The main problem is that most people assume their existing bathroom layout will accommodate any standard sink, but copper sinks aren't exactly standard. They're heavy, they require specific mounting hardware, and they often don't play nice with older plumbing setups. I remember a project where someone wanted to install a 19" oval copper sink in a space meant for a rectangular one. The sink was 19 inches wide, but the opening was only 18.5 inches. That tiny gap meant the sink wouldn't sit properly, and we had to modify the vanity completely. It wasn't just about the dimensions - it was about understanding how the sink interacts with the space.
How I Approach 19" Oval Copper Bath Sink Installation
First things first, I always measure the opening twice. Then I check the plumbing layout - specifically the drain positioning and the hot/cold water connections. When I'm dealing with a 19" oval copper sink, I've learned to look at the actual dimensions of the sink body versus what the manufacturer lists as the overall size. Sometimes there's a discrepancy of a quarter-inch or more. I also make sure to account for the weight - copper sinks can weigh 30-40 pounds, which means you need proper support underneath. My process includes checking the cabinet strength, verifying the drain flange alignment, and making sure the sink lip fits properly around the rim. It's a lot more methodical than most people expect, and it saves you from major headaches later.
The Mistakes I Made with 19" Oval Copper Bath Sink Installation
Back in my early days, I made the rookie mistake of assuming the sink would fit based on the opening measurements alone. I had a customer who wanted a 19" oval copper sink and the space looked perfect. But I forgot to consider the overflow hole location and the thickness of the sink itself. The sink ended up being 19.5 inches wide with the rim included, and I hadn't accounted for that extra half-inch. I ended up having to cut a new opening, which turned a two-hour job into a full day. The lesson? Always measure from the inside of the rim to the inside of the rim, not the outside dimensions. I've also learned to always check if the sink comes with a template or detailed measurement guide from the manufacturer. It's easy to get lazy and assume everything lines up, but copper sinks are precision pieces, and you need to respect that.
What Most People Get Wrong About 19" Oval Copper Bath Sink Installation
Here's something that really frustrates me: most people think they can install a 19" oval copper bath sink like they would a regular plastic sink. They don't realize that copper has different properties that affect installation. For instance, copper expands and contracts with temperature changes, so you need to account for that in your installation. Also, many people don't realize that copper sinks come with specific installation requirements - like using proper mounting clips or brackets that can handle the weight and thermal expansion. I've seen people try to use regular bathroom hardware, and it fails within a few months. The other big misconception is that you can just drop a copper sink in place. It's not that simple. The weight, the material, the way it sits on the rim - all of it requires specific attention. And honestly, I think most people don't understand that these sinks need special care during installation because they're so sensitive to misalignment.
Choosing the Right Mounting Hardware for 19" Oval Copper Bath Sinks
This is where most people go wrong. You can't just use any mounting system for a 19" oval copper bath sink. I've seen people try to use standard mounting clips meant for ceramic sinks, and it doesn't work. The weight distribution is different, and copper is more rigid than other materials. I recommend using a mounting system specifically designed for copper sinks, or at minimum, heavy-duty brackets that can support the weight. The type of sink also matters - some have a lip that needs to be supported differently than others. I've found that stainless steel mounting brackets are usually the best choice because they can handle the thermal expansion and provide consistent support. The hardware should also match the sink's design, especially if it's a vintage-style piece. And here's a tip: always buy a few extra mounting screws. I've had to replace mine multiple times because the copper expanded and contracted, causing the screws to loosen over time.
Frequently Asked Questions About 19" Oval Copper Bath Sink Installation
• How do I know if my 19" oval copper sink will fit?
I always recommend bringing the actual sink to the site and placing it in the opening before purchasing. Even small differences in the space can cause problems. The opening needs to be at least 19 inches wide and 15 inches deep for a typical oval sink.
• What tools do I need for installing a 19" oval copper bath sink?
You'll want a stud finder, drill, level, measuring tape, and a utility knife. A helper is also really helpful because these sinks are heavy. I've used a small dolly to move the sink into position, which makes it much easier.
• Can I install a 19" oval copper bath sink myself?
Absolutely, but only if you're comfortable with plumbing basics. The installation requires careful measurement and some electrical work if you're moving the drain. If you're not confident, I'd suggest hiring a professional.
• How do I prevent leaks with a 19" oval copper bath sink?
Use high-quality silicone sealant around the rim, and make sure the drain flange sits flush against the sink. I've seen people skip this step, and it leads to water damage. Also, check that the mounting hardware isn't too tight, which can cause stress cracks in the copper.
Look, I've been doing this for over fifteen years now, and I can tell you that installing a 19" oval copper bath sink is definitely a project that deserves respect. It's not just about fitting the sink in the space - it's about understanding how the material behaves and planning accordingly. The biggest thing I've learned is to never underestimate the importance of checking the actual dimensions and accounting for the weight. If you're thinking about tackling this yourself, I'd say budget extra time and money for potential adjustments. The good news is that once you get it right, these sinks last decades. I still have a 19" oval copper sink I installed in 2007 that's working perfectly. Just remember: measure twice, plan thrice, and don't rush into the installation. It's worth the effort, but only if you do it right.
Related Posts

How Ceramic Vessel Sinks Enhance Bathroom Aesthetics and Functionality
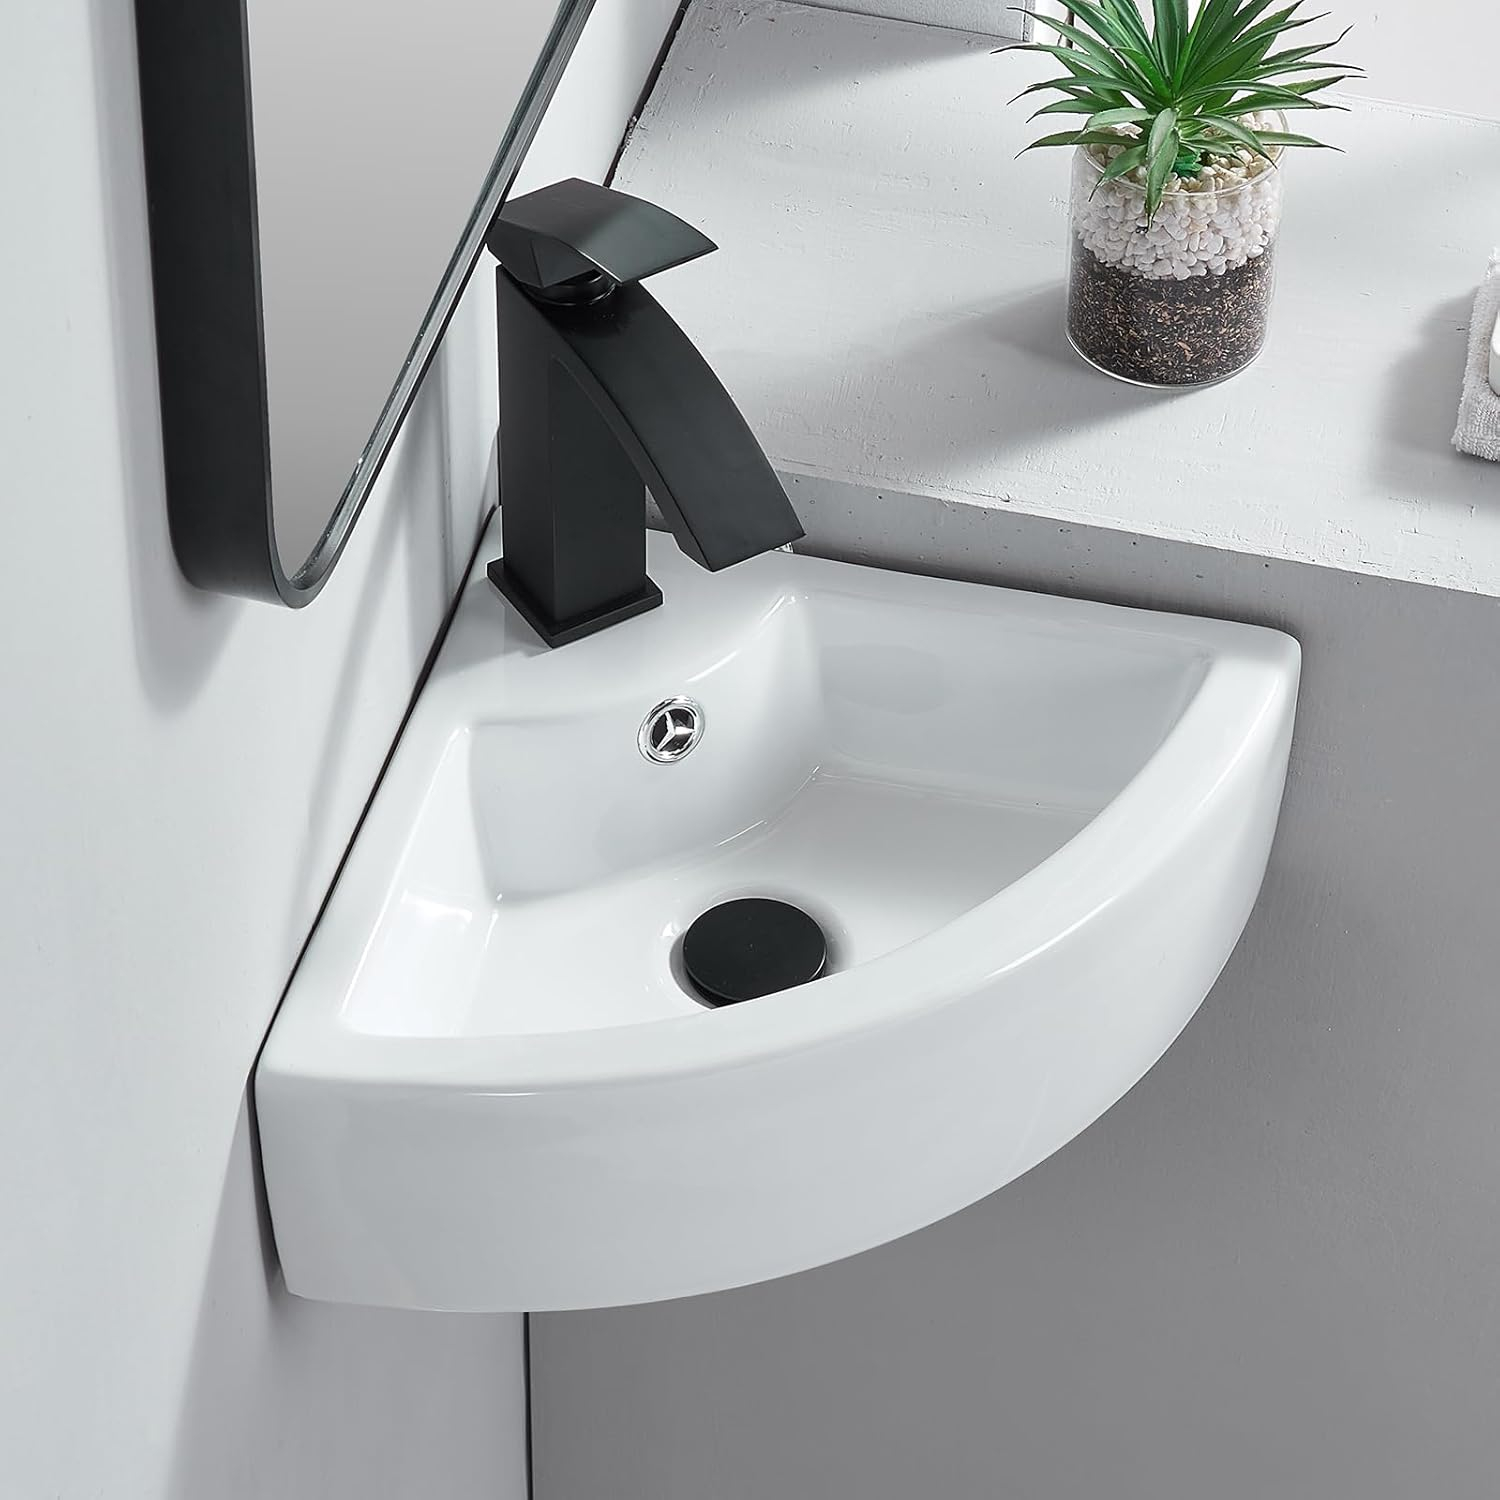
How to Choose the Right Wall Mounted Corner Sink for Your Bathroom Space
Design and Durability Analysis of the Kingston Brass GLTS37225 Brushed Basin

Transforming Your Bathroom with Textured Stone Surfaces
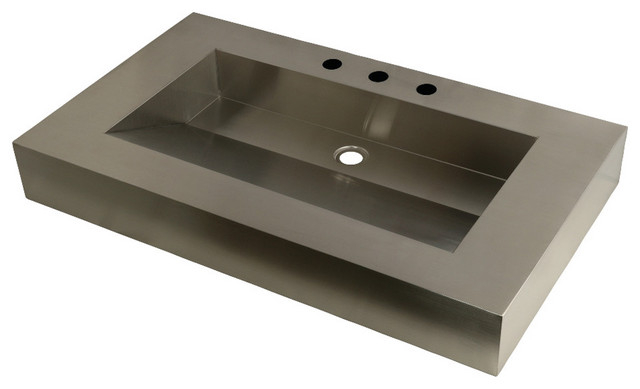
Choosing the Perfect Small Undermount Sink for Your Home Decor