Whether you're mounting a beautiful ceramic piece or setting up a functional fixture, understanding how to properly install the Nameeks 8031/R-60-TB-No Hole Scarabeo 23-3/5" Ceramic Wall Mount is crucial. This comprehensive guide walks you through every step of the installation process, from preparation to final placement.
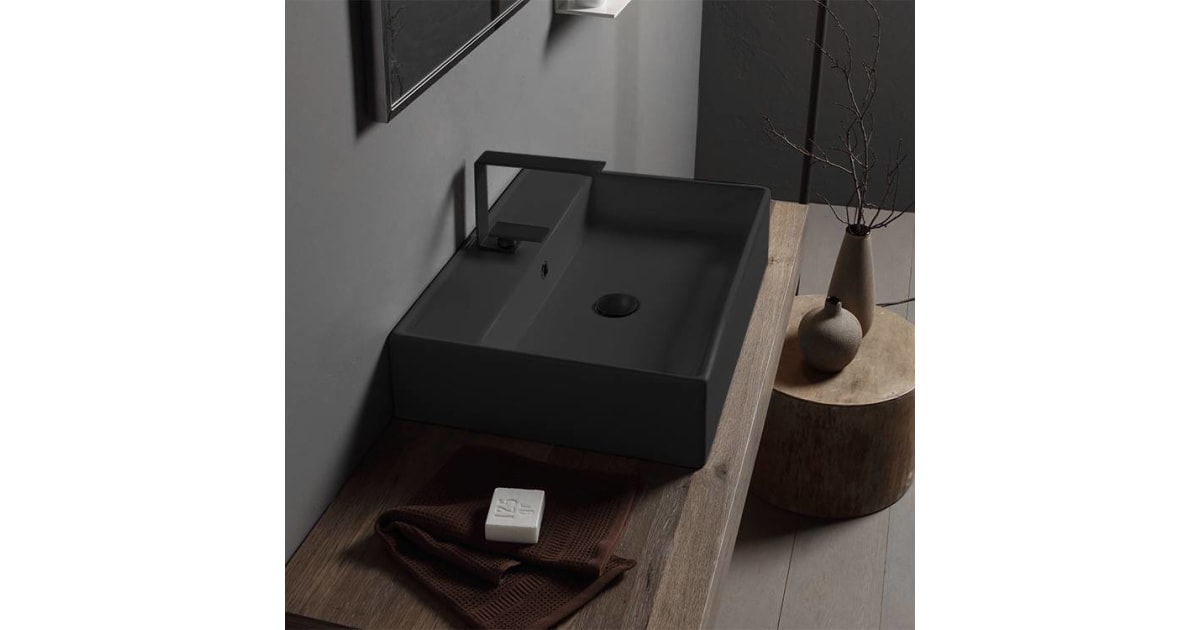
Ceramic wall mounts can add both beauty and functionality to any space. The Nameeks 8031/R-60-TB-No Hole Scarabeo 23-3/5" Ceramic Wall Mount offers a sleek white finish that complements modern interiors while providing secure mounting capabilities. Before diving into installation, it's important to understand what makes this particular model unique and why proper installation matters.
Understanding Your Mount Specifications
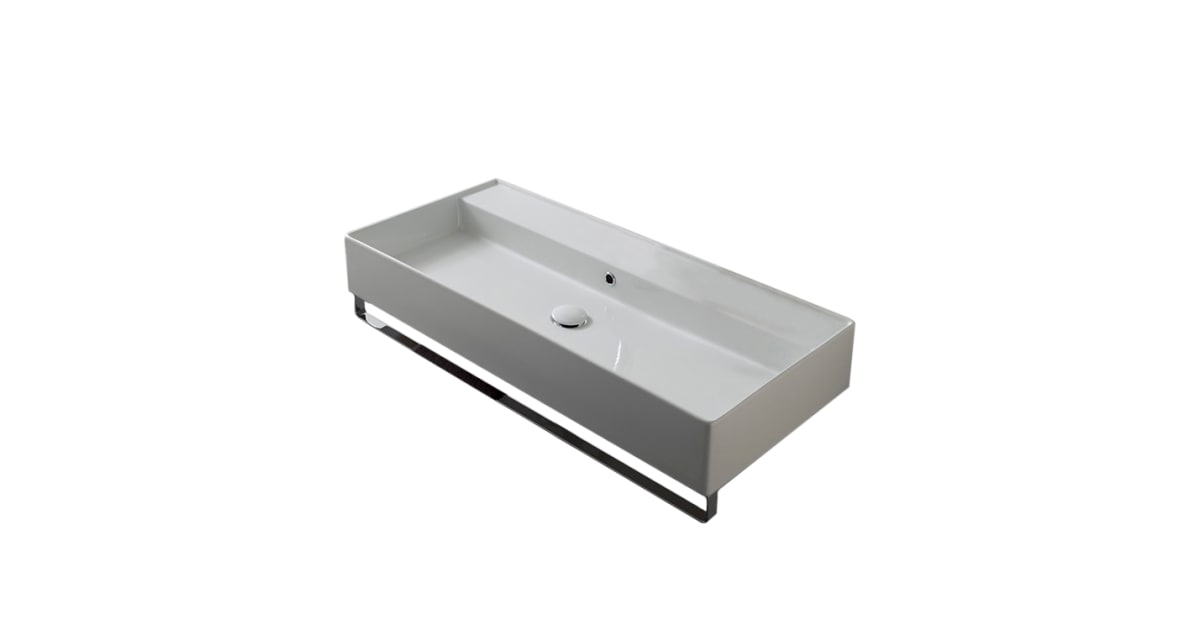
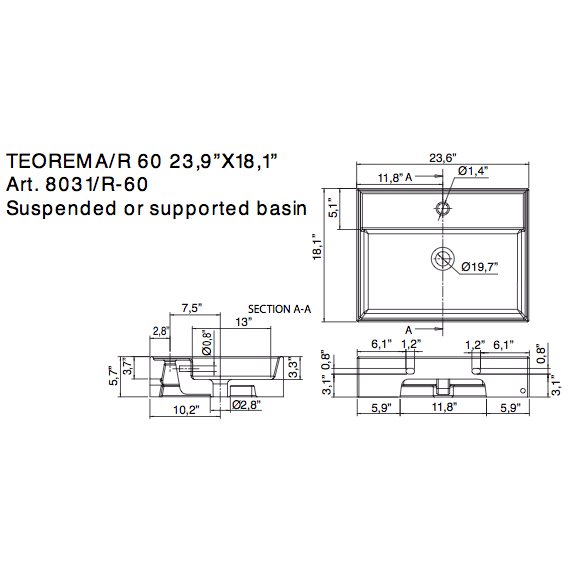
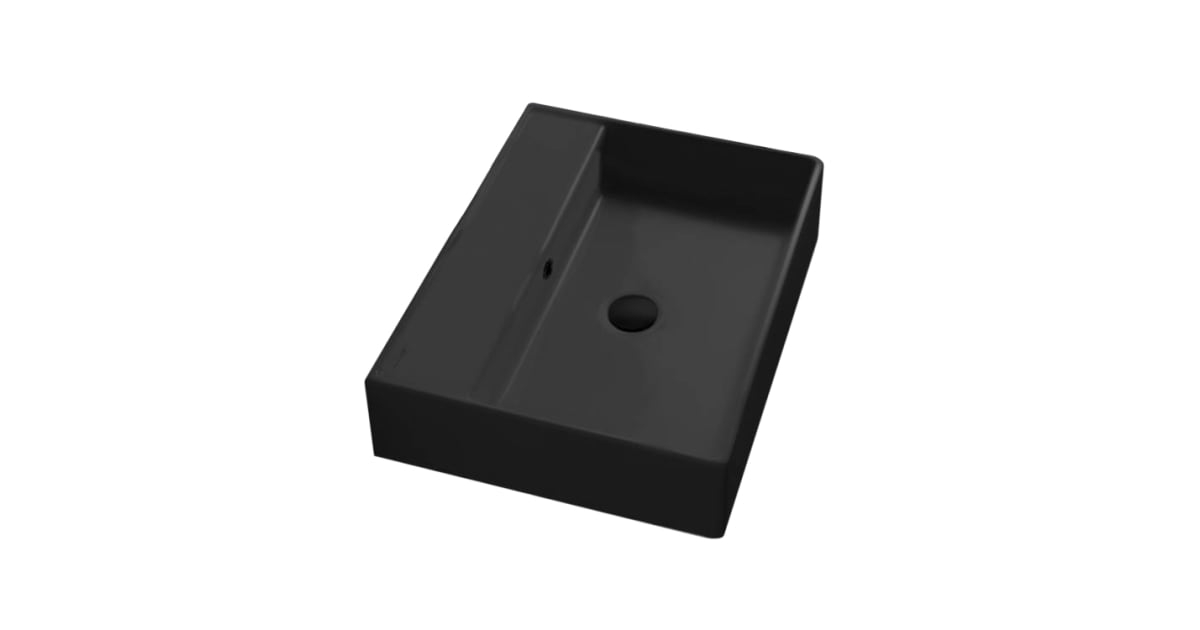
The Nameeks 8031/R-60-TB-No Hole Scarabeo 23-3/5" Ceramic Wall Mount is designed with specific dimensions and weight limits in mind. This mount measures approximately 23 inches wide by 3.5 inches deep, making it suitable for medium-sized ceramic items. The no-hole design means it uses a different mounting system than traditional brackets, which affects how you approach installation.
Key specifications to note: • Weight capacity: Typically supports items weighing up to 20 pounds • Dimensions: 23" x 3.5" x 1.5" thick • Finish: Clean white ceramic surface • Mounting type: Hole-free design with special attachment mechanism
These features mean you'll need to consider the weight of your ceramic item carefully before installation. A heavier piece might require additional support or a different mounting solution entirely.
Preparation and Safety Considerations
Before you even touch your mounting hardware, preparation is essential. Start by selecting the right location on your wall. Consider the weight distribution and ensure you're mounting to a solid surface like drywall with studs or concrete.
Safety first means: • Wearing appropriate protective gear including gloves and safety glasses • Checking that the wall can support the weight of both the mount and the ceramic item • Having all necessary tools within reach • Ensuring the area is clean and free from debris
Many people skip this step and end up with a mount that either won't hold or becomes loose over time. Take a few extra minutes now to prepare properly. It's better to double-check your measurements than to have to remove everything later.
Tools You'll Need for Installation
Having the right tools makes all the difference when installing your ceramic wall mount. Here's what you'll typically need:
• Stud finder to locate wall support • Level to ensure straight mounting • Drill with appropriate bits for your wall type • Screwdriver set • Measuring tape • Pencil for marking positions • Wall anchors if needed
The no-hole design means you'll need to pay attention to how the mounting mechanism works. Unlike traditional bracket systems, this mount relies on precise positioning and secure attachment points. Some users find that using a drill with variable speed settings helps them avoid cracking the ceramic during installation.
Step-by-Step Installation Process
The installation process involves several critical steps that must be followed carefully:
-
Mark the mounting points - Use your measuring tape to determine exact placement. The mount should be centered according to your ceramic item's dimensions.
-
Locate wall studs - If possible, align your mounting points with wall studs for maximum security. If you must use drywall alone, ensure you have proper anchors.
-
Drill pilot holes - Use the appropriate bit size for your screws. Be careful not to go too deep or risk damaging the ceramic.
-
Attach the mounting hardware - Follow the manufacturer's instructions for securing the mount to the wall. The no-hole design requires careful alignment.
-
Install the ceramic piece - Once the mount is secure, carefully place your ceramic item onto the mounting mechanism.
Each step requires patience and attention to detail. Rushing through any part can lead to problems later on.
Common Mistakes to Avoid
Even experienced DIYers sometimes encounter issues with ceramic wall mounts. Here are some frequent errors to watch out for:
• Not checking wall strength before mounting • Using incorrect screw sizes or types • Forgetting to level the mount properly • Applying too much pressure when attaching the ceramic piece • Ignoring the weight limitations
One common mistake is assuming that because the mount looks simple, the installation should be easy. The ceramic material itself is delicate, and the mounting system requires precision. Many people find that taking their time with each step prevents costly mistakes and ensures long-term success.
Maintenance and Longevity Tips
Once installed correctly, your ceramic wall mount should serve you well for years. To keep it looking great and functioning properly:
• Regularly check that screws remain tight • Clean the ceramic surface with mild soap and water • Avoid using harsh chemicals that could damage the finish • Inspect the mounting hardware periodically for signs of wear • Watch for any movement or loosening of the mount
The white ceramic finish is particularly prone to showing fingerprints and smudges. Regular cleaning with a soft cloth will help maintain its appearance. Remember that environmental factors like humidity can affect adhesion over time, so periodic checks are wise.
Installing the Nameeks 8031/R-60-TB-No Hole Scarabeo 23-3/5" Ceramic Wall Mount doesn't have to be intimidating. With proper planning, the right tools, and careful attention to detail, anyone can achieve professional-looking results. The key is understanding the unique aspects of this mount's design and following each step methodically.
Remember that while the installation may seem straightforward, the quality of your work directly impacts how long your mount will last and how safely it will hold your ceramic items. Taking time to prepare properly pays dividends in the form of a secure, attractive display that enhances your space for years to come. Whether you're mounting decorative pieces or functional items, this guide provides the foundation for successful installation.

Related Posts
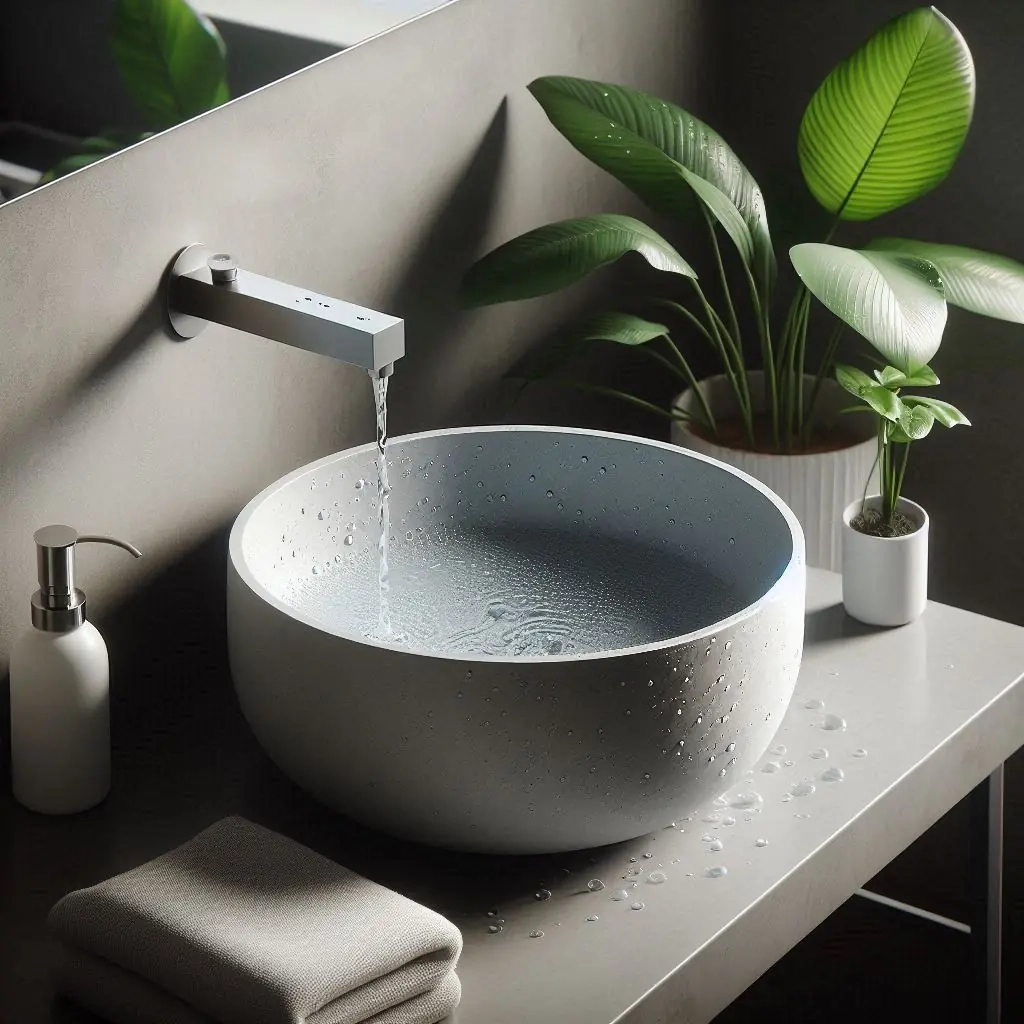
How Ceramic Vessel Sinks Enhance Bathroom Aesthetics and Functionality
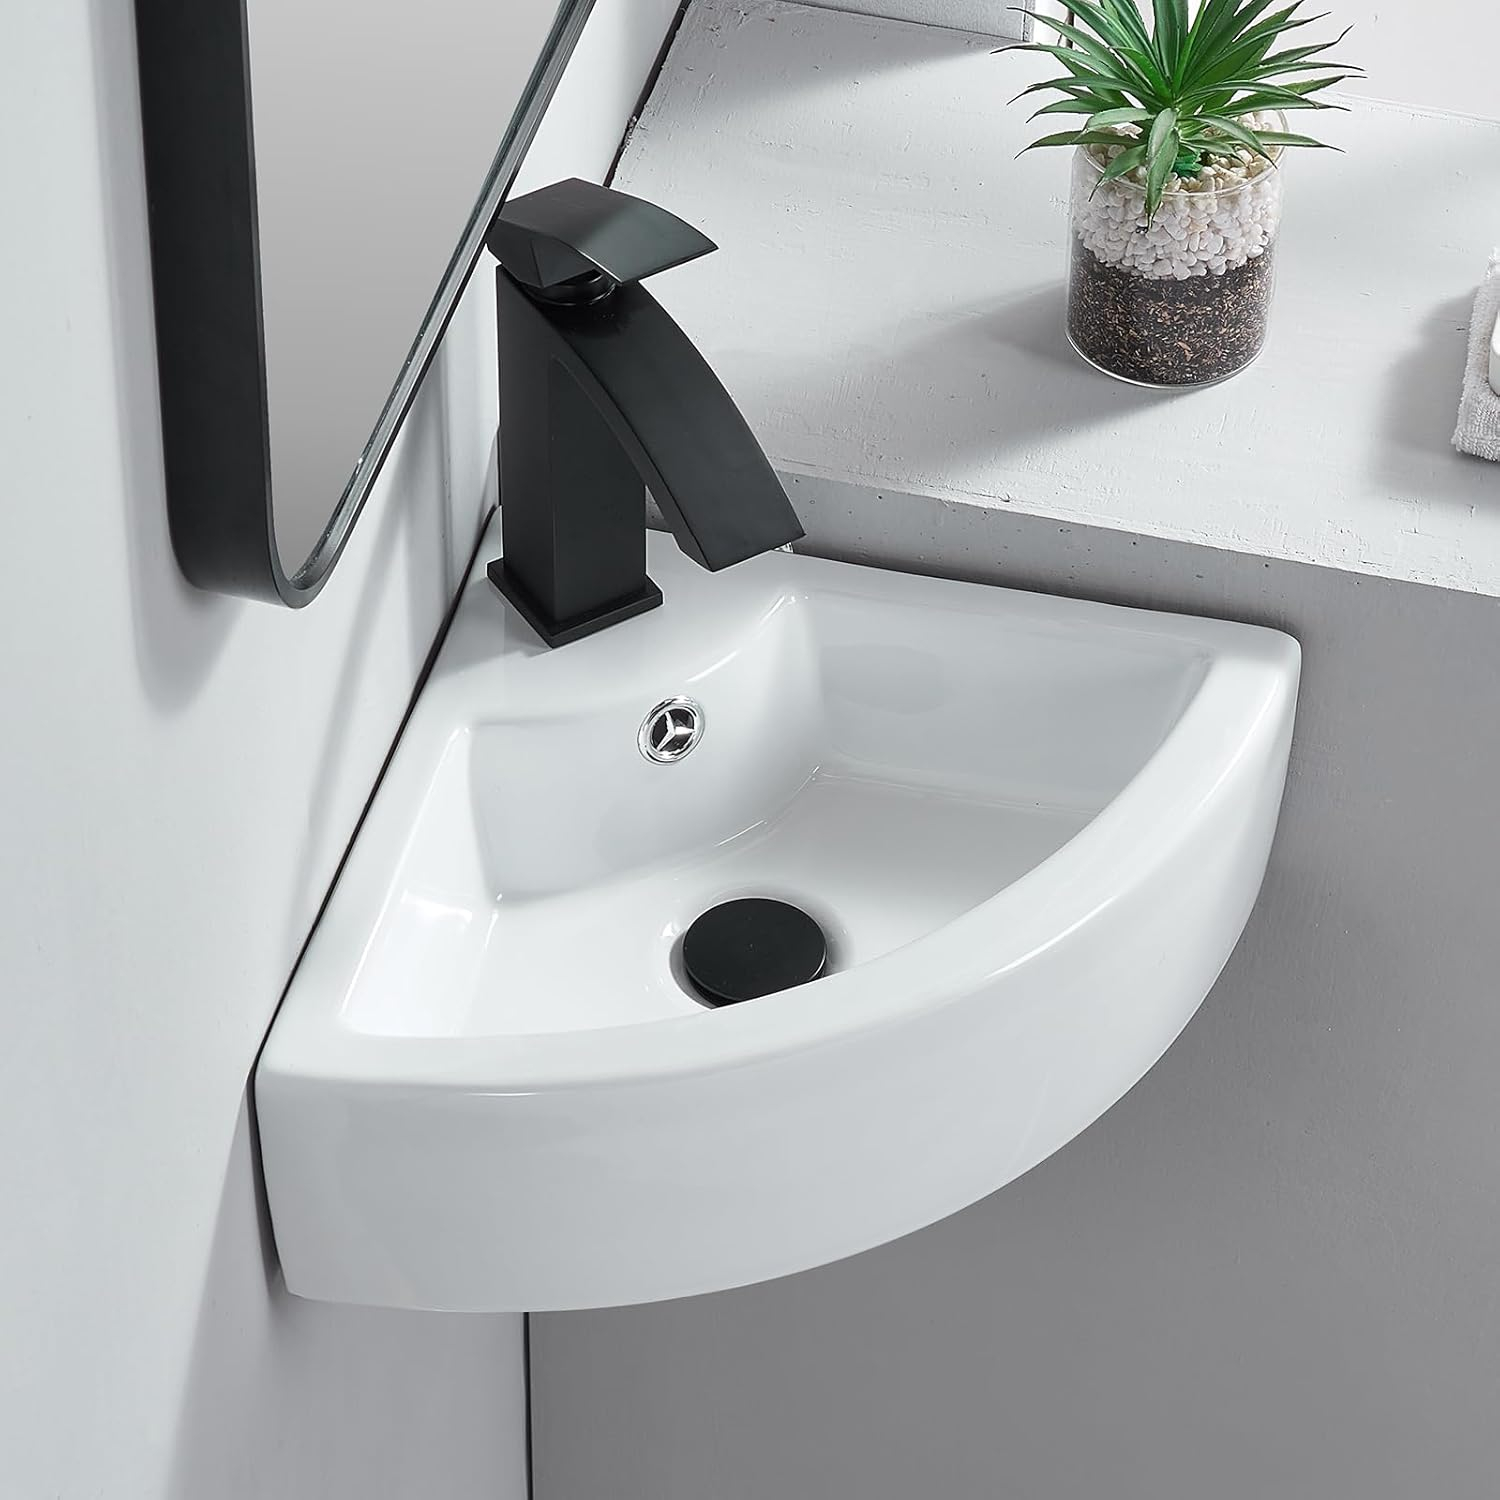
How to Choose the Right Wall Mounted Corner Sink for Your Bathroom Space
Design and Durability Analysis of the Kingston Brass GLTS37225 Brushed Basin
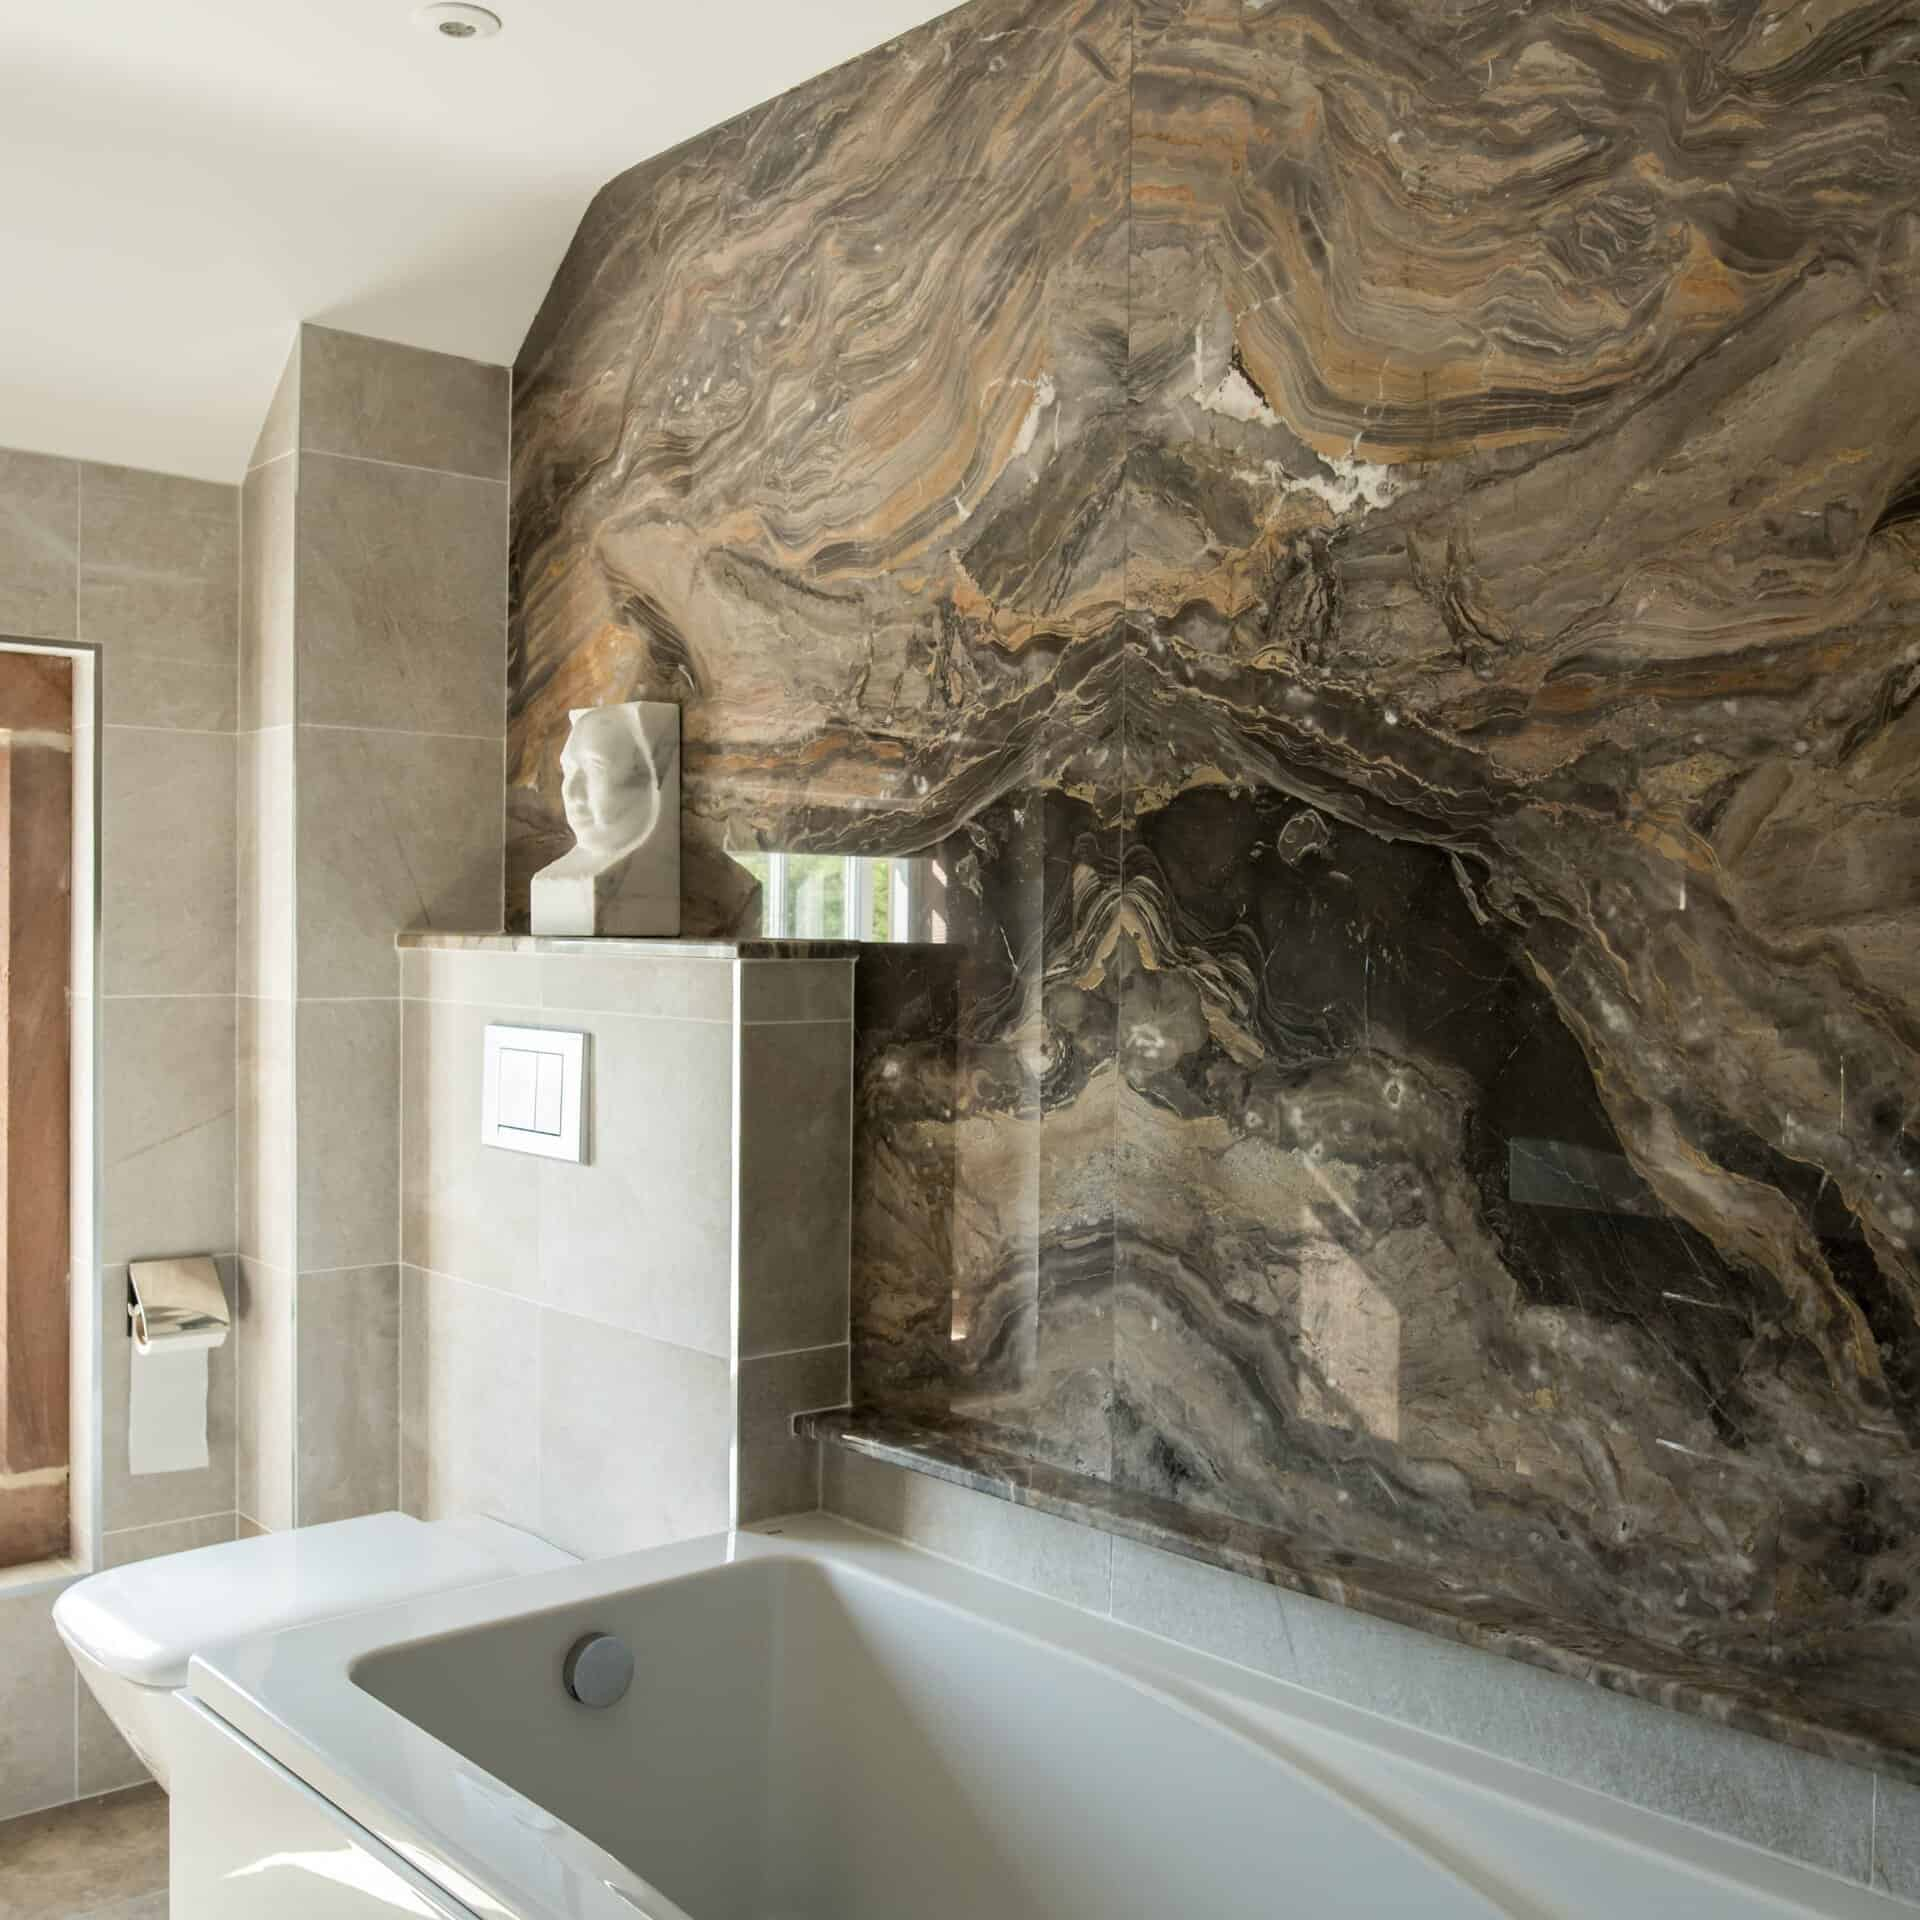
Transforming Your Bathroom with Textured Stone Surfaces
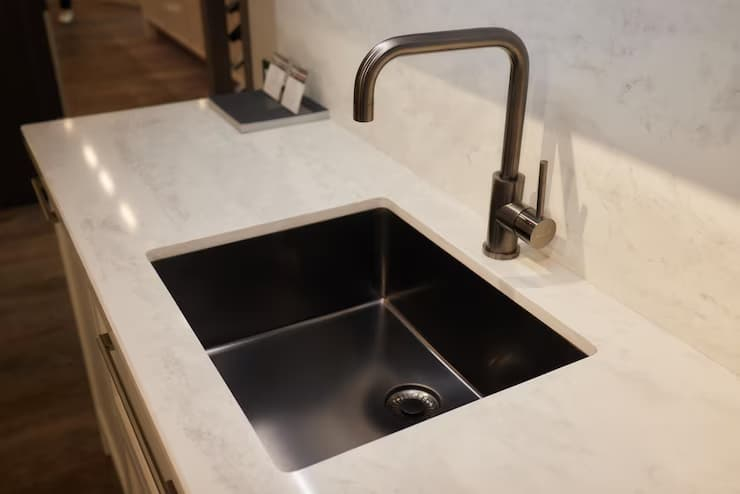
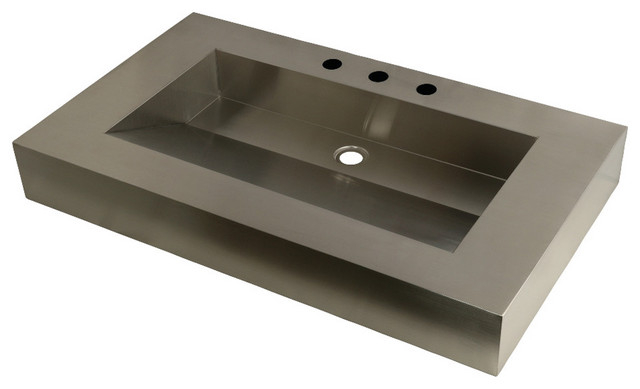
Choosing the Perfect Small Undermount Sink for Your Home Decor