There's something deeply satisfying about a perfectly installed bathroom fixture. When it comes to the Kohler K-2288 white pedestal sink base, getting it right means combining precision with a bit of patience. Whether you're doing a full bathroom renovation or just replacing an old sink, this guide will walk you through everything you need to know. It's not just about following steps—it's about understanding why each one matters.
If you've ever stared at a pile of bathroom hardware and wondered where to start, you're not alone. Installing a Kohler K-2288 white pedestal sink base might seem like a daunting task, but with the right approach, it's very much within reach. These beautiful fixtures bring both style and functionality to any bathroom, but they require careful attention to detail during installation. This isn't just about getting things to fit—it's about ensuring your new sink looks great and functions flawlessly for years to come. Let's dive into what makes this particular model special and how to get it installed correctly.
Understanding the Kohler K-2288 White Pedestal Sink Base
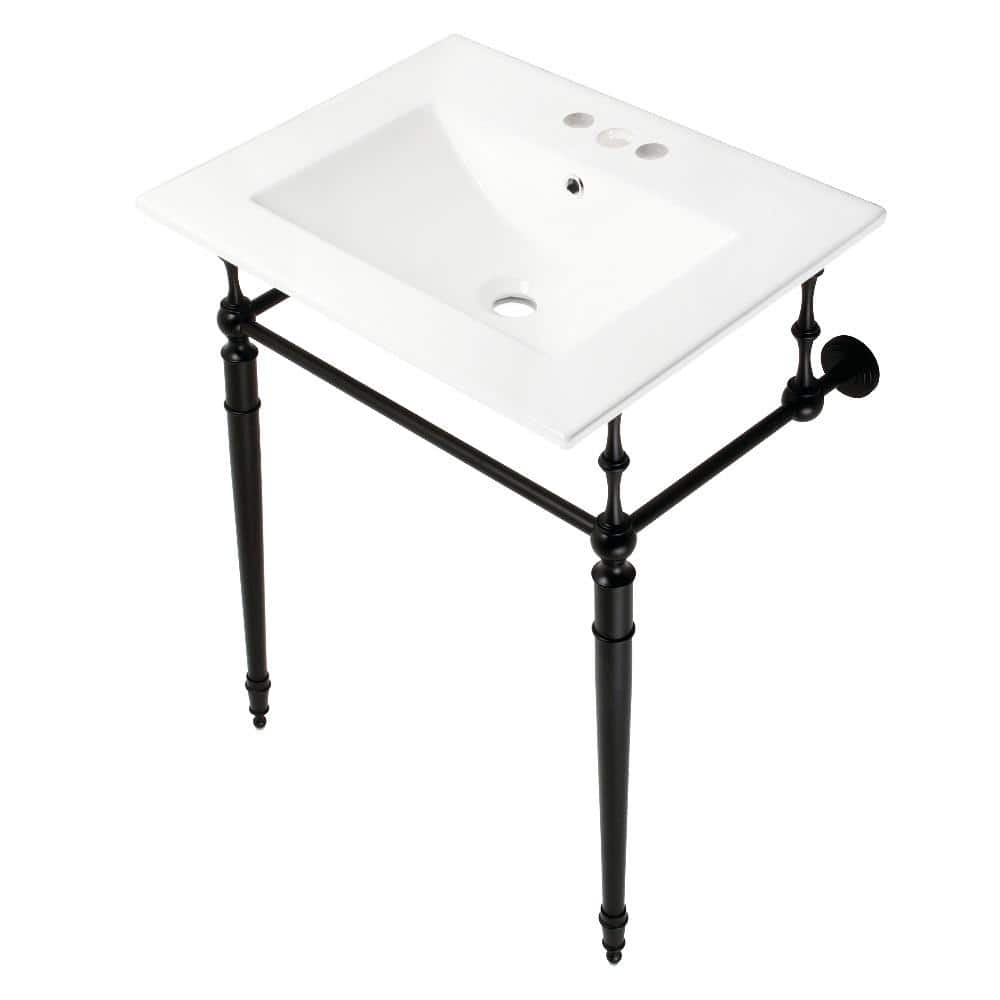
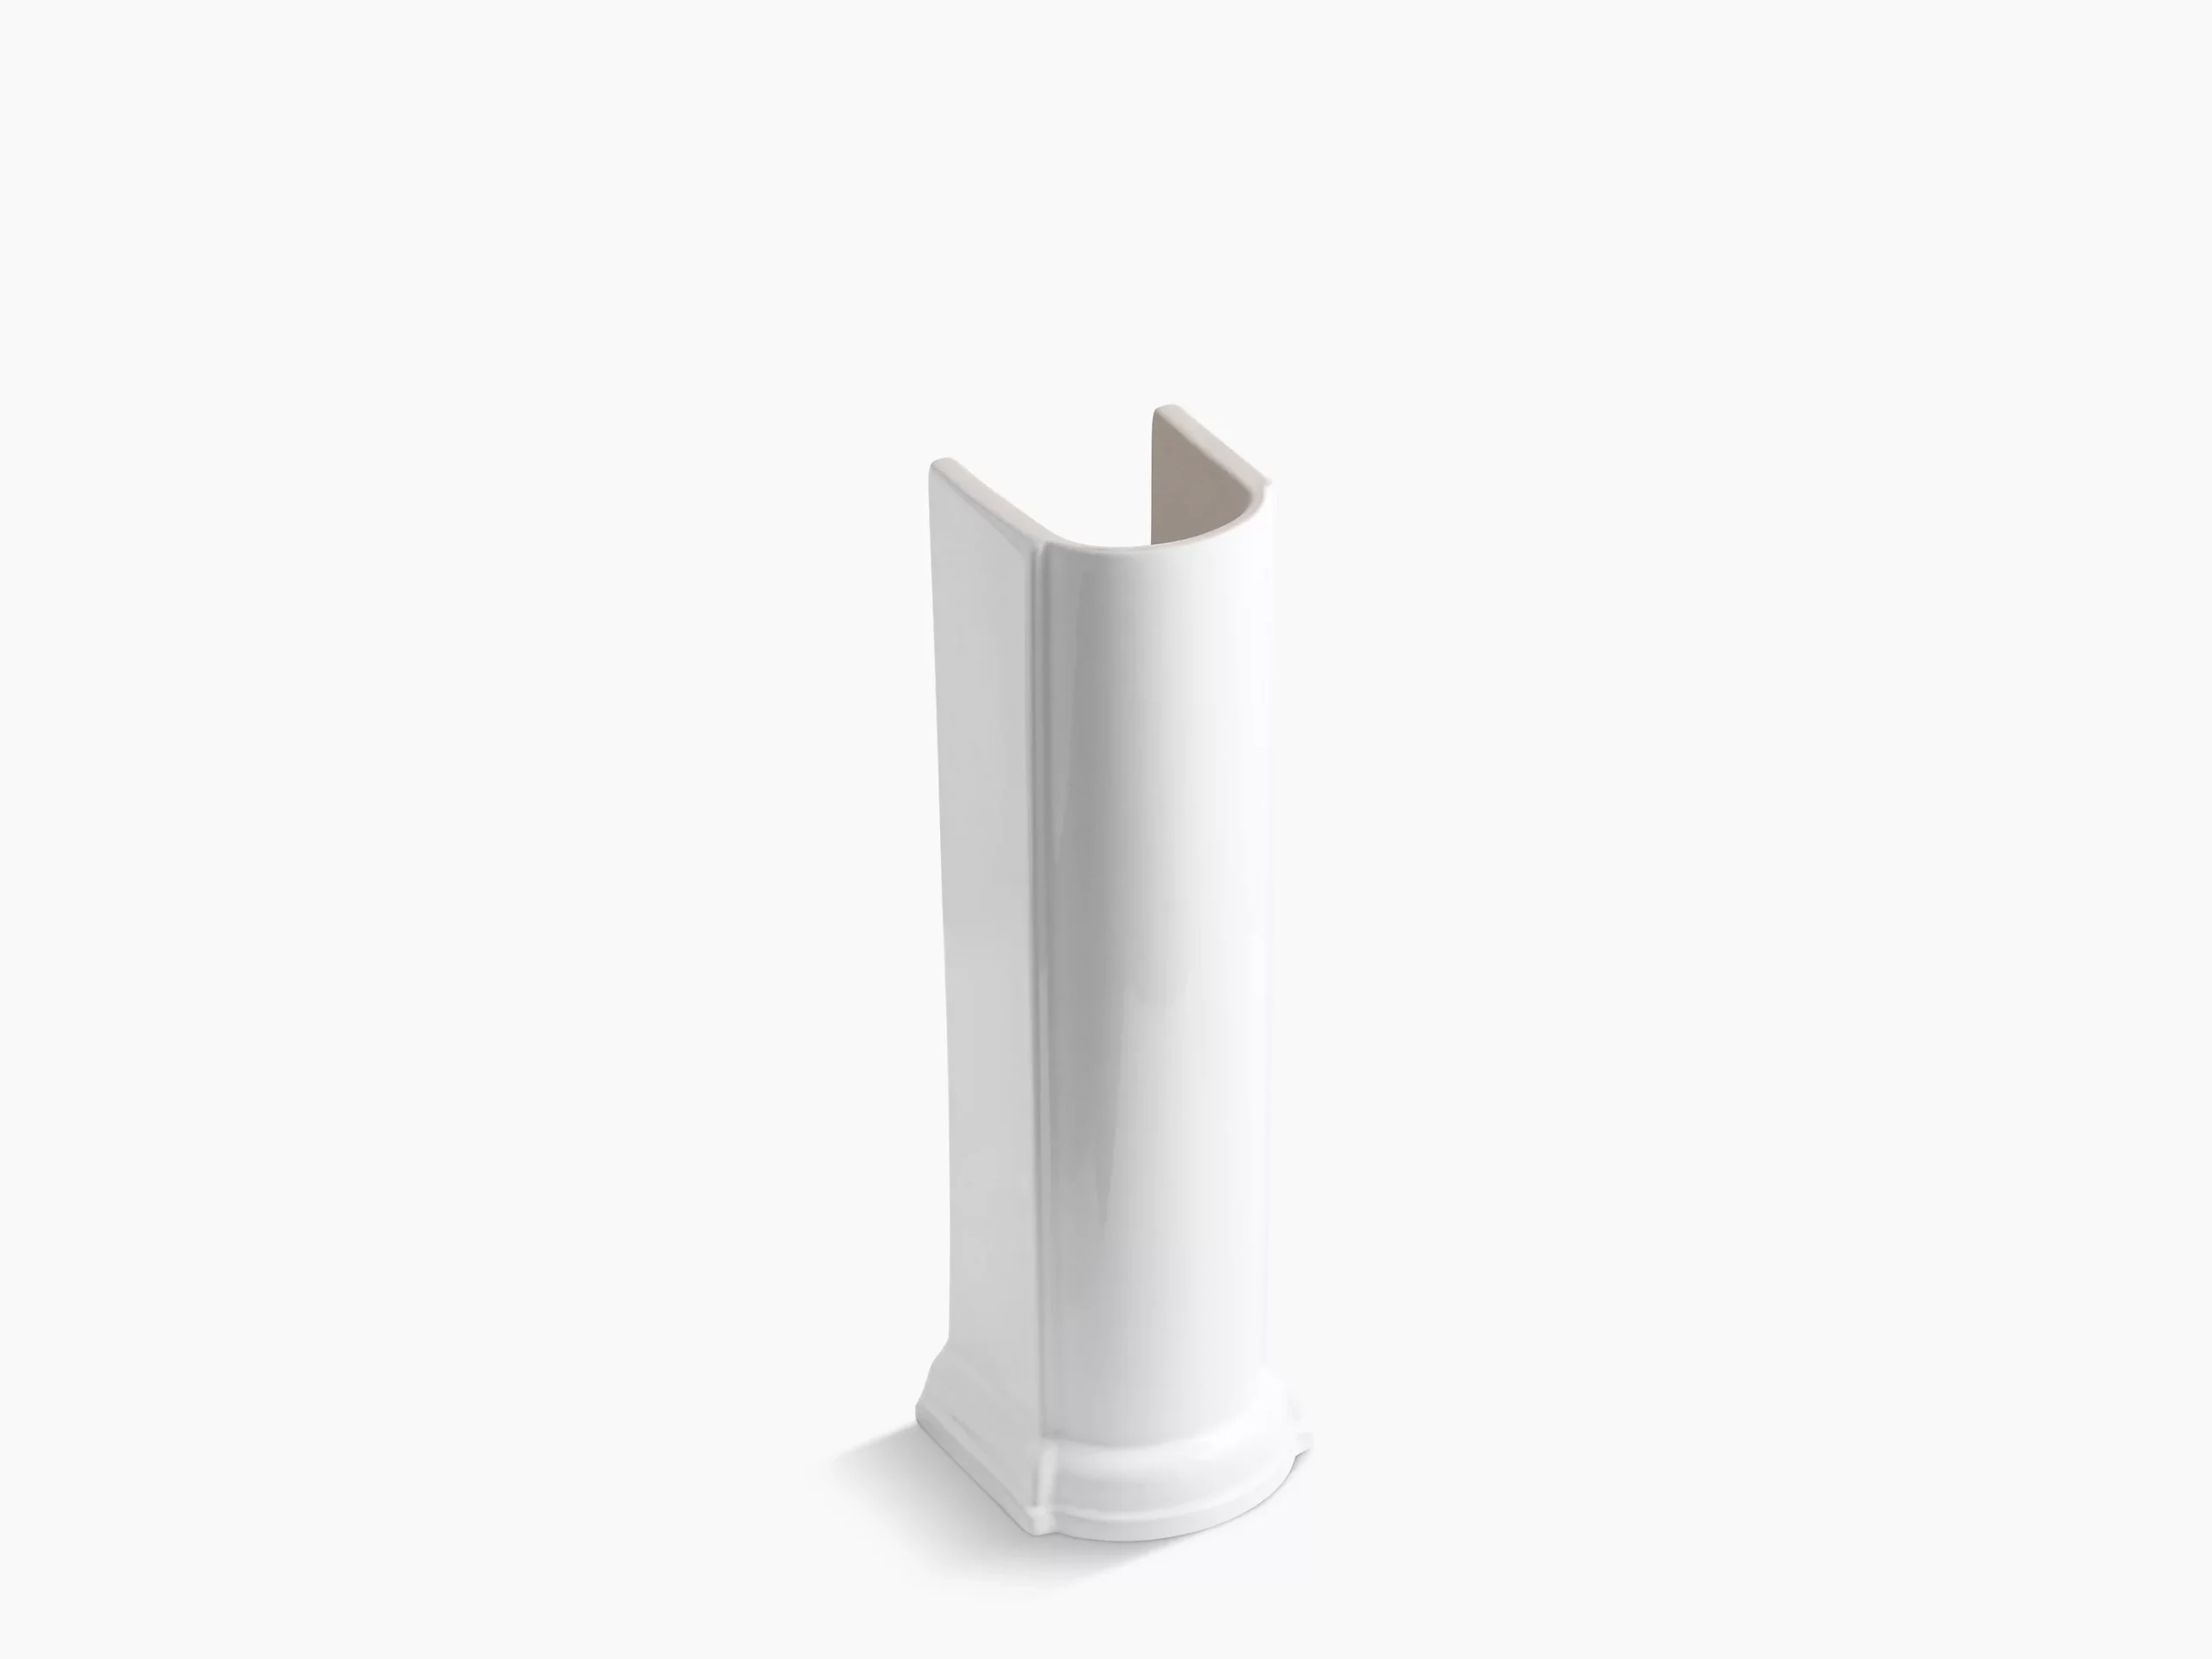
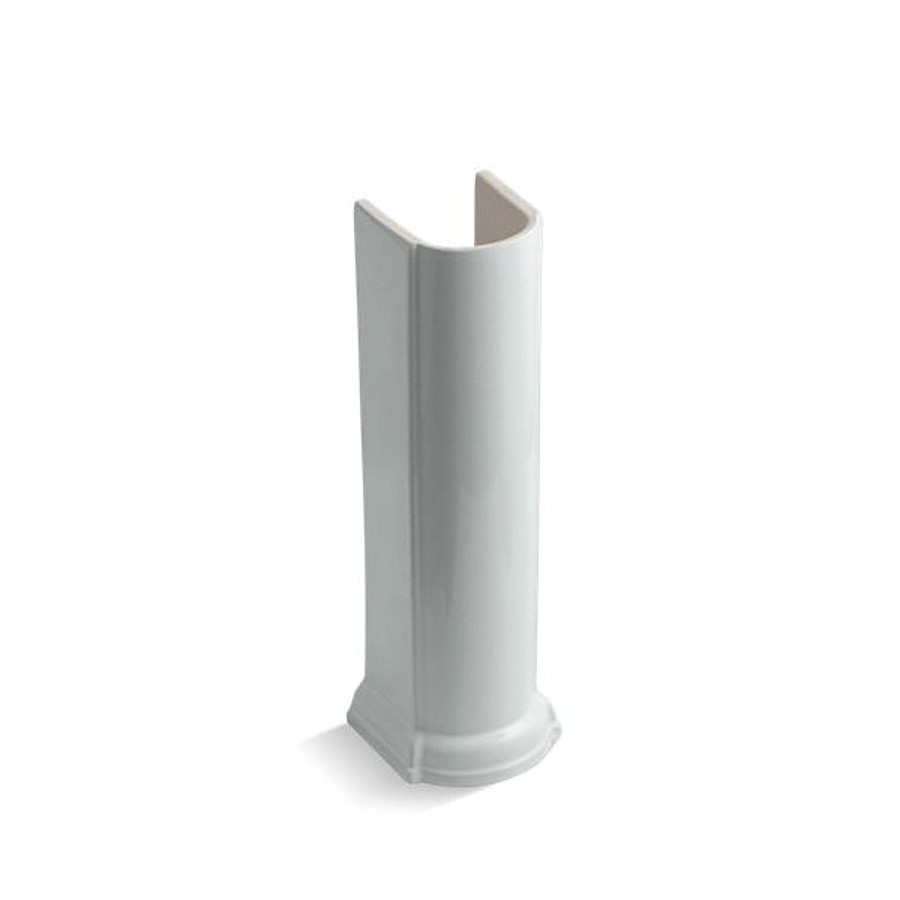
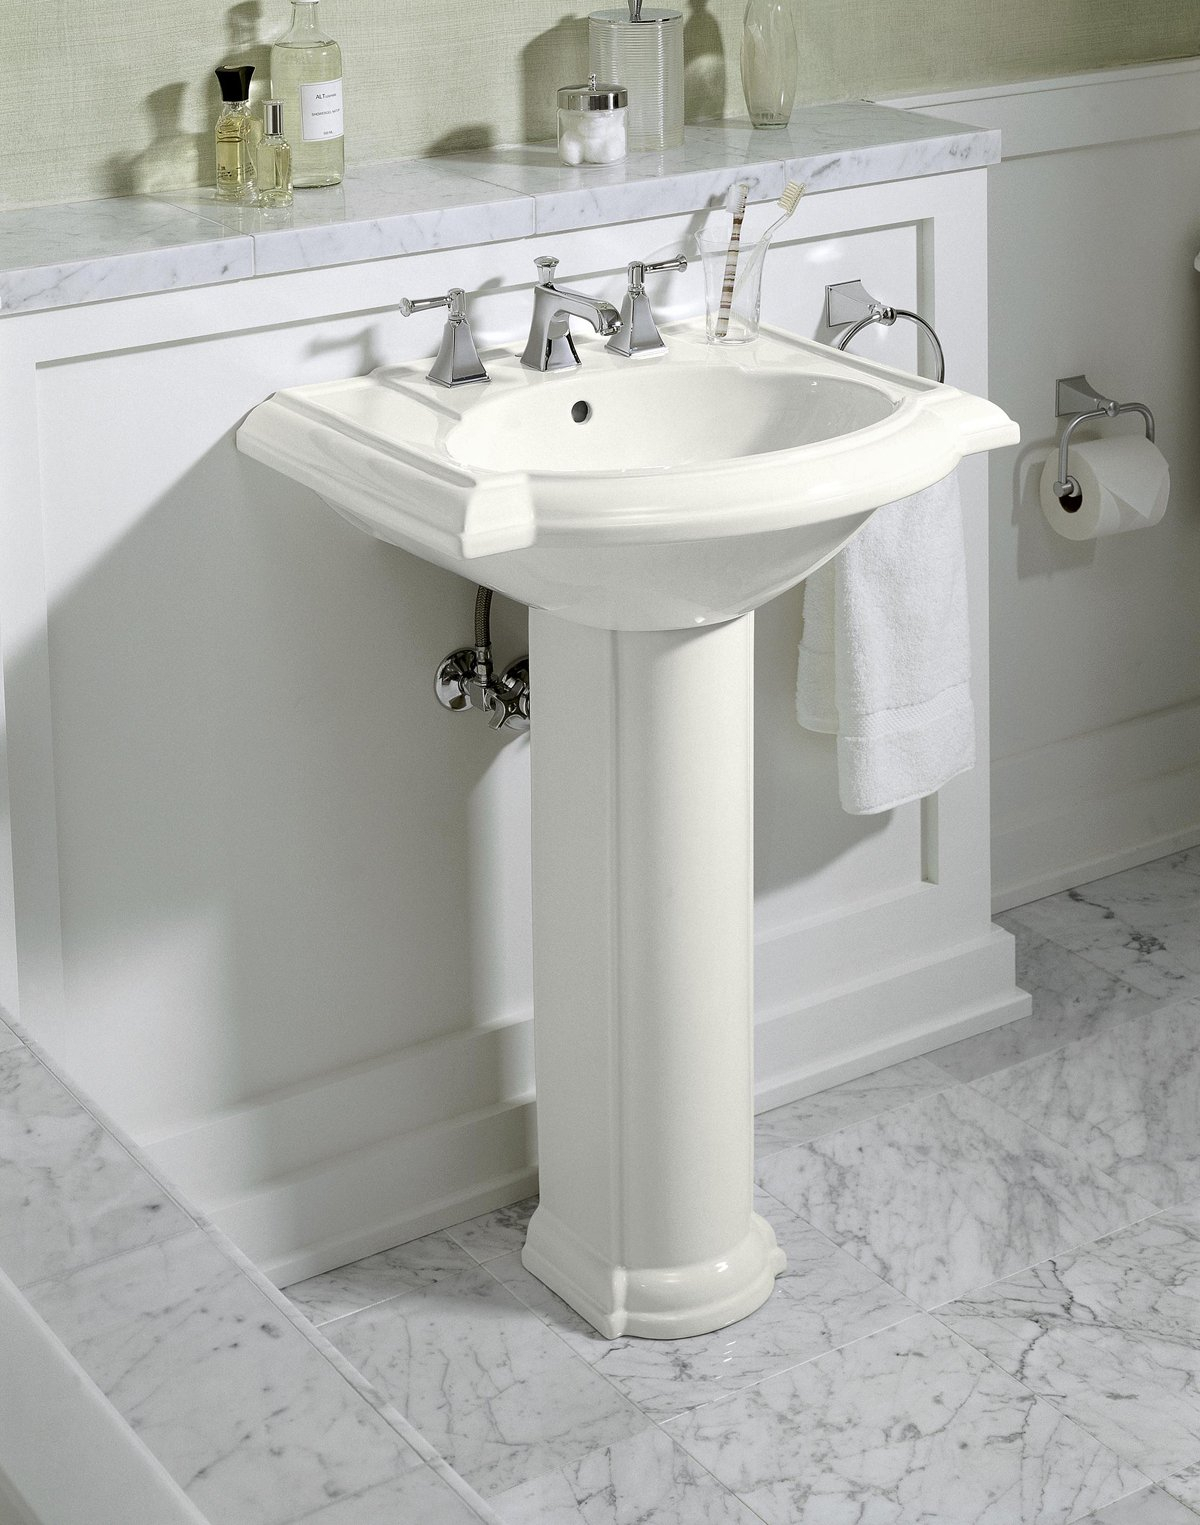
Before we jump into installation, it helps to know what you're working with. The Kohler K-2288 is a classic pedestal sink designed to complement modern bathrooms. Its white finish gives it a clean, timeless appeal that works well with various décor styles. The base itself is built to support the weight of the sink while providing stability and durability. What makes this model stand out is its straightforward design that allows for easy installation when done right.
Key features include:
• Durable ceramic construction • Smooth white finish • Easy-to-clean surface • Compatible with standard plumbing • Designed for pedestal-style installation
This sink base isn't just about aesthetics—it's engineered to last. Understanding its structure helps prevent common installation issues that many homeowners face.
Essential Tools and Materials You'll Need
Getting your tools ready before you begin can save you hours of frustration later. Here's what you should have on hand:
• Measuring tape • Level • Screwdriver set • Drill with bits • Stud finder • Plumber's tape • Silicone caulk • Adjustable wrench • Safety glasses • Work gloves
Some of these items might surprise you. For instance, a stud finder is crucial for locating wall studs behind your bathroom vanity. Without proper support, your sink base could end up wobbling or even falling. Having a level ensures everything sits perfectly straight. And don't forget those safety glasses—plumbing work can get messy, and protecting yourself is always smart.
Pro tip: Many people overlook the importance of having enough caulk. A small tube can go a long way, especially if you're sealing around the edges to prevent water damage. It's better to have too much than not enough.
Preparing Your Space and Measurements
The first step in any successful installation is preparation. Measure your bathroom space carefully. The Kohler K-2288 requires specific clearance for optimal performance. The sink itself measures approximately 22 inches wide, 14 inches deep, and 6 inches high. But don't forget about the pedestal support—this needs adequate room too.
Check these important dimensions:
• Width of sink opening: 22 inches • Depth clearance: At least 16 inches • Pedestal spacing: 17.5 inches center to center • Wall thickness: Minimum 1.5 inches for mounting
Sometimes, people assume their existing vanity can accommodate the new sink without checking. That's where problems often start. Take your time measuring and double-checking. It's much easier to adjust your plans early rather than struggle with a poorly fitting sink later.
Also, verify that your plumbing lines are positioned correctly. The Kohler K-2288 uses standard connection points, but confirming this ahead of time prevents unexpected complications during installation.
Mounting the Sink Base to the Wall
Once measurements are confirmed, it's time to mount the base. This step requires precision because the entire structure depends on secure attachment. Start by marking the locations for the mounting brackets using a level. Accuracy here pays off big time—the sink needs to sit perfectly flat.
Here's how to do it:
- Position the base against the wall where you want it
- Mark the bracket locations with a pencil
- Use a stud finder to locate wall studs
- Drill pilot holes at marked spots
- Attach brackets securely with screws
A few things to keep in mind: If you can't find studs, consider using toggle bolts or wall anchors for extra security. Also, ensure the brackets are aligned horizontally. Even a tiny misalignment can cause the whole unit to look askew.
When attaching the base, tighten the screws gradually. Don't over-tighten them all at once, as this can warp the material. It's better to take your time and make sure everything holds steady. The base should feel solid when you give it a gentle push.
One common mistake is skipping the level check. Yes, it takes a few extra seconds, but it makes a huge difference in how the finished product looks and functions.
Connecting the Plumbing and Final Adjustments
After securing the base, the plumbing connections come next. The Kohler K-2288 uses standard 1.5-inch connections for both hot and cold water supply lines. Before connecting, wrap the threads with plumber's tape to prevent leaks. Tighten connections with an adjustable wrench, but don't overtighten—just snug enough to seal properly.
Check for:
• Water supply line alignment • Faucet hole positioning • Drain connection tightness • Proper water pressure
It's tempting to rush through this part, but taking your time here avoids future headaches. Test the water pressure after connecting everything. If there's no water coming out, you might have a kink in the line or a loose connection somewhere. Don't ignore these signs—they're telling you something important.
Finally, make sure the sink sits flush with the wall. If there are gaps, add shims or adjust the mounting brackets accordingly. The goal is a seamless look that blends effortlessly with your bathroom design. A well-installed sink should feel solid and look professional.
Troubleshooting Common Installation Issues
Even with careful planning, some hiccups can happen. Here are the most frequent problems and how to solve them:
• Misaligned mounting brackets: Use a level to recheck your marks. Sometimes walls aren't perfectly straight, requiring small adjustments. • Leaking connections: Double-check thread wrapping and tighten carefully. A leak early on can cause bigger problems later. • Wobbly base: Ensure all screws are tightened properly and that wall studs are used for support. • Improper drainage: Check that the drain pipe is aligned with the sink's drain hole.
Sometimes, the issue isn't with your technique but with the product itself. If the sink arrives damaged or doesn't fit as expected, contact Kohler customer service. They're usually helpful and may offer replacements or solutions.
Remember, every installer runs into obstacles sometimes. The key is staying patient and methodical. Rushing leads to mistakes, while taking a moment to assess each step usually resolves most issues.
Installing a Kohler K-2288 white pedestal sink base is a project that combines craftsmanship with attention to detail. It's not just about putting pieces together—it's about creating something that enhances your space and lasts for years. From measuring and preparing your space to securing the base and connecting the plumbing, each step builds toward a successful outcome.
Don't let the process intimidate you. With the right tools, careful preparation, and a bit of patience, you can achieve professional-looking results. Whether you're doing this yourself or hiring someone, understanding the basics helps you communicate effectively and make informed decisions.
The satisfaction of seeing a beautifully installed sink that fits perfectly and functions flawlessly is worth every moment of effort. Your bathroom will thank you for the investment in quality installation. So take your time, follow the steps carefully, and enjoy the result of your hard work.


Related Posts

How Ceramic Vessel Sinks Enhance Bathroom Aesthetics and Functionality
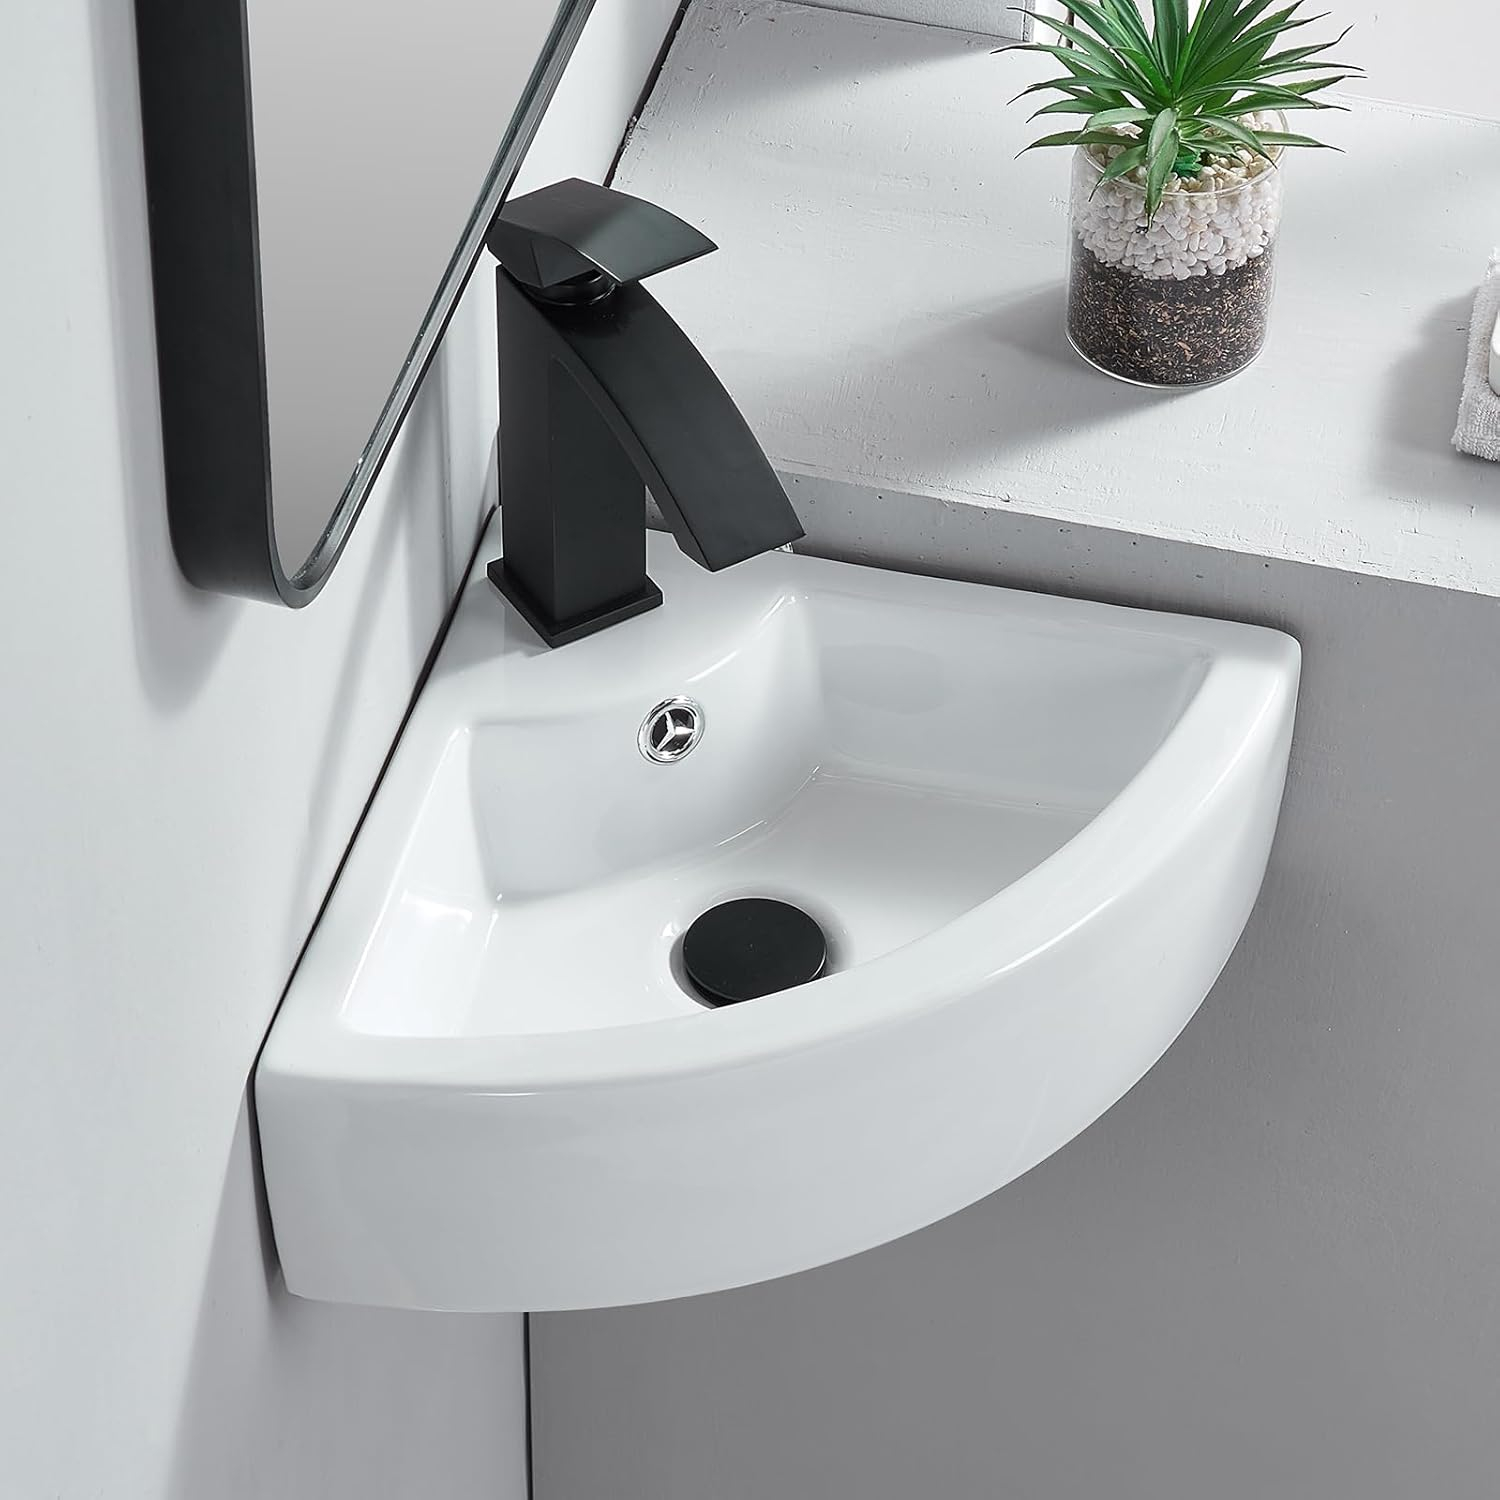
How to Choose the Right Wall Mounted Corner Sink for Your Bathroom Space
Design and Durability Analysis of the Kingston Brass GLTS37225 Brushed Basin

Transforming Your Bathroom with Textured Stone Surfaces
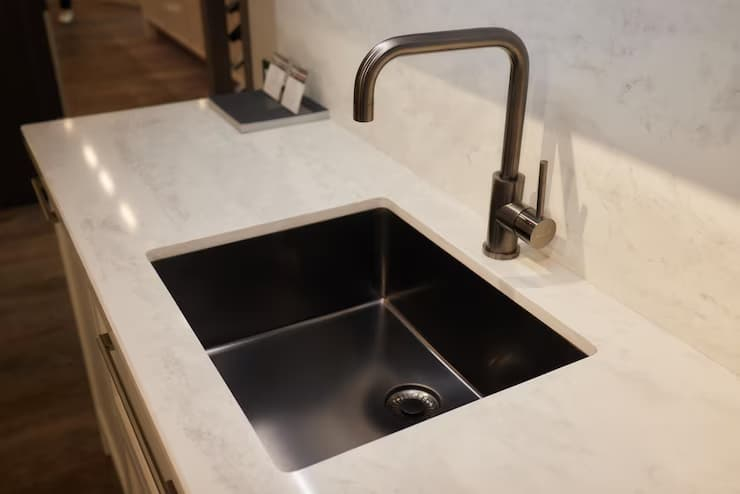
Choosing the Perfect Small Undermount Sink for Your Home Decor