When it comes to bathroom renovations, few installations require as much precision and planning as setting up an 8-faucet spread in a vanity application. This isn't just about fitting pipes and fixtures together—it's an art form that combines technical know-how with aesthetic sensibility. Whether you're a seasoned professional or someone tackling their first major bathroom project, understanding how to properly install an 8-faucet spread can make all the difference between a seamless installation and a frustrating mess.
Installing an 8-faucet spread in a vanity application might sound like a simple plumbing job, but it's actually quite intricate. These setups involve multiple water connections, precise measurements, and careful coordination between various components. Think of it as conducting an orchestra where each faucet must play in harmony with the others. The complexity increases when you consider that these installations often serve high-end bathrooms with premium fixtures, requiring attention to detail that goes beyond basic functionality. What makes this installation particularly challenging is that it demands both technical expertise and an eye for design, ensuring that every component works flawlessly while maintaining visual appeal.
Understanding 8-Faucet Spread Basics
An 8-faucet spread is essentially a collection of eight separate faucet fixtures mounted on a single vanity unit. These setups are commonly found in luxury bathrooms, master suites, and high-end residential applications. The term 'spread' refers to how far apart the individual faucets are positioned across the vanity surface. A typical 8-faucet spread might have two sets of four faucets, or perhaps a central configuration with additional side units. Each faucet operates independently but shares common water supply lines, making the installation process more complex than standard single-faucet setups. The key to success lies in understanding how these components interact with each other and the underlying plumbing infrastructure.
Planning and Measurement Essentials
Before even thinking about installation, proper planning and measurement are crucial. Start by measuring your vanity space carefully, taking note of dimensions including width, depth, and height. The spread pattern itself needs to be calculated based on the specific vanity design and user requirements. For example, if you're installing an 8-faucet spread in a 60-inch vanity, you'll want to ensure there's adequate spacing between each fixture to allow for comfortable use. Consider the following factors:
• The distance between each faucet center • Available space for handles and controls • Water line accessibility from underneath • Clearance for maintenance access • Electrical considerations for any integrated features
It's worth noting that many manufacturers provide detailed layout specifications, but it's always better to double-check measurements yourself rather than assume everything will fit perfectly. Small miscalculations can lead to major problems during installation.
Preparation and Tool Requirements
Proper preparation sets the foundation for a successful installation. You'll need several specialized tools including:
• Adjustable wrenches and pliers • Pipe cutters and threading tools • Level and measuring tape • Drill with various bits • Screwdrivers and Allen keys • Plumber's tape and sealants • Safety equipment like gloves and goggles
The vanity surface must be clean and stable before beginning work. Remove any existing fixtures and inspect the underlying structure for damage or wear. Check that the mounting surfaces are level and secure, as any unevenness can cause issues with the final alignment. Some installations may require modifications to the vanity itself, such as cutting new holes or reinforcing support areas. This preparation phase often takes longer than expected, but rushing through it usually leads to costly mistakes later.
Water Supply and Plumbing Connections
The plumbing aspect of 8-faucet spread installation is where things get really technical. Each faucet typically requires its own hot and cold water lines, plus potential connections for additional features like soap dispensers or sprayers. The key is to plan the routing of these lines efficiently to avoid interference between components. Many installations benefit from using flexible supply lines rather than rigid pipes, especially in tight spaces. Here's what to keep in mind:
• Ensure adequate water pressure for all fixtures • Plan for proper drainage connections • Consider temperature control requirements • Account for any special features like touch sensors or thermostatic controls • Verify that the main water supply can handle the increased demand
Professional plumbers often recommend installing shut-off valves for each faucet group, which makes future maintenance much easier. It's also wise to test all connections before sealing them permanently, as even small leaks can become significant problems over time.
Mounting and Alignment Techniques
Getting the mounting right is critical for both function and appearance. The process involves aligning each faucet precisely according to the manufacturer's specifications while ensuring they sit flush against the vanity surface. Start with the center faucets, then work outward to establish your baseline. Misalignment might seem minor, but it can cause problems with water flow and overall aesthetics. Some important tips:
• Use a level frequently during installation • Mark positions carefully before drilling • Test-fit components before permanent mounting • Consider using shims if adjustments are needed • Double-check that all mounting hardware is compatible
The weight distribution across the vanity becomes important when dealing with multiple heavy fixtures. Make sure your mounting points can handle the load, and consider reinforcing areas if necessary. Many installers find it helpful to have a second person assist with holding components in place while securing them.
Final Assembly and Testing Procedures
Once all components are mounted, it's time for the final assembly and testing phase. Connect all water supplies carefully, checking that each connection is secure and leak-free. This is where many installations go wrong if proper attention isn't paid to details. Start with the lowest faucets and work upward, allowing gravity to help with proper filling of supply lines. Test each faucet individually, paying close attention to:
• Water pressure and flow rates • Temperature control functionality • Any unusual noises or vibrations • Proper operation of handles and controls • Drainage connections
After initial testing, run the system for several minutes to check for any delayed leaks. It's also wise to perform a final inspection of all visible connections and mounting points. Some installations might require additional finishing touches like decorative caps or trim pieces to complete the look. Remember, a well-executed installation should be virtually invisible once completed.
Installing an 8-faucet spread in a vanity application represents one of the more sophisticated plumbing challenges in residential construction. Success requires patience, careful planning, and attention to detail that extends far beyond basic installation techniques. While it might seem overwhelming at first glance, breaking the process into manageable steps makes it achievable for experienced DIY enthusiasts and professionals alike. The key takeaway is that thorough preparation and methodical execution lead to results that not only function properly but also enhance the overall beauty and value of any bathroom space. Whether you're upgrading an existing setup or installing something entirely new, mastering these principles will serve you well in achieving professional-quality outcomes. The investment in proper technique pays dividends in both performance and satisfaction, making the extra effort worthwhile for anyone serious about quality bathroom installations.


Related Posts
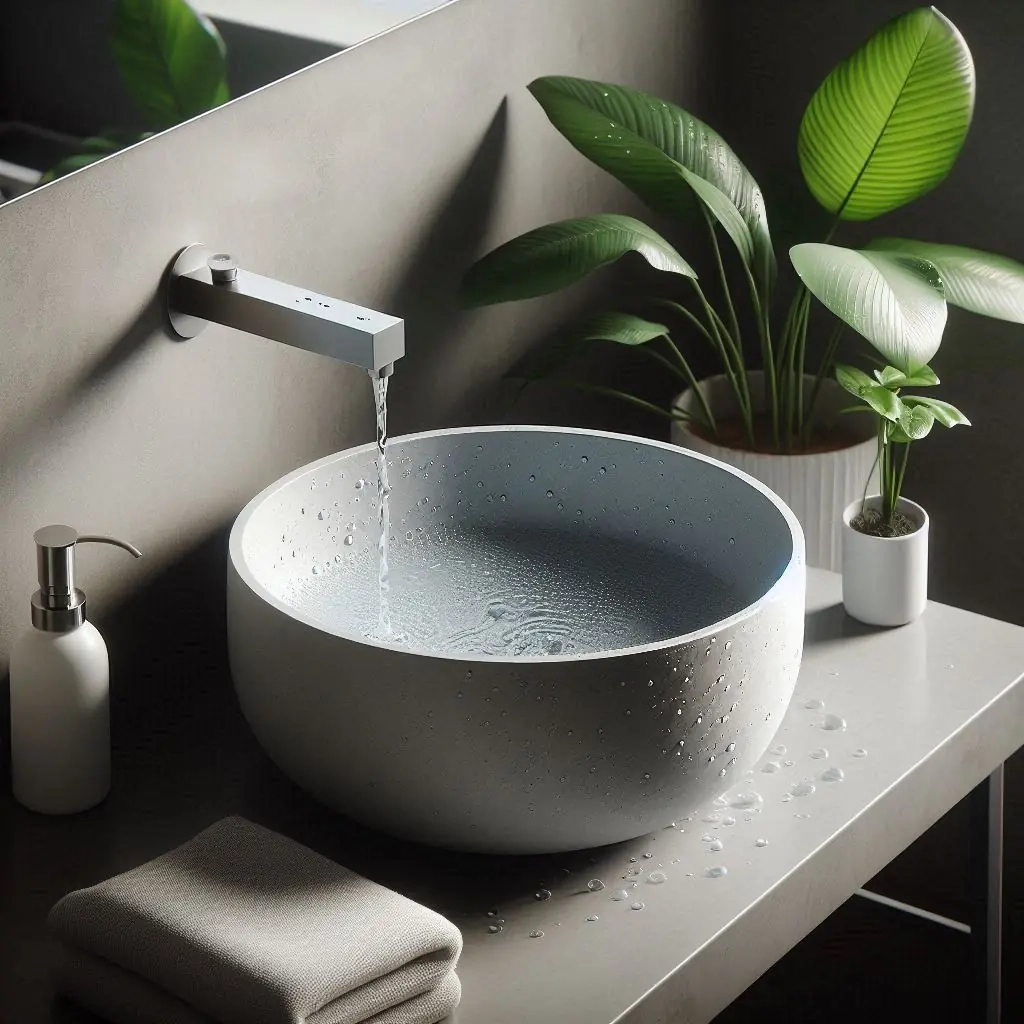
How Ceramic Vessel Sinks Enhance Bathroom Aesthetics and Functionality
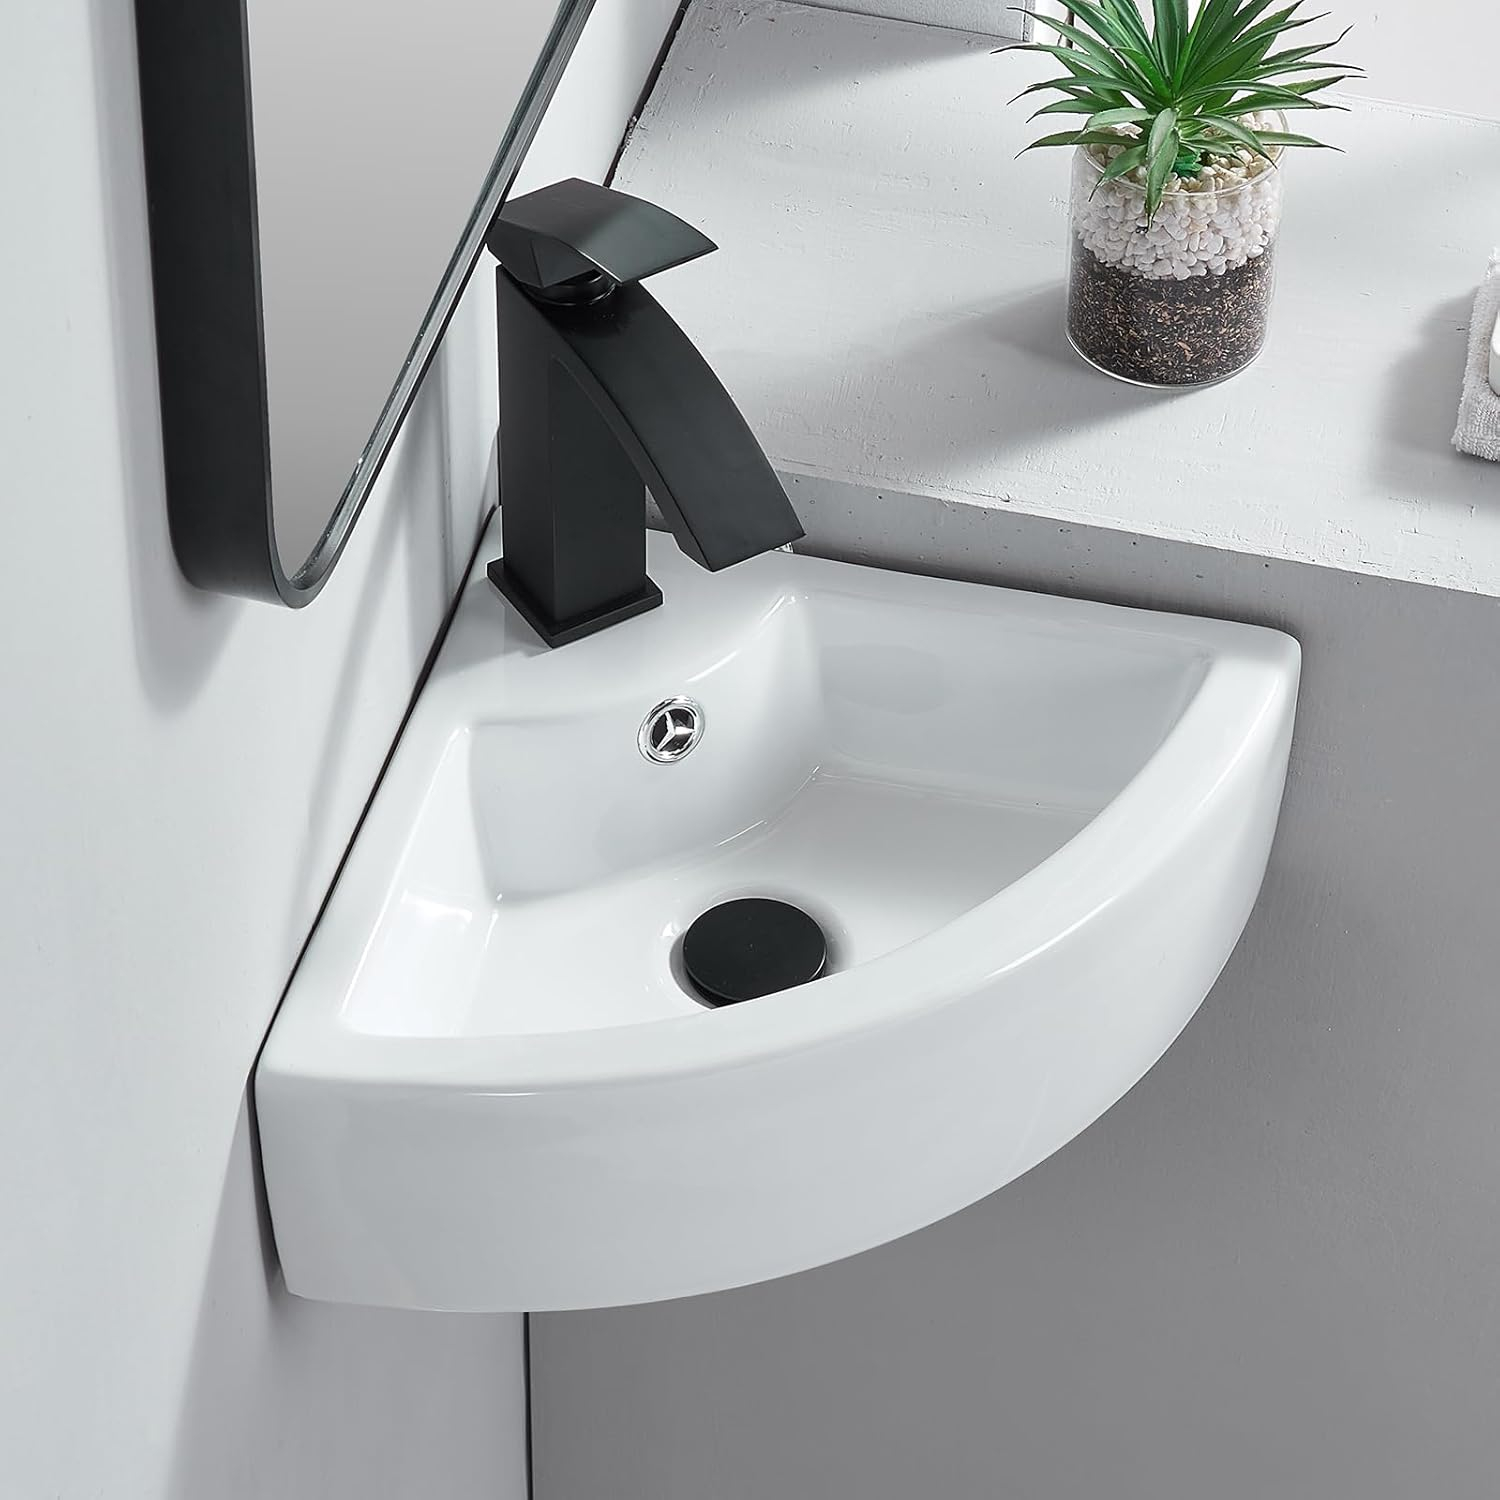
How to Choose the Right Wall Mounted Corner Sink for Your Bathroom Space
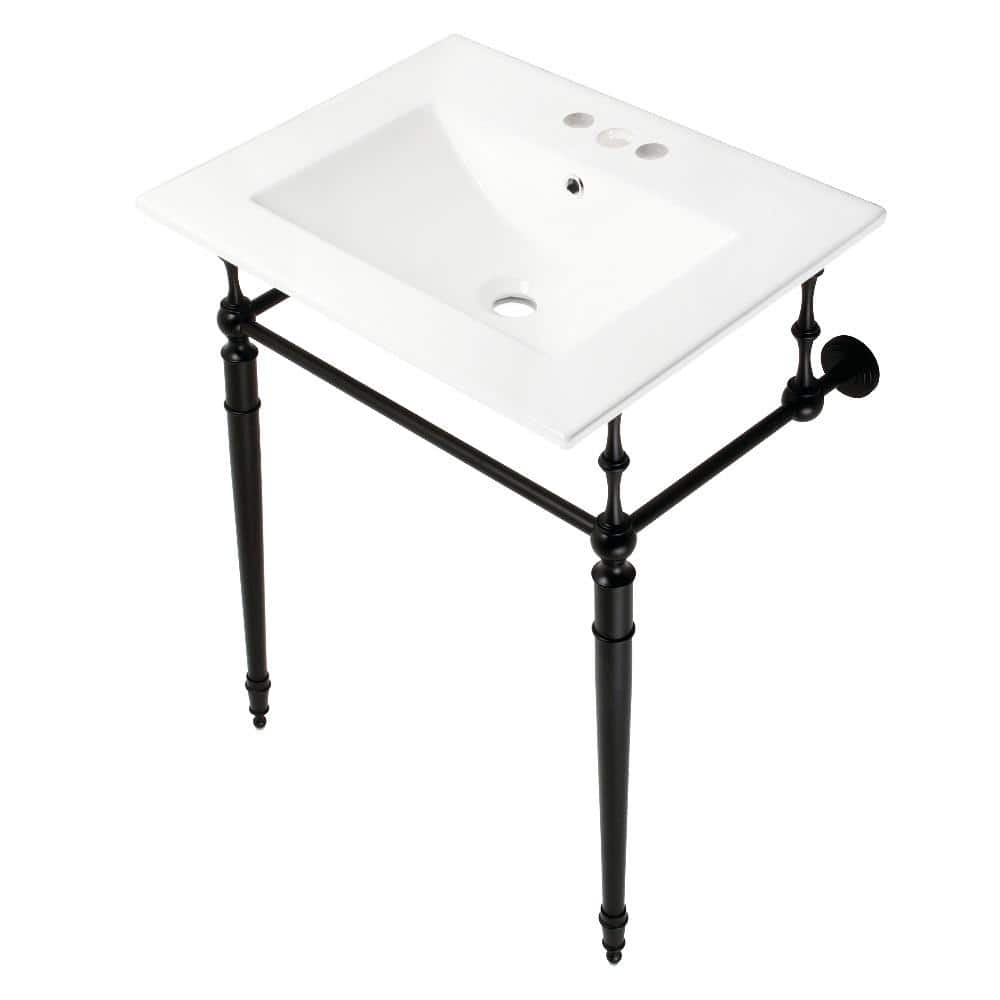
Design and Durability Analysis of the Kingston Brass GLTS37225 Brushed Basin
Transforming Your Bathroom with Textured Stone Surfaces
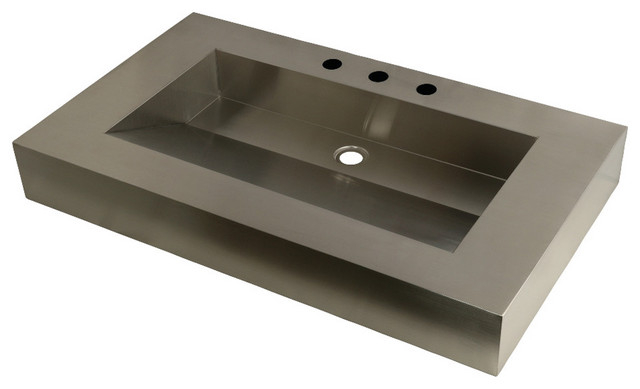
Choosing the Perfect Small Undermount Sink for Your Home Decor