When I first started working on residential plumbing projects, I thought I had the basics down. Then came the EB_GS18 sink installation that turned into a $400 nightmare. I was so confident in my skills that I didn't even double-check the specs before ordering. It took me two days to figure out what went wrong, and the repair bill nearly made me reconsider the whole profession.
I've been doing plumbing work for over eight years now, and I thought I'd seen everything when it comes to sink installations. But the EB_GS18 sink mistake really taught me a lesson about paying attention to details. This particular model has some quirks that aren't obvious to someone who's just starting out. What I thought was a straightforward installation turned into a major headache because I skipped a few critical steps. The cost? Four hundred bucks for a simple fix that could have been avoided with a little more research.
Why the EB_GS18 Sink Installation Matters
The EB_GS18 isn't just another kitchen sink—it's got specific requirements that can make or break your installation. In my experience, the biggest issue isn't the sink itself but the connection points. When I first tackled this project, I assumed all sinks had standard mounting configurations. I was wrong. The EB_GS18 has a unique mounting bracket system that requires precise alignment. Here's what I learned:
• The mounting holes are positioned differently than standard models • You need to verify the faucet hole spacing before purchasing anything • The included hardware is often insufficient for heavier sink models • Many plumbers overlook the importance of proper sealant application
I've installed dozens of sinks over the years, but this one caught me off guard because I was too focused on the finish and style rather than the technical specifications.
How I Approach Sink Installations Now
After that expensive lesson, I changed my entire process for handling any new sink model. Here's what I do now:
- Check the manufacturer's specs - Always pull up the installation manual before ordering parts
- Measure twice, cut once - Verify all dimensions match exactly with existing plumbing
- Test fit everything - Put components together without tools first to see how they align
- Use the right sealant - Never assume standard silicone works; check compatibility
- Budget extra time - I always plan 25% more time for any installation because things rarely go perfectly
I also always keep a small toolkit handy with a few essential items: a good flashlight, measuring tape, and a torque wrench. These simple tools saved me from several other costly mistakes after that EB_GS18 disaster.
The Mistakes I Made with the EB_GS18 Sink
Looking back, I can see exactly where I went wrong. The main problem was assuming that all kitchen sinks were created equal. I should have checked the mounting bracket configuration first. Here's what happened:
• I ordered the wrong mounting hardware based on a quick Google search • I didn't verify the exact distance between the faucet holes • I skipped the detailed installation video provided by the manufacturer • I didn't account for the sink's weight when choosing support brackets
The worst part? I had to call a professional plumber to fix it because I was running late for another job. The repair cost was $400, which felt like a slap in the face considering I'd been doing this for years. It took him about an hour to properly install the correct mounting hardware and reseal everything correctly.
What Most People Get Wrong About Sink Installation
Most people think installing a sink is just about connecting pipes and tightening nuts. But there's so much more going on under the hood. Here's what I wish I'd known earlier:
• The difference between ceramic and porcelain - These materials react differently to temperature changes • Proper water pressure considerations - Not all sinks handle high-pressure lines the same way • Ventilation requirements - Some installations require special venting that isn't obvious • Local building codes - Different areas have different rules for plumbing installations
I've seen many contractors rush through sink installations because they think it's easy. But when you get into the nitty-gritty details of models like the EB_GS18, it becomes clear that this isn't just about fitting pieces together. It's about understanding engineering principles and material properties.
Choosing the Right Mounting Hardware for Your Sink
This is where most people make their biggest mistakes. I used to think that standard mounting brackets would work for any sink, but that's absolutely wrong. For the EB_GS18 specifically, here's what I recommend:
• Check the manufacturer's recommended hardware list - Don't assume generic brackets will work • Consider the sink weight - Heavier sinks need sturdier mounting systems • Verify compatibility with your cabinet structure - Not every cabinet can support heavy-duty mounting • Look for adjustable brackets - They give you flexibility for slight misalignments
I've learned that investing in quality mounting hardware upfront saves you money later. The EB_GS18 alone cost me $200 in replacement parts because I didn't get the right hardware the first time. Now I always budget 10-15% extra for hardware costs when I'm dealing with specialty models.
Frequently Asked Questions About Sink Installation
• How do I know if my sink will fit my counter? Check the cutout dimensions carefully. Even small differences can cause issues.
• What type of sealant should I use for kitchen sinks? Silicone-based sealants work best for kitchen applications. Avoid latex or acrylic varieties.
• Can I install a sink myself or should I hire a pro? If you're unsure about the specific model requirements, consider hiring help. The cost of fixing a mistake often exceeds labor fees.
• What's the average time for a sink installation? Most installations take 2-4 hours depending on complexity and whether you're replacing an existing sink.
• How often should I check my sink connections? Every 6 months is a good rule of thumb, especially if you notice any water leakage.
That $400 EB_GS18 sink mistake taught me a valuable lesson about thoroughness and preparation. I still get excited when I encounter a new sink model, but now I take the time to read every specification and check every detail. If I had to do it over again, I'd spend an extra hour researching the model before buying anything. My advice? Don't let your confidence blind you to the importance of proper research. It's better to be slow and correct than fast and expensive. And remember, even experienced plumbers have those "oh no" moments. What matters is learning from them and never letting the same mistake happen twice. If you're dealing with a specialty sink model, take the time to understand its unique requirements. Trust me, it'll save you hundreds of dollars in repairs.


Related Posts

How Ceramic Vessel Sinks Enhance Bathroom Aesthetics and Functionality
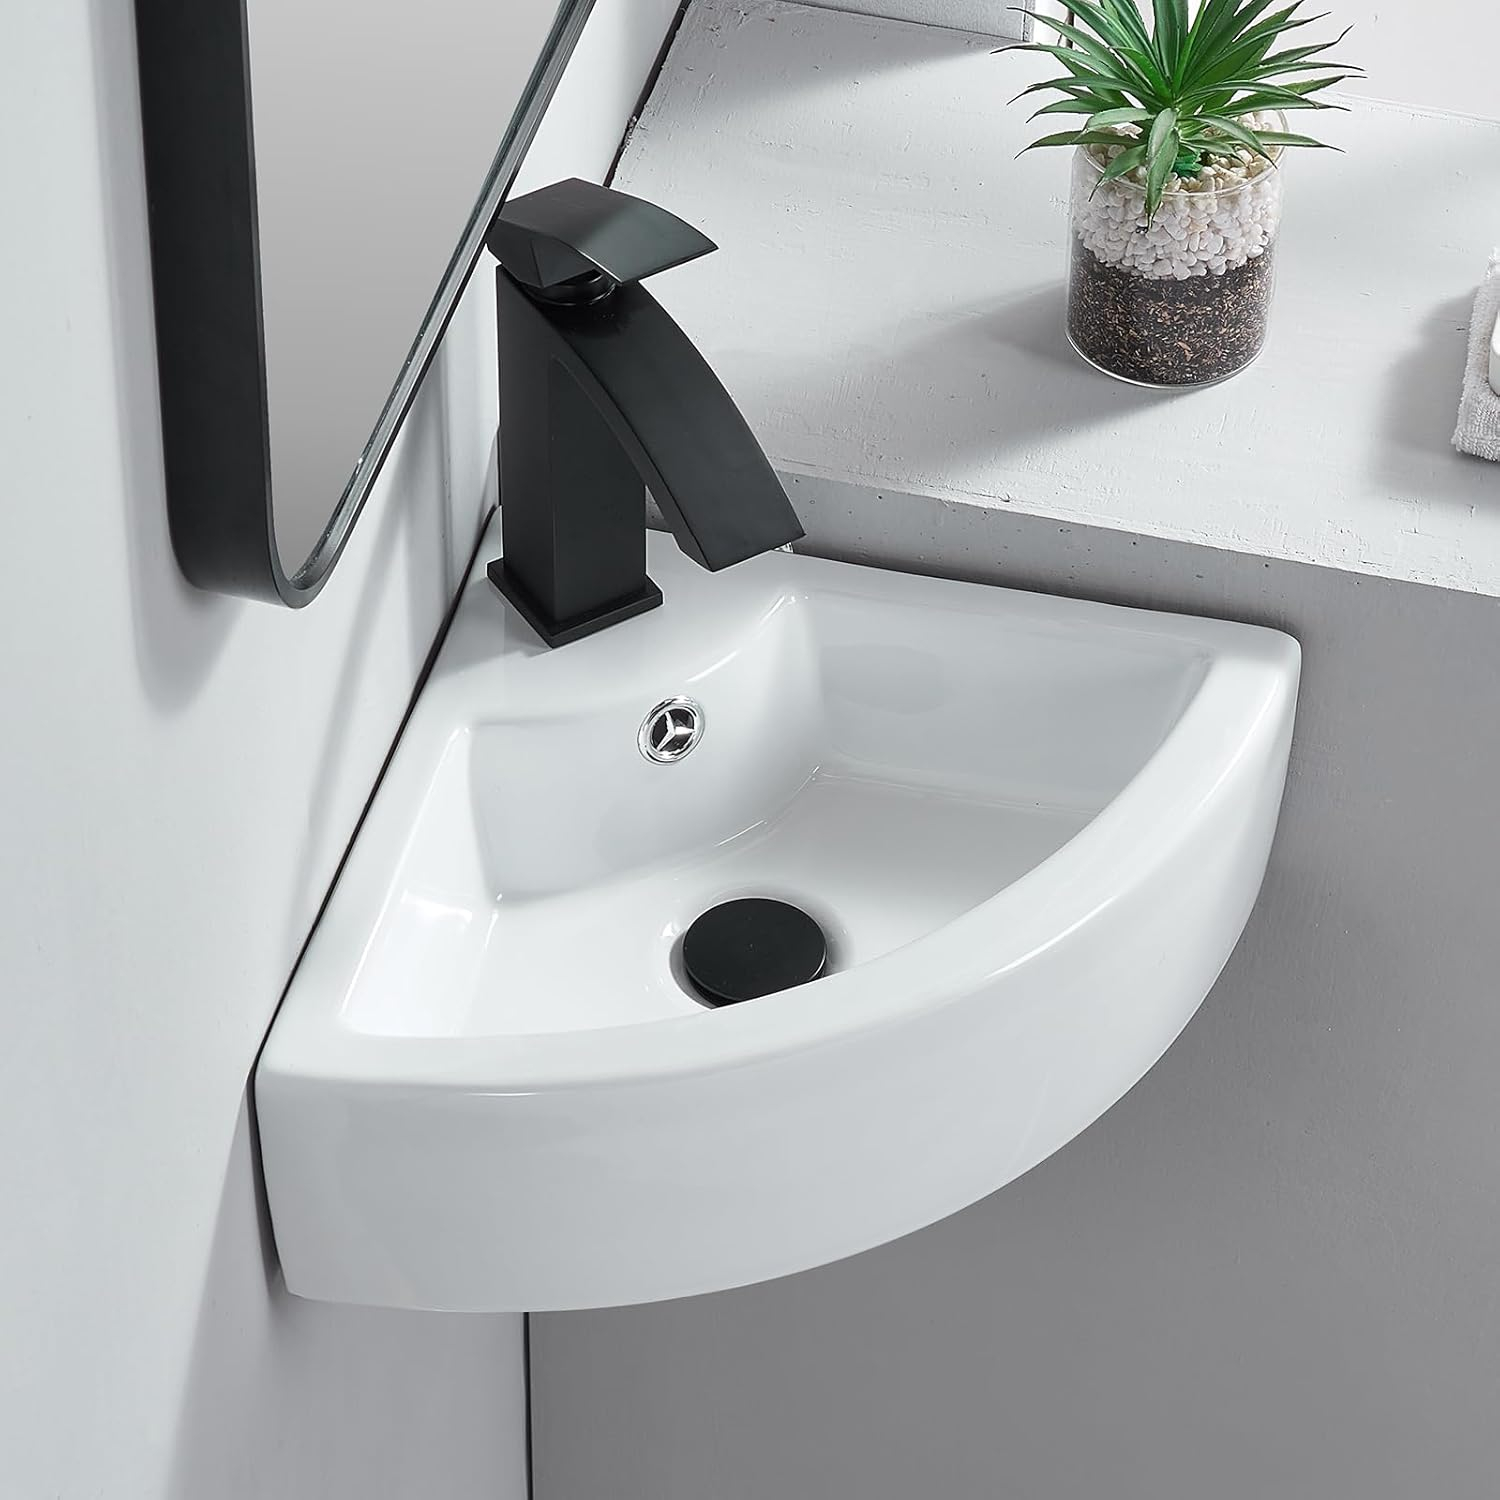
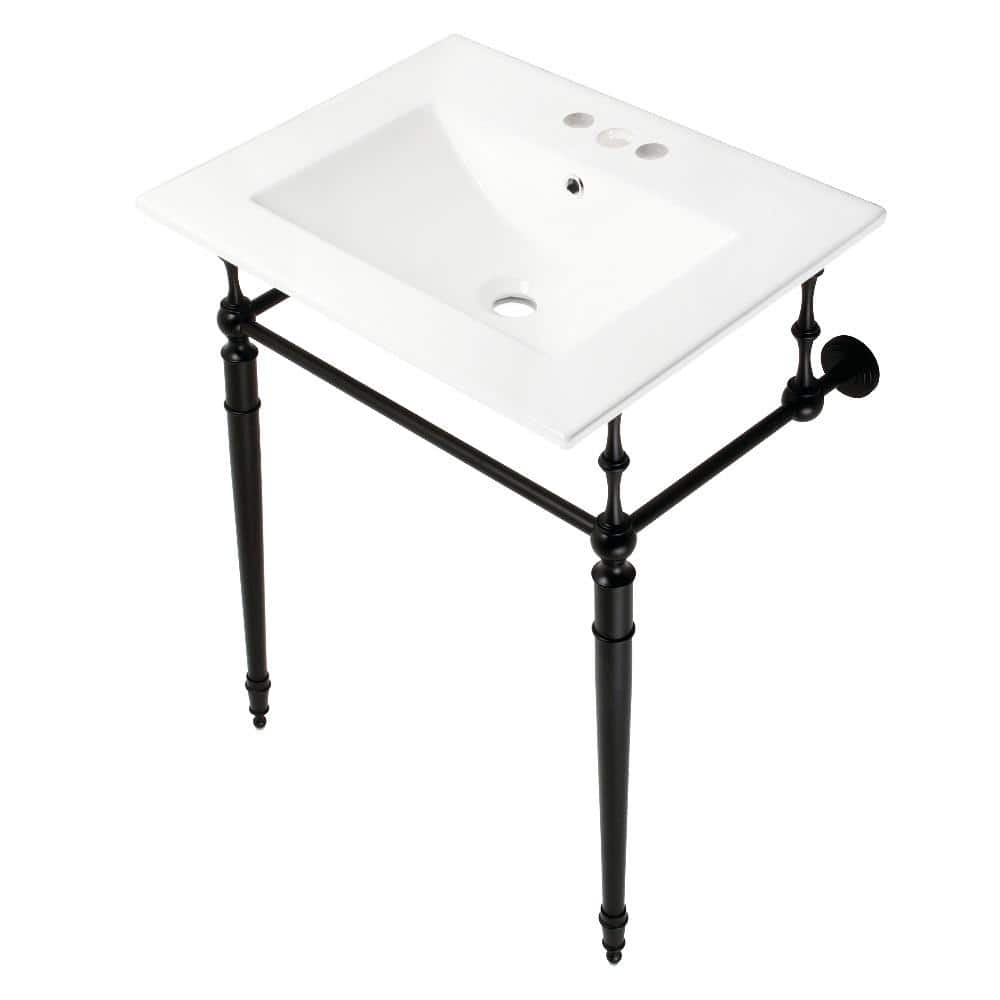
How to Choose the Right Wall Mounted Corner Sink for Your Bathroom Space
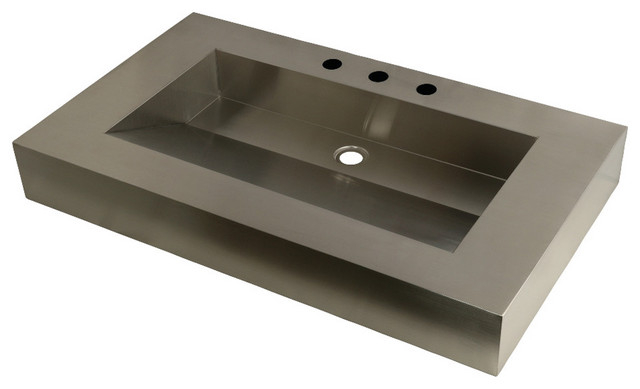
Design and Durability Analysis of the Kingston Brass GLTS37225 Brushed Basin

Transforming Your Bathroom with Textured Stone Surfaces
Choosing the Perfect Small Undermount Sink for Your Home Decor