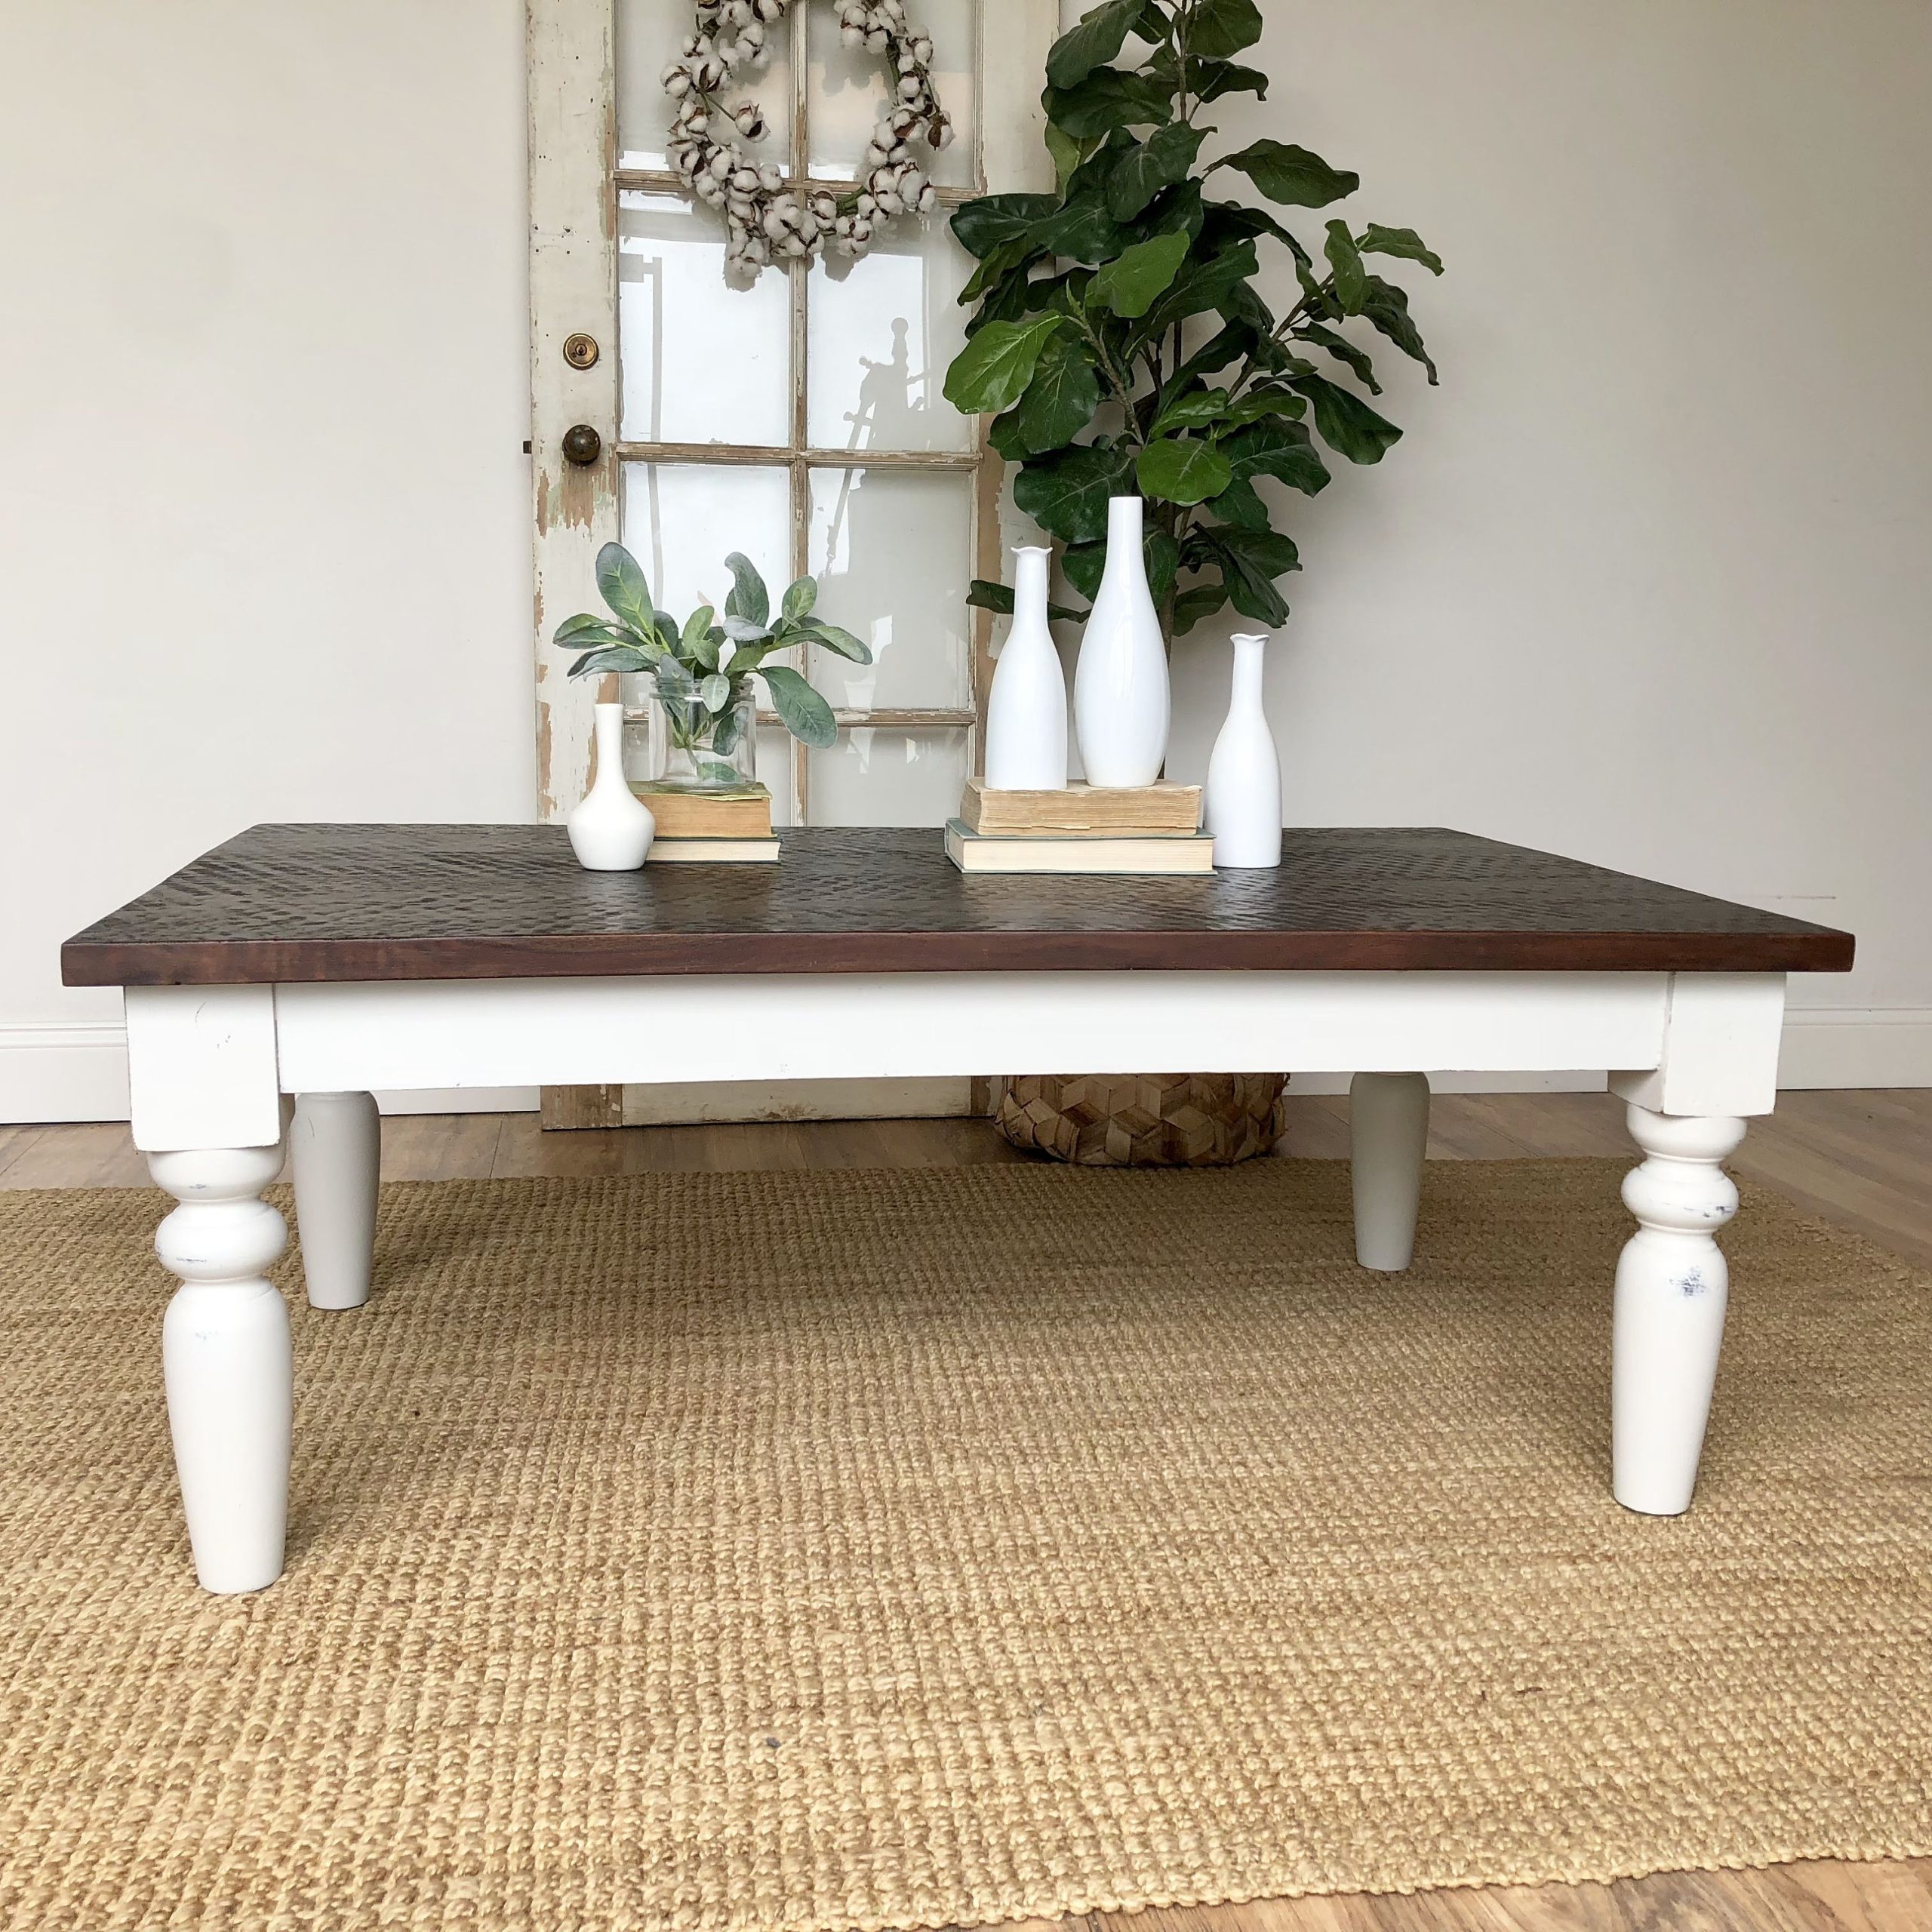
White coffee tables are a staple in many homes, offering a clean and bright aesthetic. But sometimes, a perfectly pristine surface can feel a little too… new. That's where the magic of distressed finishes comes in. It’s about embracing the charm of imperfection, creating a piece that looks like it has a story to tell. Think of it as a gentle nod to the past, a way to infuse warmth and character into your living space. It’s not about damage; it’s about artistry. Let's explore how to achieve this look and why it's so captivating.
Ever walked into a room and felt an instant sense of comfort and history. Often, that feeling is artfully crafted, and a big part of it can be the furniture. Specifically, a white coffee table with a distressed finish. It’s that subtle, aged look that whispers of cozy evenings and shared memories. It’s a finish that doesn't shy away from a little wear and tear; in fact, it celebrates it. This isn't about ruining a perfectly good table. Oh no, it's about transforming it into something with soul, something unique. Ready to dive into the delightful details of making your white coffee table look beautifully seasoned. Let's get started.
Why Distressed? The Allure of the Imperfect
So, why would anyone want their furniture to look old or worn. It’s a fair question. The appeal lies in several key areas. Firstly, character. A distressed finish instantly adds a layer of personality. It makes a piece feel unique and special, not like it just rolled off a factory line. Secondly, warmth and coziness. A perfectly smooth, new surface can sometimes feel a bit sterile. The subtle scuffs, worn edges, and softened corners of a distressed finish invite you to relax and feel at home. It creates an inviting atmosphere. Thirdly, versatility. This style blends seamlessly with various decor themes, from farmhouse and coastal to shabby chic and even modern bohemian. It adds a touch of vintage charm without feeling dated. Finally, durability perception. While not always the case, a distressed finish can make minor future scuffs and scratches less noticeable, giving the impression of greater resilience. It’s like the table has already lived a little, so it’s ready for more.
Understanding the 'Distressed' Look: It's All About Technique
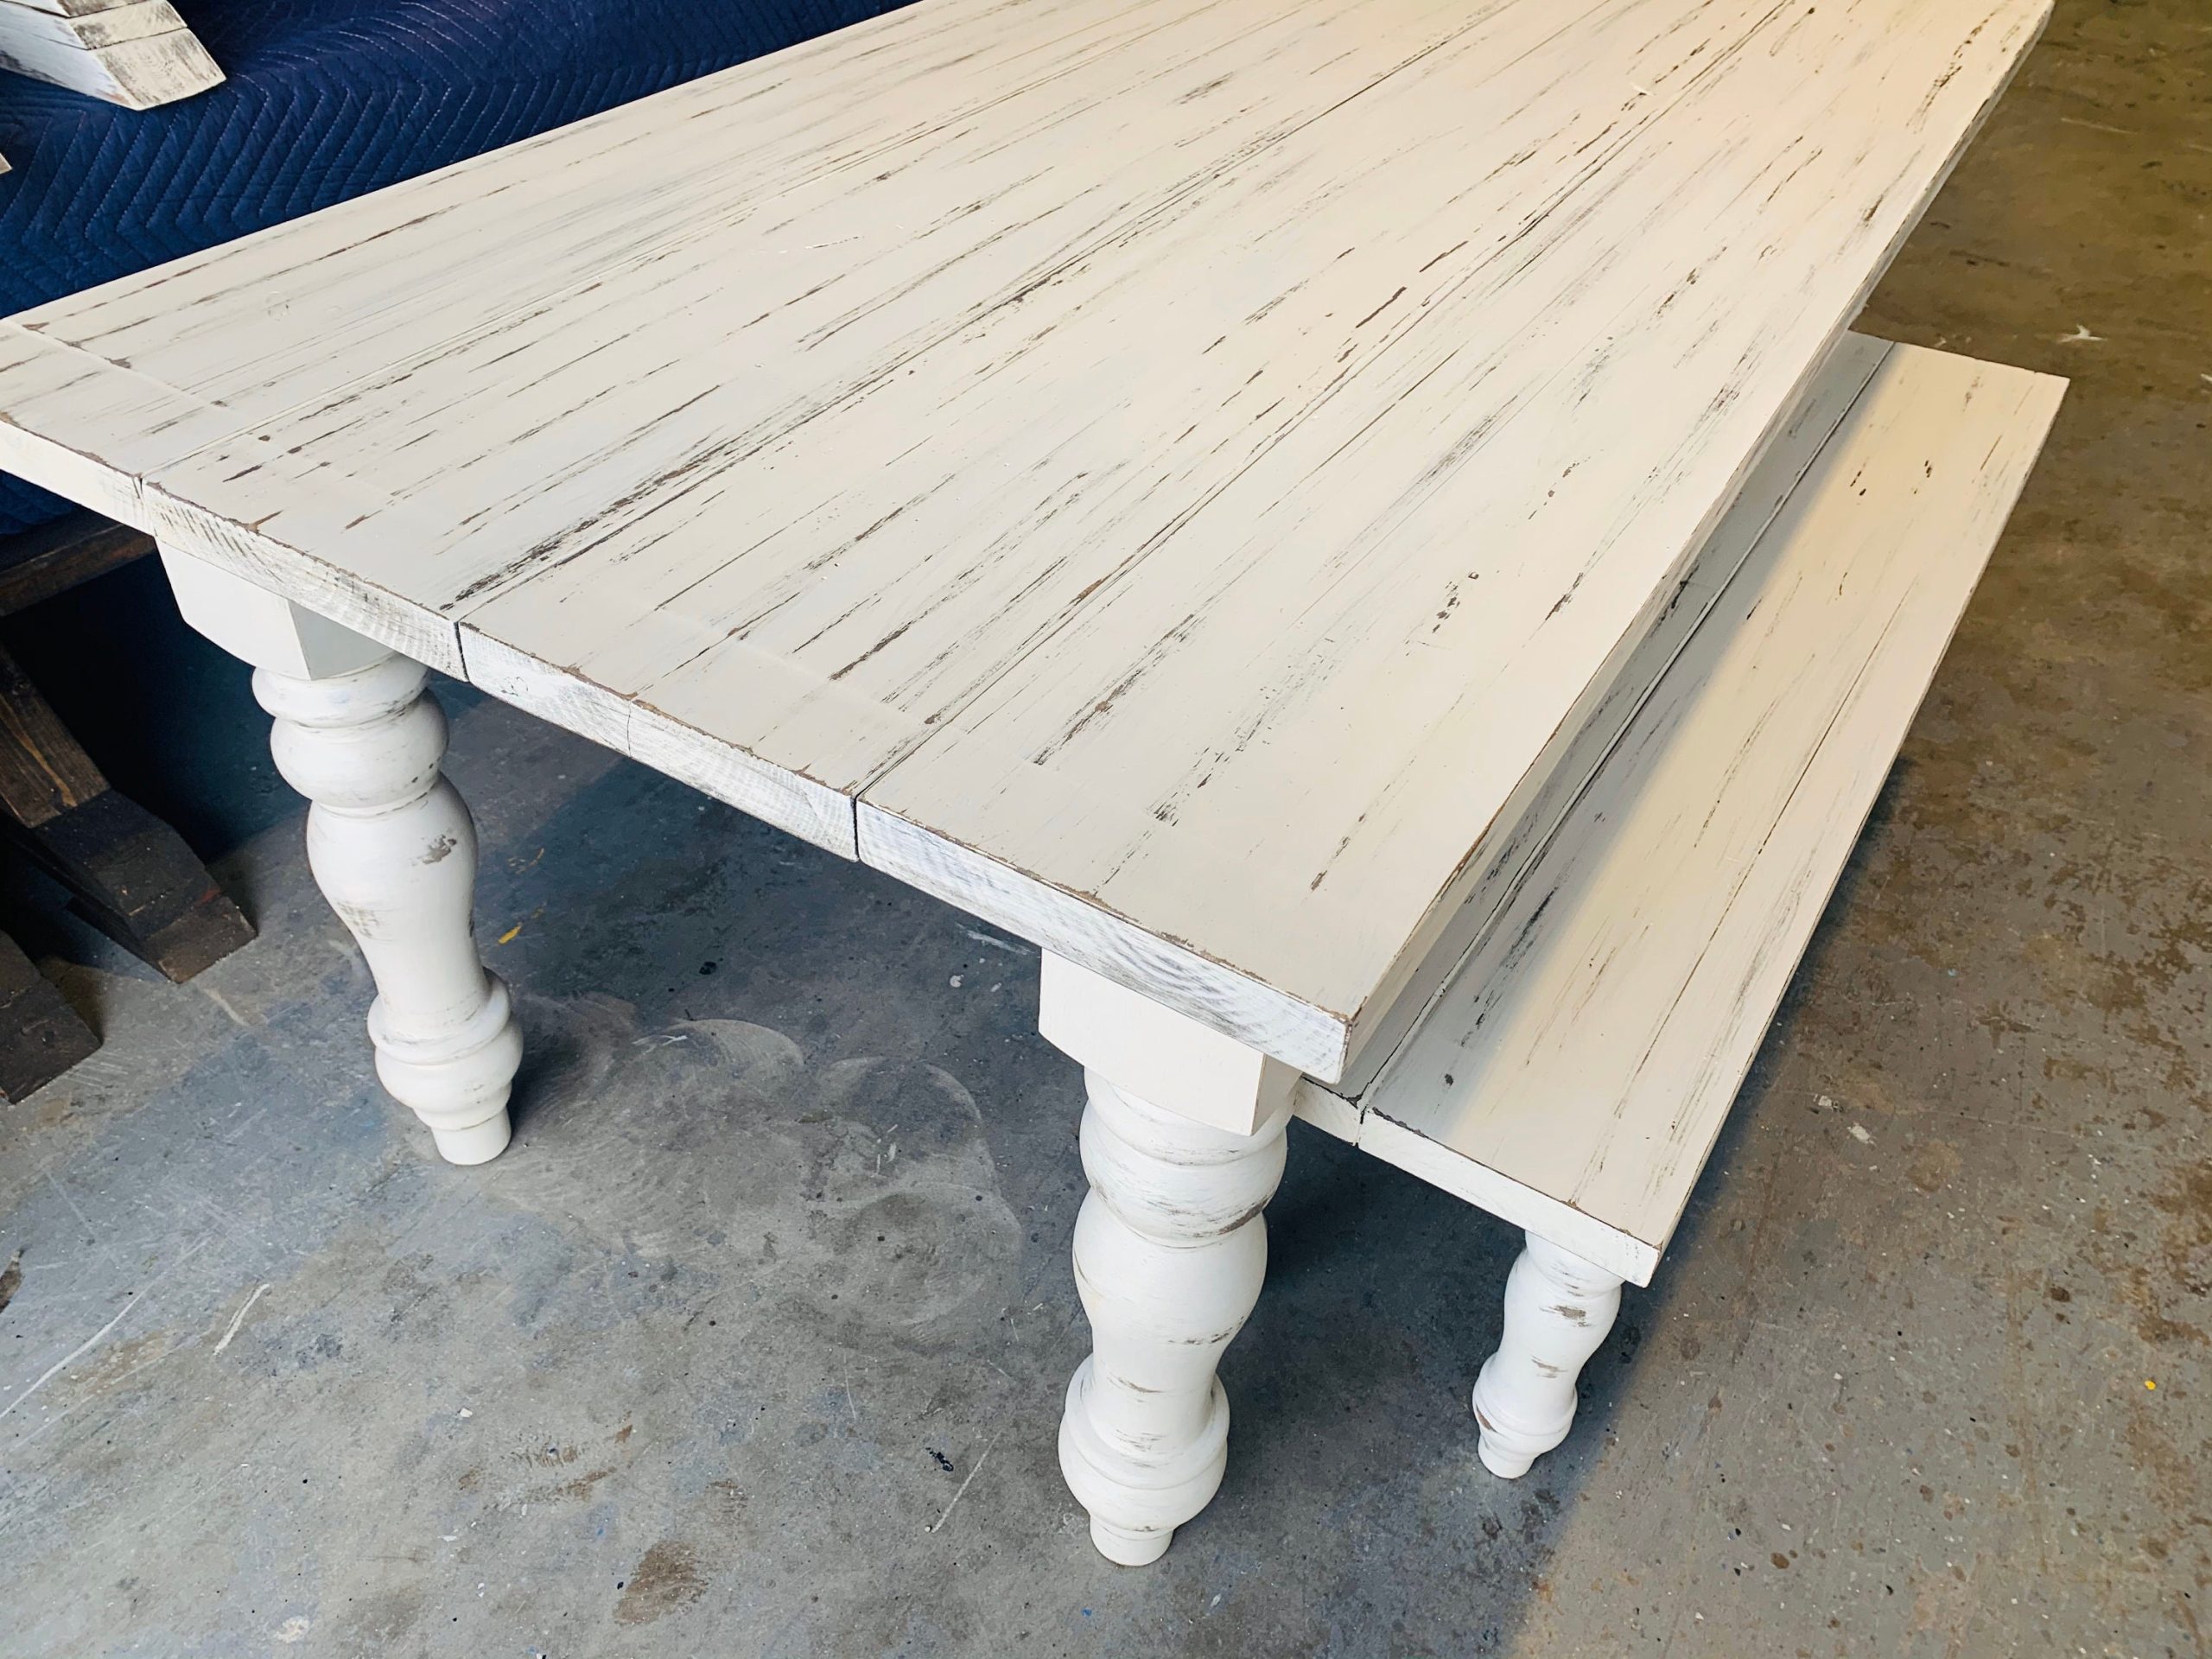
The term 'distressed' can mean a lot of things, but when we talk about finishes, it typically refers to techniques that mimic natural aging. This isn't about randomly banging your table with a hammer. Instead, it's a controlled process. Key elements include:
- Worn Edges and Corners: Think about how furniture naturally wears down over time. Edges get softened, and corners might show a bit of the wood beneath. We replicate this by gently sanding key areas.
- Subtle Scratches and Dings: Small, shallow marks that look like they happened organically. These add depth and a sense of history.
- Faded or Uneven Color: Paint might not be uniformly applied, or it might appear slightly faded in certain spots, as if exposed to sunlight over many years.
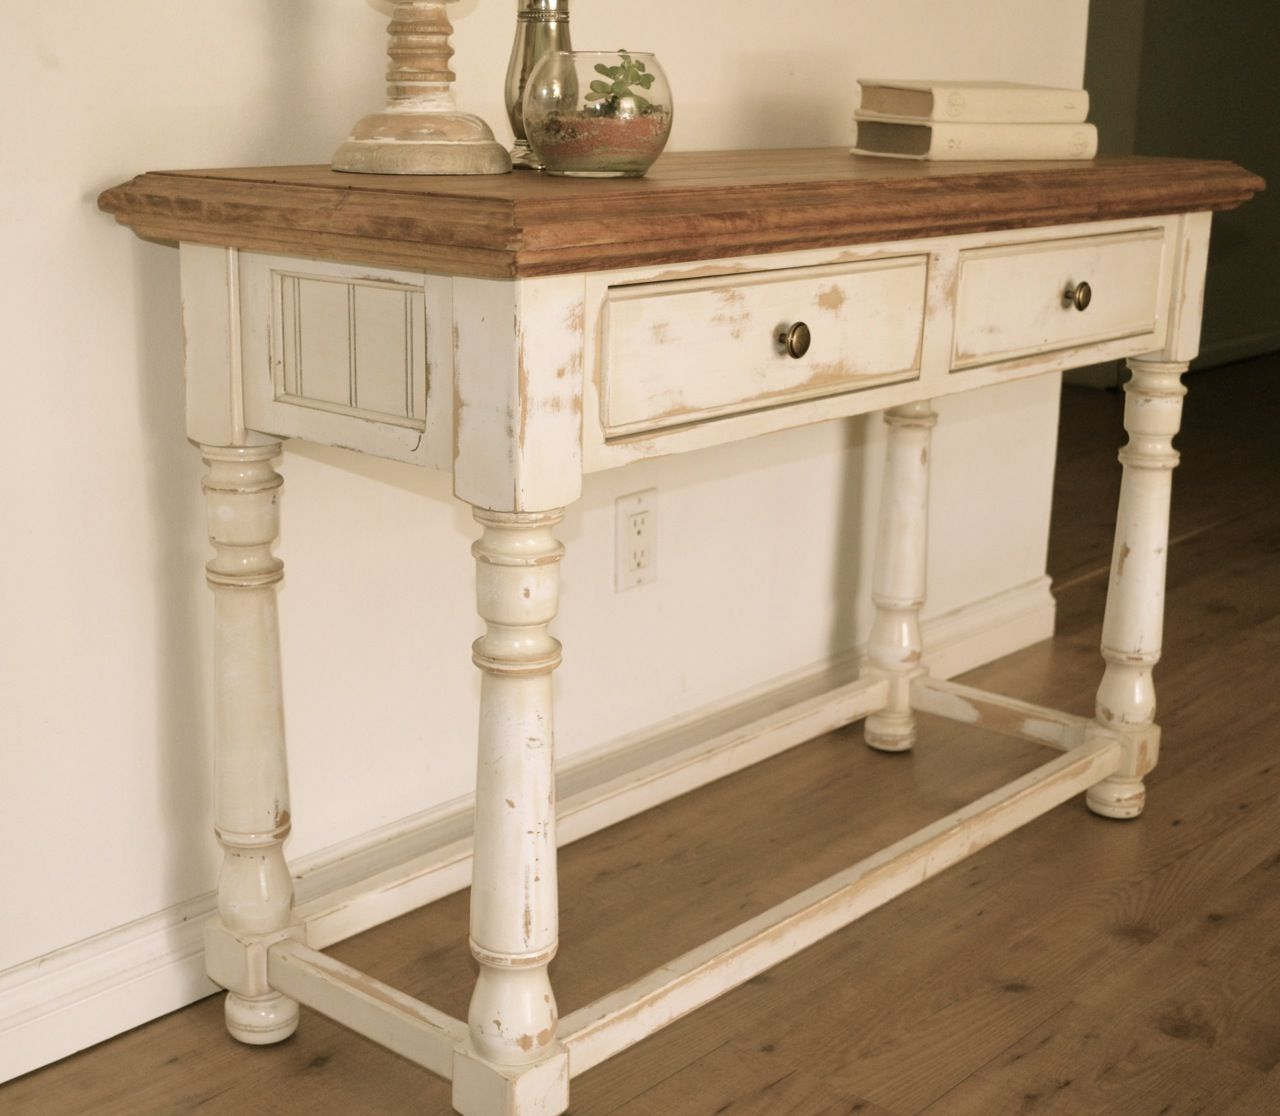
- Layered Finishes: Sometimes, multiple colors are applied, with an underlayer peeking through the top coat, mimicking paint jobs from different eras.
It's about creating a visual narrative of time passing, a story of use and gentle wear. The goal is authenticity, making it look like a treasured heirloom.
DIY Distressing: Your Step-by-Step Guide
Ready to give it a go. It's surprisingly achievable, even if you're not a seasoned pro. Here's a breakdown of how you can achieve a lovely distressed finish on your white coffee table.
1. Preparation is Key
- Clean Thoroughly: Start with a clean surface. Use a good degreaser to remove any dirt, grime, or old polish. Let it dry completely.
- Light Sanding (Optional but Recommended): A light scuff sanding (around 150-220 grit) helps the new paint adhere better. You don't need to remove the old finish, just create a bit of 'tooth'. Wipe away dust with a tack cloth.
2. Applying the Base Coat (Optional Layering)
- If you want a layered look (e.g., a hint of wood or a different color peeking through), apply your first color now. For a classic distressed white, you might use a light wood stain or a muted color like grey or beige as your base. Let it dry completely according to the manufacturer's instructions.
3. Painting the White Topcoat
- Choose Your Paint: Opt for chalk paint, milk paint, or a good quality latex paint. Chalk and milk paints are particularly forgiving and lend themselves well to distressing.
- Apply Evenly: Apply your white paint. You can use a brush or a roller. For a slightly textured look, a brush can be great. Don't worry about absolute perfection here; slight variations can add to the charm.
- Drying Time: Allow the paint to dry thoroughly. This is crucial. Trying to distress wet paint will result in a mess, not a masterpiece.
4. The Distressing Process
- Gather Your Tools: You'll need fine-grit sandpaper (150-220 grit is a good starting point) or a sanding sponge.
- Targeted Sanding: This is where the magic happens. Gently sand the areas where wear would naturally occur: the edges of the table, the corners, around any hardware, and perhaps any raised details. Apply light pressure and sand in the direction of the wood grain if possible.
- Check as You Go: Periodically wipe away the dust and check your progress. You're looking for subtle peeking of the base coat or the raw wood. Don't overdo it. It’s easier to sand more than to fix over-sanding.
- Feathering: For a smoother transition, you can gently feather the sanded areas with a slightly finer grit sandpaper (like 320 grit) if needed. This softens the contrast.
5. Sealing Your Finish
- Protect Your Work: Once you're happy with the distressed look, it's time to seal it. A clear wax (especially for chalk paint) or a water-based polycrylic sealer will protect the finish and give it a nice sheen.
- Application: Apply wax with a soft cloth in a circular motion, then buff to a soft sheen. For polycrylic, apply thin, even coats, allowing each to dry. Wipe away any dust before applying the next coat.
Beyond Sandpaper: Alternative Distressing Techniques
While sanding is the most common method, a few other creative ways can achieve different distressed effects. These often work best in conjunction with sanding or as a way to add subtle variations.
- The 'Dry Brush' Technique: Load your paintbrush with a small amount of paint, then wipe most of it off on a paper towel. Lightly brush over the surface. This leaves a textured, slightly faded look, as if the paint is worn thin. It’s fantastic for adding a soft, aged patina.
- Glazing: A glaze is a translucent coat applied over the dried paint. You can wipe some of it away while it’s still wet, leaving the glaze in crevices and low spots. This deepens shadows and adds an antique feel, making the piece look older and more complex.
- Using a Wire Brush (with Caution): For a more rustic or heavily distressed look, a wire brush can be used very gently on edges. Be extremely careful, as it's easy to create lines that look too uniform or too harsh. This is best for pieces where a rugged, well-loved appearance is desired.
- Stippling: Using a sea sponge or a stiff brush to dab paint on can create a textured, uneven surface that mimics wear and tear. This works well for adding subtle mottling or a slightly weathered appearance.
Common Pitfalls to Avoid
Even with the best intentions, it’s easy to fall into a few traps when creating a distressed finish. Being aware of these can save you a lot of frustration.
- Over-Distressing: This is the most common mistake. Sanding too much can remove too much paint, leaving large, unnatural-looking bald spots. Remember, subtle is often better. You can always sand a little more, but you can't easily put paint back on.
- Distressing Wet Paint: As mentioned, always let your paint coats dry completely before attempting to distress. Otherwise, you’ll get gummy, uneven results.
- Unrealistic Wear Patterns: Think about how real furniture wears. It’s usually the edges, corners, and high-traffic areas that show the most wear. Randomly sanding in the middle of a flat surface often looks artificial.
- Skipping the Sealer: A distressed finish, especially on a coffee table that sees a lot of use, needs protection. Skipping the final coat of wax or sealer can leave your hard work vulnerable to further damage and make it harder to clean.
- Using the Wrong Grit Sandpaper: Starting with too coarse a grit can quickly lead to over-distressing. Always begin with a finer grit and work up if necessary. A sanding sponge is often more forgiving than sandpaper sheets.
Keep these points in mind, and your project will be much smoother sailing.
Styling Your Distressed White Coffee Table
Once your beautiful, newly-aged coffee table is ready, how do you style it to maximize its charm. Here are a few ideas:
- Embrace Contrast: Pair your distressed white table with richer, darker elements. Think deep jewel-toned throws, dark wood accent pieces, or even black metal decor. This creates a visually interesting dynamic.
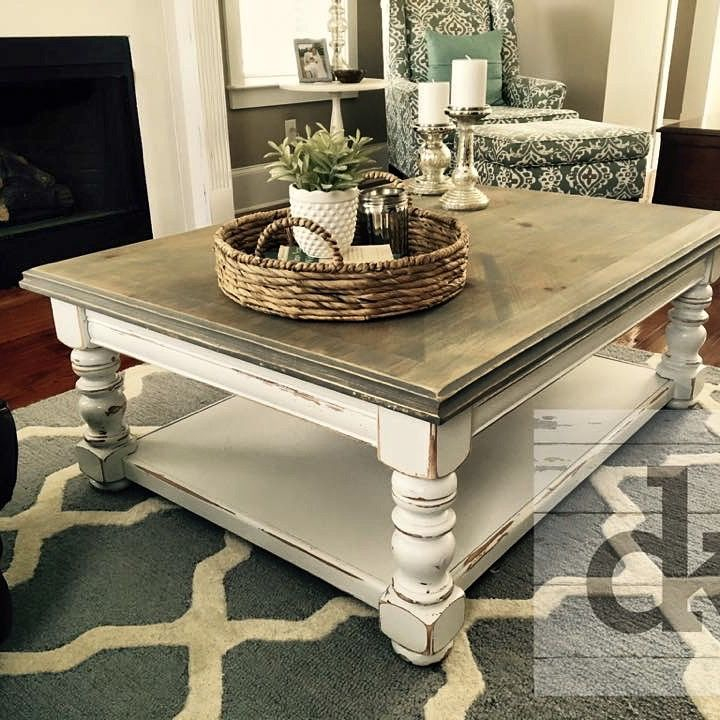
- Natural Textures: Complement the aged finish with natural materials. Woven baskets, jute rugs, linen cushions, and wooden accessories enhance the rustic and organic feel.
- Layered Books and Decor: Stack a few vintage-looking books, a small potted plant, and a decorative tray. The layers add depth and allow the table's finish to shine.
- Personal Touches: Display cherished items like framed photos, antique finds, or artisanal candles. These personal elements will feel right at home on a table with a story.
- Mix and Match: Don't be afraid to mix your distressed table with other furniture styles. It pairs wonderfully with sleek modern pieces for an eclectic look, or with other vintage-inspired items for a cohesive feel.
The key is to let the table's character be a focal point, adding pieces that enhance, rather than compete with, its unique finish.
Creating a distressed finish on a white coffee table is more than just a DIY project; it’s an act of infusing your home with character and warmth. It’s about appreciating the beauty that time and gentle use can bring. Whether you achieve it through careful sanding, a touch of dry brushing, or a bit of glazing, the result is a piece that feels personal, inviting, and utterly charming. So, don't shy away from a little 'imperfection'. Embrace the art of aging gracefully, and let your white coffee table tell its own beautiful story. It’s a timeless technique that adds a touch of soul to any living space.