We've all been there. That moment when the sheer volume of stuff in your room or closet feels overwhelming, and you just need a simple, effective solution. Enter the foldable closet. It promises a quick fix, a neat and tidy space, but the thought of assembly can sometimes feel… daunting. Don't worry, though. Think of this as your friendly, step-by-step walkthrough. We're going to unpack this together, piece by piece, and have your new storage solution ready in no time. It’s really not as complicated as it might seem at first glance.
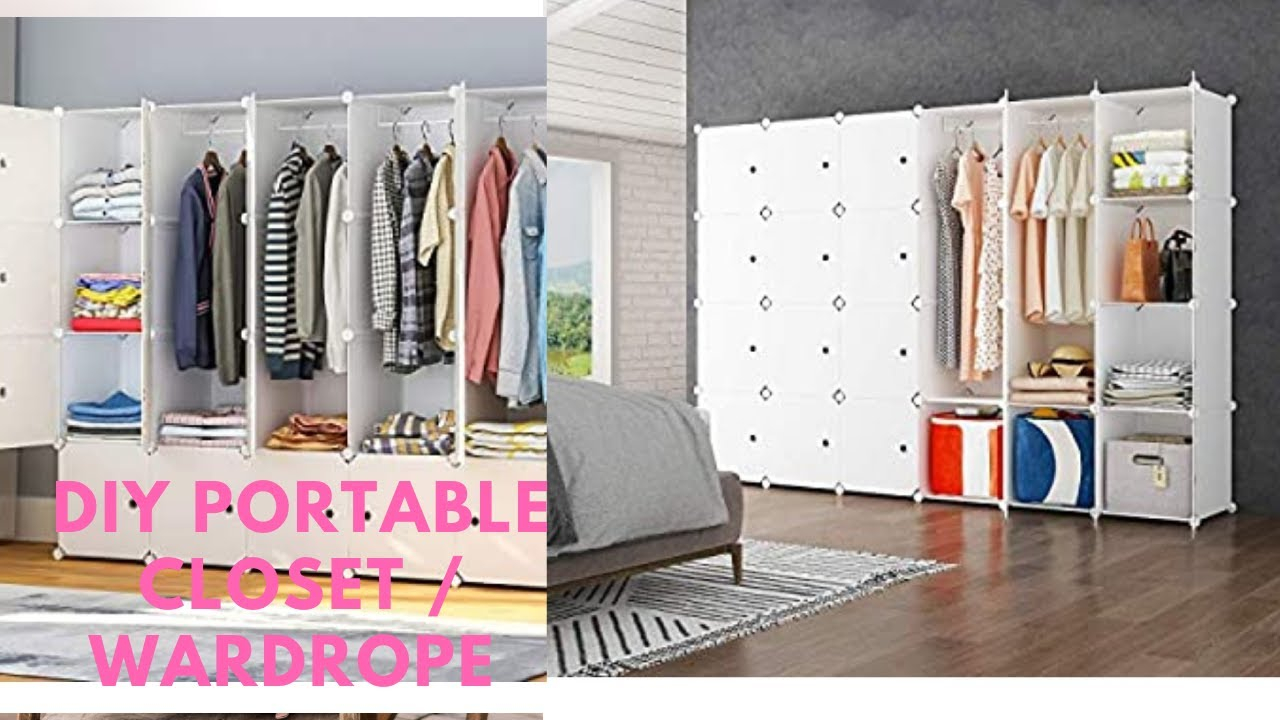
The appeal of a foldable closet is undeniable. It’s a versatile, often portable, and generally budget-friendly way to boost your storage capacity. Whether you’re dealing with a small apartment, a dorm room, or just need extra space for seasonal clothing, these units can be a lifesaver. But let's be honest, when that box arrives, it can look like a puzzle. The good news? Most foldable closets are designed with user-friendliness in mind. They’re made to be put together without a degree in engineering, and we're here to make sure you feel confident every step of the way. So, grab a cup of tea, clear a little space, and let’s dive in. It’s time to transform that pile of parts into a functional piece of furniture.
Before You Begin: Unboxing and Inventory
Okay, first things first. Before you even think about clicking pieces together, let’s get everything out of the box and organized. Gently unpack all the components. You'll typically find fabric panels, metal or plastic poles, connectors (often little plastic cubes), and maybe some screws or other fasteners. Lay everything out on a clean, flat surface, like your floor. Now, the crucial part: check the instruction manual. Every foldable closet comes with one, and it’s your best friend. Compare the parts you have against the parts list in the manual. Make sure nothing is missing or damaged. If something isn't right, now is the time to contact the seller. It’s much easier to sort out issues before you’re halfway through the build. This initial check saves a lot of headaches down the road.
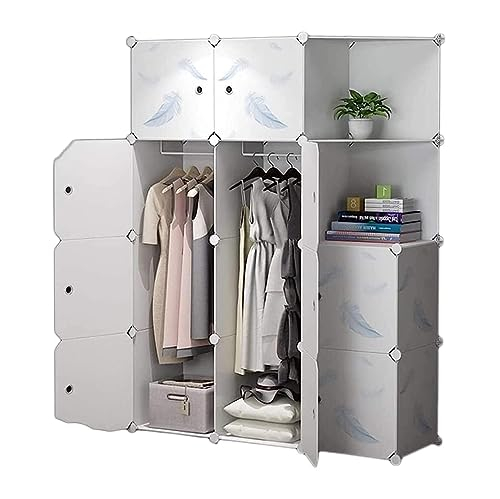
Understanding the Anatomy: Poles, Connectors, and Panels
Let’s break down what you’re working with. You’ve got your poles – these form the main structure, the skeleton of your closet. Then there are the connectors. These are usually plastic pieces with multiple sockets, designed to hold the poles together at specific angles. Think of them as the joints. Finally, you have the fabric panels. These are often made of a durable material like non-woven fabric or canvas, and they act as the walls, shelves, and doors of your closet. Some might have zippers for the door. Familiarizing yourself with these basic elements will make following the instructions much simpler. It’s like knowing the difference between a stud and a drywall screw before you start hanging pictures.
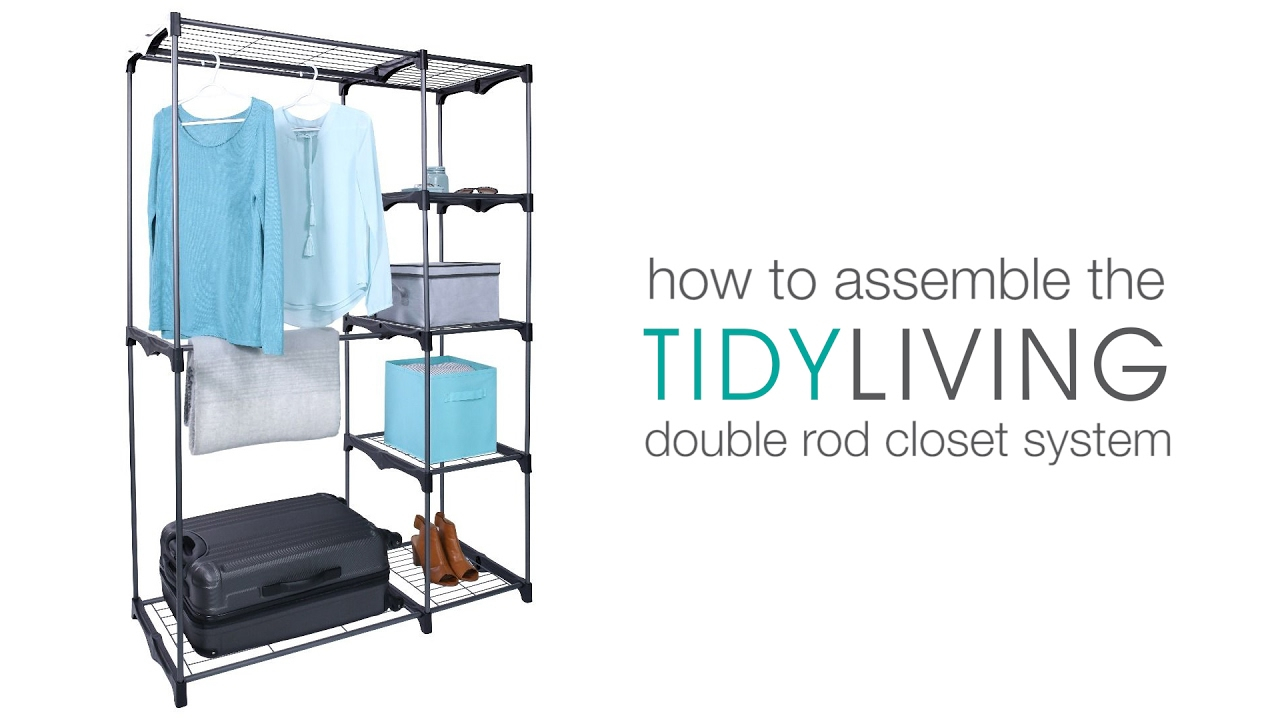
The Foundation: Building the Base
Most foldable closets start with building a sturdy base. This usually involves connecting several poles together using the special connectors to form a rectangular or square frame. Pay close attention to the orientation of the connectors. They’re designed to fit the poles in a specific way to create a stable structure. Gently but firmly push the poles into the sockets of the connectors. You might hear a slight click, which means they’re seated correctly. Don't force anything; if it feels like it’s not fitting, double-check the instructions and the orientation of the parts. Building this base correctly is key to the overall stability of your unit.
Rising Up: Adding Shelves and Vertical Supports
Once the base is solid, you’ll start adding the vertical poles and then the shelves. The instructions will guide you on where to place the connectors for the shelves. Usually, you’ll insert poles into the base connectors, then add connectors at the height for the first shelf, slide the shelf panel onto the poles, and then add more connectors on top of the shelf to continue building upwards. Repeat this process for each level. Some units might have a hanging rod, which typically attaches to the vertical poles at a specific height. Again, ensure all connections are secure. A wobbly shelf is no good for anyone’s belongings.
Enclosing the Space: Attaching the Fabric Cover
This is where your closet really starts to take shape. The fabric cover is usually designed to slip over the assembled frame. Start by draping the main body of the cover over the top of the structure, ensuring it’s aligned correctly. Then, work your way down, fitting the fabric around the shelves and poles. Many covers have a zippered front that acts as the door. Make sure the zipper is unhindered and zips up and down smoothly. Some units might have Velcro straps or ties to secure the fabric cover to the frame, especially at the bottom or back. This step can sometimes be a bit fiddly, so take your time to get it smooth and taut.
Final Touches and Stability Check
You’re almost there. Once the fabric cover is on and the doors are zipped, give your new closet a gentle push and pull. Does it feel stable? Are all the poles firmly in their connectors? If it feels a little loose anywhere, go back and reinforce those connections. Sometimes, a slight adjustment is all it takes. You might also want to check if there are any included ties or straps to secure the unit to a wall, especially if you live in an earthquake-prone area or have very active children. Placing heavier items on the bottom shelves also adds to its steadiness. And voilà! Your organized space awaits.
See? Assembling a foldable closet is totally achievable, and often quite satisfying. You’ve gone from a box of parts to a functional storage unit, ready to hold your clothes, shoes, or whatever else needs a tidy home. Remember, patience and following the instructions are your best tools. Now you have a clearer picture, and hopefully, a much tidier space. Enjoy the newfound order and the ease of access to your belongings. It's amazing what a little bit of assembly can do for peace of mind and a clutter-free environment.
![Useful Folding Tips For A Neat Closet [Vidéo] | Plier Les Vêtements ... throughout Expert Tips for Assembling and Using Your Foldable Closet](https://cdn.buildsimplehouse.com/2025/07/useful-folding-tips-for-a-neat-closet-video-plier-les-vetements-throughout-expert-tips-for-assembling-and-using-your-foldable-closet.jpg)