Picture this: You're standing in your bathroom, staring at an empty space where a sink should be. Maybe you're replacing an old one or starting fresh. It might seem intimidating at first glance, but fear not. Installing a bathroom sink isn't just about plumbing skills. It's about understanding how everything fits together. From choosing the right type to getting those final connections just right, we're going to walk you through every single step. Whether you're a seasoned DIYer or someone who's never touched a wrench before, this guide will help you avoid common mistakes and feel confident in your work.
Installing a bathroom sink can be one of the most rewarding home improvement projects you'll tackle. It's not just about replacing something broken – it's about transforming your daily routine. Think about it: when you wake up each morning, you'll be looking at a new sink that's not only functional but also looks great in your space. The satisfaction of doing it yourself is incredible. But before you dive in, you need to know what you're dealing with. There are different types of sinks, various installation methods, and plenty of potential pitfalls along the way. This guide will break it all down so you can approach this project with confidence. We'll cover everything from planning and prep work to the final touches. You'll learn why some installations go smoothly while others end in frustration. Plus, we'll share tips that professionals use to make their jobs easier. Ready to get started? Let's take a closer look at what makes a successful bathroom sink installation.
Understanding Different Types of Bathroom Sinks
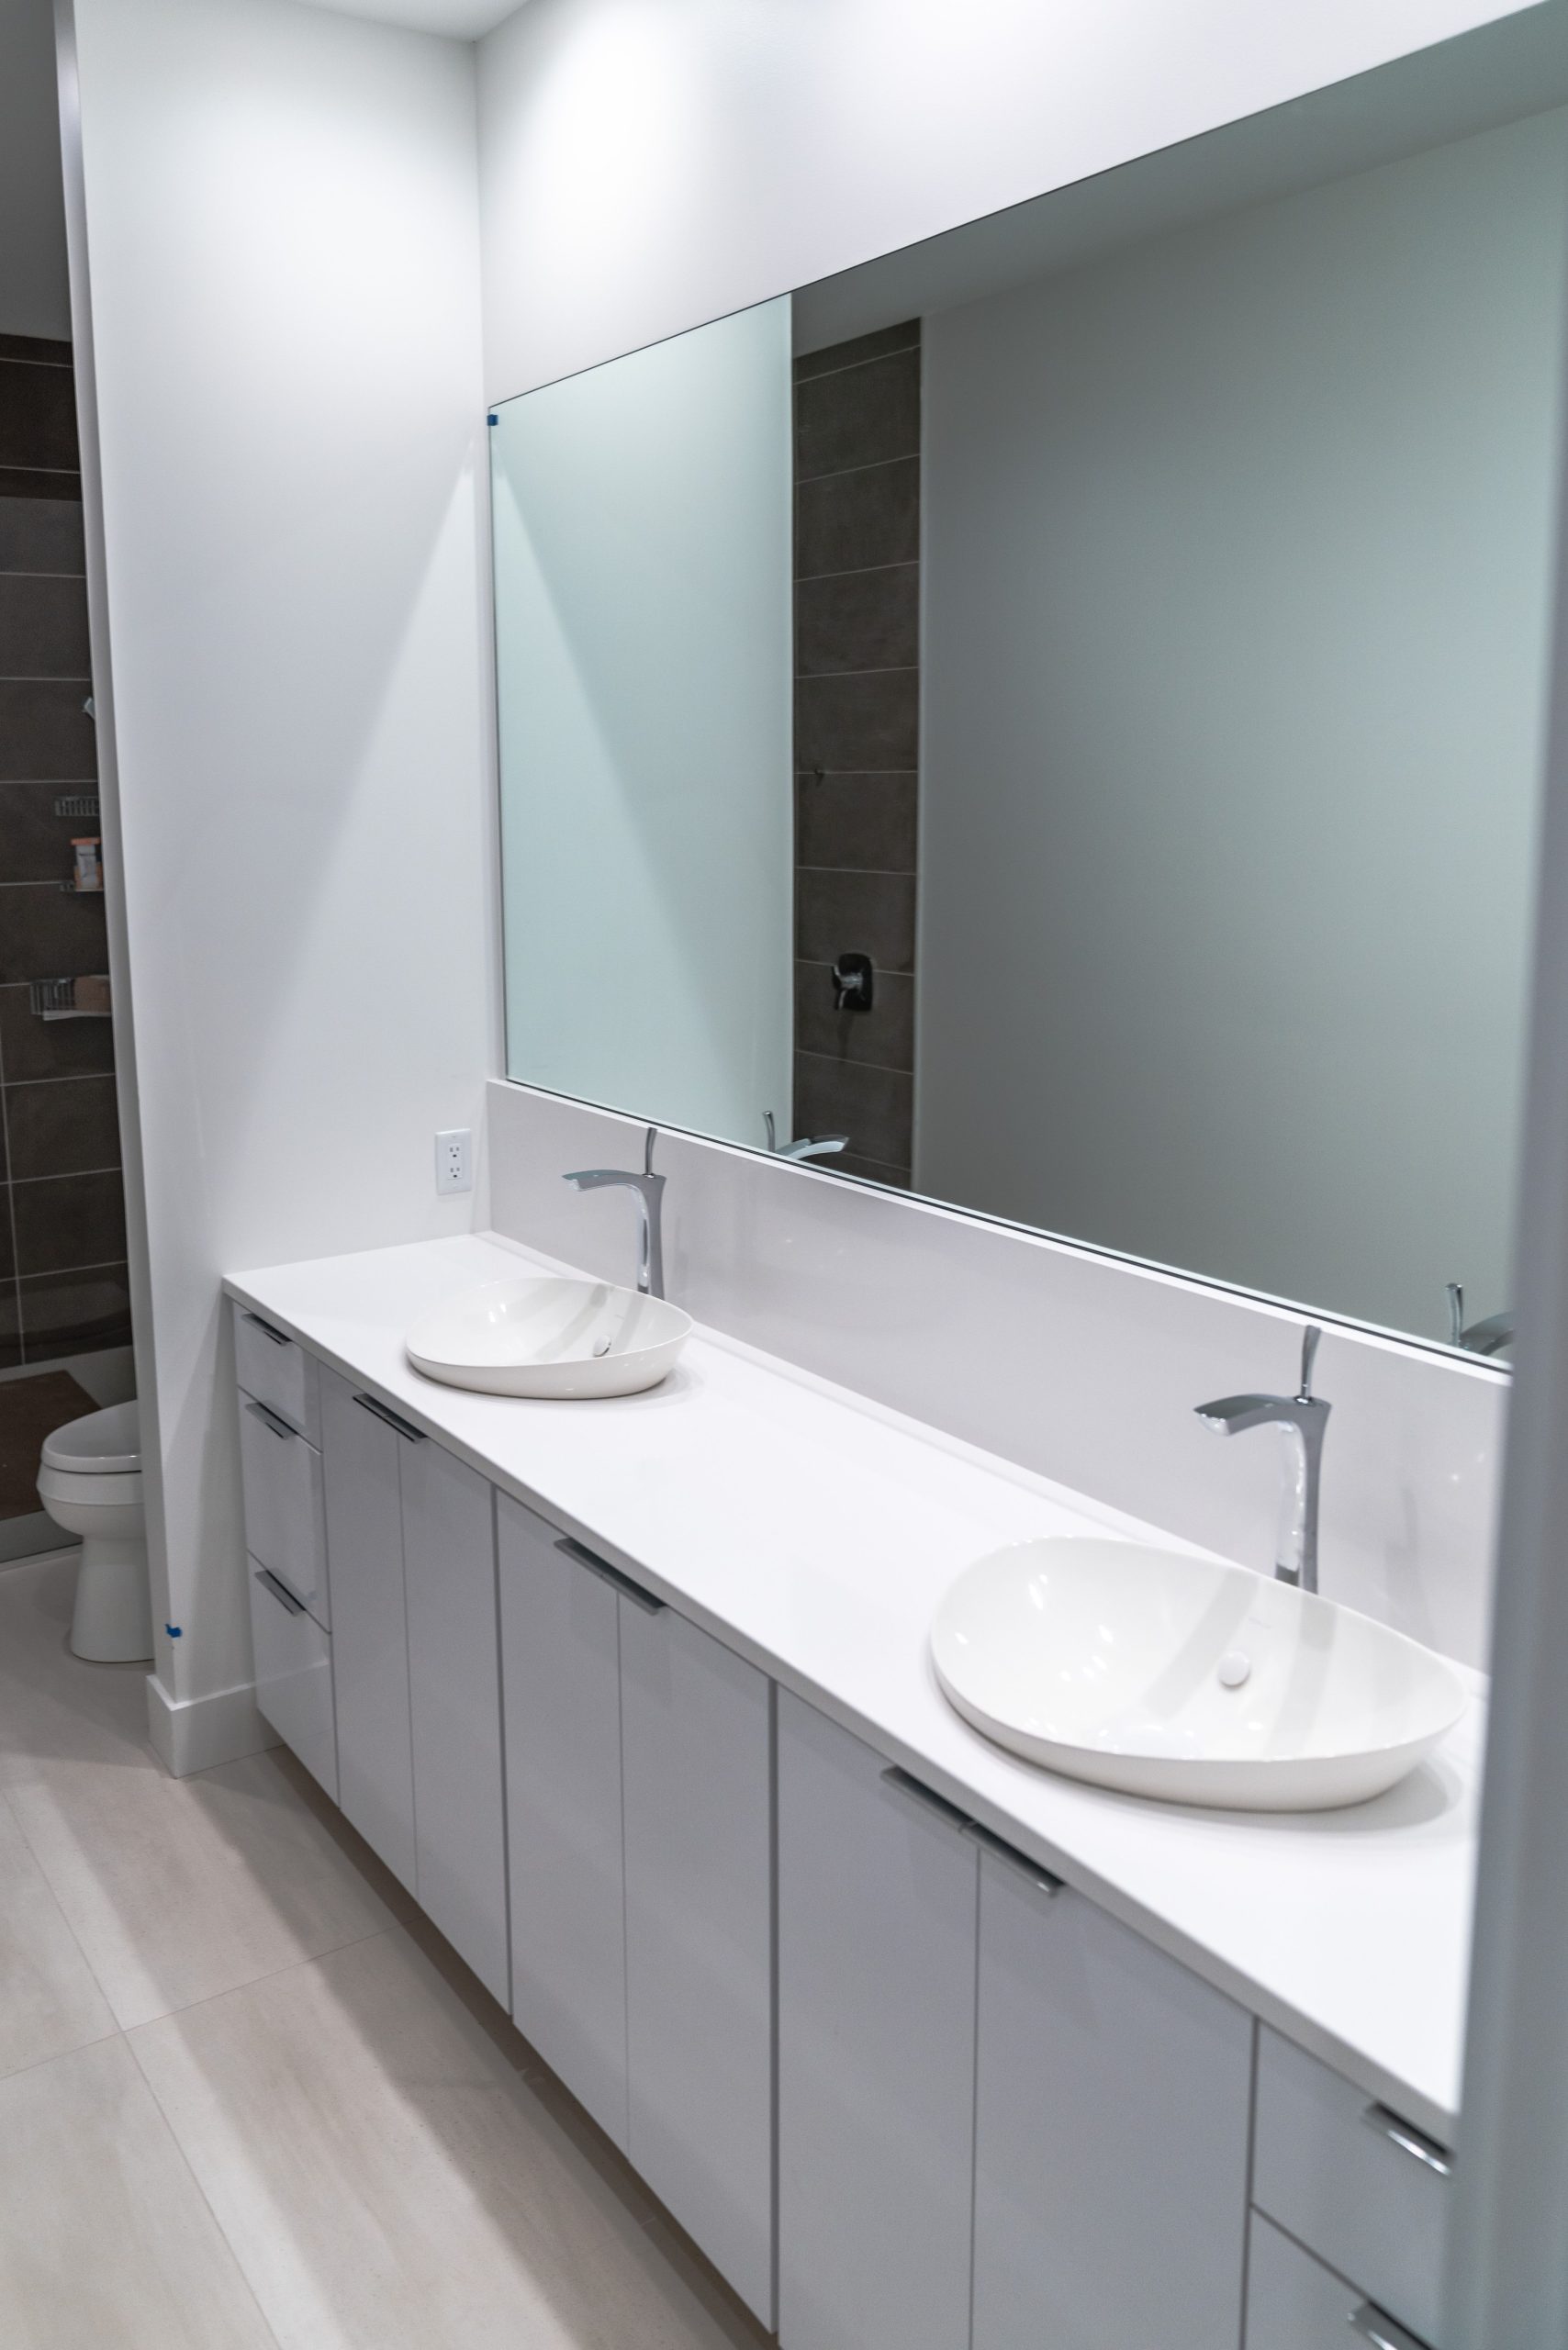
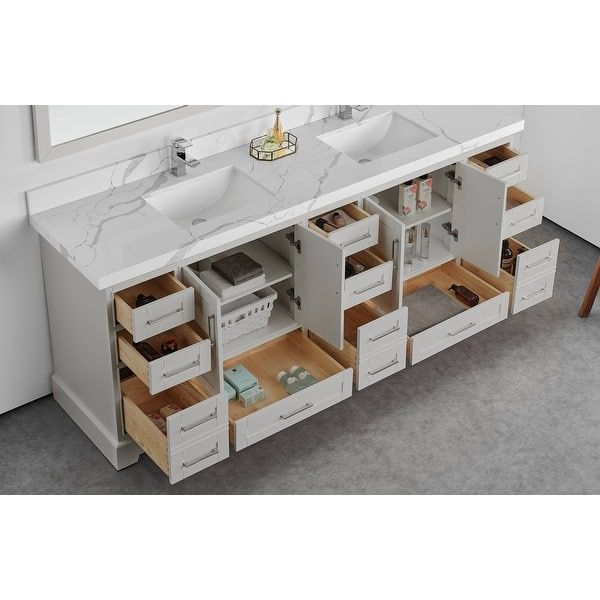
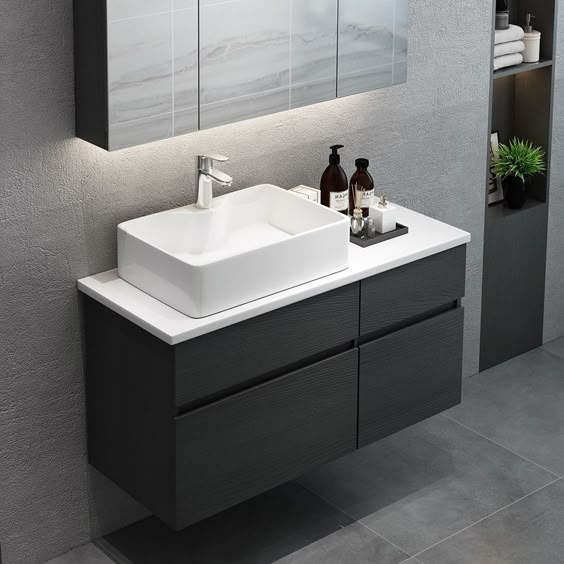
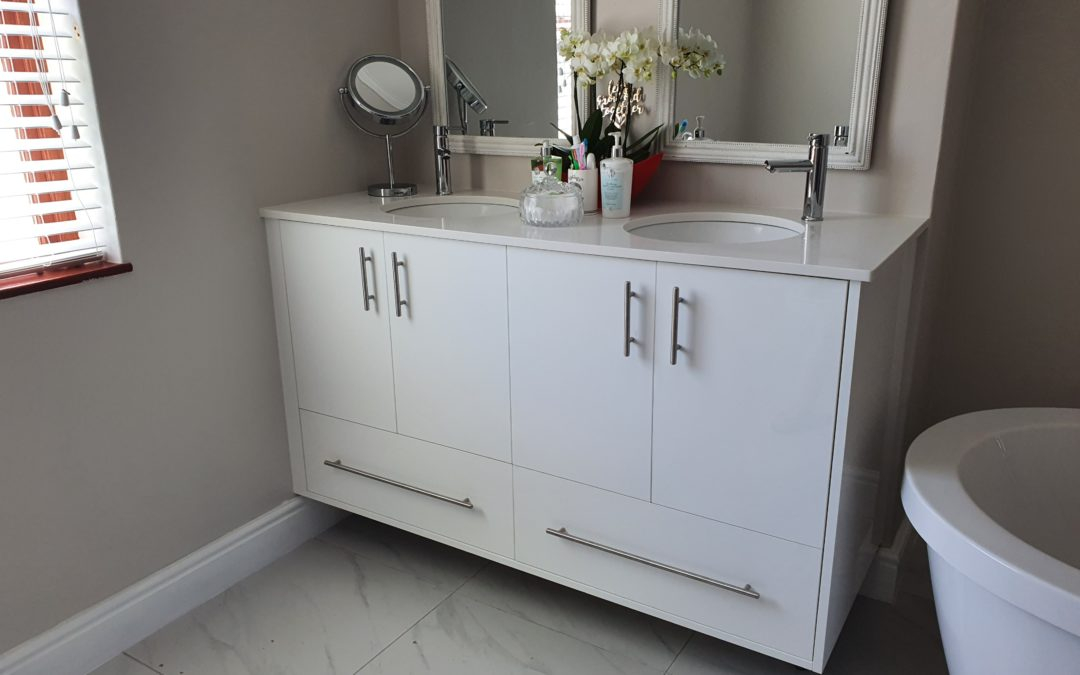
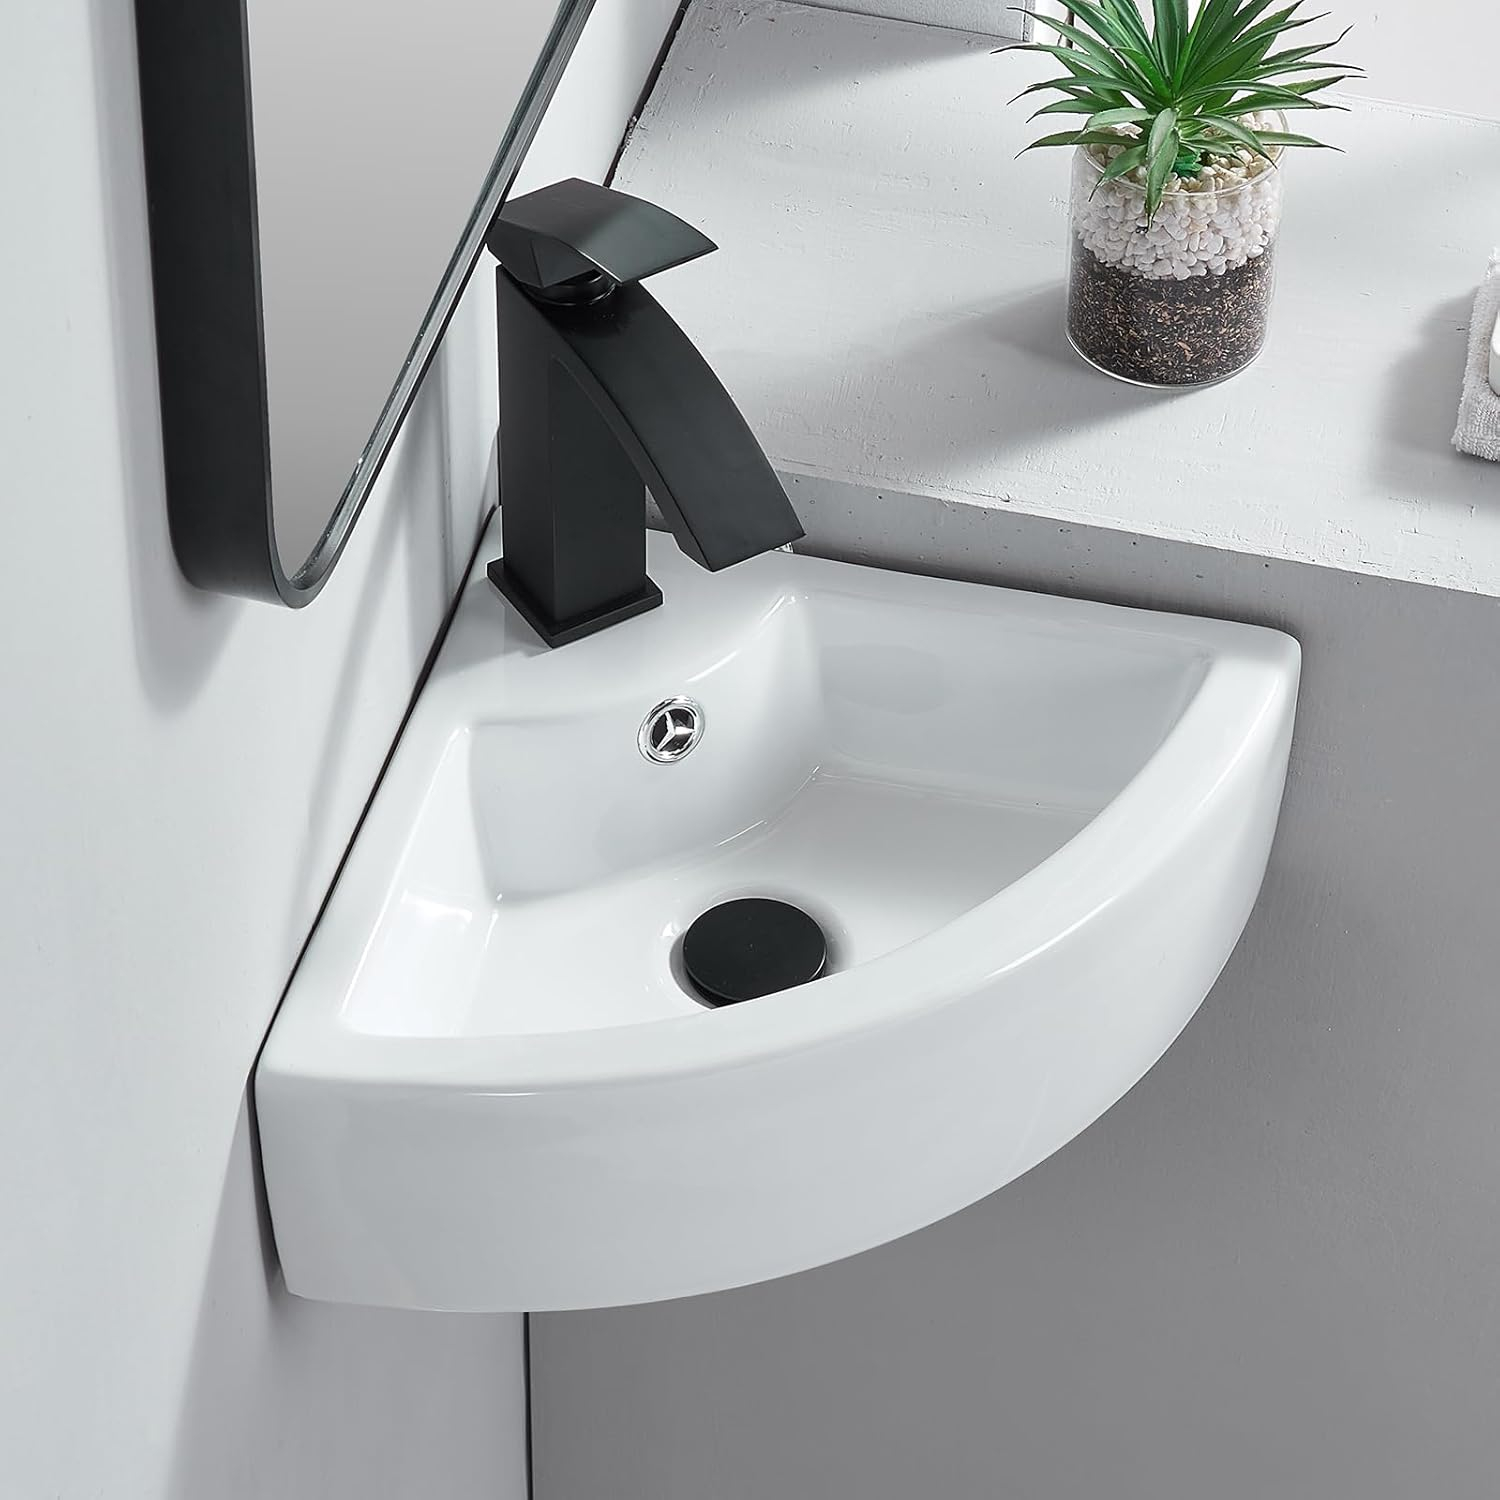
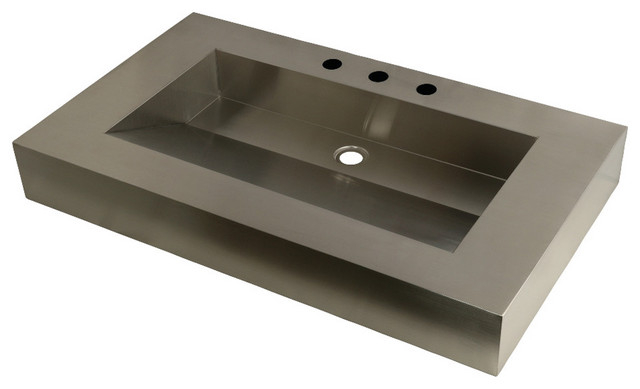
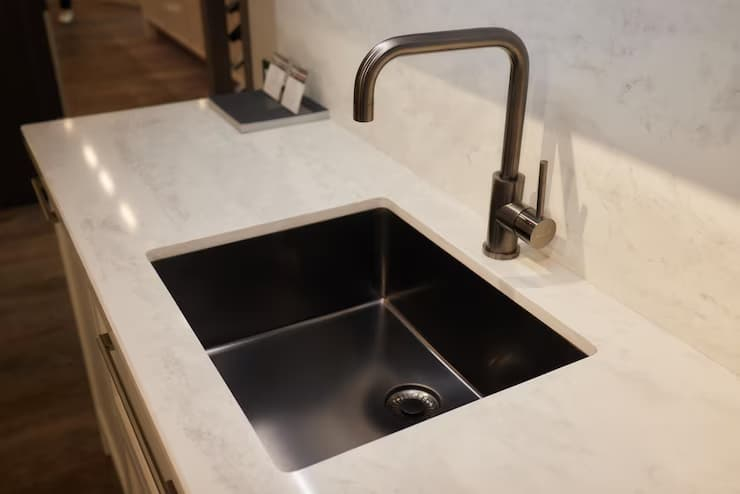
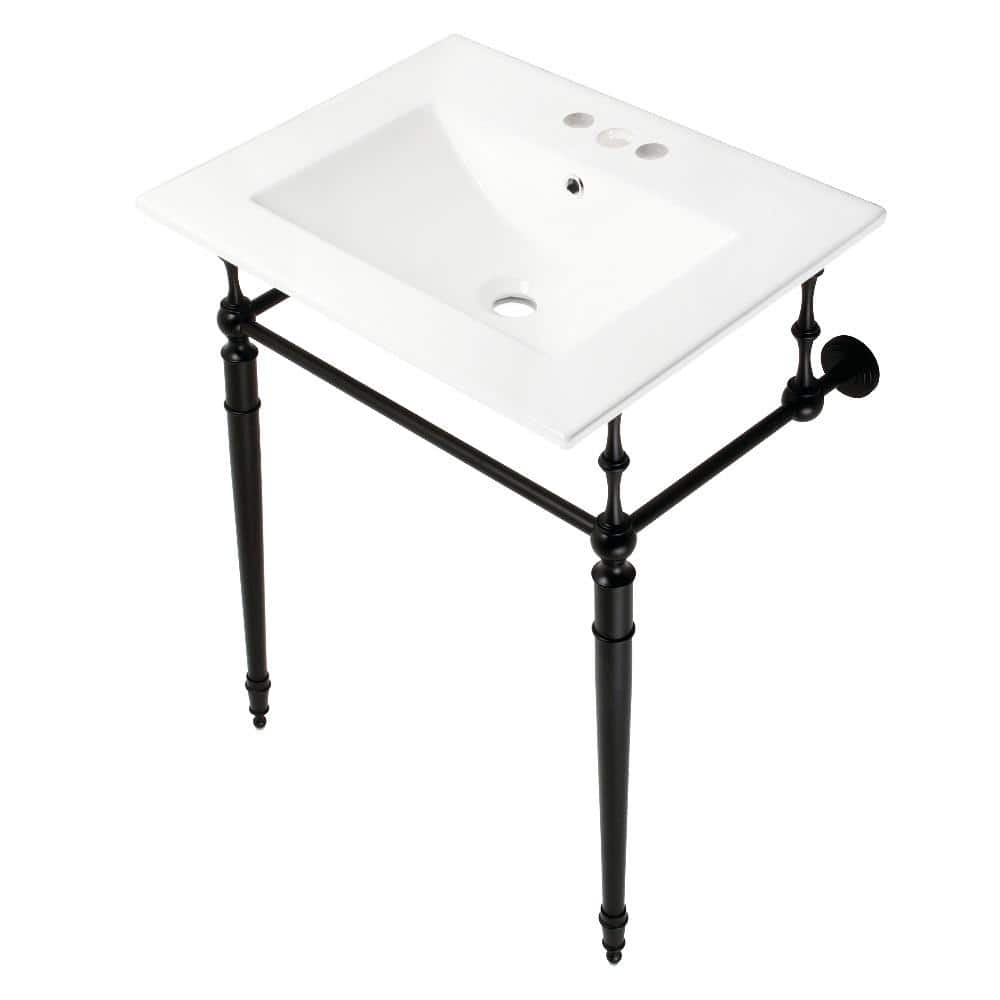
Before you even think about installation, you need to know what kind of sink you're working with. Bathroom sinks come in many shapes and sizes, each with its own benefits and challenges. Cabinet sinks are probably the most common choice. They sit on top of a vanity and have a basin that holds water. These are great because they're easy to install and offer lots of design flexibility. Undermount sinks give a sleek, modern look. They're installed underneath the countertop, creating a seamless appearance. However, they require more precise measurements and can be trickier to install. Drop-in sinks are another popular option. They sit on top of the countertop opening and are relatively straightforward to handle. They're often chosen for their affordability and ease of replacement. Wall-mounted sinks save space and create a clean, minimalist vibe. They're attached directly to the wall behind the counter. These require careful consideration of plumbing locations and structural support. Each type has unique requirements for installation. For instance, undermount sinks demand exact measurements to fit perfectly under the counter. Wall-mounted sinks need proper reinforcement and precise hole placement. Understanding these differences early helps prevent costly mistakes later on. Consider your existing setup, budget, and aesthetic preferences when choosing. The right sink can make or break your bathroom renovation. Take time to research and select wisely. Remember, this decision impacts both functionality and visual appeal for years to come.
Essential Tools and Materials Needed
Having the right tools makes all the difference in a successful installation. You won't want to be scrambling for something halfway through. Start with basic tools like a drill, screwdriver set, wrenches, and measuring tape. A level is crucial for ensuring everything sits properly. You'll also need specialized items such as a sink wrench, pipe wrench, and possibly a wet saw if cutting materials. Plumbing supplies are essential too. You'll need supply lines, fittings, and sealants. Make sure to check if your new sink requires specific adapters or hardware. Some sinks come with everything included, while others need additional purchases. Quality matters here. Cheap tools can break during use, leading to delays and extra costs. Invest in good-quality wrenches and measuring devices. They'll serve you well beyond this single project. Don't forget safety gear like gloves and eye protection. These small precautions protect you from injury. Also consider having backup materials on hand. Sometimes things don't go according to plan, and having extras prevents major setbacks. Before beginning, lay out everything you need. Organize tools and materials so they're easily accessible. This preparation saves time and reduces stress. When everything is within reach, you can focus on the actual work rather than searching for items. The best installations start with proper preparation. Take a few minutes now to gather your resources and review the manufacturer's instructions. Everything should be ready before you begin. This attention to detail pays off in the end result.
Planning and Measuring for Success
Proper planning is where many installations fail or succeed. Before touching anything, measure carefully and double-check everything. Start by taking precise measurements of the space where the sink will go. Measure width, depth, and height of the opening in your countertop. Compare these dimensions with your sink specifications. This simple step prevents fitting issues later on. Pay attention to the location of plumbing fixtures. Check where your water supply lines and drain are positioned. You may need to adjust your sink selection based on these factors. Some sinks require specific clearance around pipes and drains. Others work better with certain configurations. Consider your personal habits too. If you have a large family, maybe a deeper sink is more practical. If you prefer minimalism, a smaller, sleeker design might suit better. Don't overlook the importance of accessibility. Make sure there's enough room for comfortable use. Also factor in future maintenance needs. Will you be able to access the plumbing easily? This affects whether you choose a top-mount or undermount style. Review the manufacturer's installation guide thoroughly. Many sinks provide detailed diagrams showing proper positioning. Some even list recommended tools and techniques. Planning ahead helps avoid costly changes mid-project. You'll spend less time reworking decisions and more time enjoying your completed work. When you're satisfied with your choices, proceed with confidence. Your careful preparation sets the stage for a smooth installation process.
Preparing the Installation Area
Cleanliness and organization are key to a smooth installation process. Start by clearing the area completely. Remove any existing sink, cabinet, or debris from the workspace. Clean the surface thoroughly to remove dirt and grease. This ensures proper adhesion for mounting hardware. Turn off the water supply valves before beginning any work. This simple step prevents unexpected flooding or damage. You might need to shut off the main water supply if local plumbing requires it. Disconnect existing fixtures carefully. Take photos before removing anything to help with reassembly. Label all connections clearly. Use tape or markers to indicate which pipe goes where. This becomes invaluable when reconnecting. Remove old caulk or sealant around the sink area. Clean the edges thoroughly to ensure a tight seal. Some areas might need sanding or priming before applying new materials. Check that the countertop surface is level and stable. Any unevenness can cause problems with installation. If necessary, make adjustments to the surrounding cabinets or countertop. This preparation phase takes time but prevents headaches later. When everything is clean and organized, you'll work more efficiently. The environment you create directly affects your ability to complete the job correctly. Take pride in your workspace. A tidy area reflects your commitment to quality work. Once the space is ready, you're prepared to move forward with confidence. The groundwork you establish here determines much of what comes next.
Installing the Sink Properly
This is where the magic happens – actually putting the sink in place. First, apply a generous bead of silicone caulk around the rim of the sink opening. This creates a watertight seal between the sink and countertop. Carefully position the sink in the opening. Make sure it sits evenly and aligns with the faucet holes. Use a level to check that it's straight. If using an undermount sink, ensure it's properly supported from underneath. Some require special brackets or mounting hardware. For drop-in and cabinet sinks, check that they're flush with the countertop edge. Once positioned, secure the sink according to manufacturer's instructions. This usually involves tightening mounting clips or screws from underneath. Be careful not to overtighten, which can crack ceramic or porcelain. Test fit the faucet and any accessories before fully securing everything. This allows for final adjustments. Double-check all connections and seals. Make sure nothing leaks or wobbles. Some people find it helpful to have a second person assist with positioning. This provides extra stability and helps spot alignment issues. Take breaks if needed. Rushing through this step leads to mistakes. Patience pays off in the final result. When everything feels secure and aligned, move on to connecting the plumbing. The next steps involve making sure water flows correctly and drains away without problems. Your careful installation now sets the foundation for proper function.
Connecting Water Supply and Drain Lines
Plumbing connections are where things can go wrong quickly if not done carefully. Start with the water supply lines. These connect to your hot and cold water valves. Most modern sinks use compression fittings or push-fit connections. Follow the manufacturer's instructions precisely for proper attachment. Check that all connections are tight but not over-torqued. Over-tightening can damage threads or crack fittings. Test each connection with a small amount of water pressure. Look for any signs of leakage. If you see dripping, turn off the water and recheck the connection. The drain line requires similar care. It must connect securely to the P-trap and then to your wall drain. Make sure the drain flange is properly sealed against the sink. Use plumber's putty or appropriate sealant as needed. Check that the drain falls at the correct angle toward the wall. This prevents clogs and ensures smooth drainage. Some sinks come with pre-installed drain assemblies. Others require separate purchase and installation. Either way, verify all components match your sink's specifications. Take time to understand the layout of your existing plumbing. If you're replacing an older system, you might need adapters. These are often available at hardware stores. Don't skip this step – poor connections lead to leaks and water damage. When everything is connected properly, turn on the water supply slowly. Watch for any signs of leakage. If everything looks good, test the faucet operation. This final check confirms your installation worked correctly. The plumbing is now complete and ready for finishing touches.
Final Steps and Troubleshooting Tips
The last few steps determine whether your installation succeeds or fails. Apply new caulk around the sink perimeter to seal any gaps. Use a caulk smoothing tool or your finger to create a neat finish. Allow it to cure according to the manufacturer's timeline. This creates a waterproof barrier that protects your installation. Check that all hardware is properly tightened and secure. Inspect the faucet and handles for smooth operation. Test both hot and cold water delivery. Make sure there are no drips or unusual noises. If something seems off, don't ignore it. Address small issues before they become bigger problems. Common problems include loose connections, improper alignment, or inadequate sealing. These can usually be fixed with simple adjustments. If you notice persistent leaks, check that all fittings are properly seated. Sometimes a quick re-tightening resolves the issue. For more complex problems, consult the manufacturer's troubleshooting guide. Many companies provide online resources or customer service support. Remember to clean up thoroughly after installation. Remove any construction debris and restore the surrounding area. Your finished sink should blend seamlessly with the rest of your bathroom. Take a moment to appreciate your work. You've successfully transformed your space. The satisfaction of a job well done is worth all the effort. Now enjoy your new sink and the confidence that comes with completing such a valuable project.
Common Mistakes to Avoid
Even experienced installers make errors sometimes. Here are some frequent problems to watch out for. One of the biggest mistakes is rushing the process. Taking shortcuts saves time initially but causes problems later. Always follow the manufacturer's instructions exactly. Skipping steps or modifying procedures often leads to failures. Another common error is improper measurement. Failing to double-check dimensions can result in a sink that doesn't fit properly. This means extra work to modify the countertop or return the item. Poor sealing is also very frequent. Using insufficient caulk or incorrect sealant leads to water damage. Make sure to use the right type of sealant for your sink material. Not accounting for plumbing variations causes further complications. Some homes have unique pipe layouts that aren't standard. Research your specific situation before beginning. Overtightening hardware damages components and creates misalignment. Use gentle pressure and proper torque specifications. Neglecting to test connections before finalizing the installation results in post-installation problems. Always test all connections with water before closing up the installation. These errors can be avoided with patience and attention to detail. Learning from past experiences makes future projects easier. The key is approaching each step methodically. Don't let perfectionism paralyze you, but don't compromise safety either. Balance careful planning with practical execution. Every mistake is a learning opportunity that improves your skills.
Installing a bathroom sink might seem daunting at first, but with proper preparation and knowledge, anyone can do it successfully. You've learned about different sink types, essential tools, and critical steps in the process. The key is taking your time and following instructions carefully. Planning ahead prevents most common mistakes. Proper measurements, clean installation surfaces, and correct plumbing connections form the foundation of success. Don't underestimate the importance of testing everything before calling it complete. Your attention to detail will show in the final result. Whether you're replacing an old sink or installing a new one, this guide provides the foundation for a professional-looking outcome. The investment in time and effort pays dividends in both function and aesthetics. You'll have a beautiful, functional sink that enhances your bathroom experience. Remember, every expert was once a beginner. Use these lessons to build your confidence for future projects. With practice, you'll find bathroom sink installation becomes second nature. Your bathroom will thank you for the thoughtful work you put into it. The satisfaction of a job well done is priceless. So grab your tools, follow the steps, and enjoy the results of your hard work.