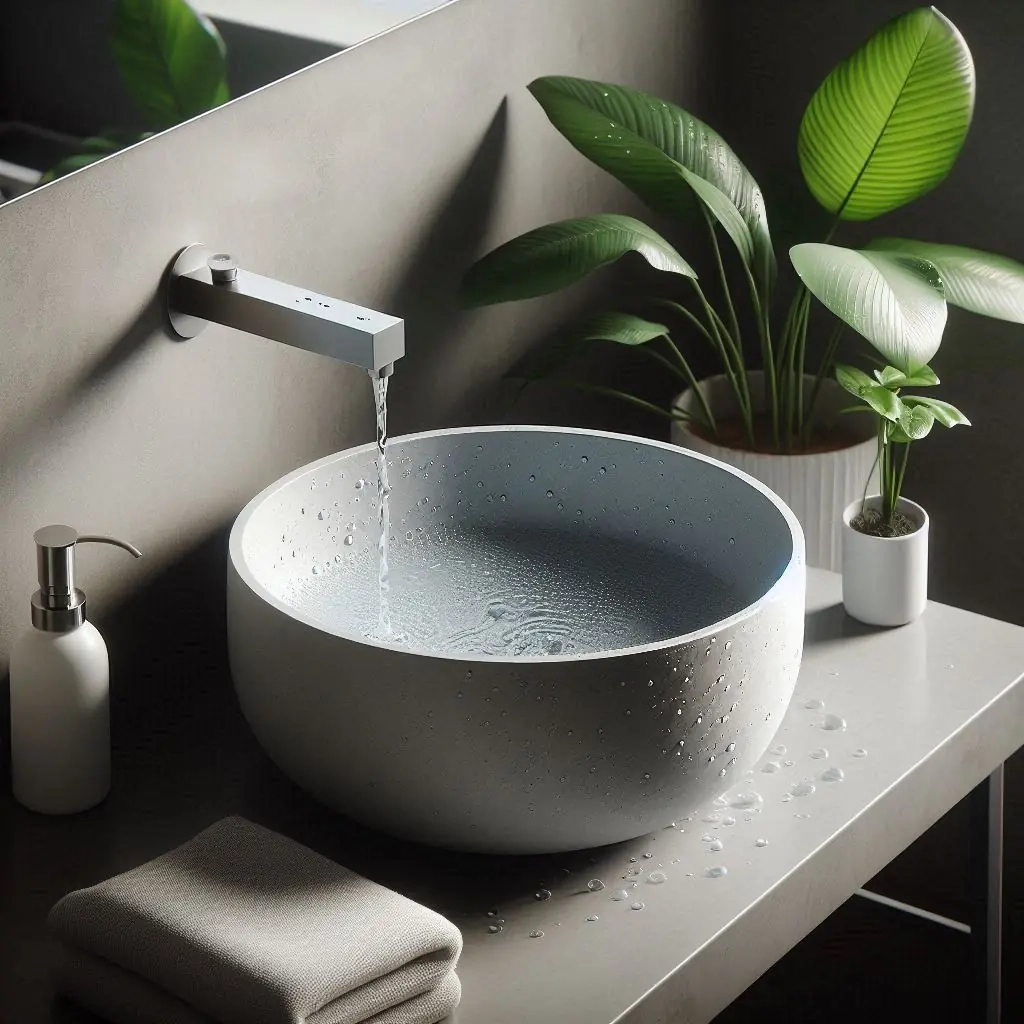
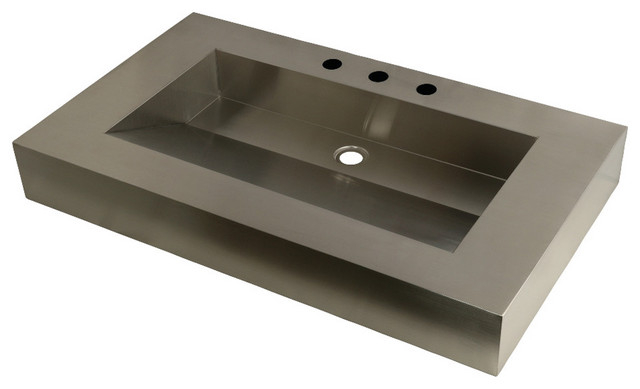
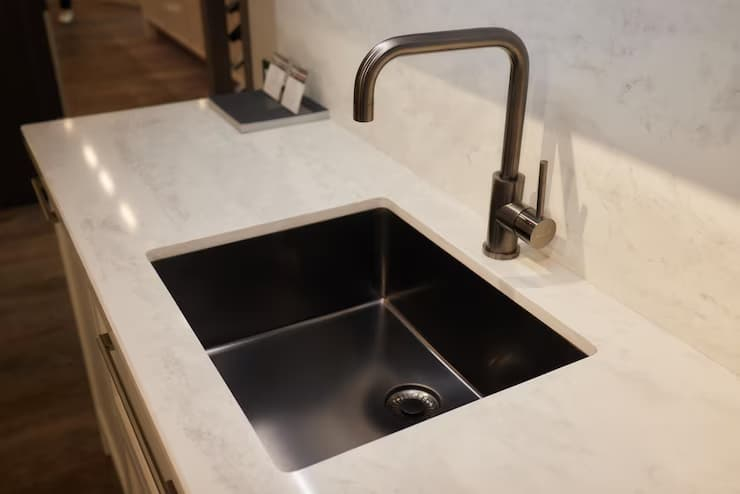
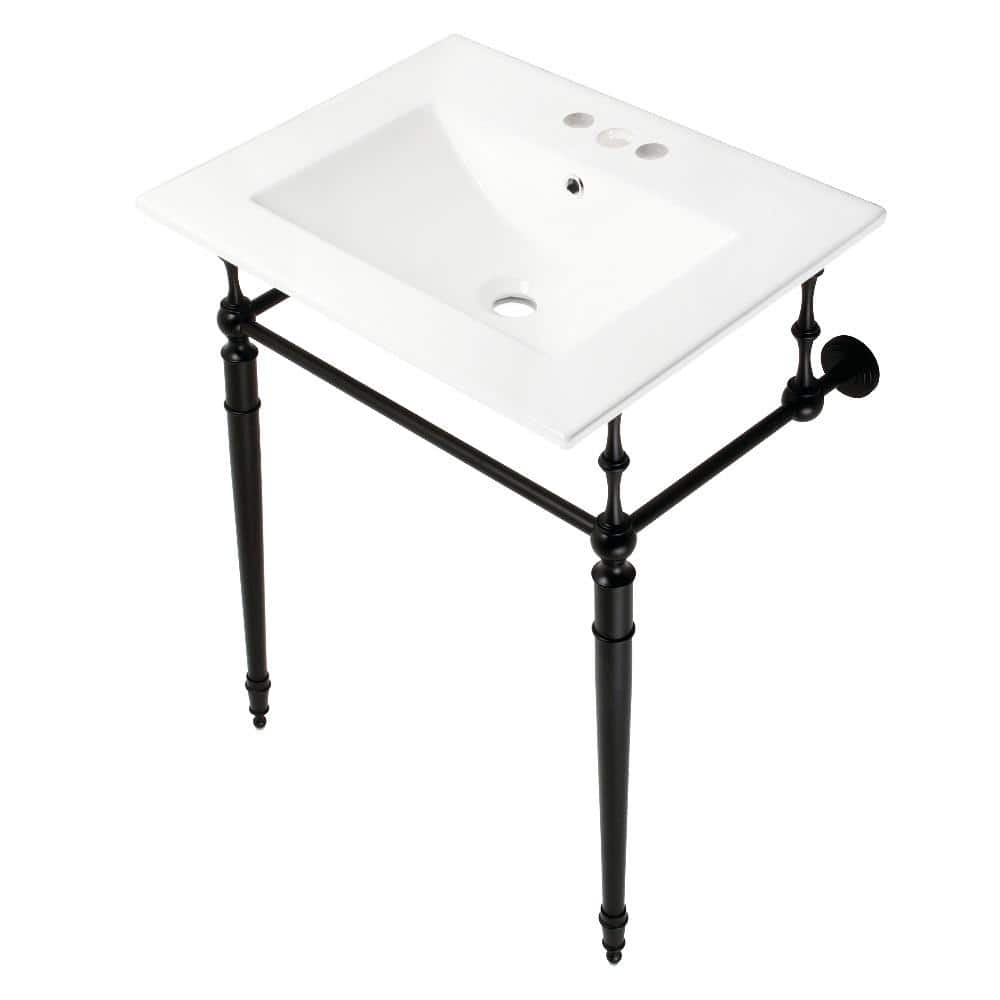
The journey from unpacking your new bathroom fixture to having it perfectly installed can feel overwhelming. But with the right approach, even the most complex installations become manageable. This guide will walk you through everything you need to know about setting up your rectangular fixture from the Energy 85.00 collection.
When you first unbox your WS Bath Collections Energy 85.00 rectangular fixture, you might feel a bit intimidated. After all, bathroom installations aren't exactly simple tasks. But fear not. With proper preparation and understanding of the process, you'll find that installing these fixtures isn't nearly as daunting as it seems. The key lies in taking things one step at a time, checking measurements carefully, and following the manufacturer's specifications precisely.
Preparation and Planning
Before diving into installation, make sure you have all the necessary tools and materials ready. You'll want to gather a drill, screwdriver set, measuring tape, level, and possibly a stud finder. It's also wise to double-check the dimensions of your space against the fixture specifications. Sometimes, small discrepancies in measurement can cause major headaches later on. Consider the weight capacity requirements and ensure your wall structure can support the fixture. A poorly planned installation often leads to frustrating outcomes, so take your time during this crucial phase.
Understanding the Fixture Components
The Energy 85.00 series comes with several components that need careful attention. Typically, you'll find mounting brackets, screws, seals, and the actual fixture itself. Each part serves a specific purpose, and skipping any component can compromise the entire installation. Take a few minutes to lay out each piece and verify that nothing is missing. Check that all hardware matches the mounting requirements specified in the manual. Some installers find it helpful to photograph each component before beginning, just to avoid confusion later on.
Measuring and Marking Your Installation Points
Accurate measurement is absolutely critical. Use a level to ensure your marks are perfectly horizontal. Many people make the mistake of assuming their walls are straight when they're actually slightly off. Measure twice, cut once – this old adage applies perfectly here. If you're working with a rectangular fixture, pay special attention to the center point, as this will determine how the entire piece aligns with your existing plumbing. Don't forget to account for any trim or decorative elements that might affect final positioning.
Mounting the Fixture
Once you've marked your spots, begin drilling pilot holes using the appropriate bit size. The mounting brackets should fit snugly, but don't force anything. If something doesn't align properly, stop and reassess rather than pushing ahead. Tighten the screws gradually, alternating between opposite sides to ensure even pressure. This prevents warping or misalignment that could happen if you tighten everything on one side first. The fixture should sit flush against the wall without any gaps or wobbles. If you notice movement, it's usually due to improper anchoring or mismatched hole sizes.
Connecting Plumbing and Electrical Components
This step requires extra care, especially if your fixture includes electrical features like LED lighting or heated surfaces. Follow the wiring diagram provided carefully, and never attempt to connect power until you're certain about voltage compatibility. If you're unsure about electrical work, consider hiring a licensed electrician. For water connections, check that all fittings are tight and leak-free. Test your connections before closing up the installation, as fixing leaks after completion can be extremely difficult. Sometimes, a simple turn of the wrench can prevent major problems later.
Final Testing and Adjustments
After everything is secured, perform a thorough test of all functions. Turn on water supply slowly and watch for any signs of leakage around connections. Test electrical components if applicable, ensuring they operate smoothly. Make small adjustments if needed, but remember that some fixtures require time to settle properly. Give yourself a moment to inspect the overall appearance – does it look balanced? Is there any visible gap between the fixture and surrounding surfaces? Minor tweaks at this stage can make a significant difference in the final result.
Installing your WS Bath Collections Energy 85.00 rectangular fixture doesn't have to be stressful. By taking your time, following the steps methodically, and paying attention to details, you'll end up with a beautifully installed fixture that enhances your bathroom's functionality and appearance. Remember, even experienced installers sometimes encounter unexpected challenges. The key is staying patient and solution-focused. If something doesn't go according to plan, take a break, re-read the instructions, and try again. Your bathroom deserves nothing less than a professional-quality installation, and with persistence, you'll achieve that goal.