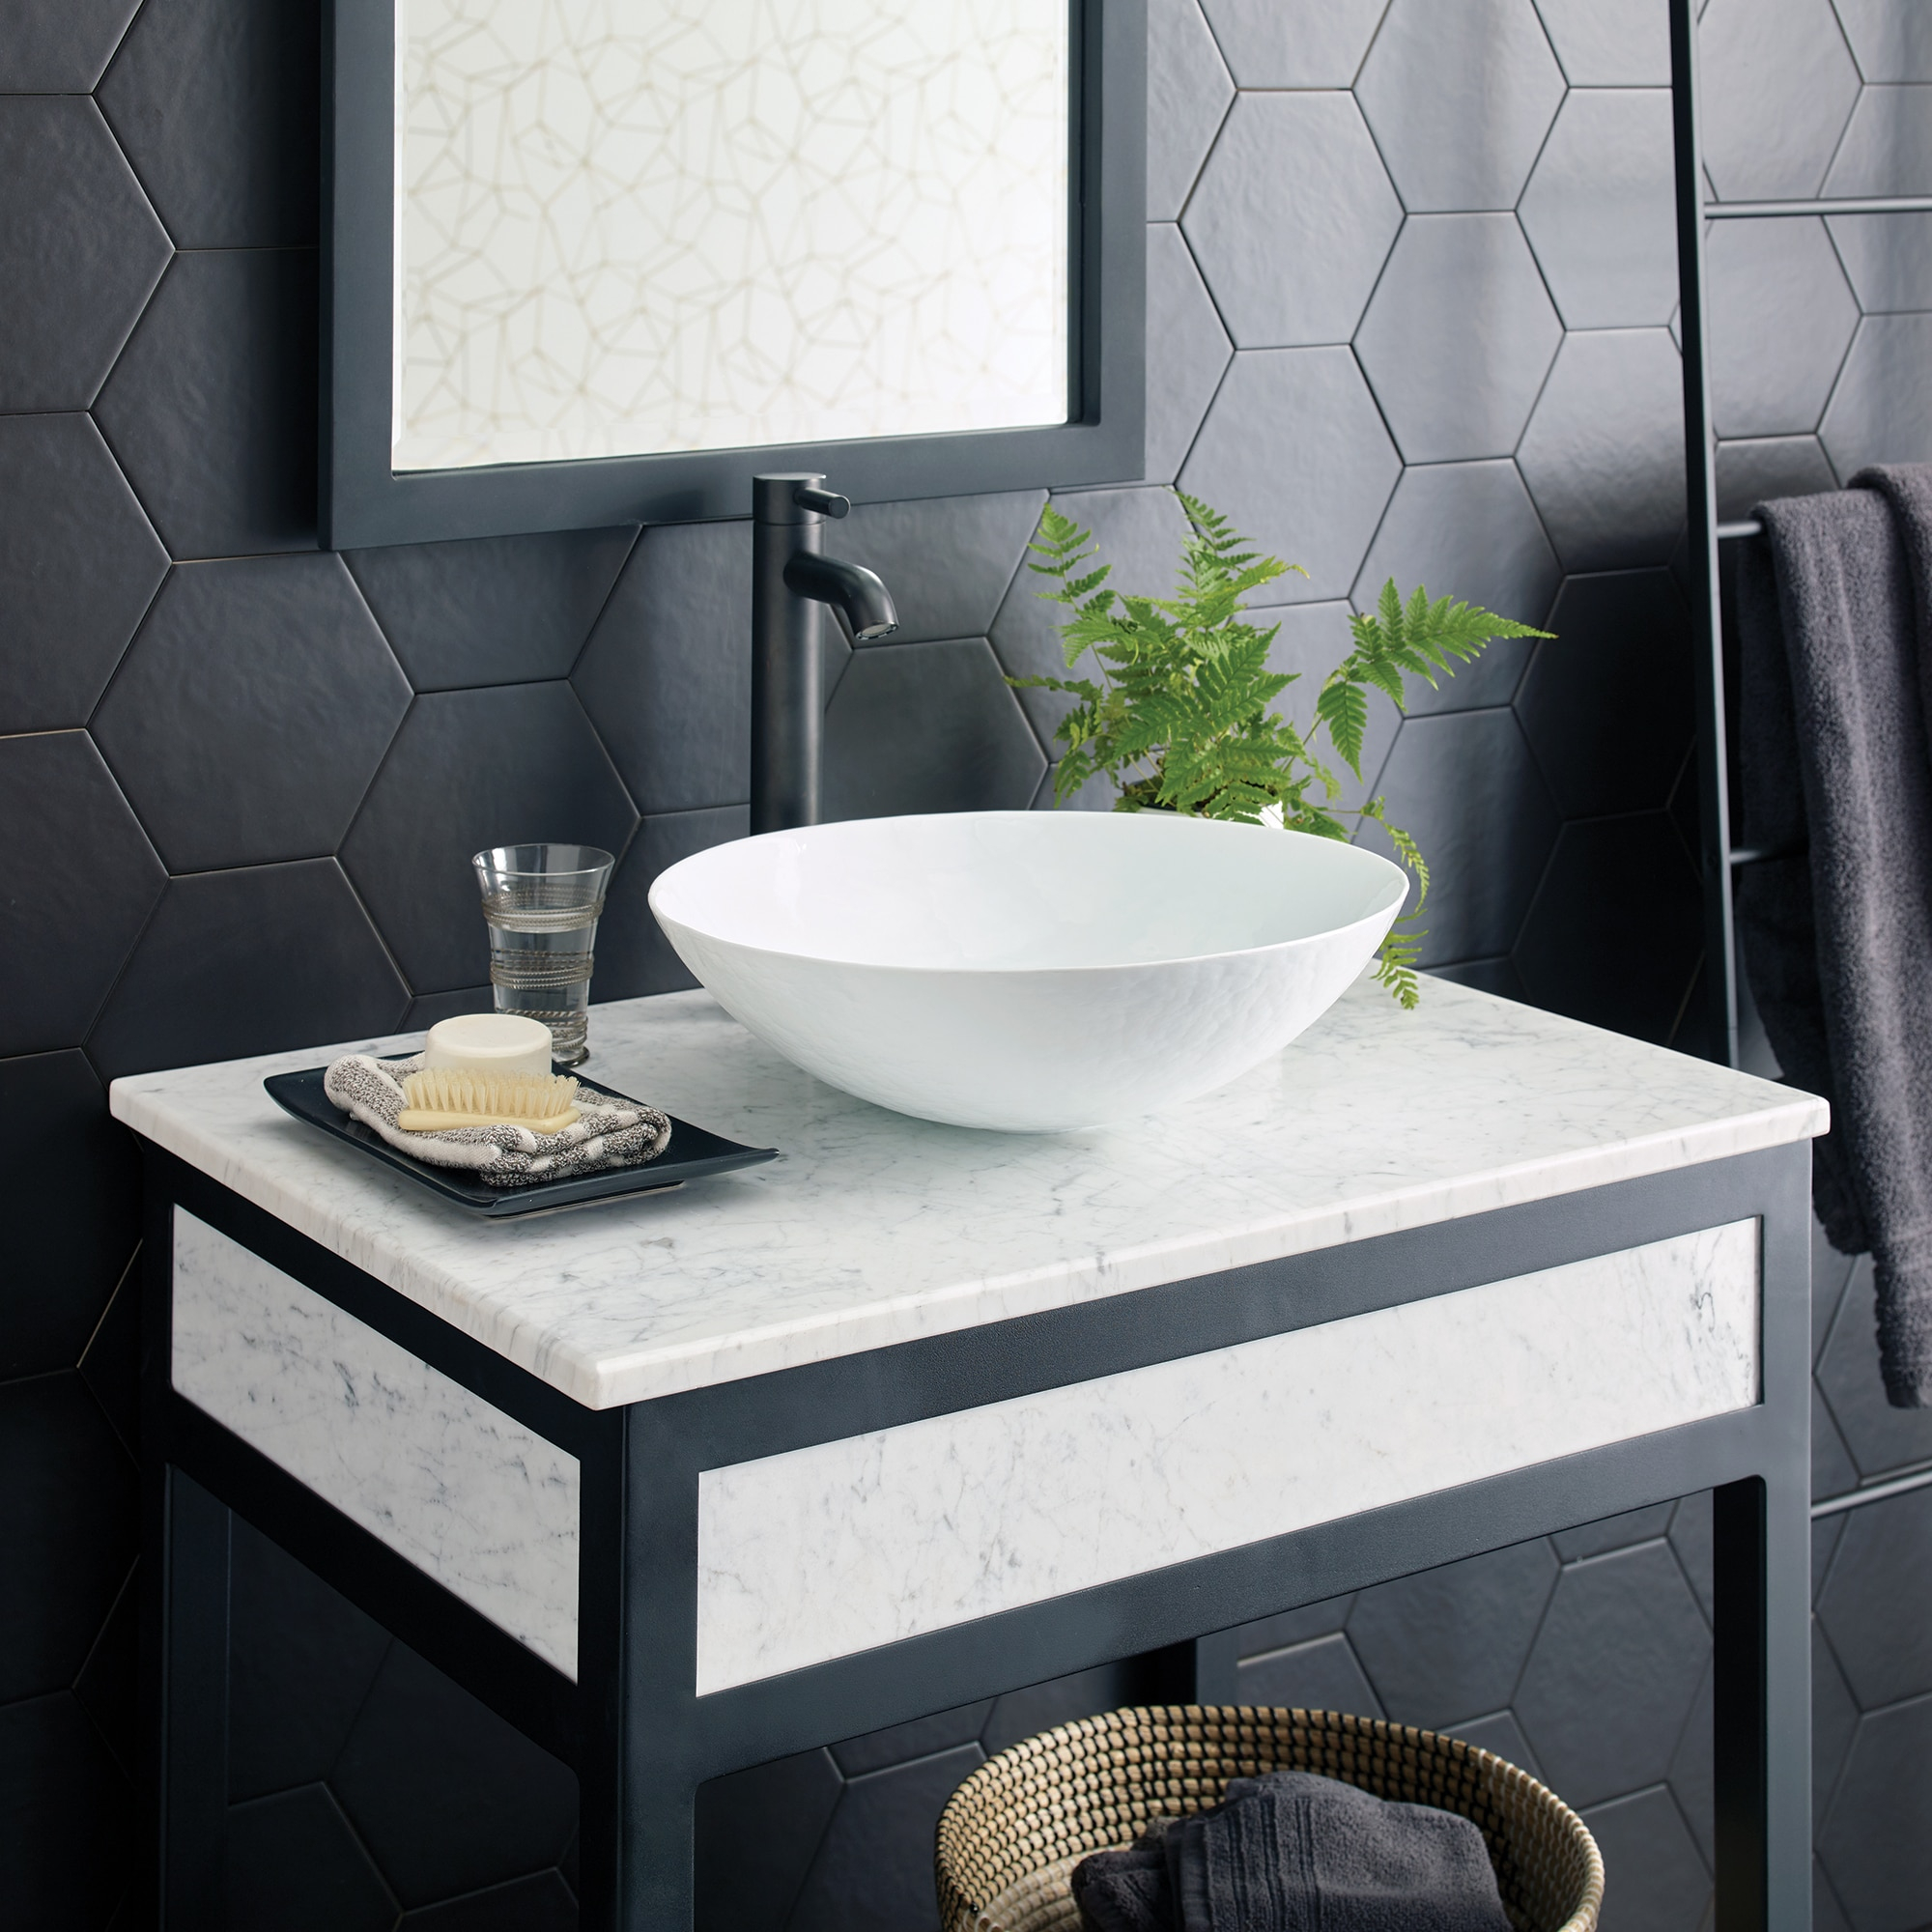
White bathroom fixtures have become the gold standard for modern bathrooms. They bring a sense of cleanliness, brightness, and timeless elegance to any space. Whether you're replacing old fixtures or installing new ones, understanding how to properly install and maintain white bathroom fixtures is essential. From faucets to toilets, every component requires specific attention to ensure longevity and performance.
White bathroom fixtures are more than just functional elements in your bathroom. They're statement pieces that can transform the entire look and feel of your space. These clean, crisp fixtures have been trending for years because they offer versatility, easy maintenance, and a classic appeal that never goes out of style. But getting them right from the beginning means understanding not just how to install them, but also how to keep them looking pristine for years to come. This guide will walk you through everything you need to know about installing and maintaining white bathroom fixtures, whether you're a DIY enthusiast or planning to hire a professional.
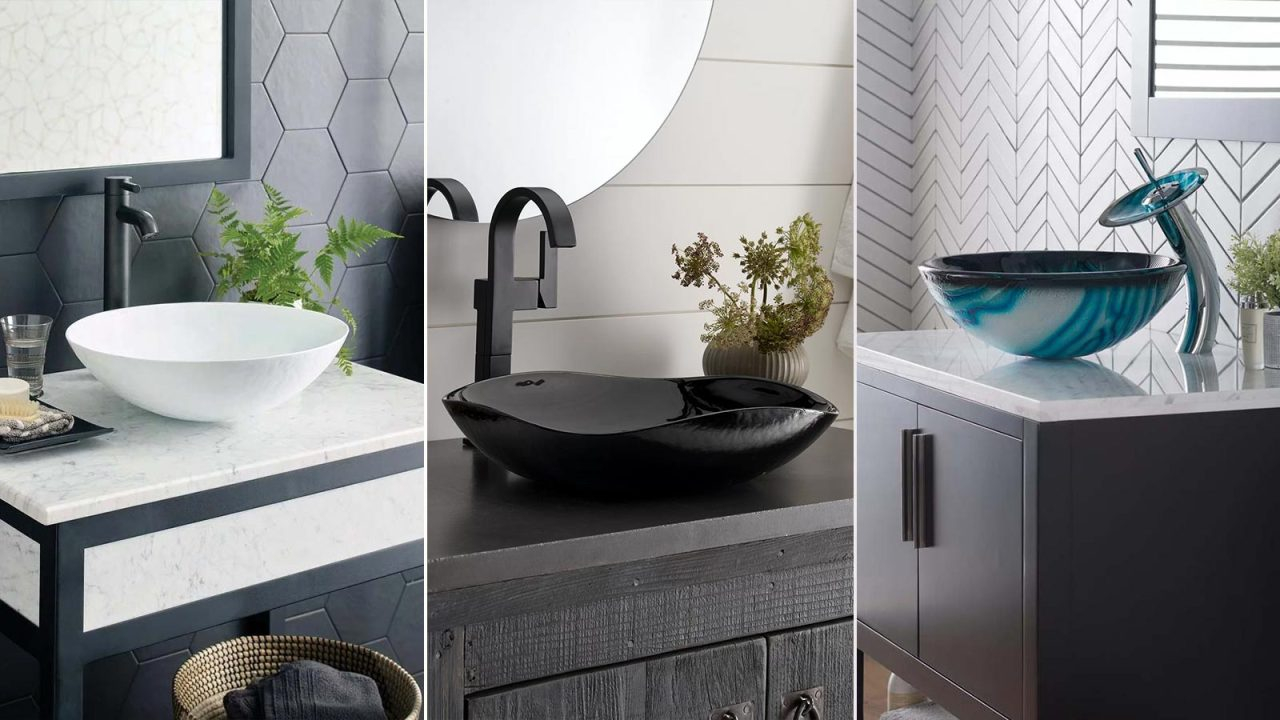
Understanding White Bathroom Fixture Materials
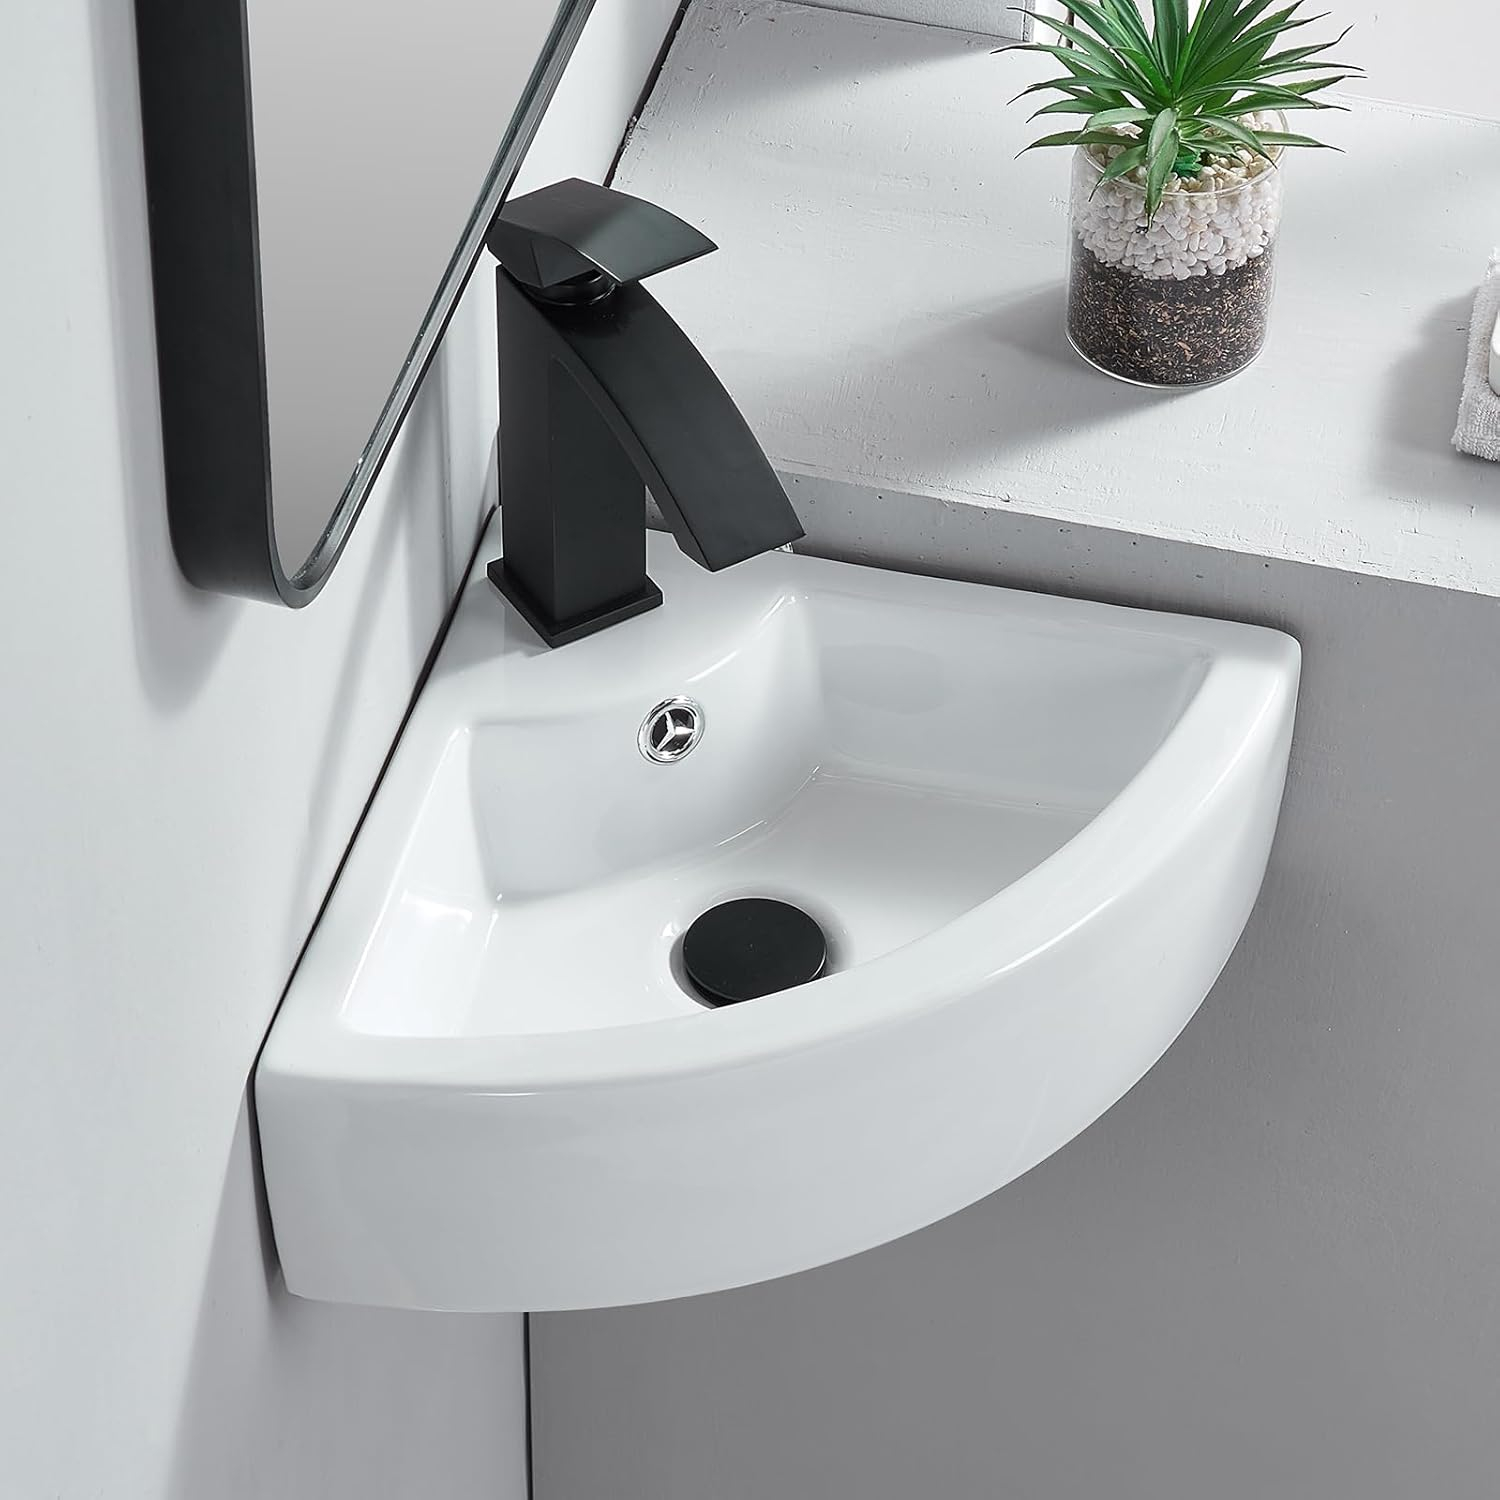
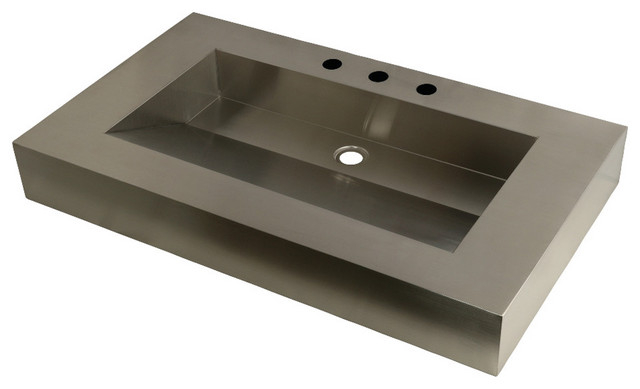
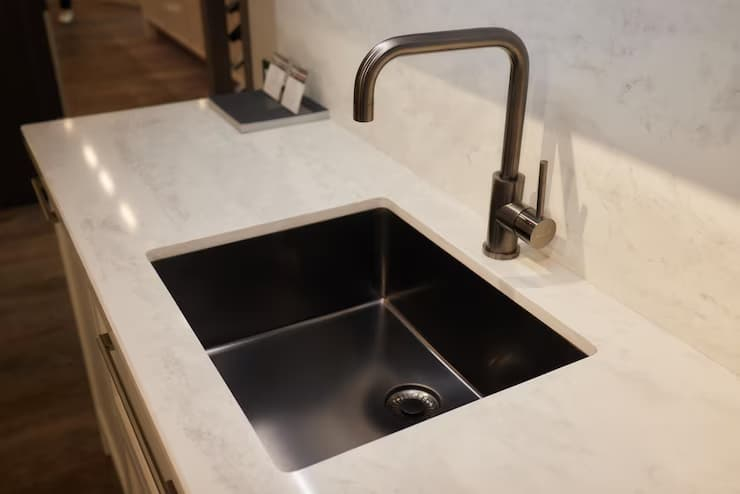
Not all white fixtures are created equal. The material you choose affects everything from durability to maintenance requirements. Ceramic and porcelain fixtures are popular choices because they resist stains well and maintain their white appearance over time. Stainless steel options offer a modern look with excellent resistance to corrosion. Glass fixtures add a touch of luxury but require more careful handling during installation and regular cleaning. Cast iron fixtures, while traditional, may need special consideration due to their weight and installation requirements. Each material has its pros and cons, and understanding these differences helps in making informed decisions. For instance, ceramic fixtures are easier to clean than cast iron, but they might be more prone to chipping if mishandled. Consider the bathroom's humidity levels and usage patterns when selecting materials.
Essential Tools and Preparation Steps
Before diving into installation, proper preparation makes all the difference. You'll need basic tools like wrenches, screwdrivers, a level, measuring tape, and possibly a drill. Make sure to turn off water supply valves before starting work. Remove existing fixtures carefully to avoid damaging surrounding surfaces. Take photos of the current setup for reference. Check local building codes to see if permits are required for your project. Plan your layout carefully, ensuring there's adequate clearance around fixtures. If you're dealing with older homes, be prepared for unexpected plumbing configurations. Having a helper can make the job much easier, especially when lifting heavy items. Don't overlook the importance of having good lighting in your workspace. A well-prepared workspace leads to fewer mistakes and smoother installations.
Step-by-Step Faucet Installation Process
Installing a new faucet is one of the most common white fixture projects. Start by shutting off the water supply and draining lines completely. Remove the old faucet by unscrewing mounting nuts and disconnecting supply lines. Clean the mounting surface thoroughly and apply plumber's putty or silicone sealant where needed. Position the new faucet and secure it with mounting nuts, being careful not to overtighten. Connect supply lines to the appropriate hot and cold water valves. Test the connections for leaks before finalizing. Pay attention to the orientation of the spout and handle positions to match your preferences. Some faucets require specific installation techniques like using a mounting ring or adjusting the height. Take time to read manufacturer instructions carefully, as some models have unique features that affect installation process.
Toilet Installation and Common Issues
Installing a toilet requires precision and attention to detail. First, check that the flange is properly aligned and secure. Place the wax ring between the toilet base and the flange, ensuring even placement. Lower the toilet slowly onto the flange, pressing down evenly to compress the wax ring. Tighten mounting bolts gradually in a crisscross pattern to avoid cracking the porcelain. Check that the toilet sits level and stable. After installation, test for leaks around the base. Common problems include wobbly toilets, improper sealing, and misaligned water connections. If you encounter issues with the toilet rocking, adjust the bolts or add shims underneath. A poorly seated wax ring often causes slow flushing or continuous running. Always allow the toilet to settle for at least 24 hours before heavy use.
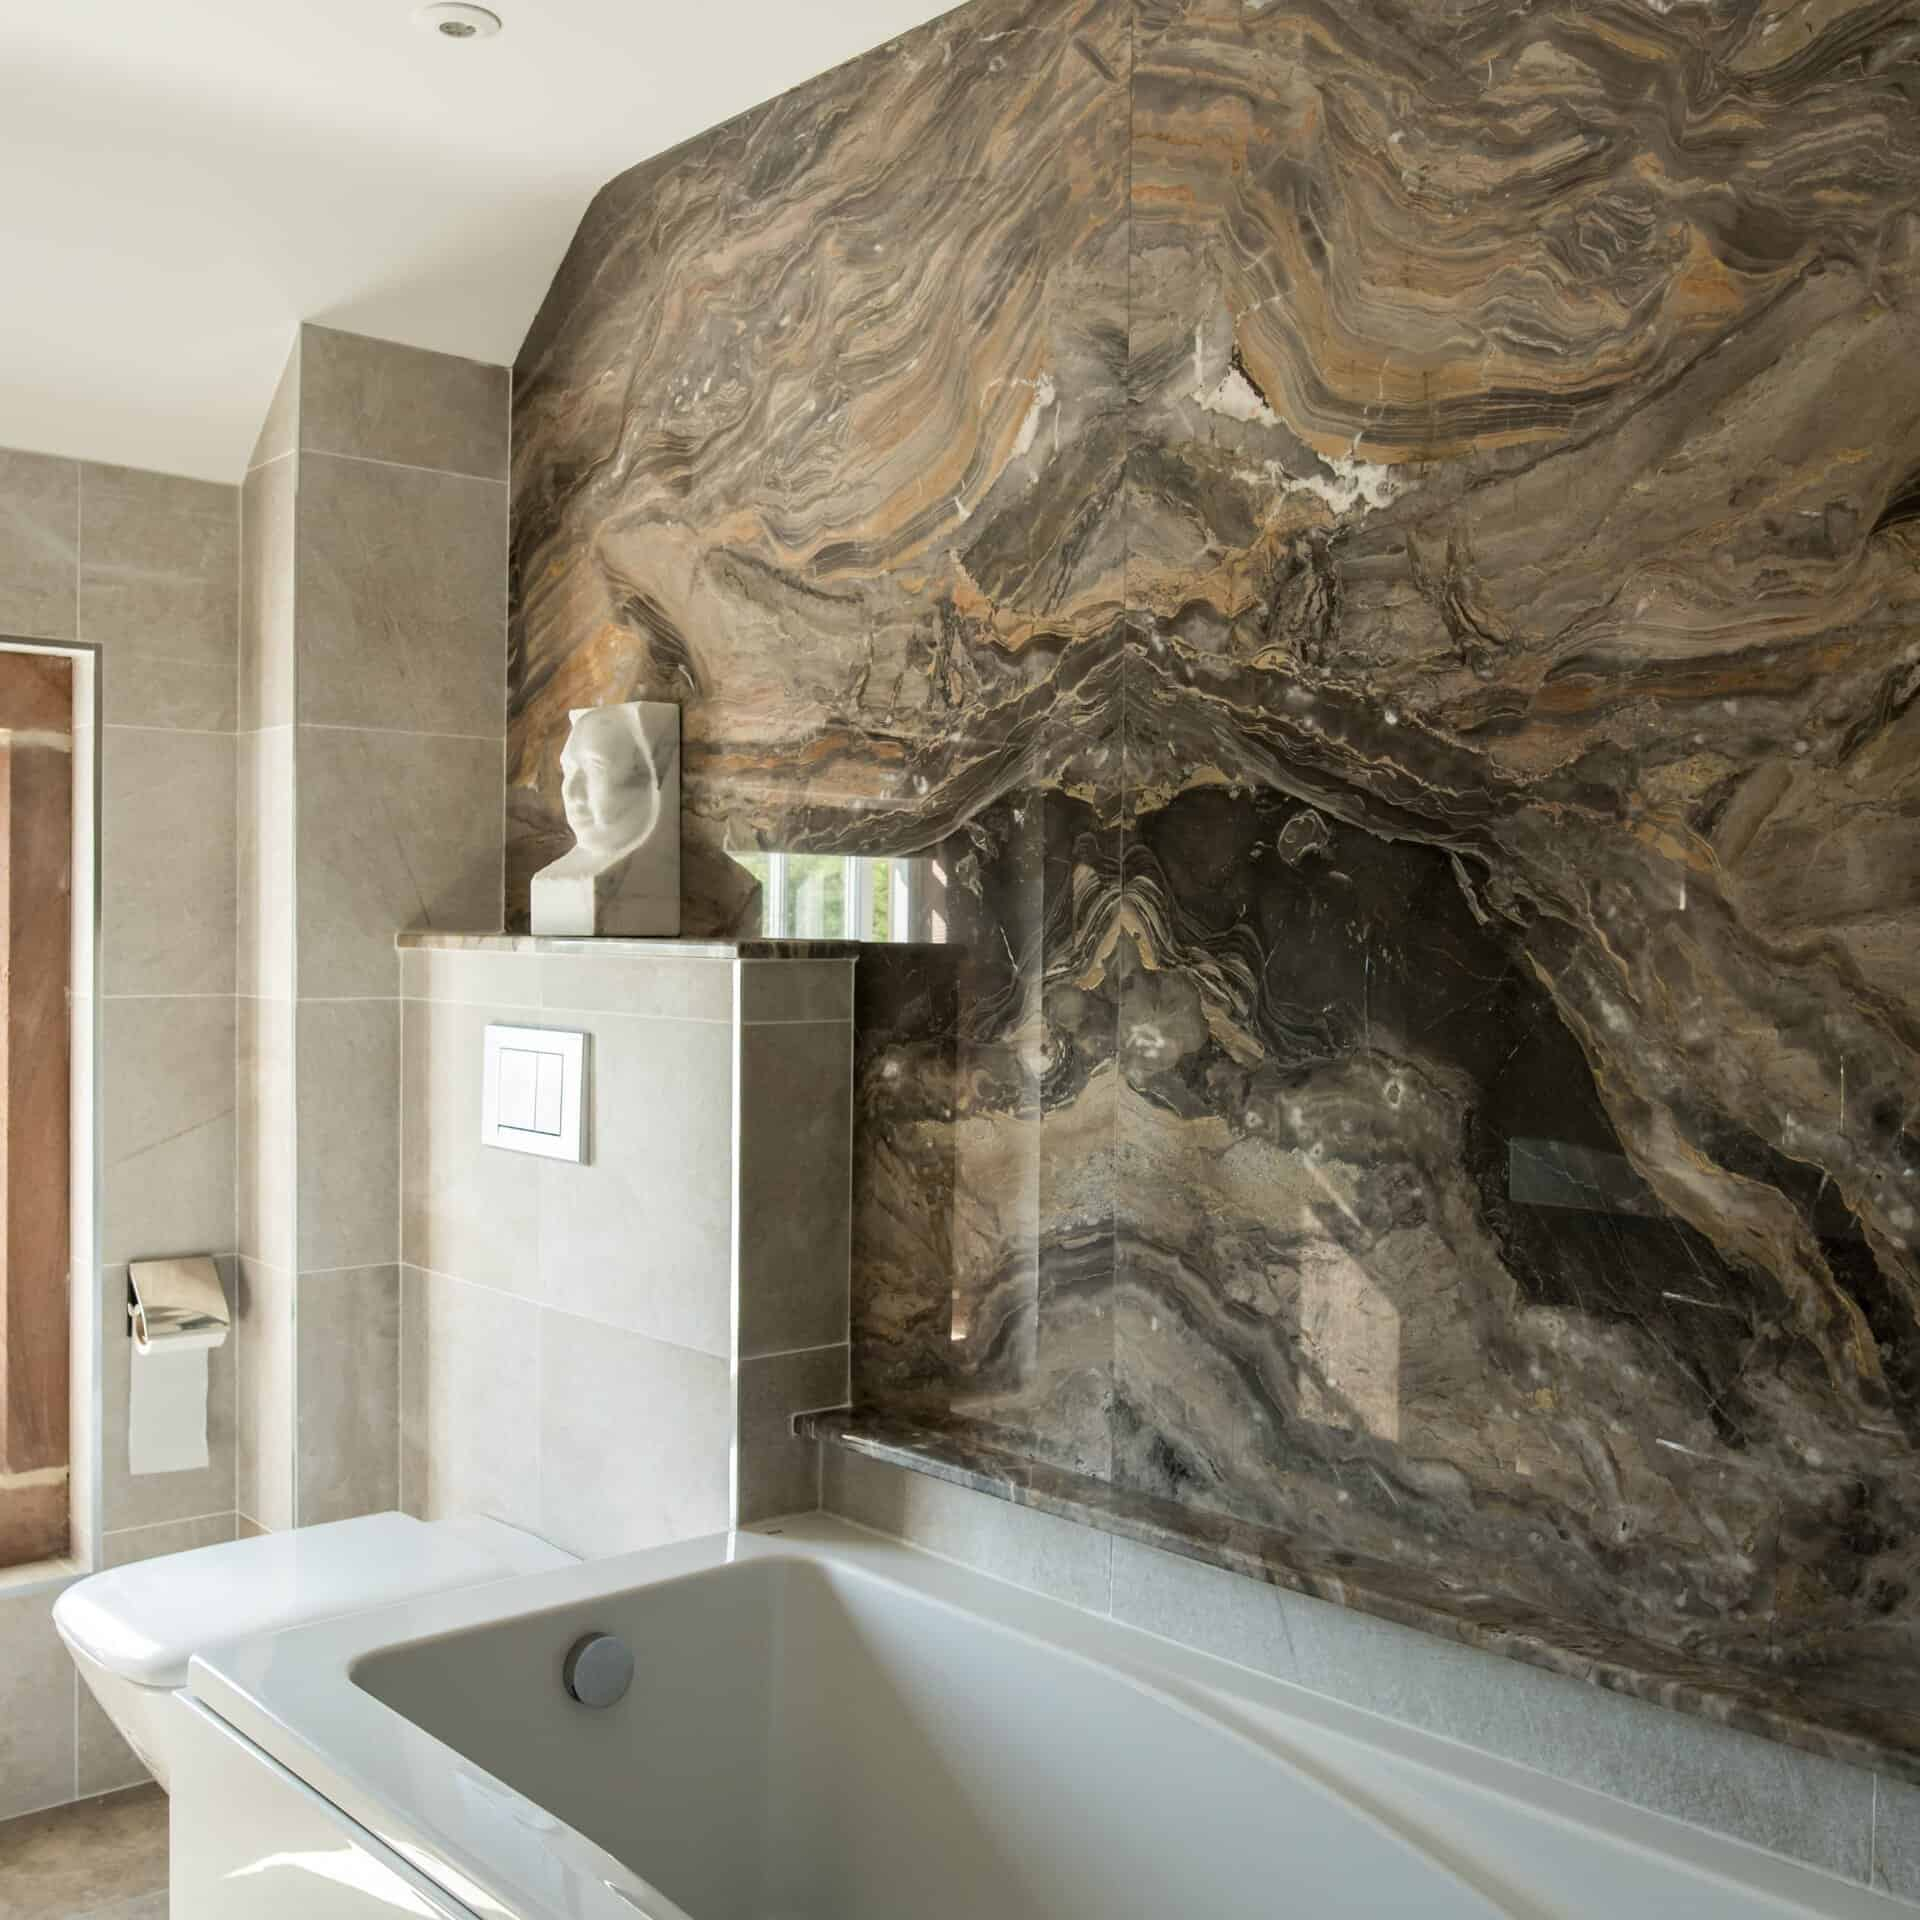
Shower and Bathtub Fixture Installation
Shower and bathtub installations involve more complexity and often require professional assistance for major projects. Start by measuring the space carefully to ensure proper fit. Check that plumbing connections align with the fixture requirements. For prefabricated tubs, ensure the drain opening matches the existing pipe configuration. When installing shower fixtures, pay close attention to water pressure and temperature mixing. Follow manufacturer specifications for mounting heights and clearances. Many modern fixtures come with detailed installation guides that should be followed precisely. Remember to waterproof areas properly, especially around tub edges and shower walls. Test all connections and water flow before completing the installation. Consider the weight capacity of the mounting surfaces and ensure adequate support for heavier fixtures.
Maintenance Tips for Longevity
Regular maintenance keeps white fixtures looking fresh and functioning properly. Clean with mild soap and water regularly to prevent buildup of soap scum and mineral deposits. Use a soft cloth or sponge to avoid scratching the surface. For stubborn stains, a mixture of baking soda and water can be effective. Avoid harsh chemicals that might damage the finish or cause discoloration. Check for leaks periodically and address them quickly to prevent water damage. Tighten loose handles and adjust fixtures as needed. Consider using a water softener if you live in an area with hard water to reduce mineral buildup. Schedule annual inspections to catch potential problems early. Proper care extends the life of fixtures significantly and maintains their appearance.
Installing and maintaining white bathroom fixtures is both an art and a science that deserves attention to detail. From choosing the right materials to following proper installation procedures and implementing consistent maintenance routines, each step contributes to the overall success of your project. Whether you're tackling a simple faucet replacement or a full bathroom renovation, understanding these fundamentals ensures better results and longer-lasting fixtures. Remember that quality installations and regular care not only preserve the aesthetic appeal of your bathroom but also protect your investment. Taking time upfront to plan and execute these tasks correctly pays dividends in convenience, appearance, and peace of mind for years to come. The key is approaching each project thoughtfully and learning from experience to improve future endeavors.