When you think about upgrading your bathroom, the vanity often becomes the centerpiece of your transformation. But what happens when you want something bold and sophisticated? What if you're drawn to the timeless appeal of dark gray? That's exactly what we'll explore today. We're talking about installing 48 inch single bathroom vanities in dark gray – a choice that combines functionality with striking visual impact.
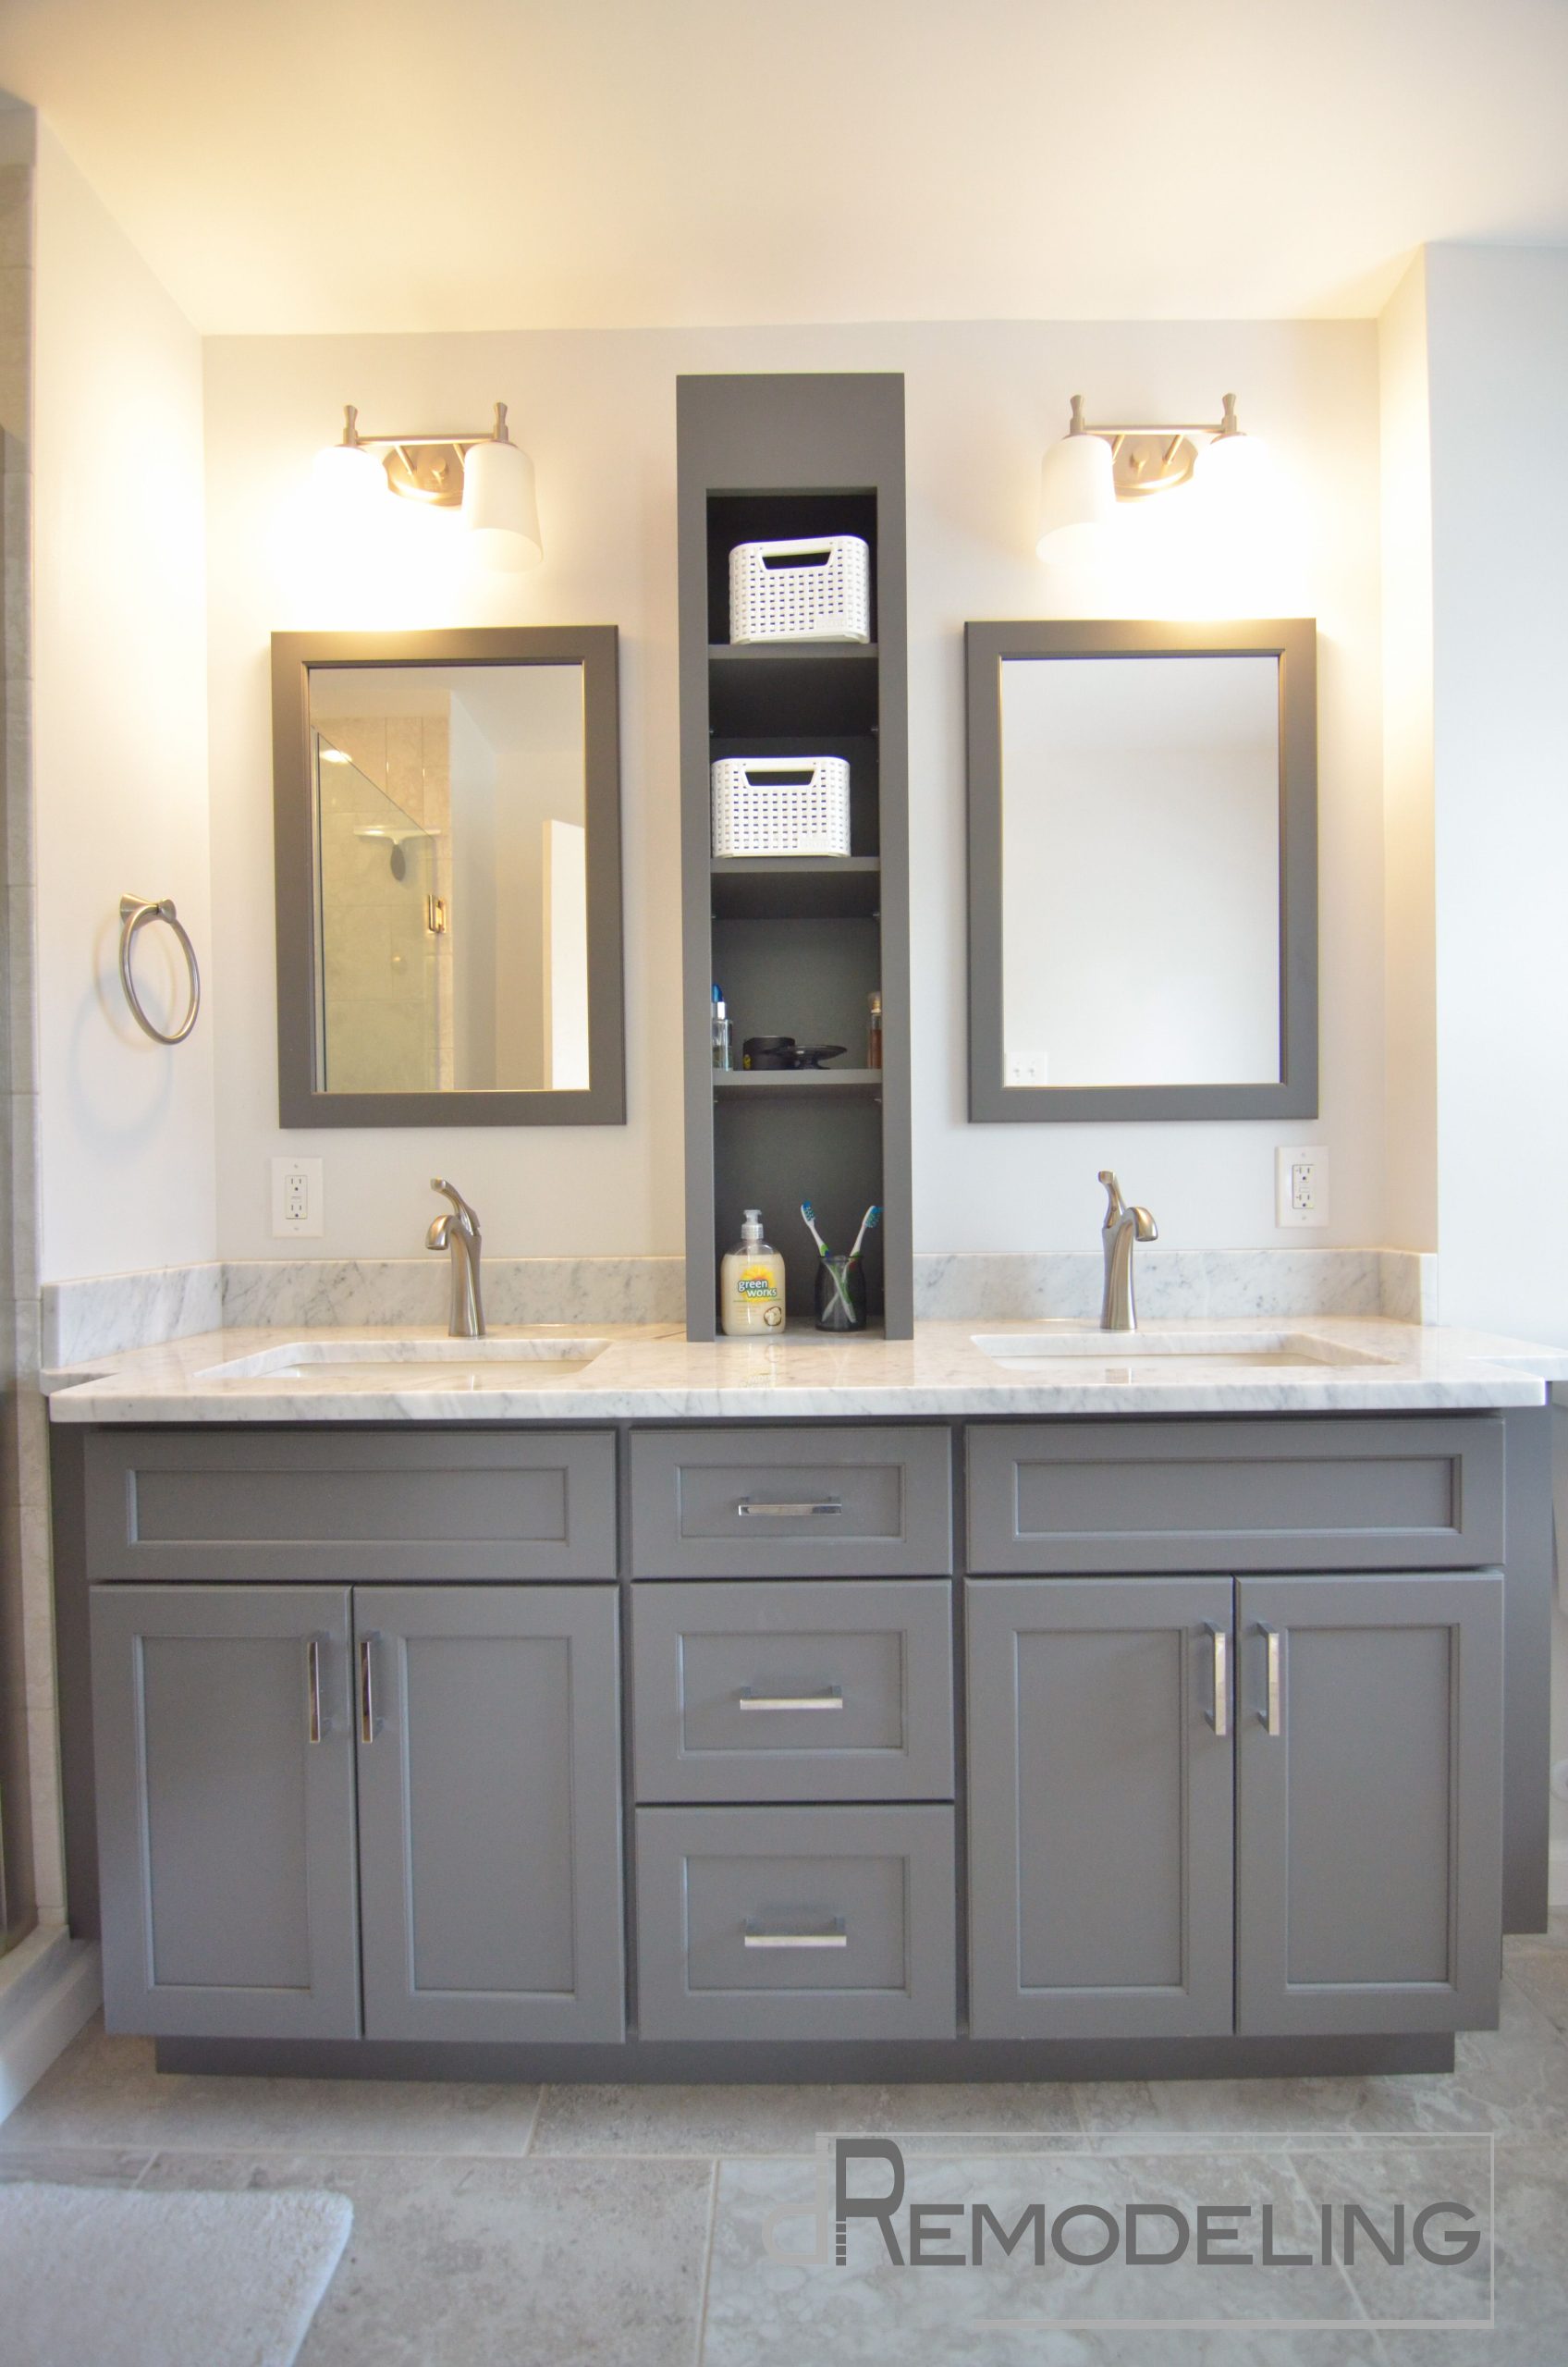
Picture this: You walk into your bathroom and immediately notice that something feels different. The space has gained character, depth, and sophistication. It's not just another room anymore – it's a statement. This transformation often starts with one element: the vanity. Specifically, a 48 inch single bathroom vanity in dark gray. These large-format vanities have been gaining popularity because they offer both practicality and aesthetic appeal. They're spacious enough for all your essentials while maintaining a sleek profile that makes a lasting impression. Whether you're renovating your entire bathroom or simply updating one fixture, choosing a dark gray vanity can elevate the entire look. The rich tones work beautifully with various design styles – from modern minimalist to traditional luxury. Plus, there's something incredibly satisfying about owning a piece that feels substantial yet refined. But before you dive in, there are several factors to consider. The installation process isn't always straightforward, especially when dealing with larger pieces. Size matters, yes, but so does proper planning, precise measurements, and understanding what materials and tools you'll need. So let's break it down together.
Understanding Your Space and Measurements
Before you even begin shopping for a vanity, you must understand your space. Measuring accurately is crucial, especially when dealing with a 48 inch unit. Start by taking precise measurements of your bathroom. Note the width, height, and depth of the area where you plan to install the vanity. Measure from wall to wall, and check for any obstacles like plumbing or electrical outlets. Consider the clearance needed around the vanity for comfortable use. Standard clearance is typically 24 inches from the center of the sink to the nearest wall or fixture. If you're working with limited space, a 48 inch vanity might seem overwhelming. But remember, these units are designed to maximize storage while keeping things clean and uncluttered. They're particularly ideal for bathrooms with good lighting and ample space. When measuring, also account for the thickness of the vanity itself. Most 48 inch vanities are between 16 to 18 inches deep. So your actual usable space will be smaller than the overall dimensions suggest. Don't forget to measure the distance between your existing plumbing fixtures. You'll want to ensure your new vanity will align properly with the water supply lines and drain connections. This step alone can save you from costly mistakes later on. Take photos of your current setup as reference. Sometimes, small details like cabinet placement or sink configuration can make a big difference in how everything fits together. Also, consider the flooring material. Dark gray vanities tend to look best against light-colored floors or tiles. The contrast creates a beautiful visual balance. If you're working with a dark floor, make sure to test samples first. The colors might appear differently in different lighting conditions. Think about how much storage you actually need. These large vanities offer plenty of room for towels, toiletries, and cleaning supplies. But don't overdo it – empty space also has its own appeal. Let's say you have a small bathroom but want that extra touch of elegance. A 48 inch vanity can make the space feel more open and sophisticated. Just make sure you have adequate lighting to complement the look.
Choosing the Right Dark Gray Finish
Not all dark grays are created equal, and selecting the right finish can make or break your vanity's appearance. The color spectrum ranges from deep charcoal to rich espresso, each with unique undertones that affect how they look in different settings. For instance, a charcoal gray may appear almost black in certain lighting, while an espresso gray might lean toward brownish hues. Before making your final decision, bring home sample swatches and test them under various lighting conditions. Natural daylight, artificial lighting, and evening light can all change how a color appears. Some people prefer a uniform tone across all surfaces, while others enjoy subtle variations that add texture. The grain pattern in wood-based vanities can significantly influence the overall effect. A smooth finish tends to reflect light more, creating a brighter appearance, whereas a matte finish absorbs light and gives a more muted look. Consider the hardware as well. Chrome fixtures pair well with darker tones, offering a classic contrast. Brushed nickel provides a softer touch, while brass adds warmth. The material matters too. Solid wood vanities offer a natural beauty that's hard to match. They age gracefully and develop character over time. However, they require more maintenance than laminates or solids. Veneer options provide a similar look at a lower cost. But they're less durable and may show wear more easily. Composite materials are increasingly popular because they combine durability with aesthetics. They resist moisture and are easy to clean. If you're concerned about fading, choose a high-quality finish that's specifically designed for bathroom environments. Look for vanities that are moisture-resistant and have a protective coating. Some manufacturers offer warranties that cover fading and discoloration. These guarantees can give peace of mind, especially if you're investing in a premium product. Don't overlook the importance of matching your existing fixtures. The vanity should complement rather than compete with your sink, faucet, and mirror. Consider the overall aesthetic of your bathroom. If it's modern and clean, a sleek dark gray vanity works perfectly. For traditional spaces, deeper tones can add richness and warmth. The key is finding a balance that enhances your existing design elements.
Essential Tools and Materials
Installing a 48 inch vanity requires careful preparation and the right equipment. You'll want to gather everything before starting, so you don't get interrupted mid-project. Basic tools include a drill, level, stud finder, screwdriver set, measuring tape, and safety glasses. A cordless drill is particularly helpful for making precise holes and driving screws. If you're working with tile or concrete walls, you might need a masonry bit. Having a helper is also recommended. These vanities are heavy and awkward to maneuver alone. The weight can range from 100 to 200 pounds depending on the material and construction. Always double-check your measurements before beginning. Mistakes early on can lead to major problems later. You'll need to mark the locations for mounting brackets and plumbing connections. Use a level to ensure everything is straight. The mounting hardware varies based on your wall type. Drywall requires special anchors, while studs need standard screws. If you're unsure about your wall structure, consult a professional or do some research first. Plumbing connections also need attention. Make sure you have access to the water supply lines and drains. You might need to adjust existing pipes or install new ones. Some vanities come with pre-drilled holes, but others require you to make your own. Check the manufacturer's specifications carefully. You'll also need appropriate sealants and caulk for waterproofing. Silicone caulk works best for bathroom applications. It's flexible, resistant to moisture, and easy to clean. For the vanity top, you might need special tools if it's made of stone or composite materials. These require careful handling and often specific cutting techniques. Consider using a jigsaw or circular saw if you need to trim edges. Always wear protective gear when cutting materials. The dust can be irritating, and sharp pieces can cause injury. Have a plan for disposing of waste materials. Some components might be recyclable, while others need special handling. Don't forget to check local building codes. Some areas have specific requirements for bathroom installations, particularly regarding ventilation and electrical needs. Having permits or approvals ready can save you time and headaches. Remember to read all instructions thoroughly before starting. Every manufacturer's approach might differ slightly, and following their guidelines ensures better results.
Planning Your Installation Process
A successful installation begins with a solid plan. Start by reviewing the manufacturer's instructions completely. Even if you've done this before, it's worth re-reading to catch anything you might have missed. Lay out all your tools and materials in an organized way. Having everything within reach reduces the chance of losing items or getting distracted. Next, determine the exact location for your vanity. Mark it carefully with a pencil and level. This is where the precision comes in. You don't want to end up with a crooked vanity that looks off-center. Measure twice, cut once – this rule applies even more strongly here. Once you've established the location, check that the surrounding area is clear. Remove any old fixtures or décor that might interfere with installation. If you're replacing an existing vanity, take care when removing it. You might need to disconnect plumbing or electrical components. Be cautious about damaging nearby walls or flooring during removal. Plan for any necessary adjustments to plumbing or electrical systems. If your new vanity requires different connections, you may need to move pipes or wires. This is often where most people encounter unexpected challenges. The key is to anticipate these issues ahead of time. If you're unsure about electrical work, contact an electrician. Safety should never be compromised. Test all connections before securing the vanity in place. Ensure the plumbing lines connect properly and there are no leaks. A few drops of water can mean the difference between success and disaster. Consider the accessibility of the vanity after installation. You want to be able to open drawers and cabinets easily without hitting anything. Make sure there's enough clearance for daily use. Also, consider the backsplash or wall treatment. If you have tile or paneling behind the vanity, plan how it will align. Misalignment can create an unprofessional appearance. Finally, budget for potential extras. Sometimes you'll find that you need additional materials or tools. Having a contingency fund prevents delays and stress. Set aside a few extra hours in case of complications. Remember that every bathroom is unique, and your project might not go exactly as planned. Flexibility and patience are essential qualities for any DIY enthusiast.
Step-by-Step Installation Guide
Ready to roll up your sleeves? Here's how to tackle the installation properly. First, remove the old vanity if applicable. Turn off the water supply and disconnect any connections carefully. Take photos of the setup before removing anything. This helps with reassembly and ensures you don't miss any important details. Next, measure and mark the mounting points. Use a level to ensure accuracy. Double-check that the marks are evenly spaced and aligned with the vanity's mounting holes. Install the mounting brackets according to the manufacturer's directions. Some brackets need to be secured directly to studs, while others work with drywall anchors. Drill pilot holes and insert the appropriate fasteners. Make sure everything is tight and secure. Now comes the tricky part – lifting the vanity into position. With the help of a friend, carefully lift the unit and align it with the mounting brackets. Check that it sits level and centered. Adjust as needed before tightening the screws. Secure the vanity to the wall using the provided hardware. Tighten gradually, checking that the vanity remains level throughout the process. Connect the plumbing fixtures next. Match up the water supply lines with the corresponding valves. Apply plumber's tape or paste to threads to prevent leaks. Tighten connections securely but avoid over-tightening. Test the water pressure and check for any signs of leakage. If everything looks good, proceed to attach the sink. Some vanities come with pre-installed sinks, while others require separate installation. Follow the manufacturer's instructions for attaching the sink properly. Seal around the sink edge with silicone caulk to prevent water damage. Make sure the faucet and handles are installed correctly. Check that all moving parts operate smoothly. Finally, add the finishing touches. Install any hardware like drawer pulls or cabinet hinges. Fill the vanity with essentials like towels, toiletries, and cleaning supplies. Take a step back and admire your work. The result should be a beautiful, functional addition to your bathroom space. Don't forget to clean up the workspace and dispose of any debris properly. Any remaining tasks like painting or tiling should be completed last. Remember that the vanity is just the beginning – the rest of your bathroom deserves attention too.
Maintenance and Care Tips
Once installed, your dark gray vanity needs proper care to maintain its appearance and longevity. Regular cleaning is essential, but you don't need harsh chemicals. A simple solution of mild soap and warm water works wonders for daily maintenance. Wipe down surfaces regularly to prevent buildup of soap scum or water spots. Pay extra attention to areas around the sink and faucet where moisture accumulates. For stubborn stains, use a soft cloth with gentle cleaner. Avoid abrasive pads or scrubbers that might scratch the surface. If your vanity has a wood component, apply wood conditioner periodically to keep it looking fresh. Dark gray finishes can sometimes hide minor scratches, but it's better to prevent them entirely. Clean up spills quickly, especially acidic substances like lemon juice or vinegar. These can etch certain materials over time. Consider using coasters or mats under frequently used items. This protects the surface from heat and moisture damage. For heavily used areas, a monthly deep clean is recommended. This involves wiping down all surfaces with appropriate cleaners and checking for loose hardware. Tighten any screws or bolts that may have loosened over time. If you notice any chips or scratches, address them promptly. Small repairs can prevent bigger problems later. Keep your vanity away from direct sunlight when possible. UV rays can cause fading over time, even with quality finishes. If you have pets or children, be mindful of potential damage from claws or toys. These small precautions can extend the life of your investment significantly. Remember that darker colors show dirt and fingerprints more readily than lighter shades. This means more frequent cleaning might be necessary. But many people find that the rich look is worth the extra effort. Consider the lifestyle of your household when deciding on a finish. If you're prone to accidents or have young kids, you might want to choose a more durable material. The key is being proactive about maintenance rather than reactive when problems arise. Your vanity is a long-term investment, so treat it accordingly.
Troubleshooting Common Issues
Even with careful planning, problems can still occur during installation. One of the most common issues is misalignment. If your vanity doesn't sit flush against the wall, it could be due to uneven mounting or incorrect measurements. Check that all mounting points are level and that the vanity is properly supported. Sometimes a small adjustment in the bracket placement can fix the problem. Another frequent challenge involves plumbing connections. If water leaks after installation, it might be due to improper sealing or loose fittings. Recheck all connections and apply fresh plumber's tape if needed. If you're working with older plumbing, you might encounter compatibility issues. Newer vanities often have different connection standards than older fixtures. In such cases, you might need adapters or modifications. Electrical problems can also arise, especially if you're adding new lighting or outlets. Make sure all wiring is properly insulated and meets local code requirements. If you're unsure about electrical work, don't hesitate to call a professional. Safety always comes first. Leaky faucets or damaged seals are other common issues. These can often be resolved by replacing washers or gaskets. Check that all components are properly seated and tightened. Sometimes a simple repositioning fixes the problem. If you're experiencing rattling or creaking sounds, it might indicate loose hardware or improper mounting. Tighten all screws and brackets until they're secure but not over-tightened. Another issue many people face is difficulty in lifting the vanity. Heavy units can be challenging to maneuver alone. Always enlist help when possible, and consider using lifting straps or dollies for very large pieces. If you're working with existing fixtures, make sure you understand their dimensions. Sometimes the new vanity won't fit properly due to unexpected obstacles like electrical boxes or plumbing stacks. In these situations, you might need to modify the layout or choose a different vanity altogether. Don't let setbacks discourage you. Problems are normal parts of any installation project. The key is staying patient and methodical in solving them. Document any issues you encounter along the way. This can help future projects or assist others facing similar challenges.
Cost Considerations and Value
Investing in a 48 inch single bathroom vanity in dark gray is a significant financial decision. The price range varies widely depending on materials, brand, and features. Basic models can start around $300, while premium options might exceed $1,000. Factor in labor costs if you're hiring professionals. Installation services can add $200 to $500 to your total expense. The cost per square foot decreases as the vanity size increases, making larger pieces more economical overall. Compare prices across different retailers and online platforms to find the best deal. Many companies offer seasonal sales or promotions that can save you hundreds of dollars. Consider the long-term value of your purchase. Quality vanities often pay for themselves through reduced replacement costs and increased property value. A well-chosen vanity can boost your home's resale value by several thousand dollars. Look for warranties that cover defects in materials or workmanship. These guarantees protect your investment and provide peace of mind. Some manufacturers offer extended warranties for added security. When evaluating costs, don't overlook ongoing expenses like maintenance and cleaning supplies. Darker finishes require more frequent cleaning to maintain their appearance. Budget for periodic deep cleaning products and professional services if needed. Consider the energy efficiency of any integrated lighting. LED options consume less power and last longer than traditional bulbs. These small savings can add up over time. Also factor in the cost of any necessary upgrades to your bathroom infrastructure. If you're installing a new vanity, you might need to update plumbing or electrical systems. These additions can increase your initial investment but improve functionality. Think about your timeline and how quickly you want to see returns. Some renovations provide immediate visual benefits, while others build long-term value. For example, a dark gray vanity might instantly transform your bathroom's look, but it could take years to fully appreciate the property value increase. The key is balancing your immediate needs with long-term goals. Sometimes a splurge on quality pays off in the end. Remember that the best investment isn't necessarily the cheapest option – it's the one that fits your lifestyle and budget.
Design Integration and Styling
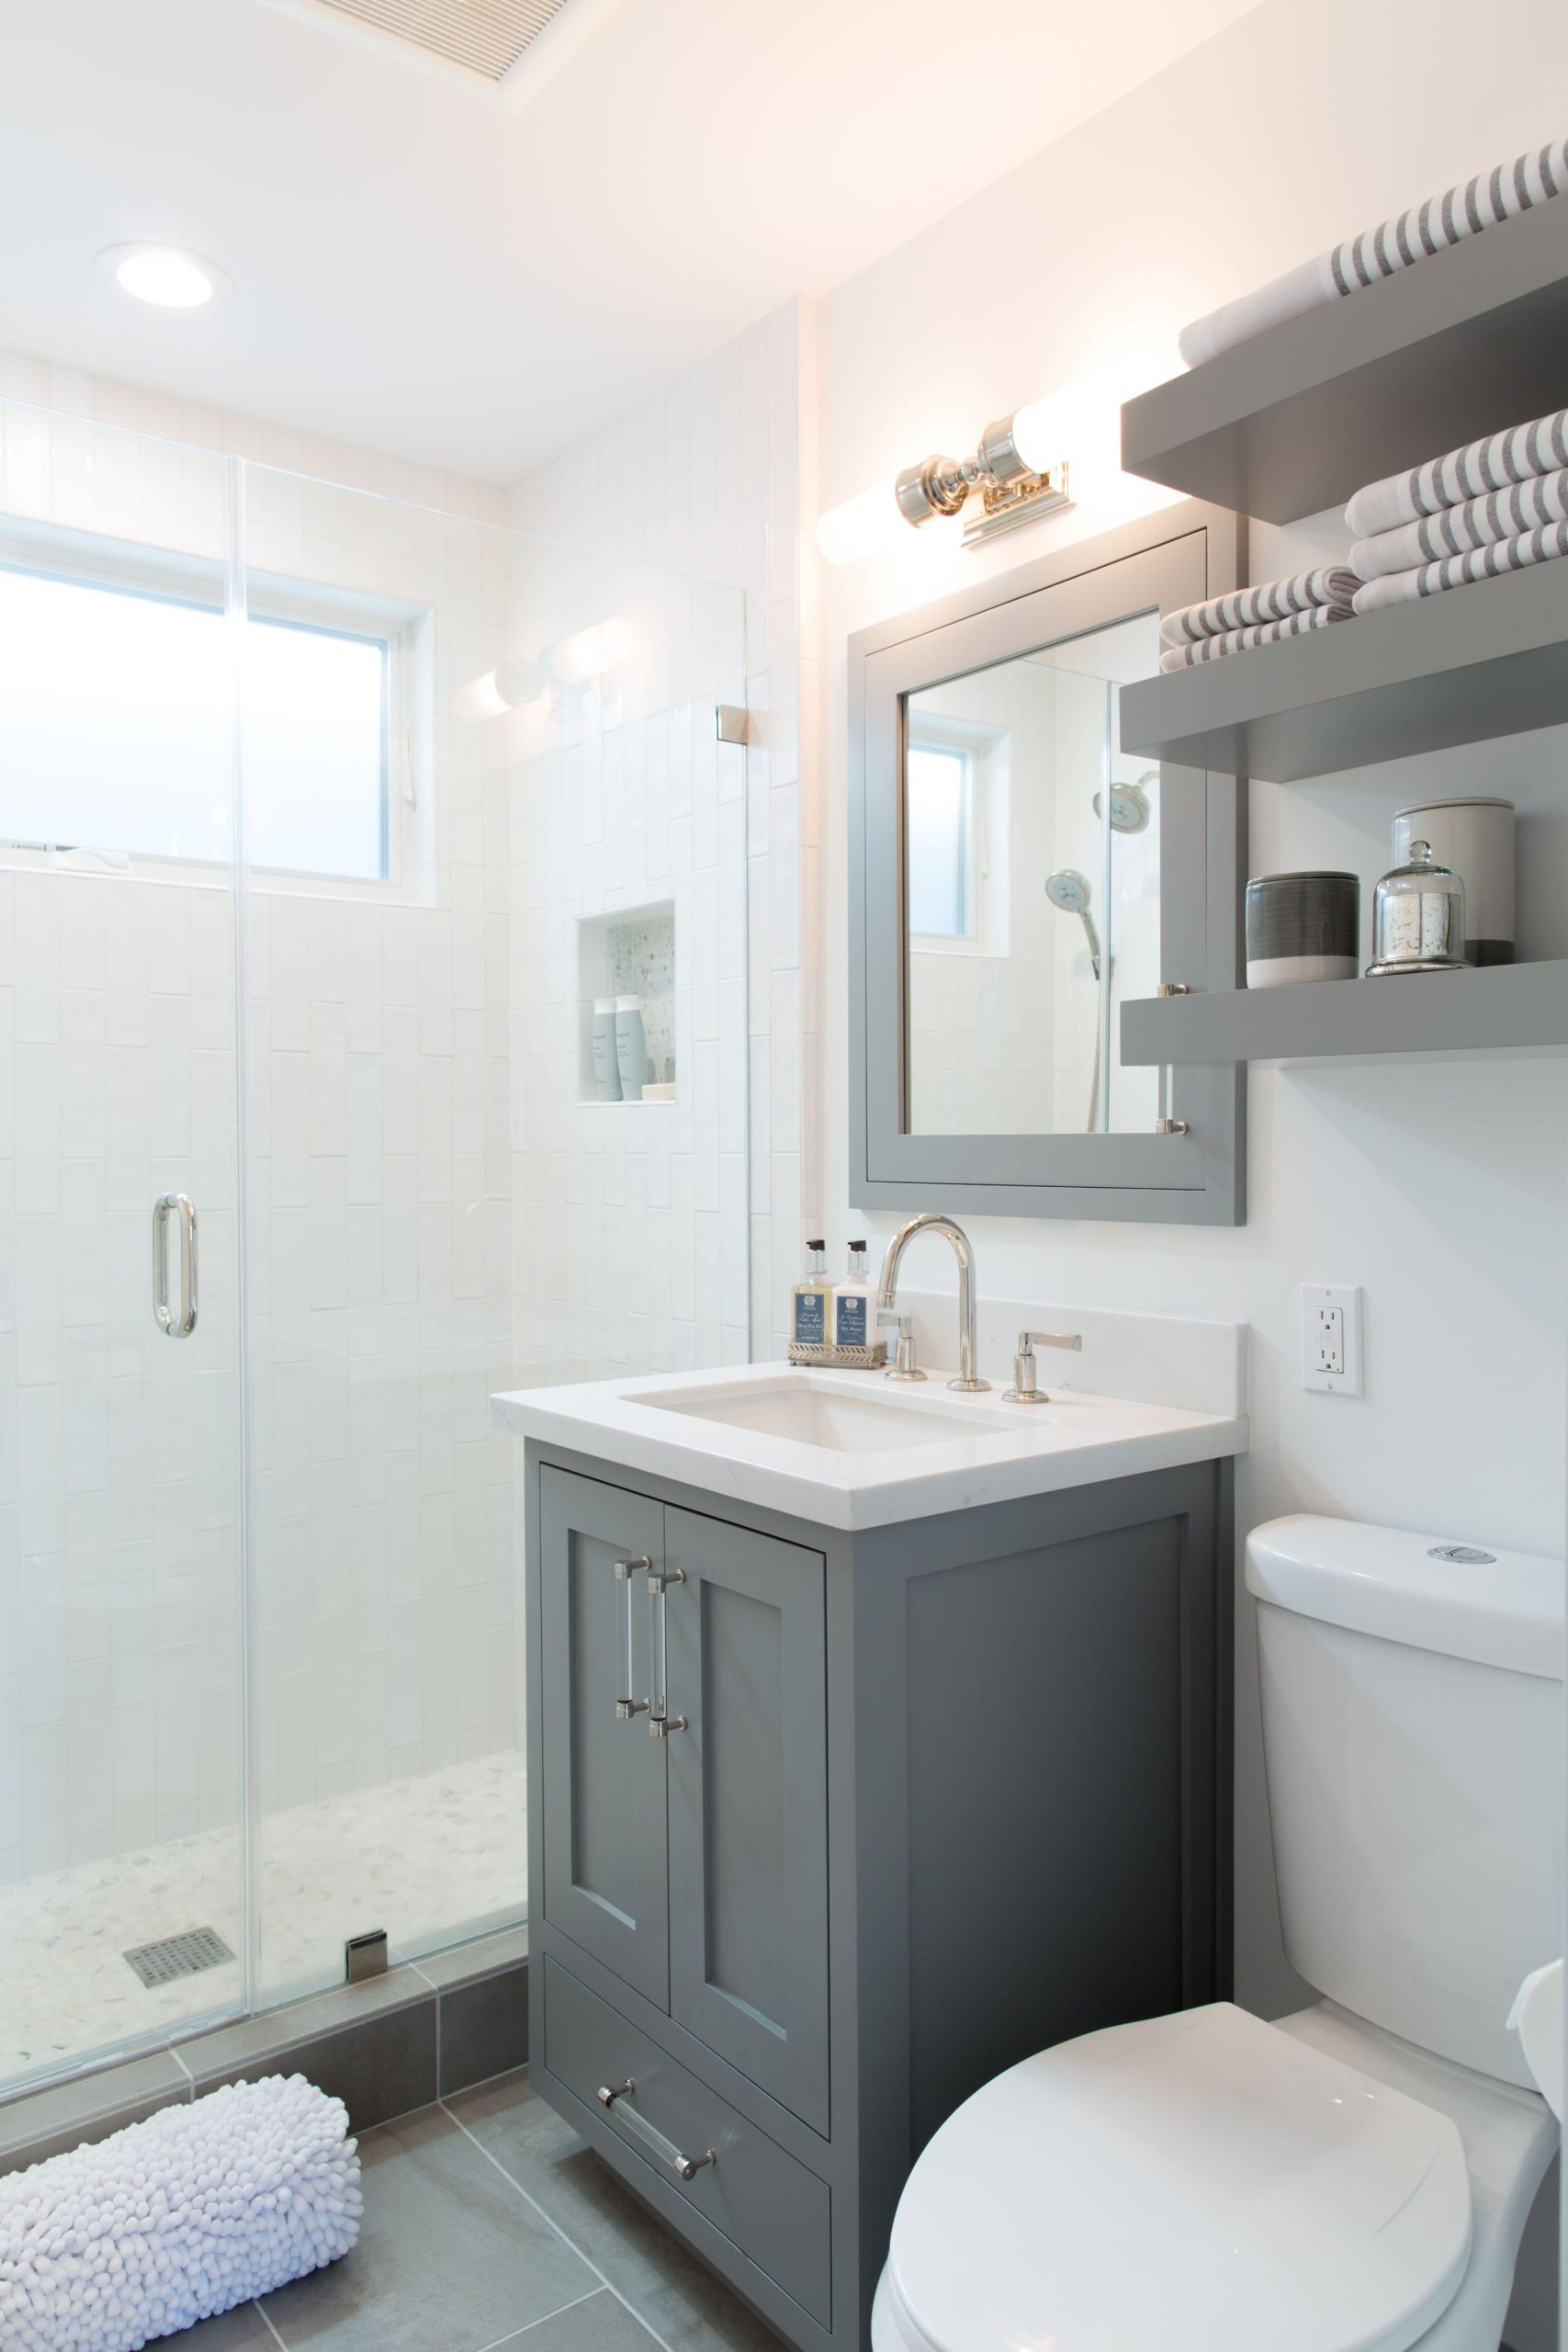
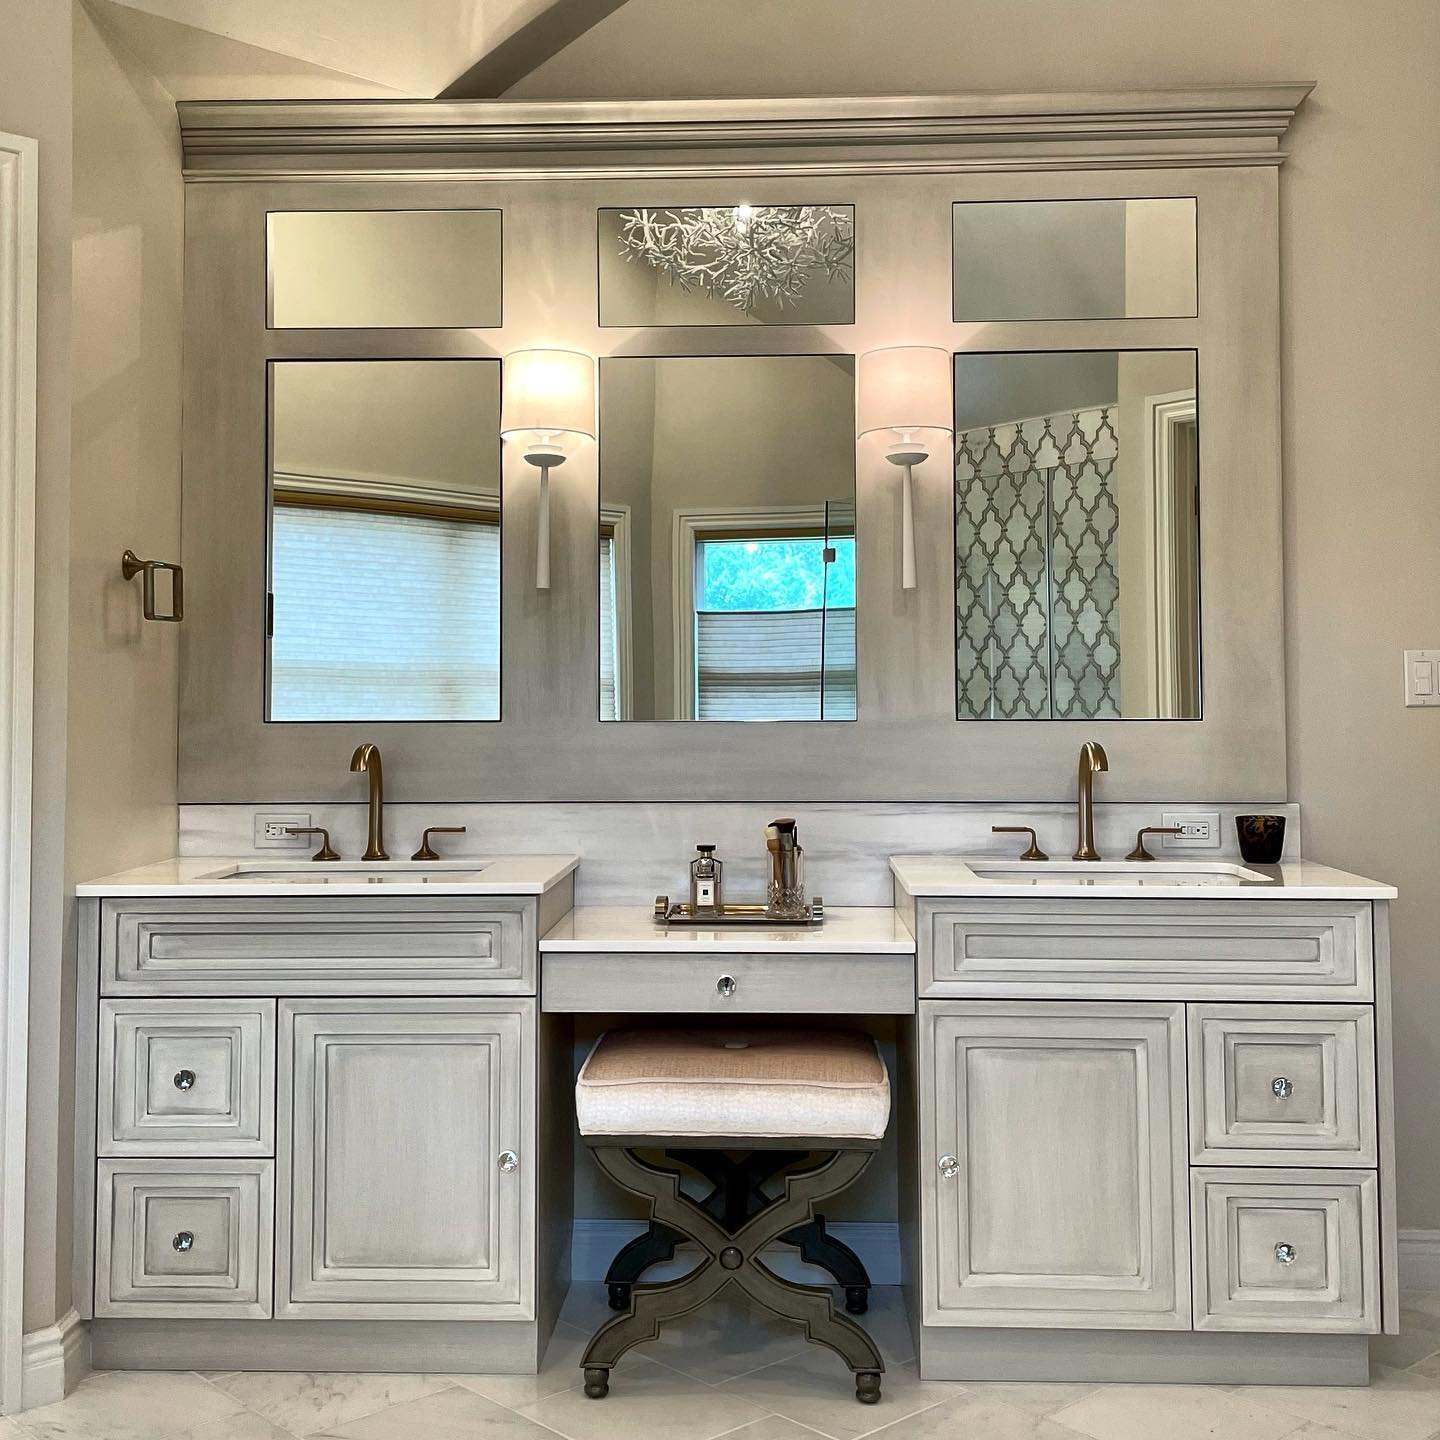
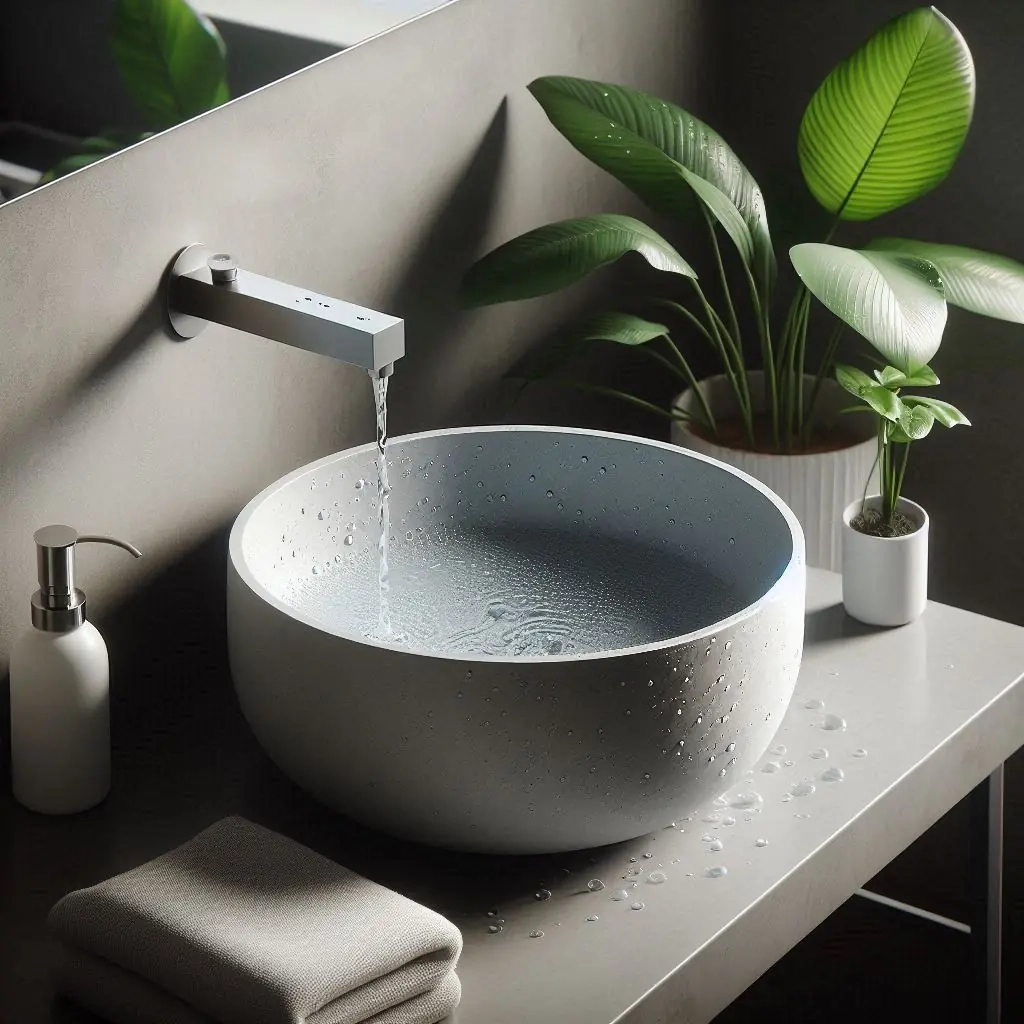
A 48 inch single bathroom vanity in dark gray can serve as a powerful design element that ties your entire space together. The key lies in how well it integrates with surrounding elements. Consider how the vanity interacts with your flooring, walls, and fixtures. If your bathroom has light-colored floors, the dark gray vanity creates a beautiful contrast. This combination often makes the space feel more defined and intentional. For those with darker flooring, the vanity should provide enough contrast to avoid making the room feel cramped. The finish plays a role too. A matte finish tends to blend better with neutral surroundings, while a glossy surface adds drama and reflects light. Think about the overall aesthetic you're aiming for. Modern bathrooms often benefit from clean lines and minimalistic approaches. Dark gray vanities fit perfectly in these settings, providing a sophisticated base for contemporary accessories. Traditional bathrooms might appreciate a more ornate vanity with detailed cabinetry. The dark gray can add warmth to classic designs without overpowering them. Lighting is another critical factor. Natural light enhances the richness of dark tones, but artificial lighting can make them appear dull or flat. Consider adding ambient lighting above the vanity or under-cabinet lights to highlight the finish. The vanity should also complement your mirror selection. A sleek, modern mirror pairs well with a minimalist vanity, while a vintage-style mirror might suit a more elaborate design. Storage solutions matter too. These large vanities offer abundant space, so think about how you'll organize everything. Open shelving can add visual interest, while closed cabinets keep things neat. Consider incorporating decorative elements like plants or artwork to soften the look. The goal is creating a cohesive environment where each element supports the others. Don't forget about the hardware choices. Brushed nickel or chrome fixtures provide a classic contrast, while brass adds warmth. The finish should harmonize with the overall palette of your bathroom. Remember that a dark gray vanity can be versatile. It works in both small and large spaces, though the proportions might need adjustment. In compact bathrooms, a dark gray vanity can make the space feel more substantial and well-defined. In larger rooms, it can anchor the design and create a sense of calm focus. The key is ensuring that all elements work together rather than competing for attention. Ultimately, your vanity should reflect your personal style while serving practical needs. It's not just about appearance – it's about creating a space that feels uniquely yours.
Final Thoughts and Recommendations
Installing a 48 inch single bathroom vanity in dark gray is more than just a renovation project – it's a transformative experience. This isn't a choice made lightly, and it shows in the results. The journey from planning to completion requires patience, preparation, and attention to detail. But the payoff is a stunning focal point that elevates your entire bathroom. When you're ready to make this investment, take time to consider your specific needs and space constraints. Measure carefully, choose wisely, and don't rush the process. Remember that this piece will be with you for years to come, so quality matters. Whether you tackle the installation yourself or hire professionals, the outcome should reflect your vision and lifestyle. Dark gray finishes offer a sophisticated alternative to traditional white or beige vanities. They're bold yet elegant, practical yet stylish. The versatility of these large-format pieces allows for creative expression while maintaining functionality. Think about how this vanity will fit into your daily routine. Will it accommodate your storage needs? Does it complement your existing decor? These questions help guide your decision-making process. Don't overlook the emotional impact either. A well-installed vanity can boost your confidence and satisfaction with your living space. It's not just about aesthetics – it's about creating an environment where you feel good every day. The installation process itself teaches valuable lessons about home improvement. You gain skills, confidence, and appreciation for craftsmanship. These experiences often extend beyond this single project. If you're feeling overwhelmed, remember that you're not alone. Many people have successfully navigated this journey before you. Seek advice from professionals, study tutorials, and learn from others' experiences. Most importantly, enjoy the process. This is your space, and making it beautiful is a rewarding endeavor. The end result will be a testament to your dedication and taste. Your bathroom will become a place of comfort and style, thanks to this thoughtful upgrade. Whether you're a seasoned DIYer or new to home improvement, this project offers valuable learning opportunities. Take pride in your accomplishment and savor the enhanced beauty of your bathroom. After all, your home should reflect your personality and priorities. A dark gray vanity is more than just furniture – it's an investment in your daily happiness.
Installing a 48 inch single bathroom vanity in dark gray represents a bold step toward transforming your bathroom into a sophisticated retreat. The journey from measurement to installation involves careful planning, attention to detail, and a commitment to quality. While the process can seem daunting at first, breaking it down into manageable steps makes it achievable for most homeowners. The rewards are substantial – a stunning focal point that enhances both form and function. Whether you choose to tackle the installation yourself or work with professionals, the key is thorough preparation and realistic expectations. Remember that this investment will serve you for years to come, so taking the time to do it right is well worth the effort. The dark gray finish brings depth and character to any bathroom, creating a space that feels both luxurious and inviting. From selecting the perfect shade to ensuring proper installation, every decision contributes to your final outcome. The beauty of this project lies not just in the finished product, but in the knowledge and confidence you gain along the way. As you settle into your newly upgraded bathroom, you'll appreciate the thoughtfulness and care that went into every aspect of the renovation. This isn't just about changing a vanity – it's about elevating your entire living experience. The transformation you achieve will be evident every time you step into your bathroom. It's a space that truly reflects your personal style and enhances your daily routine. With proper care and maintenance, your dark gray vanity will continue to provide both beauty and functionality for many years to come. The satisfaction you'll feel knowing you've created something truly special is priceless.